


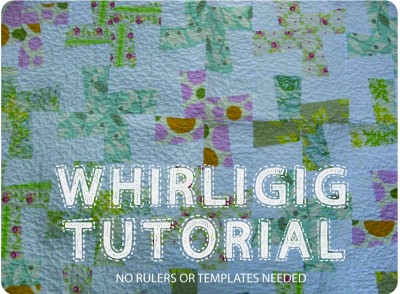
Whether you call it a Whirligig, Whirlygig or Wonky Windmill – I think they’re pretty cool!
I came up with my own method because I didn’t like the idea of using templates for a straight line when I had a ruler and cutting board right in front of me.
I’ve had a few people ask how I did it so I decided to make this tutorial, so here you go!
-updated 5/10/13
.
 Thursday, August 5th, 2010, 2:32 pm |
  Quilty Stuff |
 ![]() RSS feed
|
RSS feed
|  Respond |
  Trackback
August 6, 2010 at 1:39 pm
I’m trying to get to your tutorial and keep getting a “404 Error – page not found” message. Could you please check the link? Thanks so much! I’m looking forward to making one of these.
August 7, 2010 at 3:18 pm
It’s fixed! Sorry about that.
October 12, 2010 at 8:02 pm
This is great! I have been dying to make one of these! I tried to come up with my own version, but hadn’t quite got it right. (I couldn’t see myself buying a pattern for it either…)
January 7, 2014 at 5:57 pm
Simply simple to make. Made one, love it. Thanks, Julie.
October 27, 2015 at 2:32 pm
Quick comment……MAKE SURE ALL YOUR FABRIC IS RIGHT SIDE UP WHEN CUTTING OR THE FINISHED SQUARES WILL TWIRL IN DIFFERENT DIRECTIONS!!!!!!!!!
December 15, 2018 at 7:51 pm
The best pattern I have found. All others were blocks half this size. Refuse to work with very small pieces. Was attempting to make a larger one. Thanks so much!
Trackbacks
August 23, 2014 at 4:10 am