
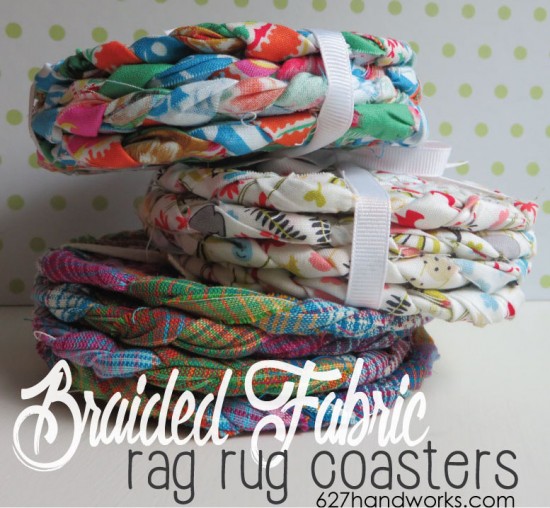


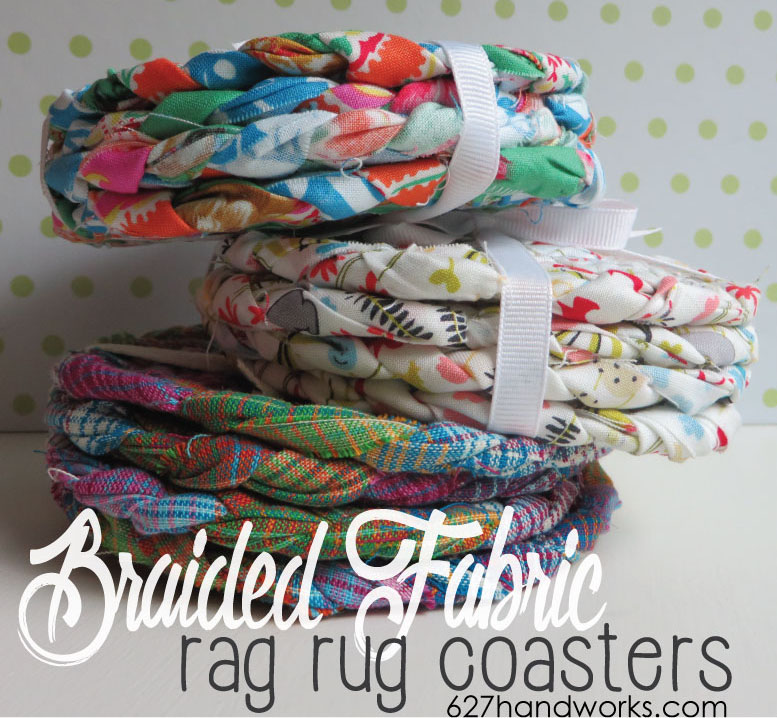
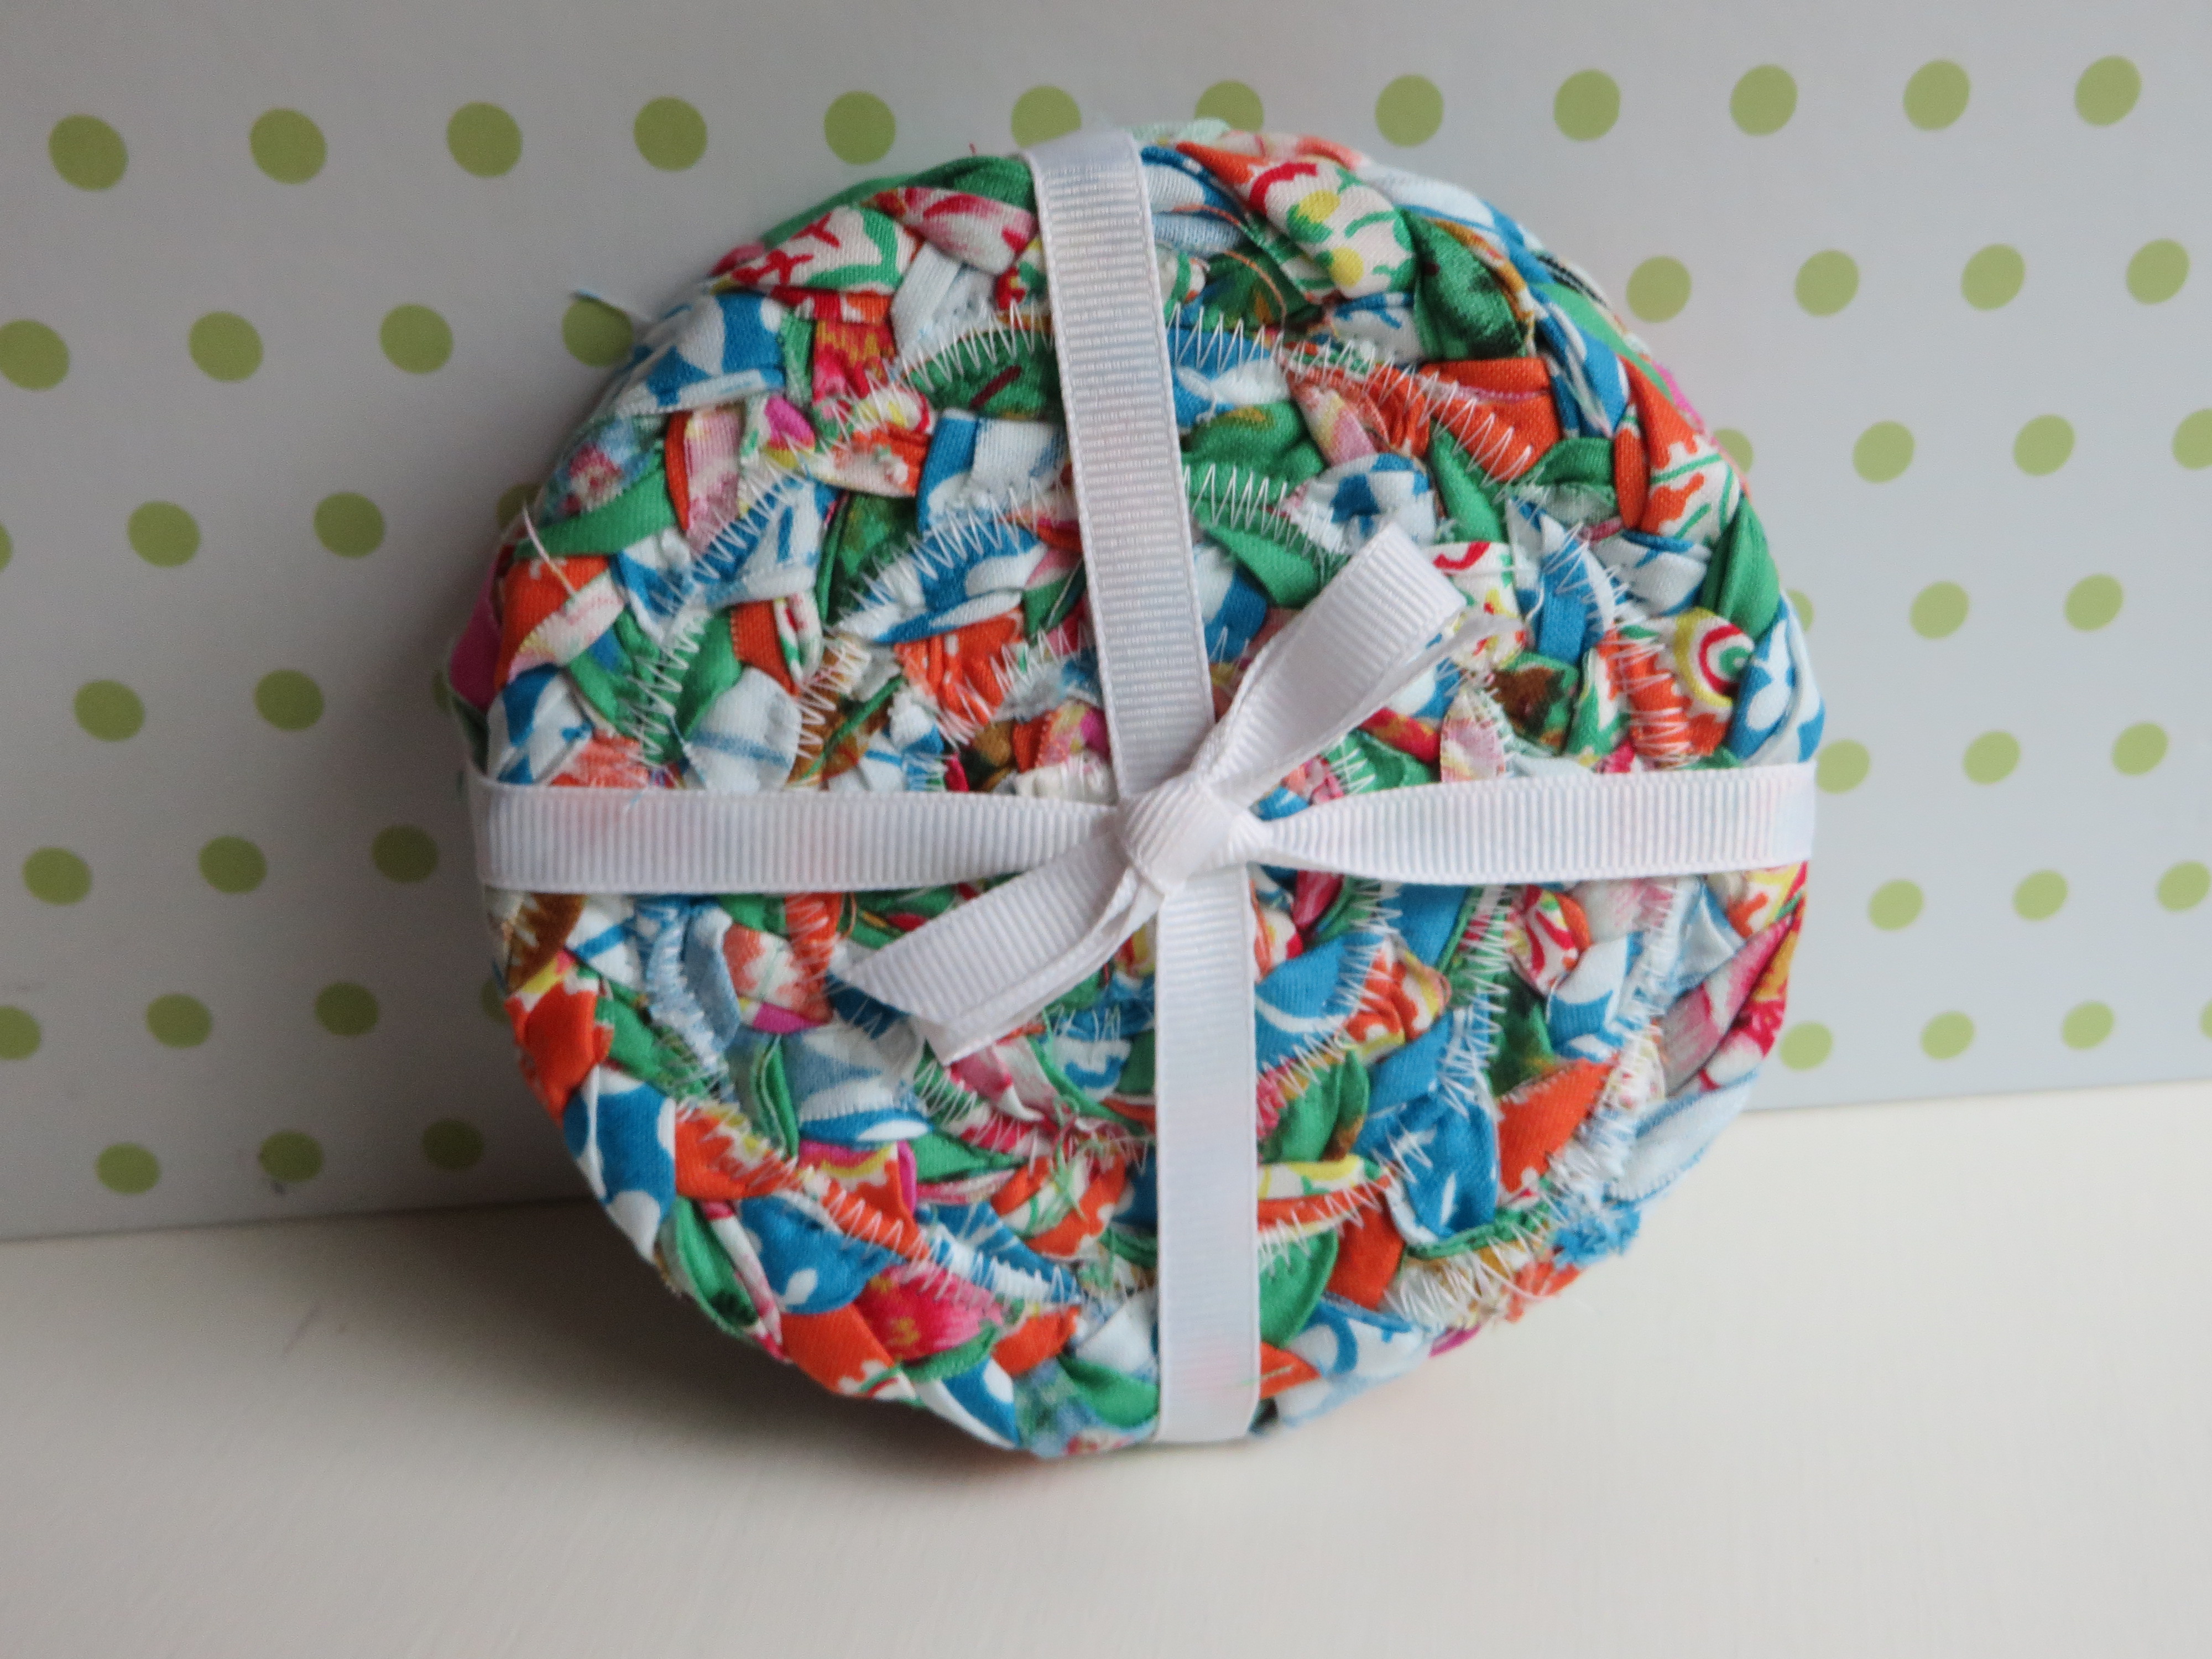
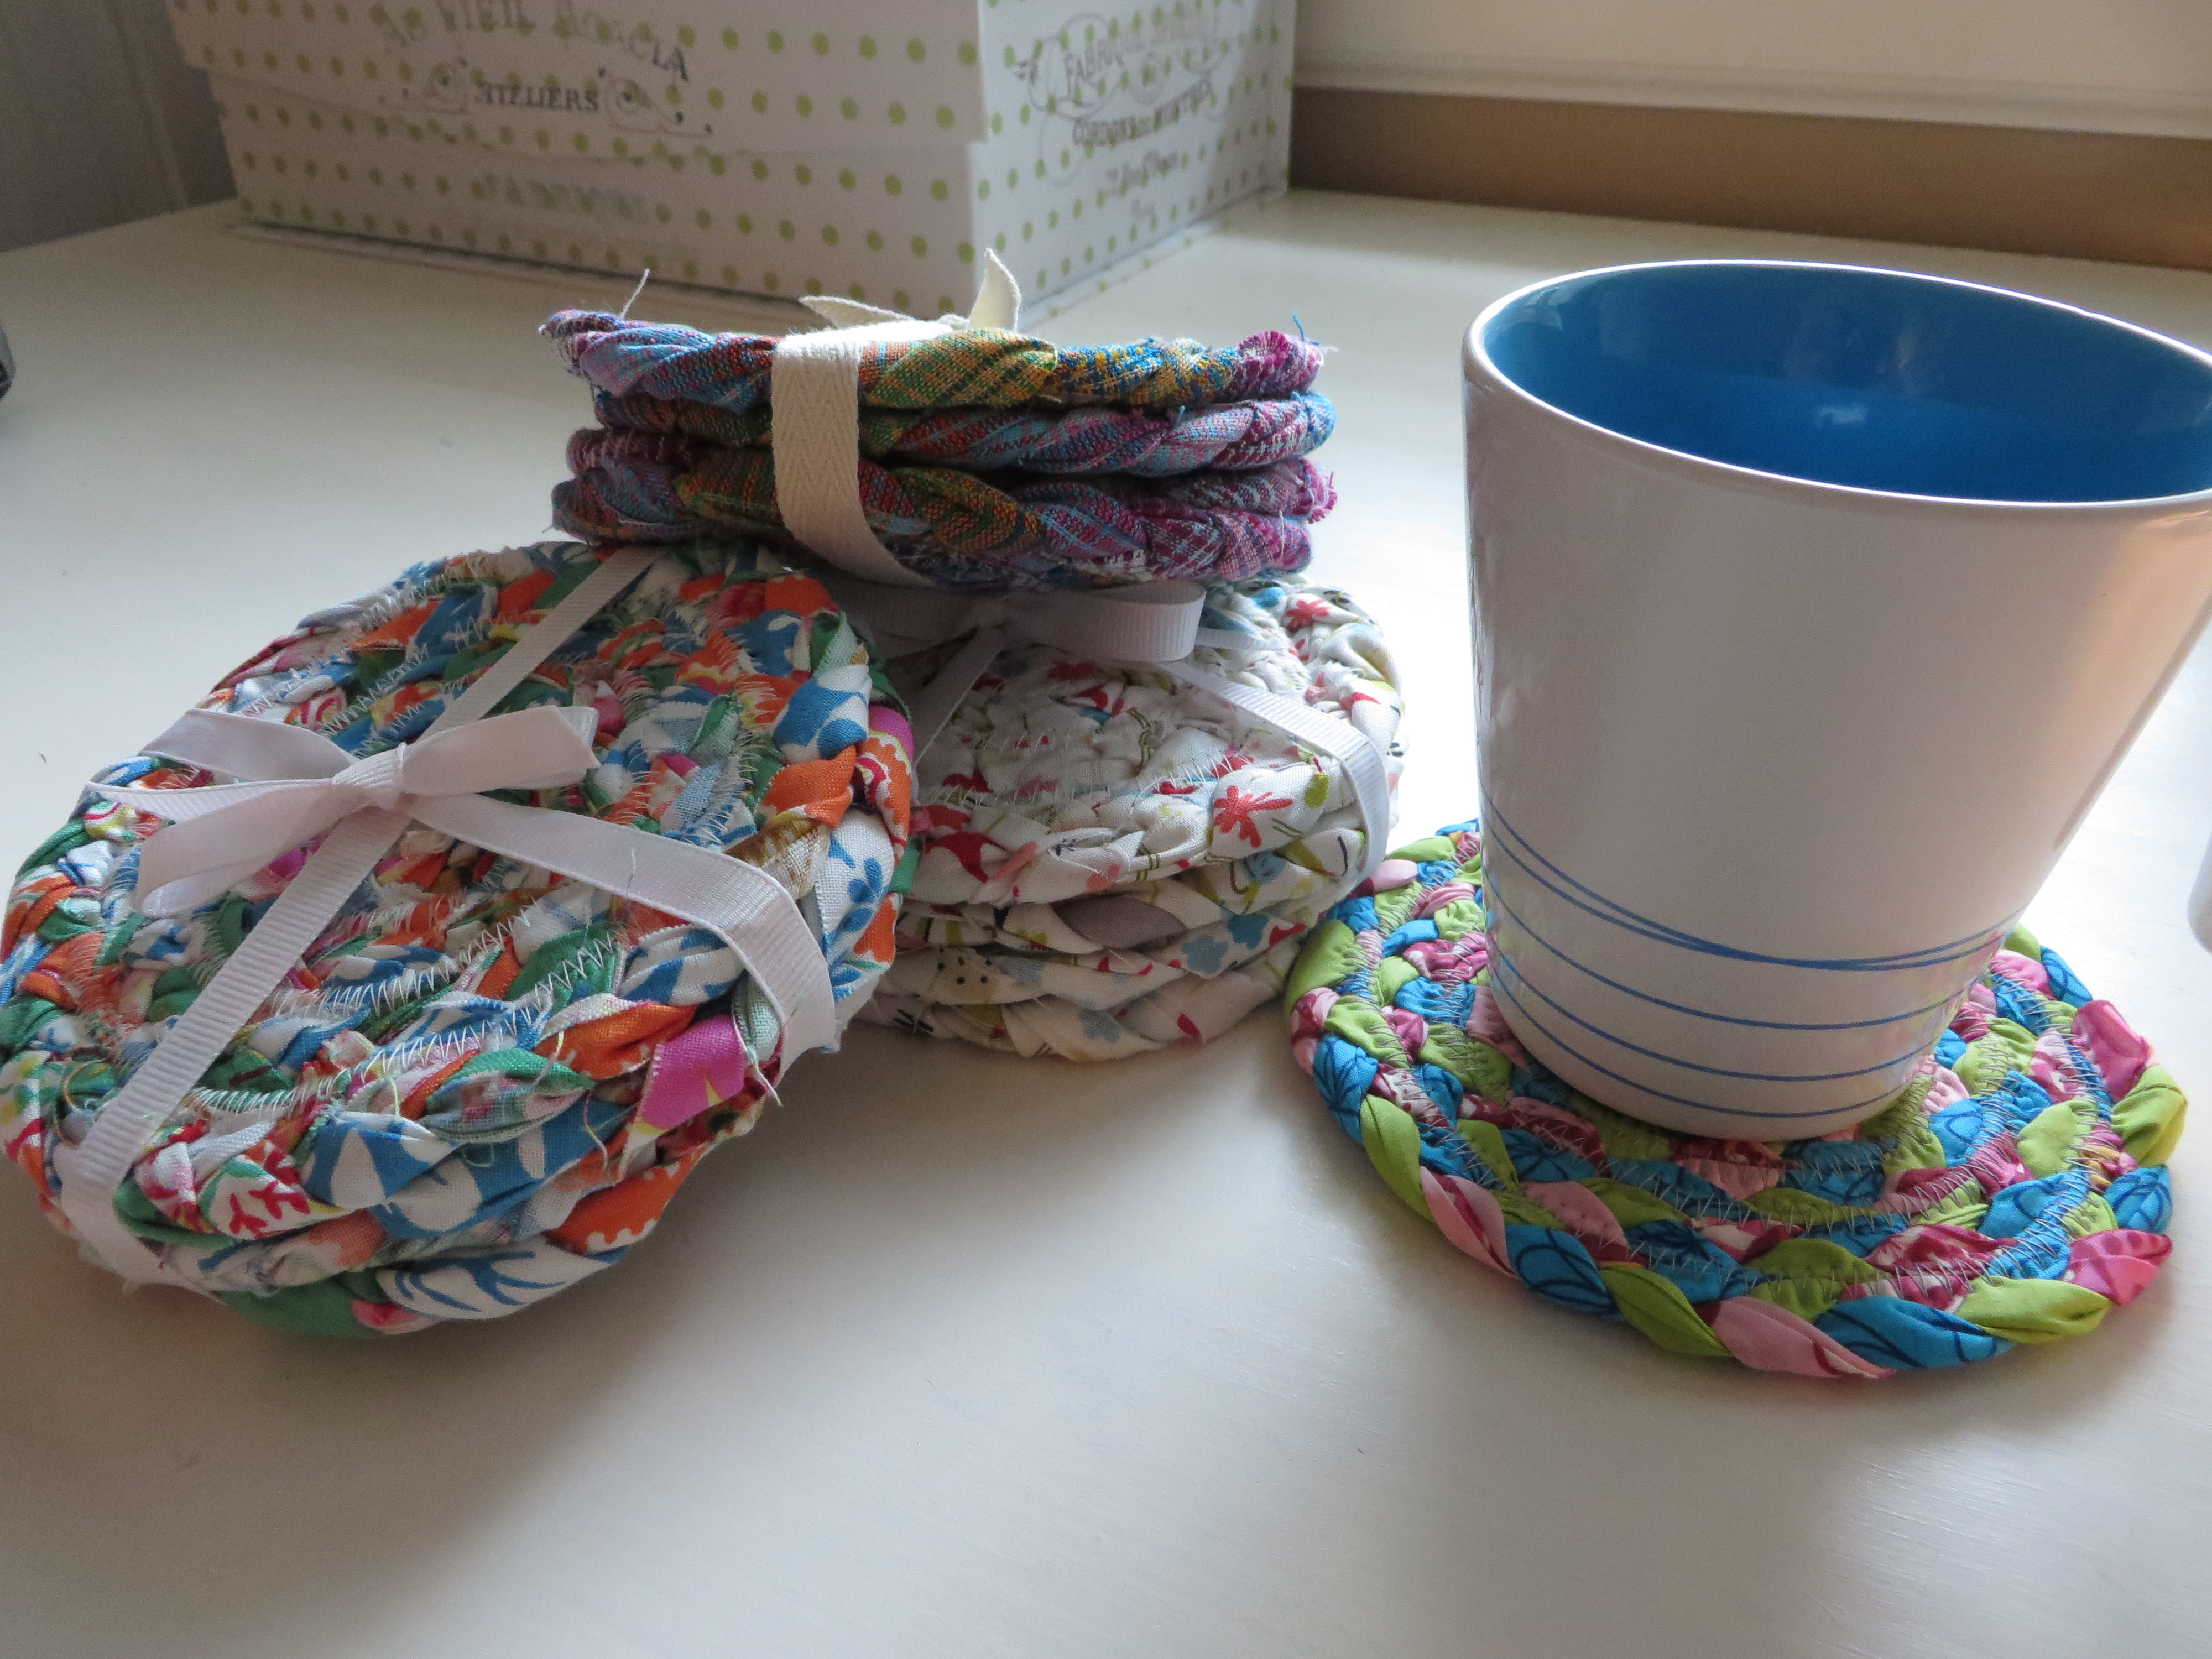
I’ve been wanting to make these for a while so I thought I’d put together a little tutorial. It’s Jelly Roll friendly if you have any leftover strips lying around. The final result is a 5″ wide, thick, absorbent coaster.
Fabric Options – 4 Coaster Set
- 1 yard of fabric (cut into [12] 2.5″ strips)
- or 1/3 yard each of 3 different fabrics (cut each into [4] 2.5″ strips)
- or 12 Jelly Roll Strips
VIDEO BELOW!
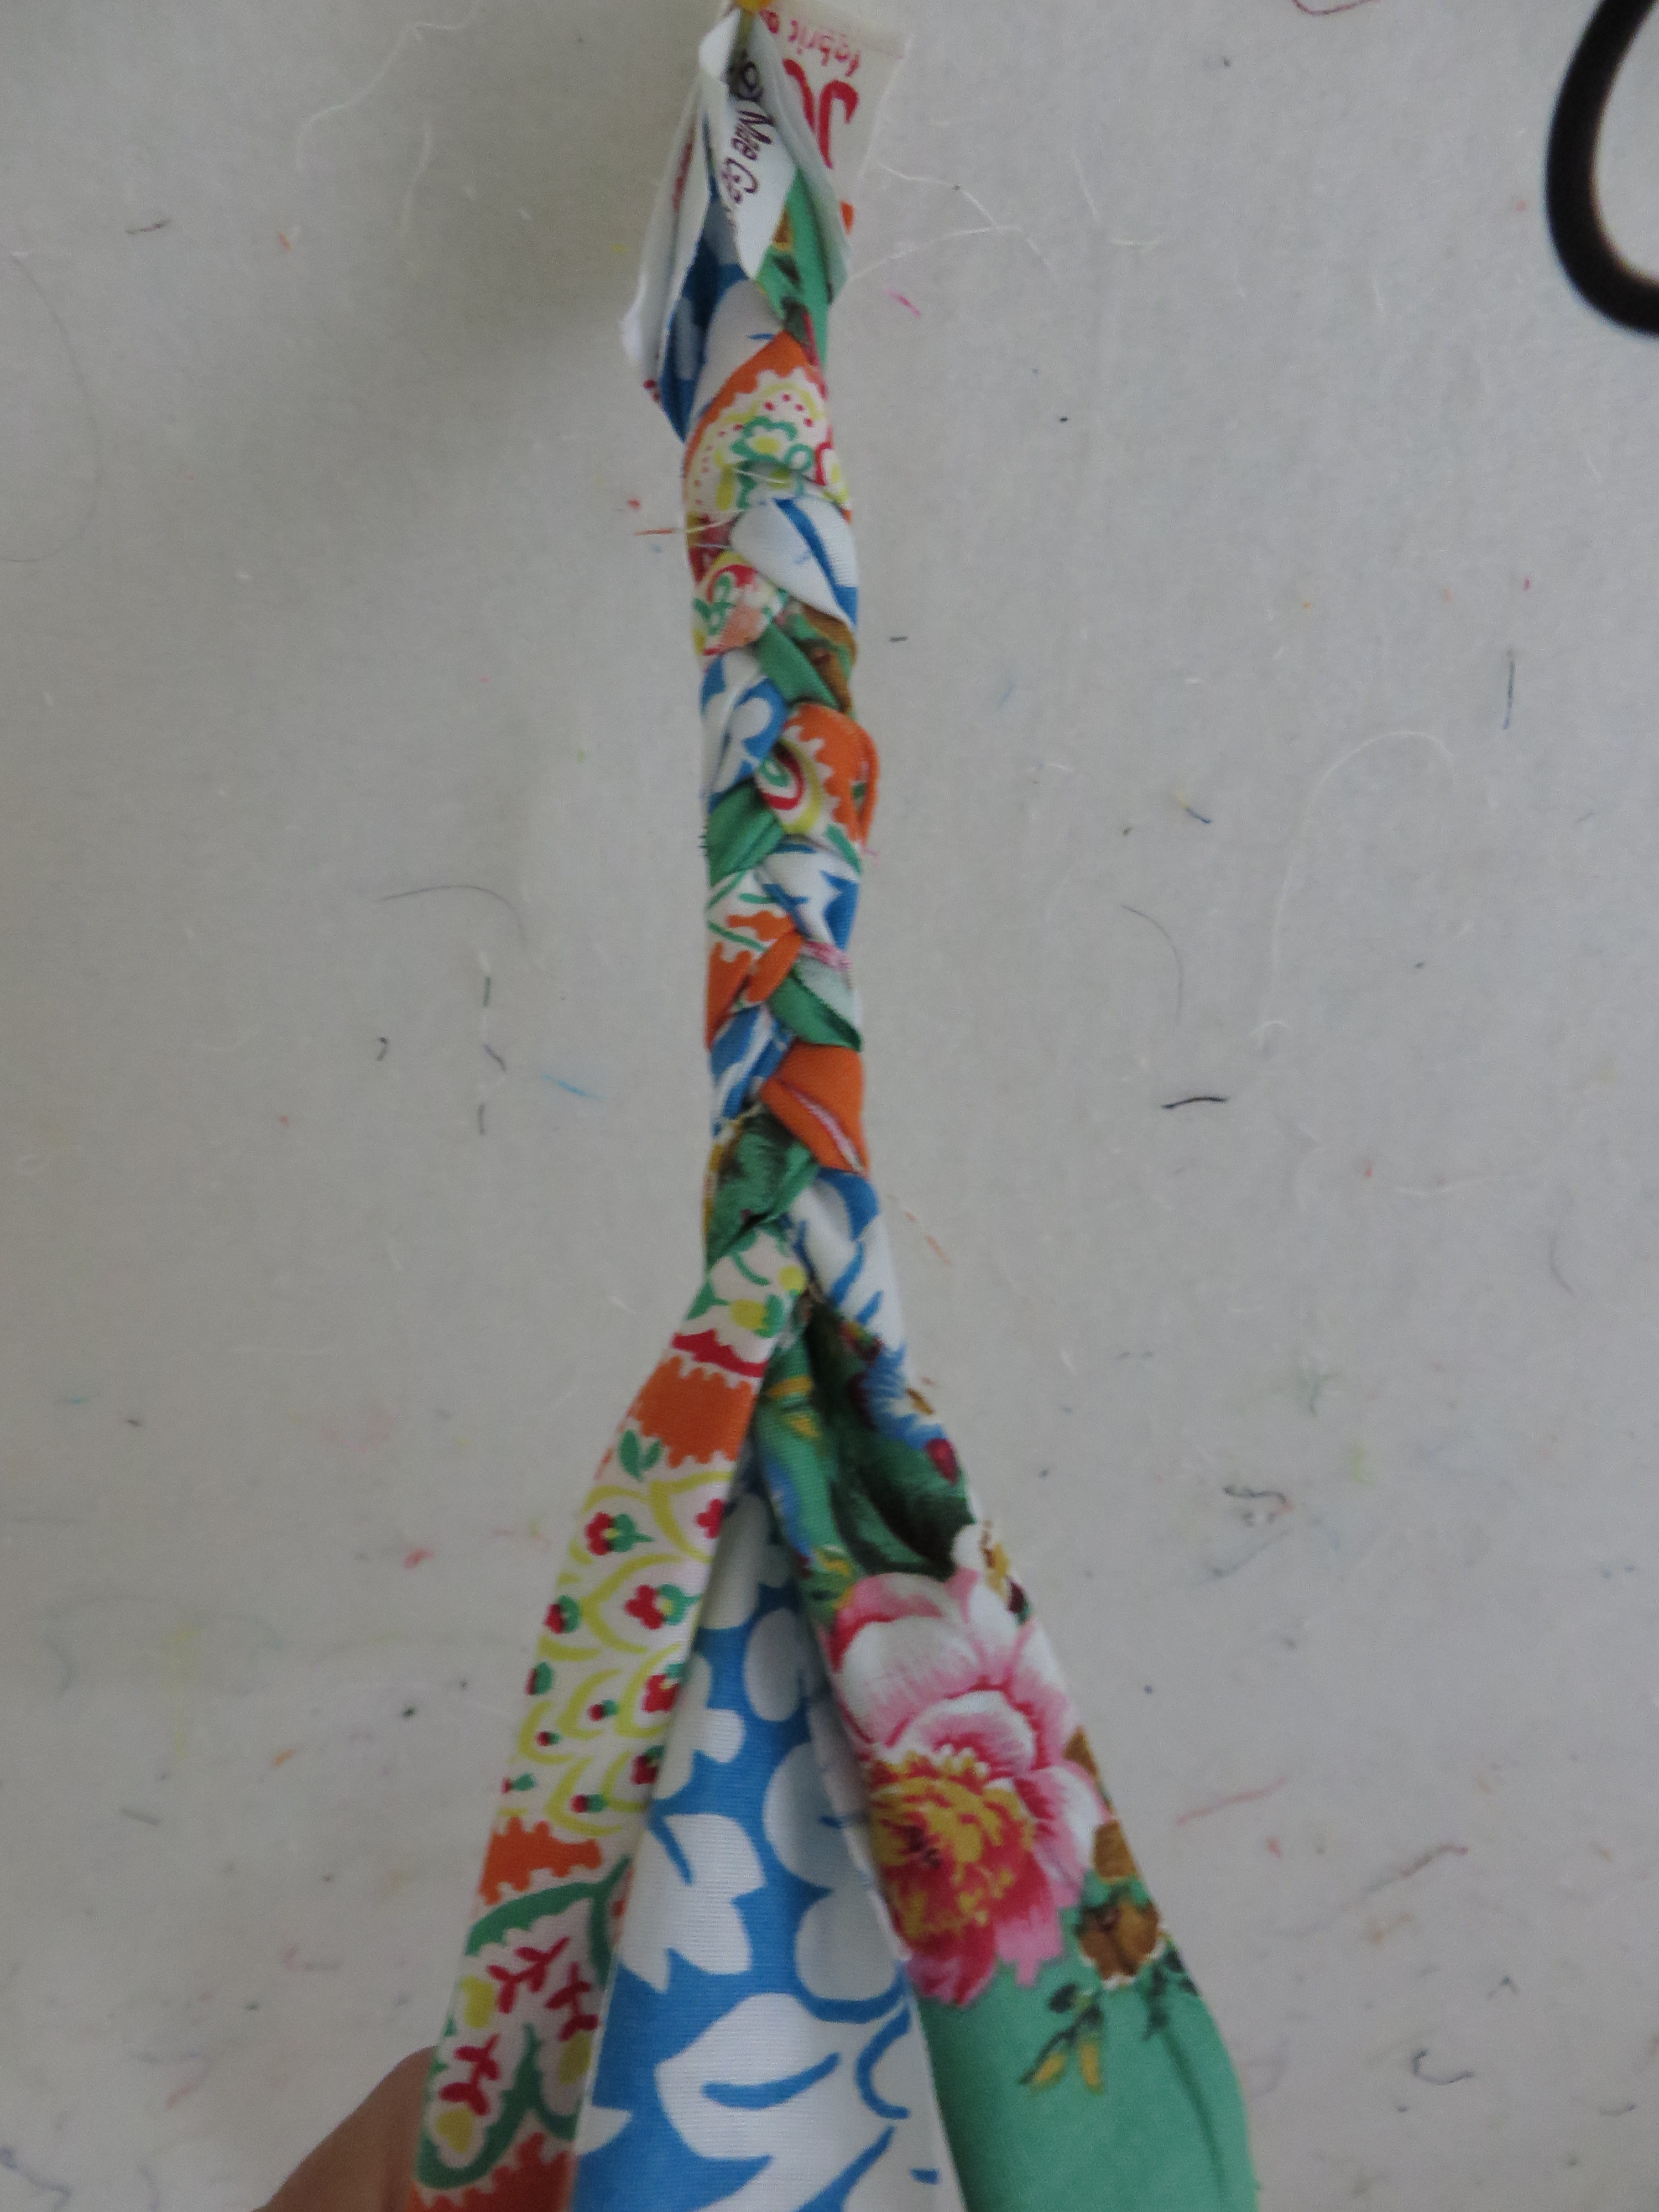
Grab 3 Strips

Start braiding with medium pressure, you don’t want it too tight or too loose. To hold mine in place I pinned one end to the design wall.
Take one end and push the end pieces up against the sides to start your coil.

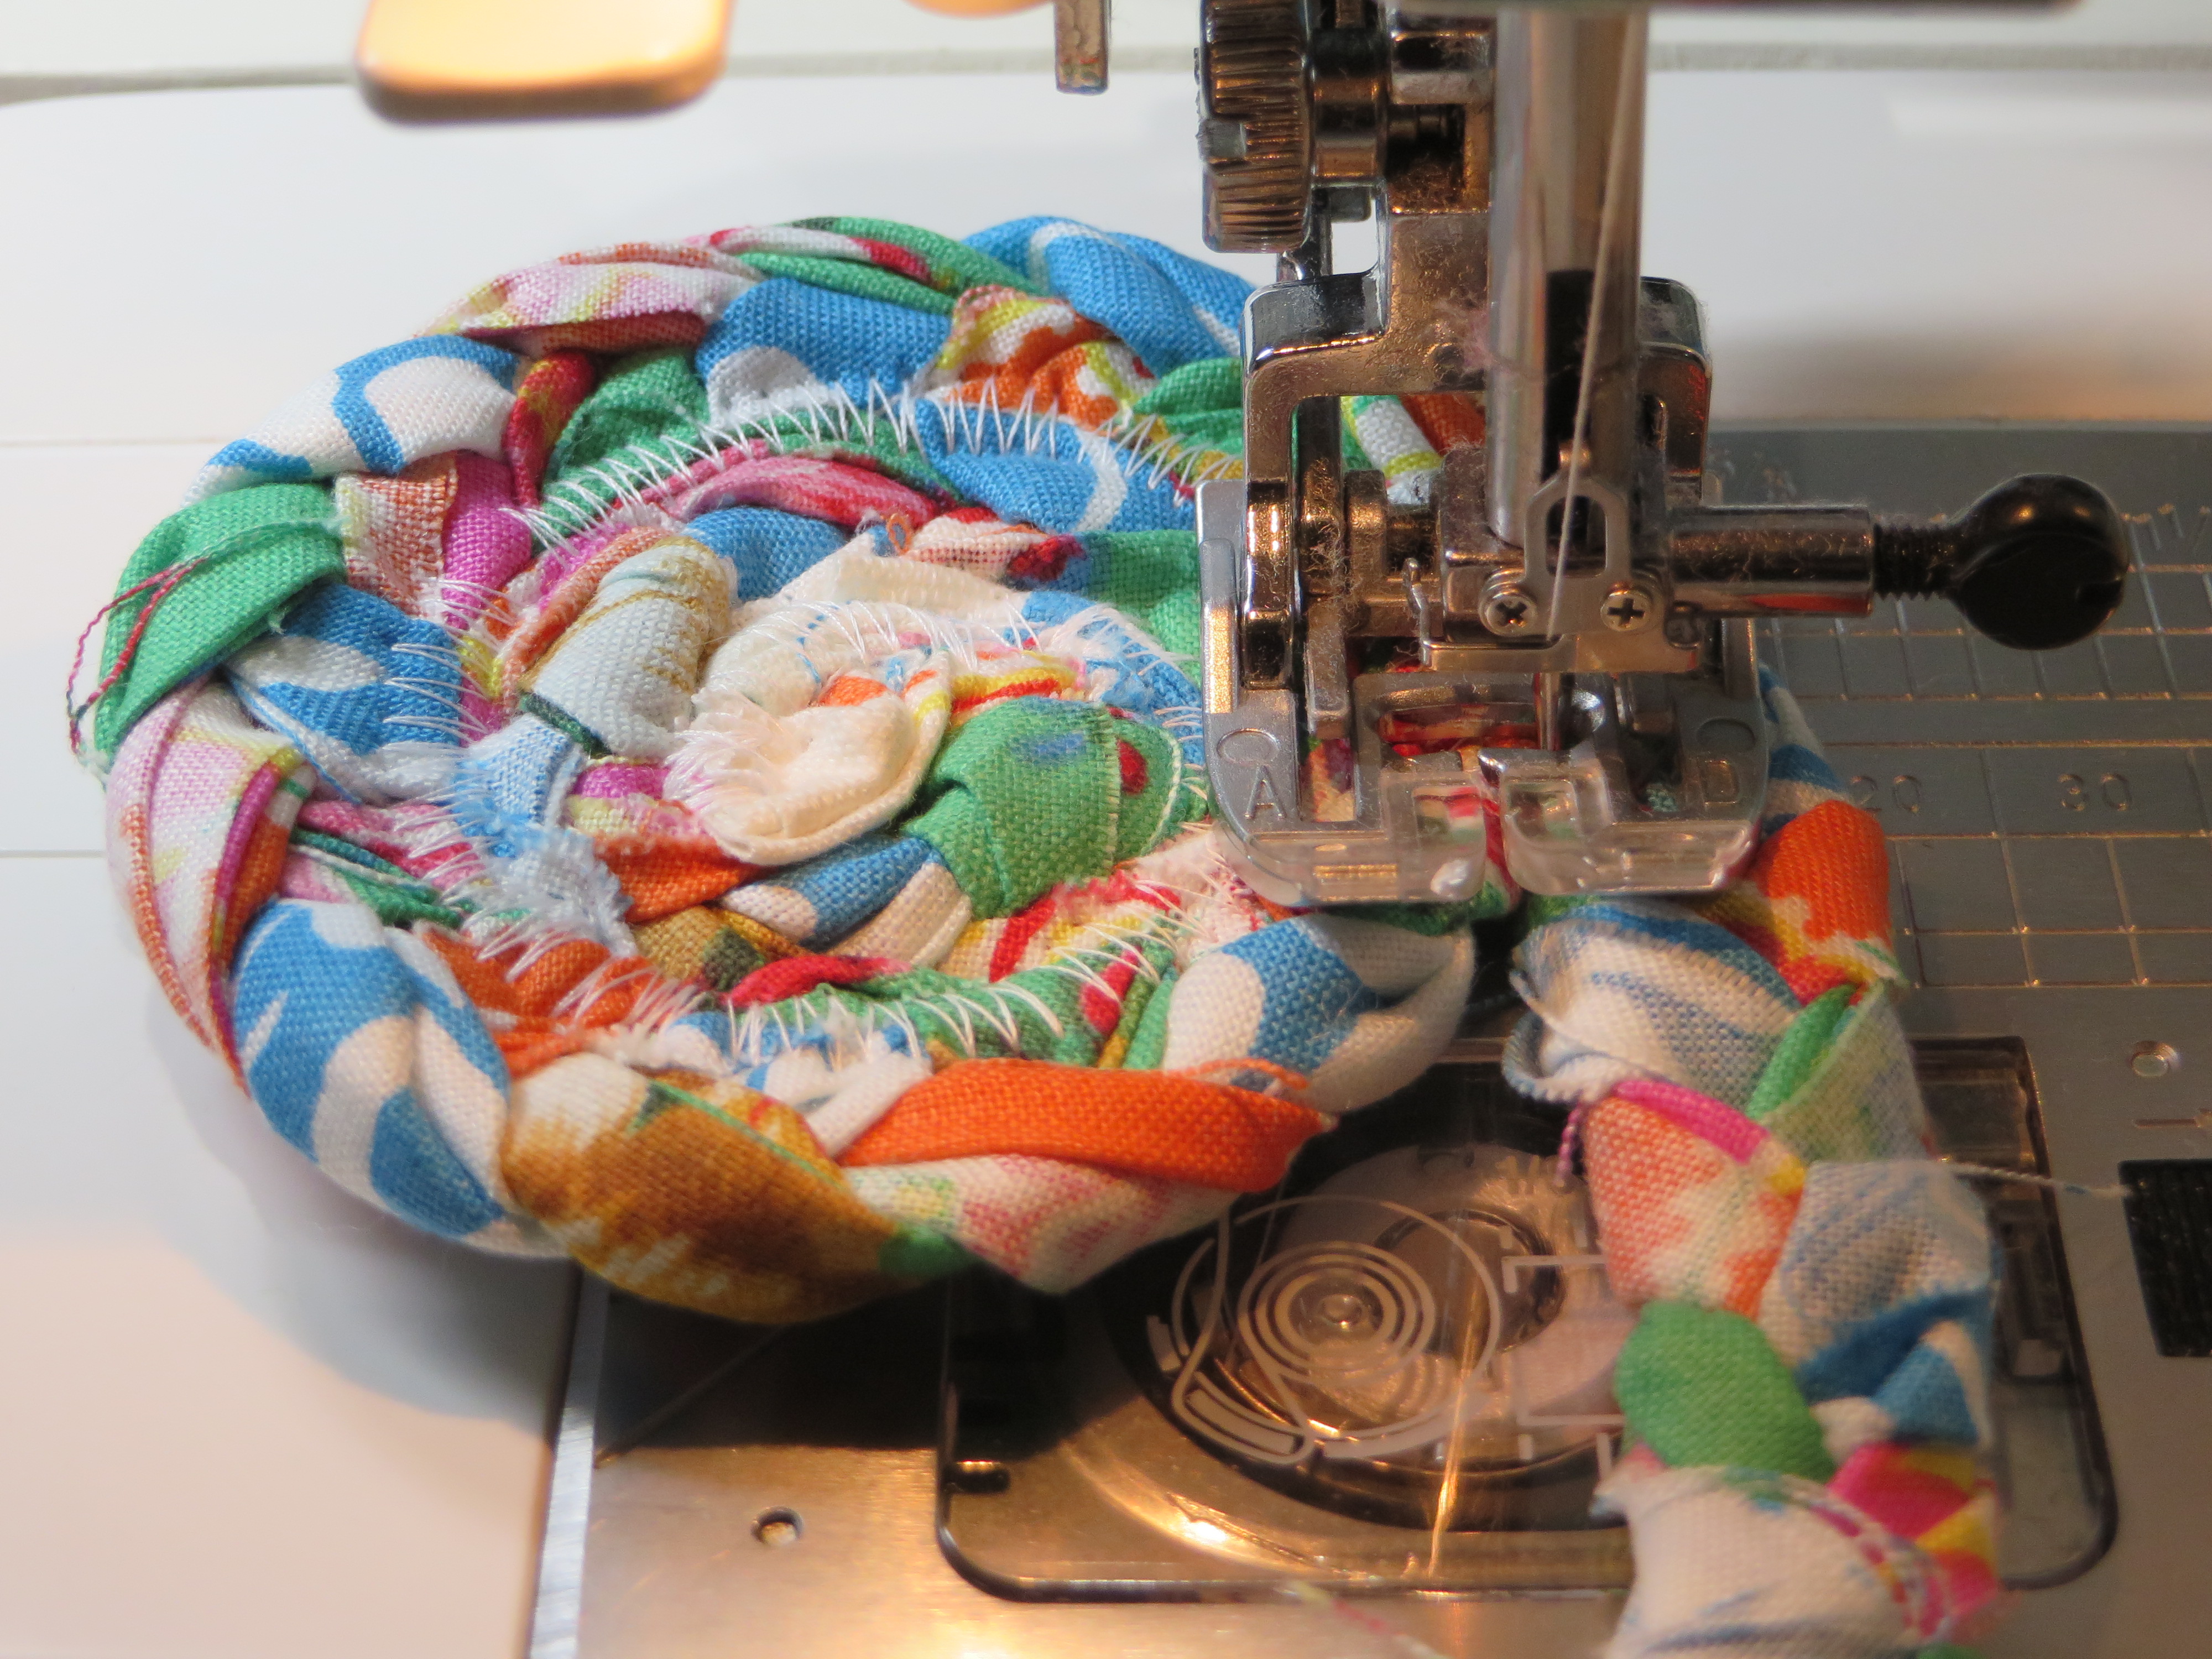
Set your machine to a wide zig zag stitch and tack a few stitches to start.
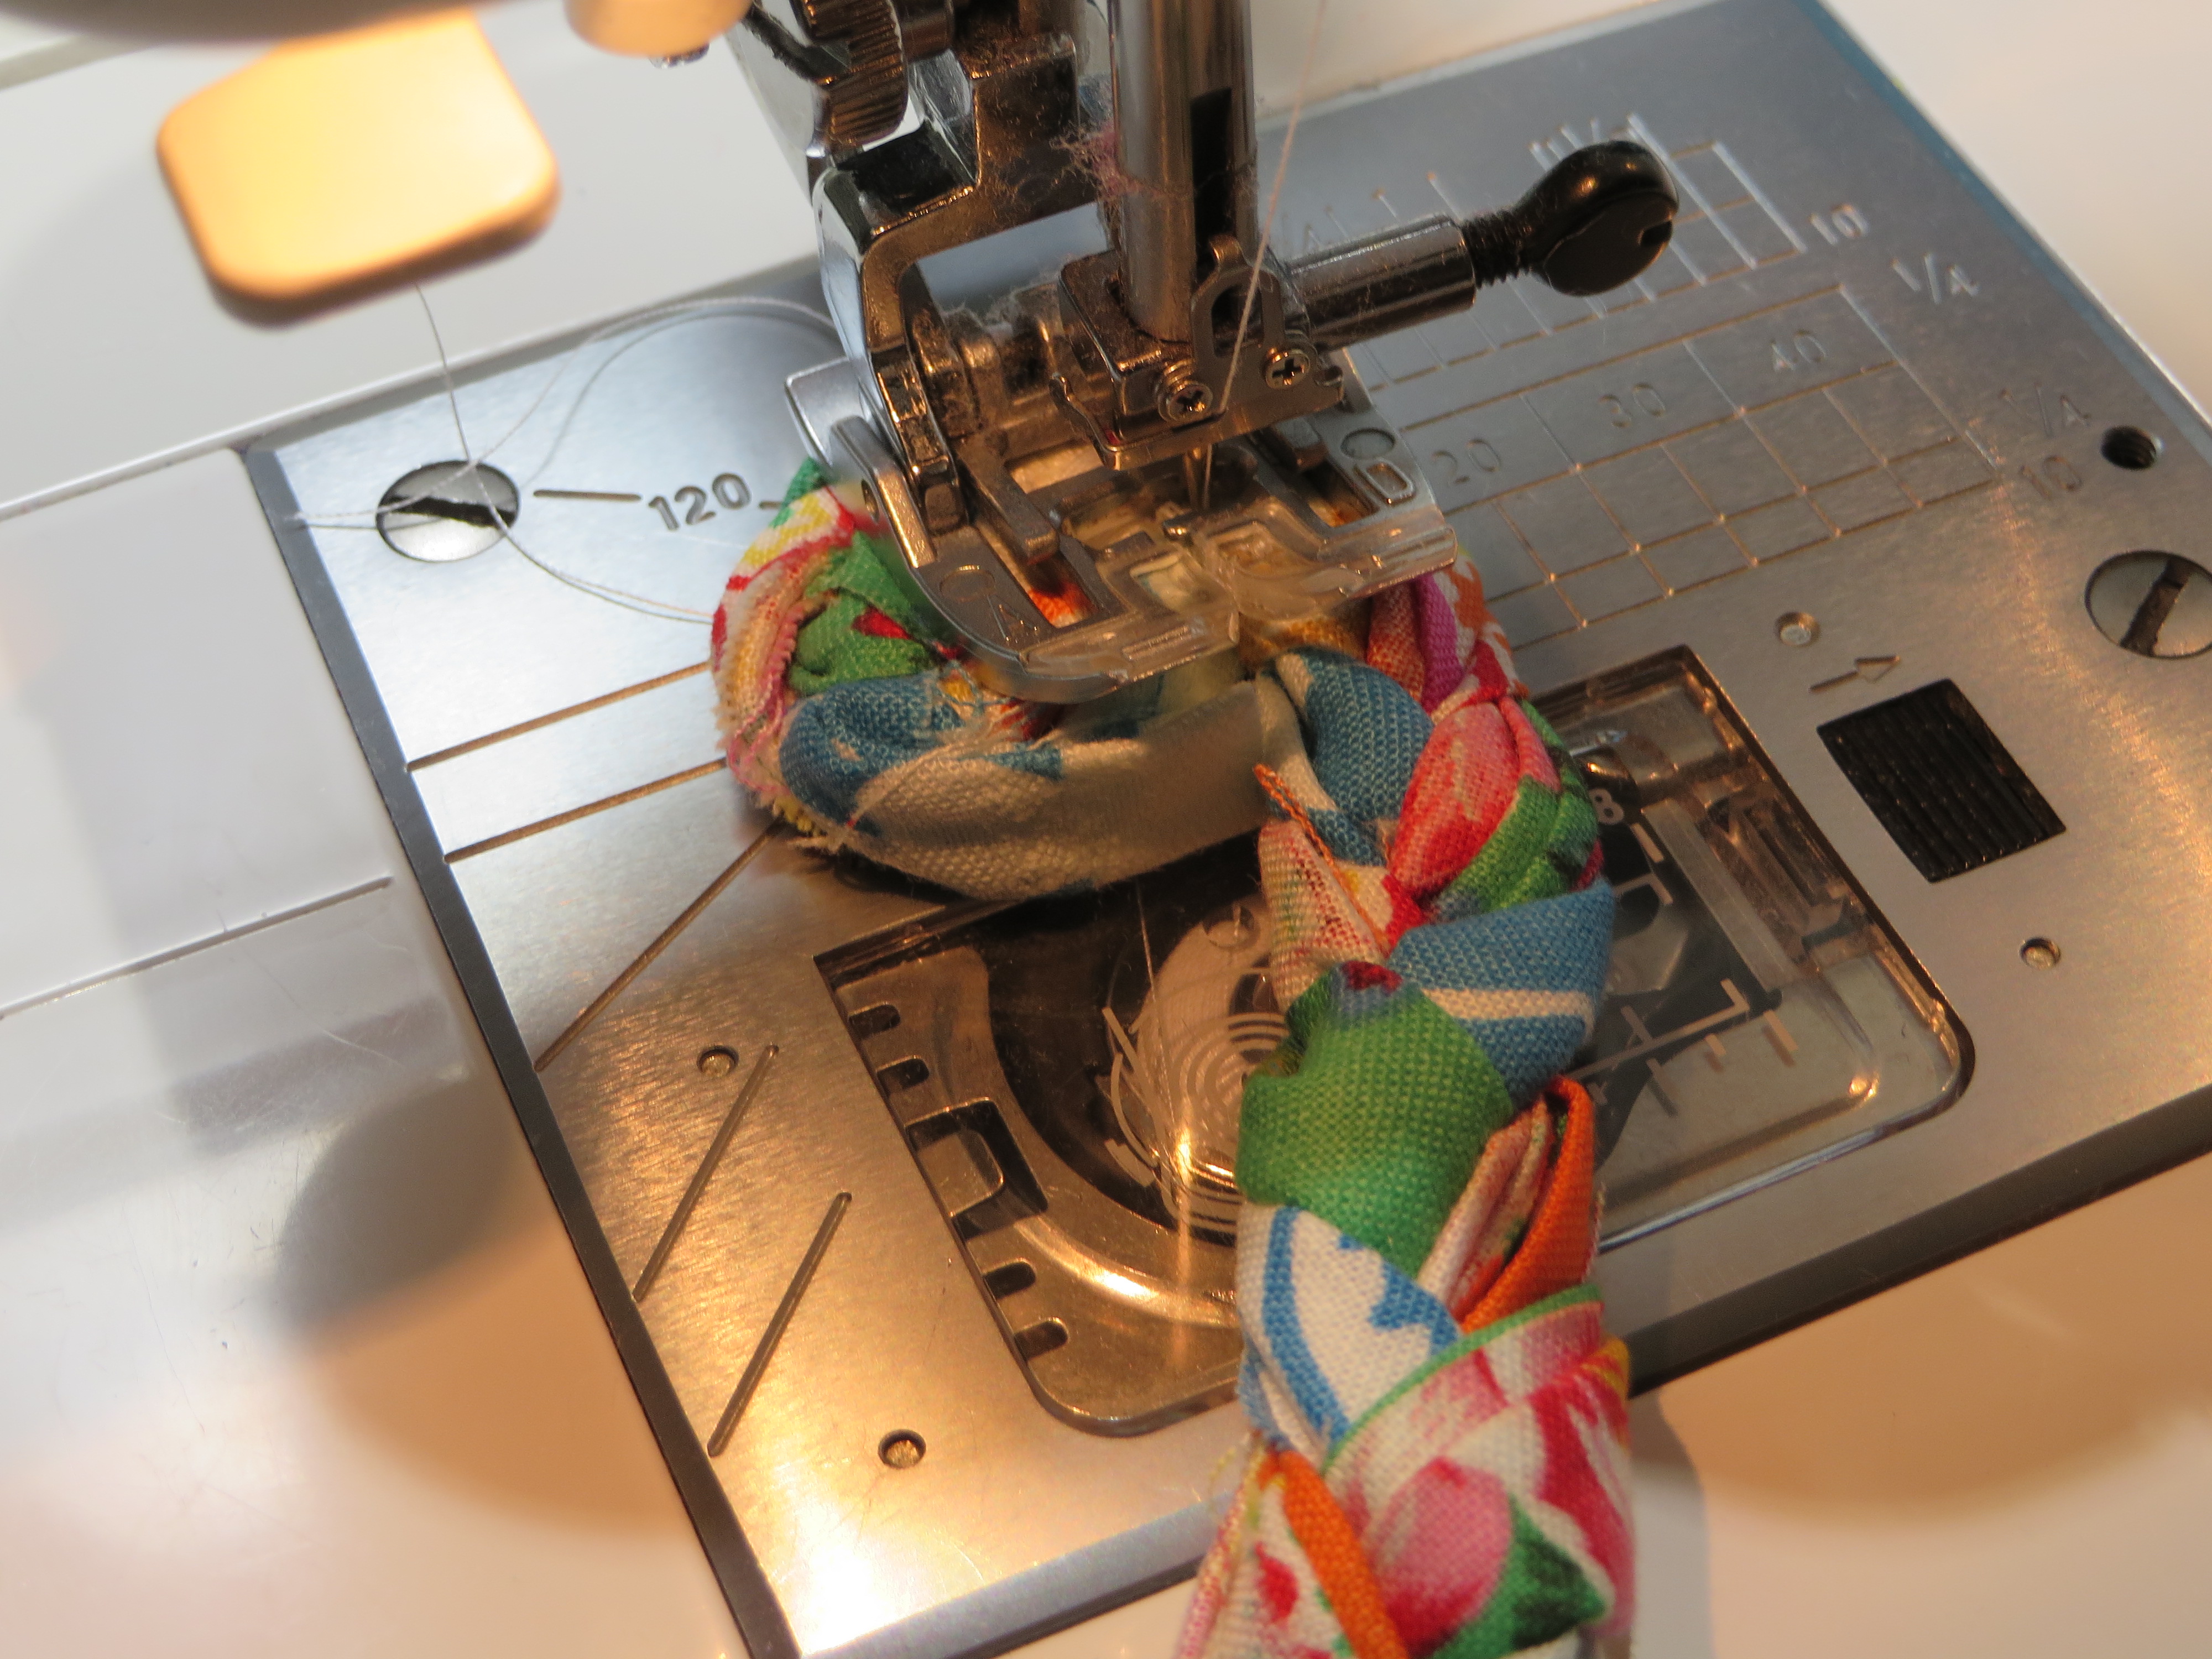
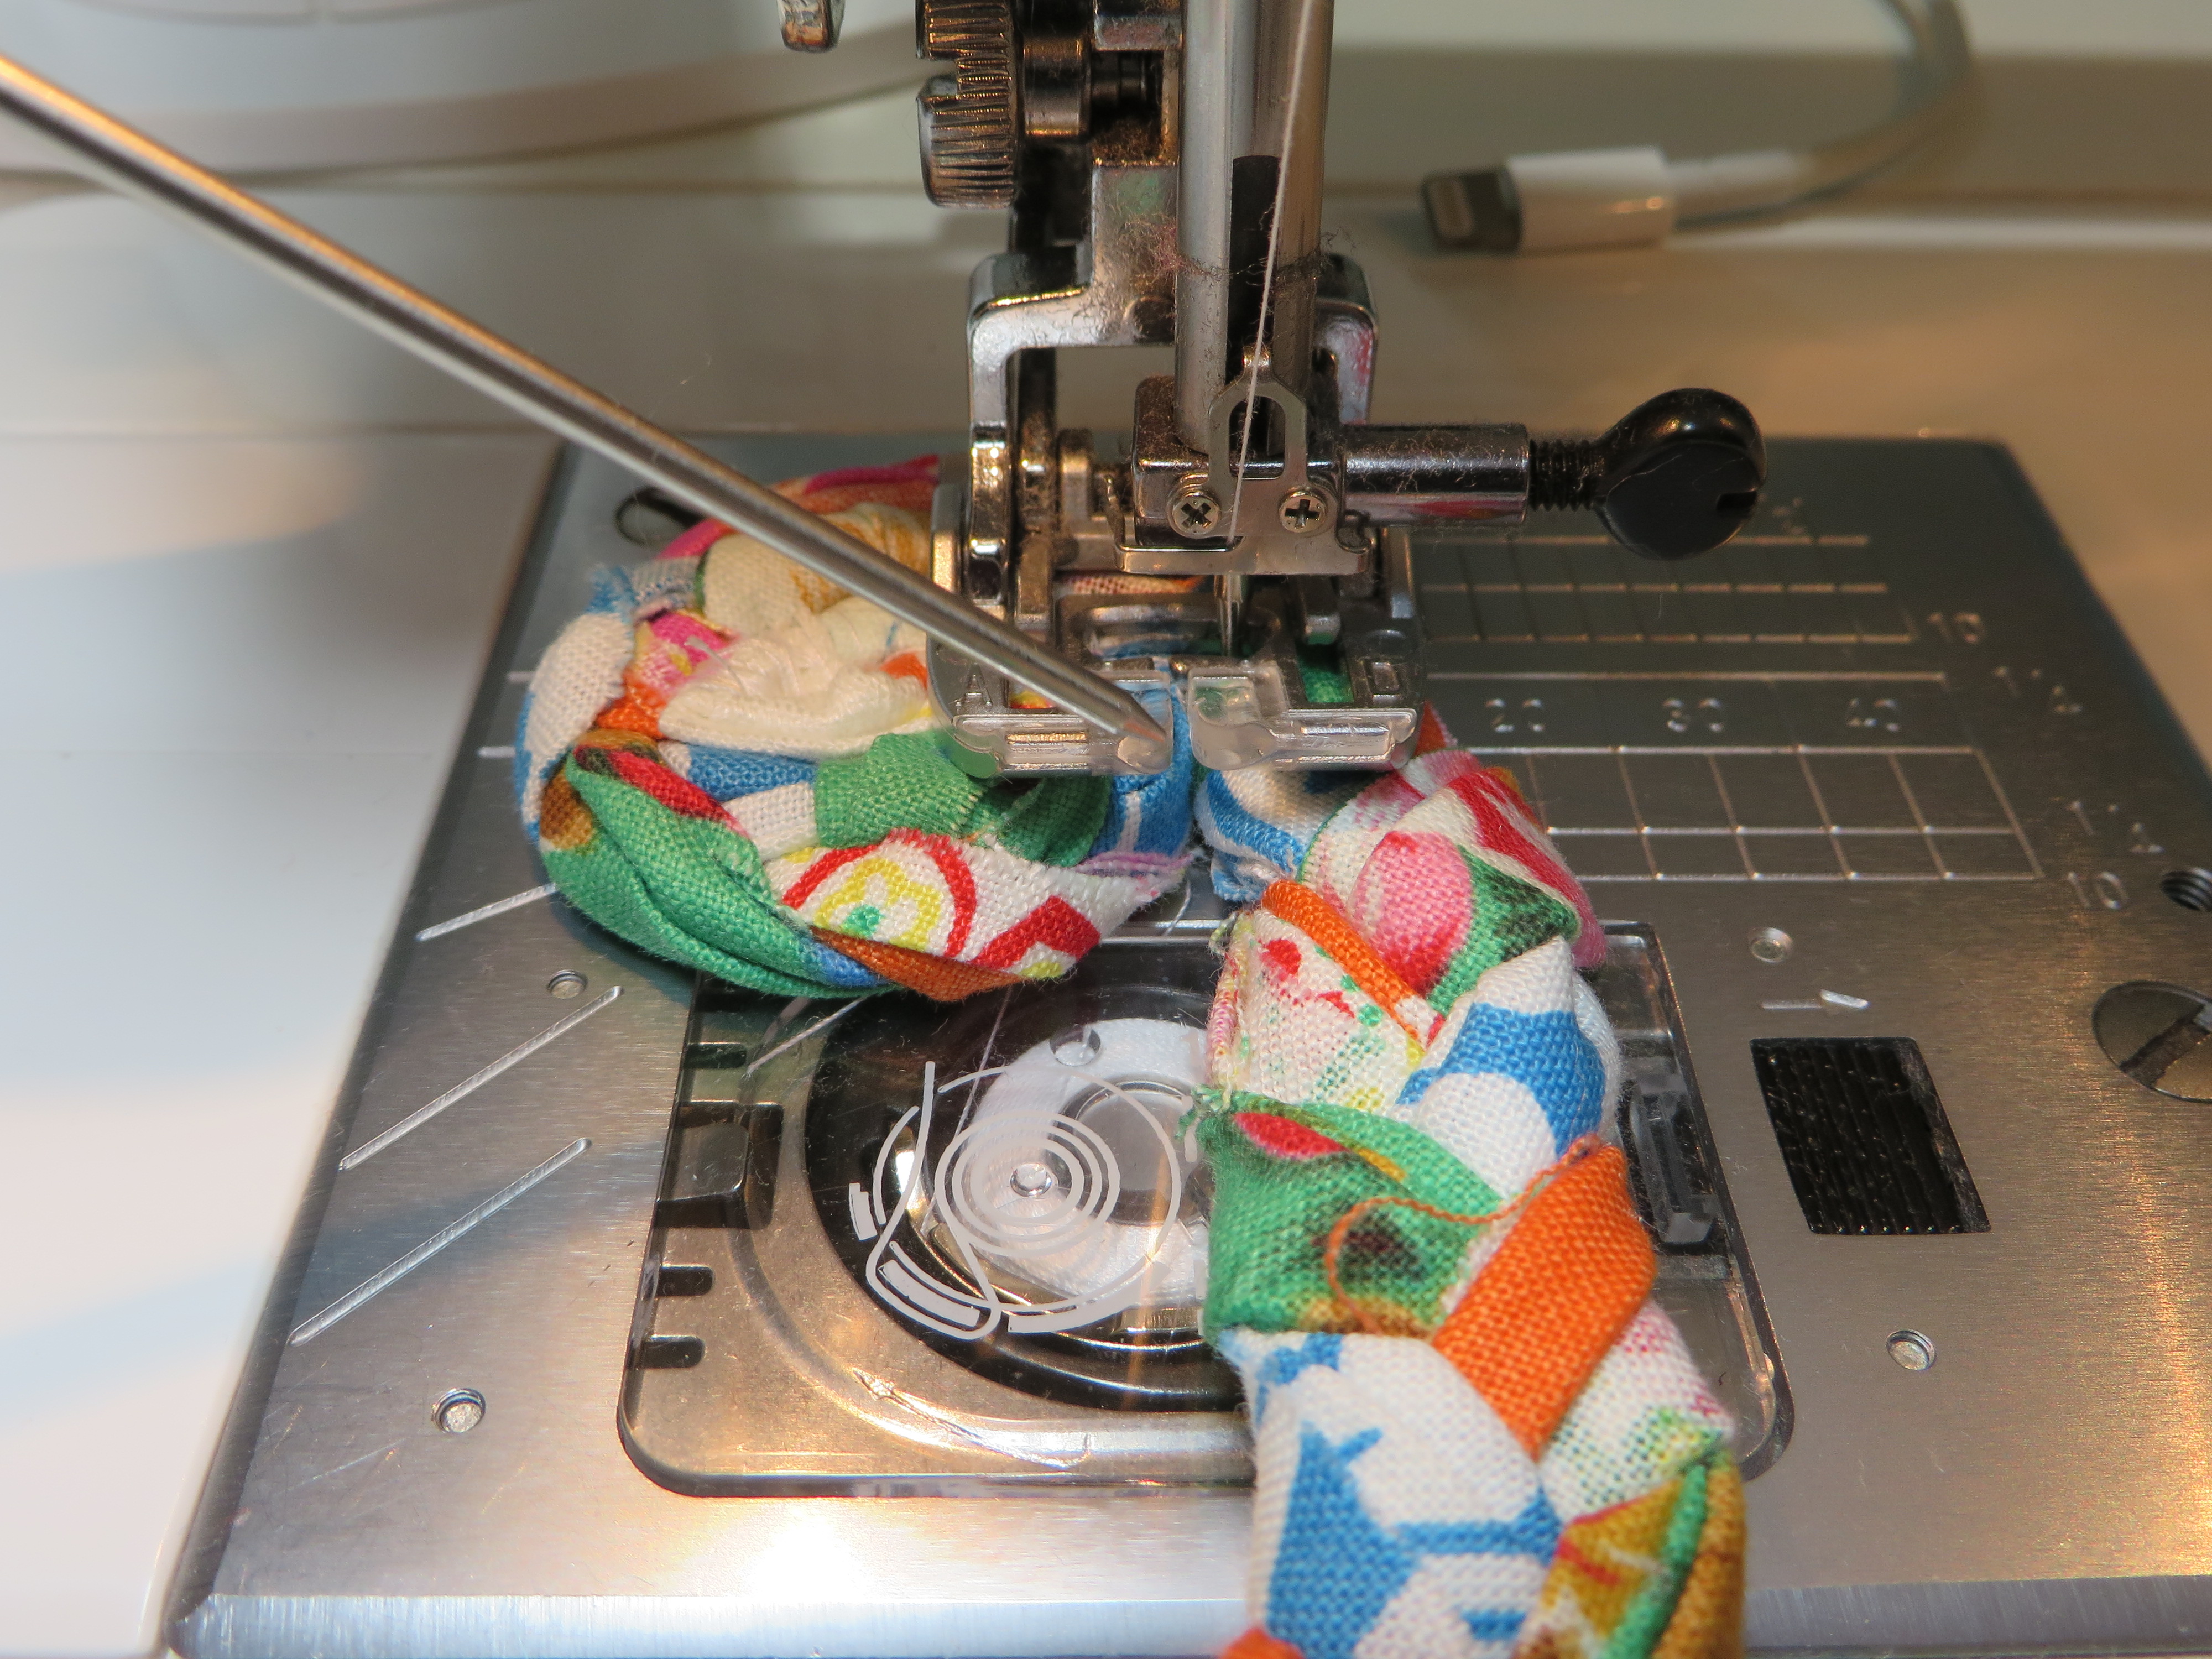
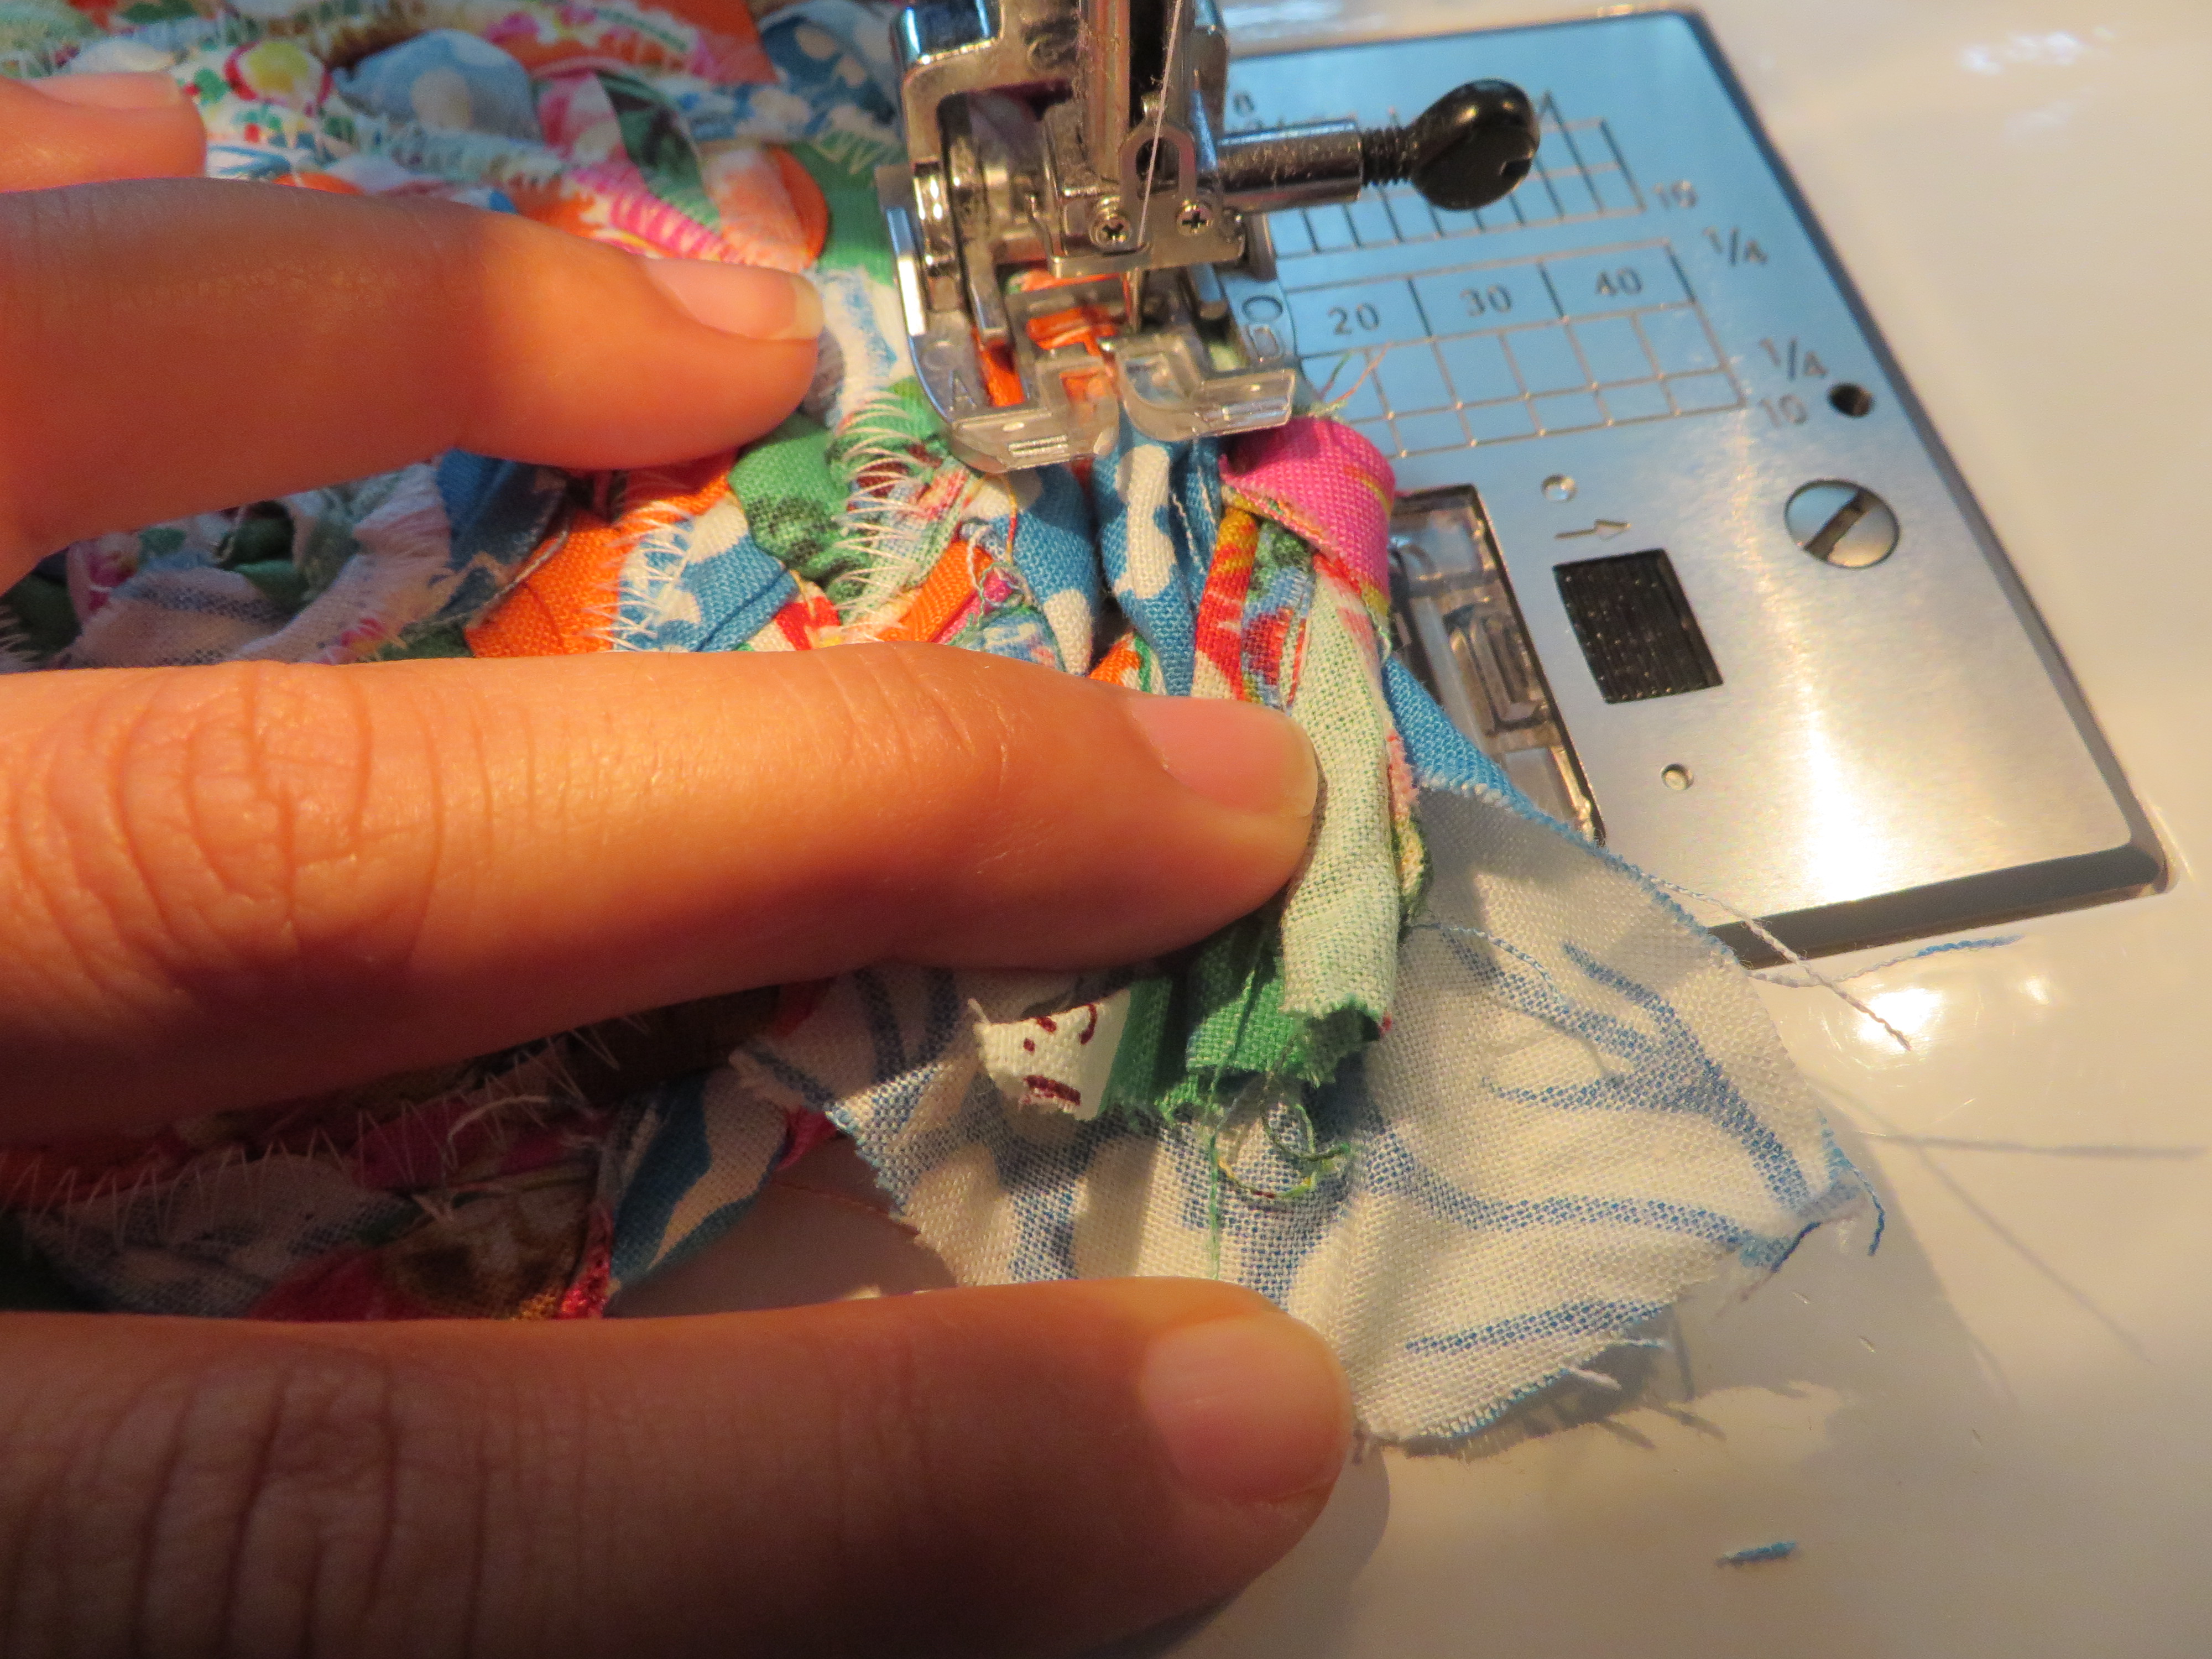
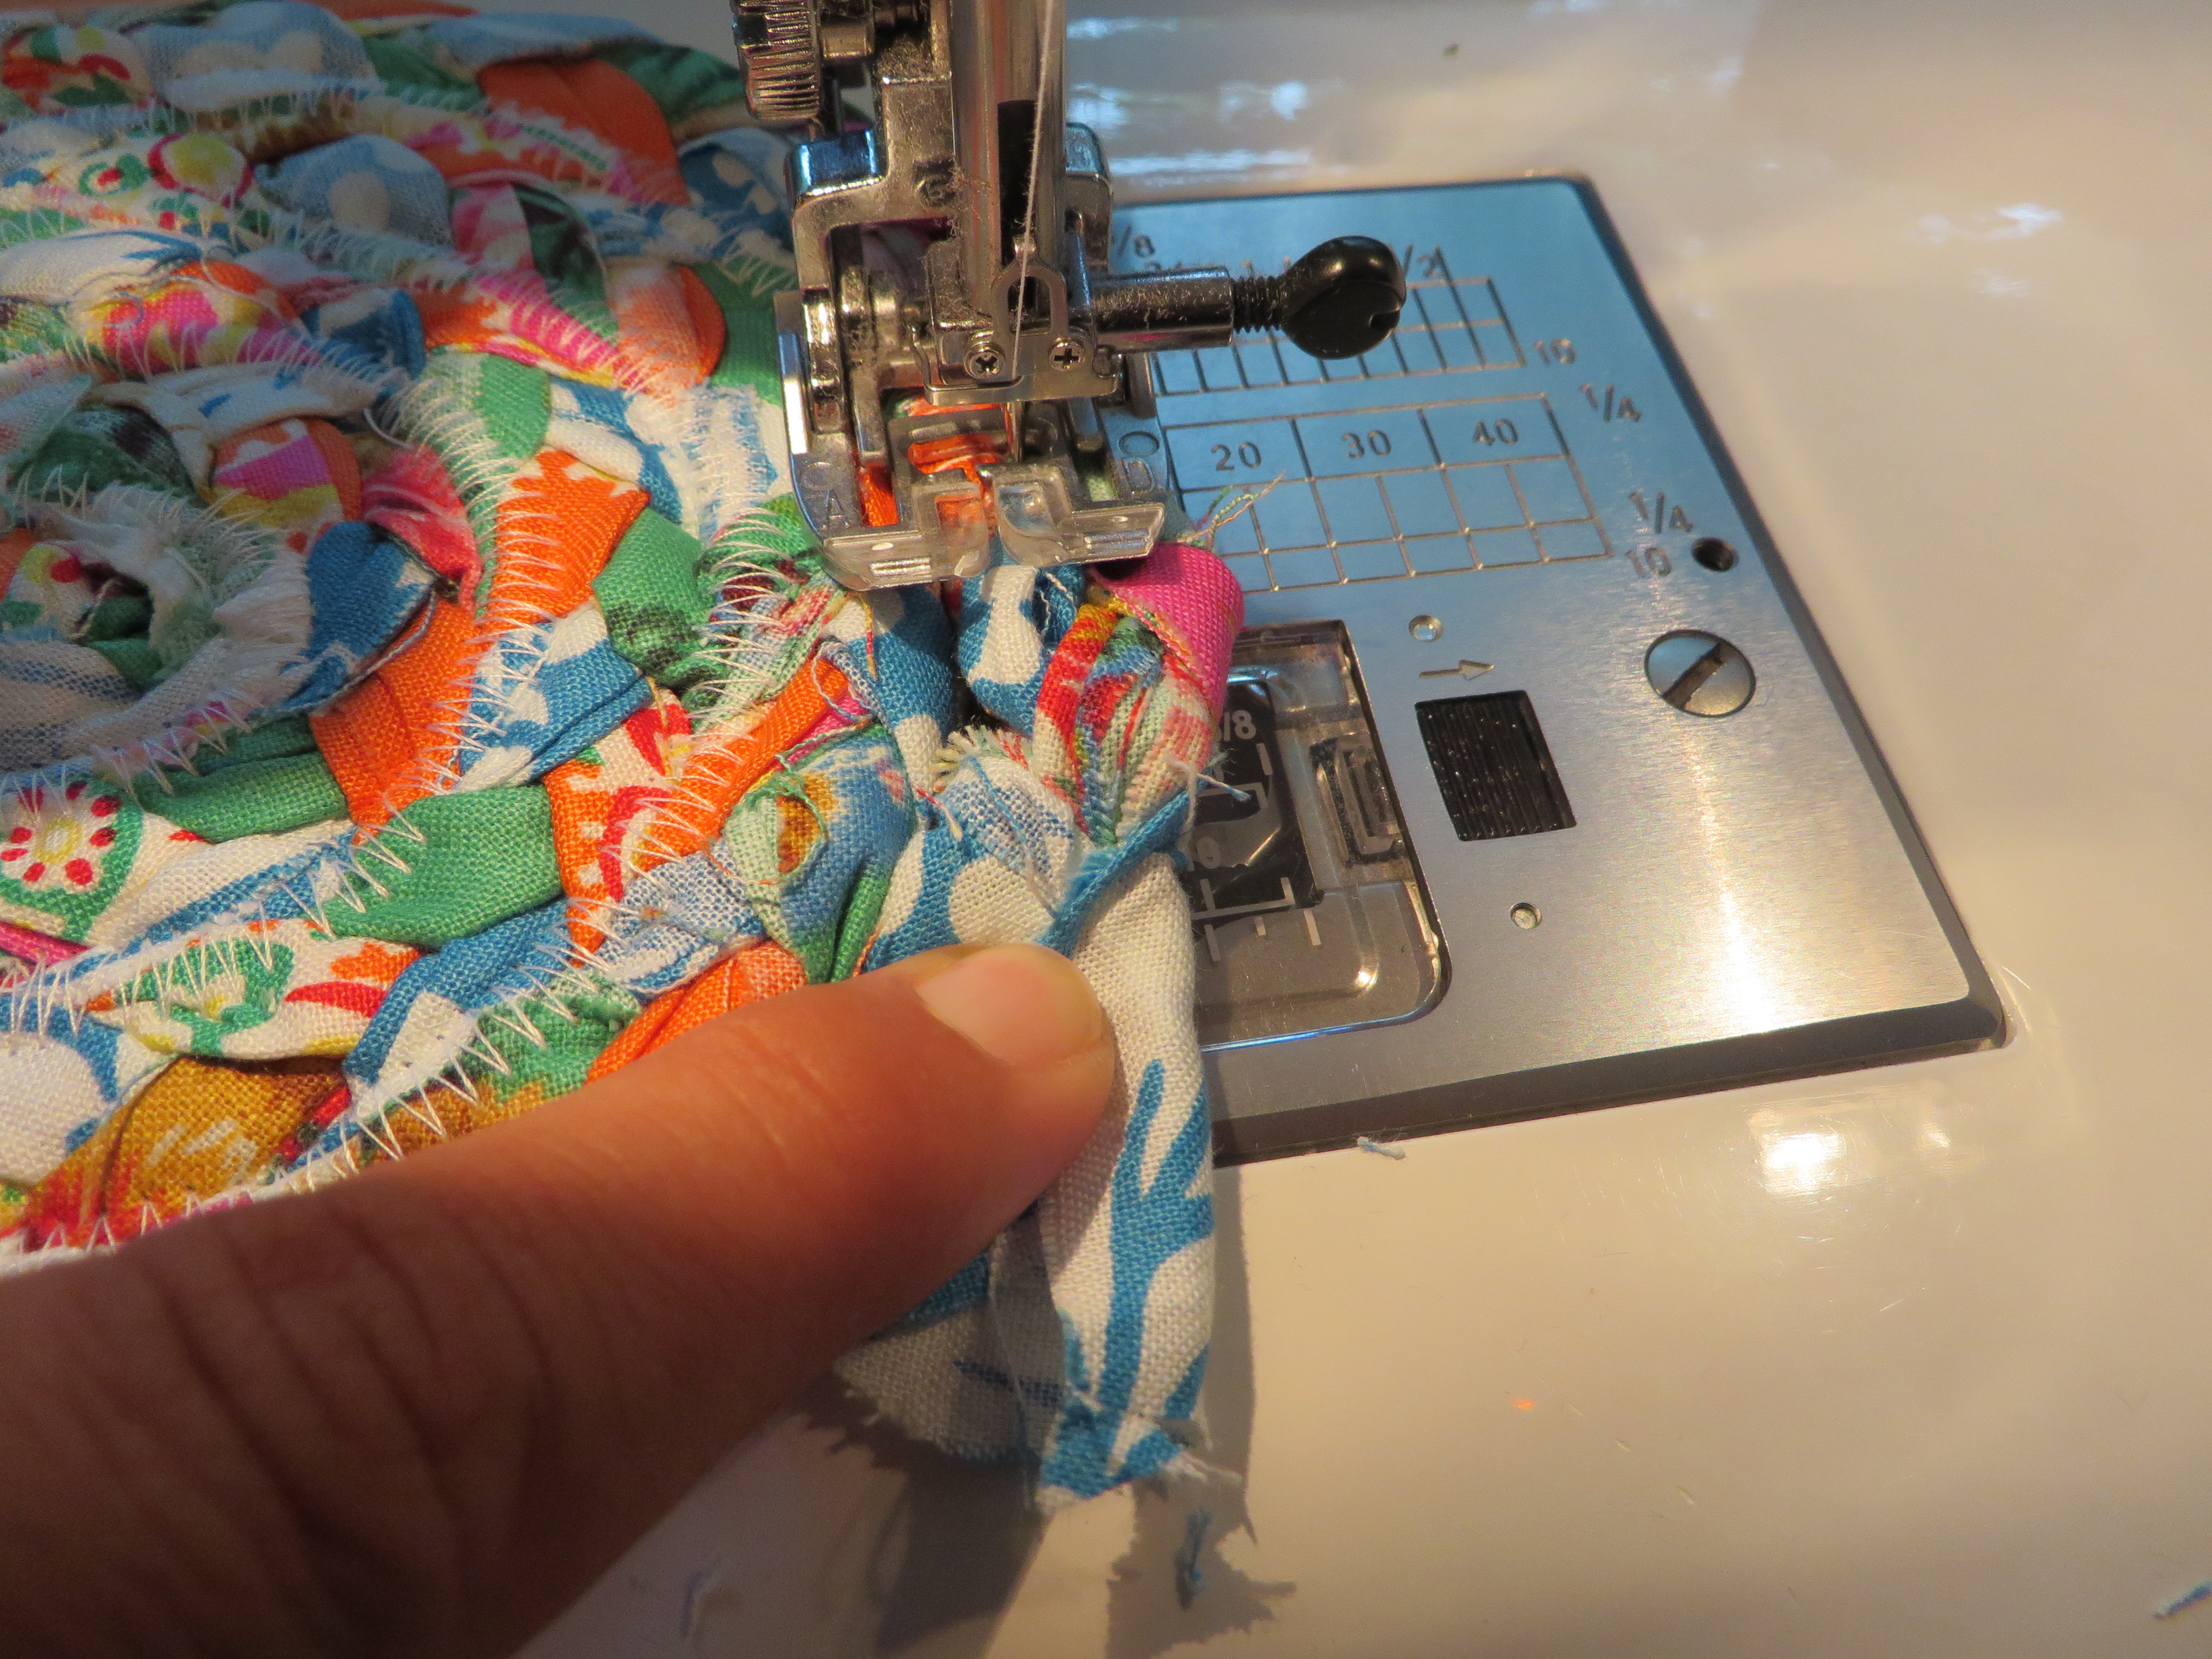
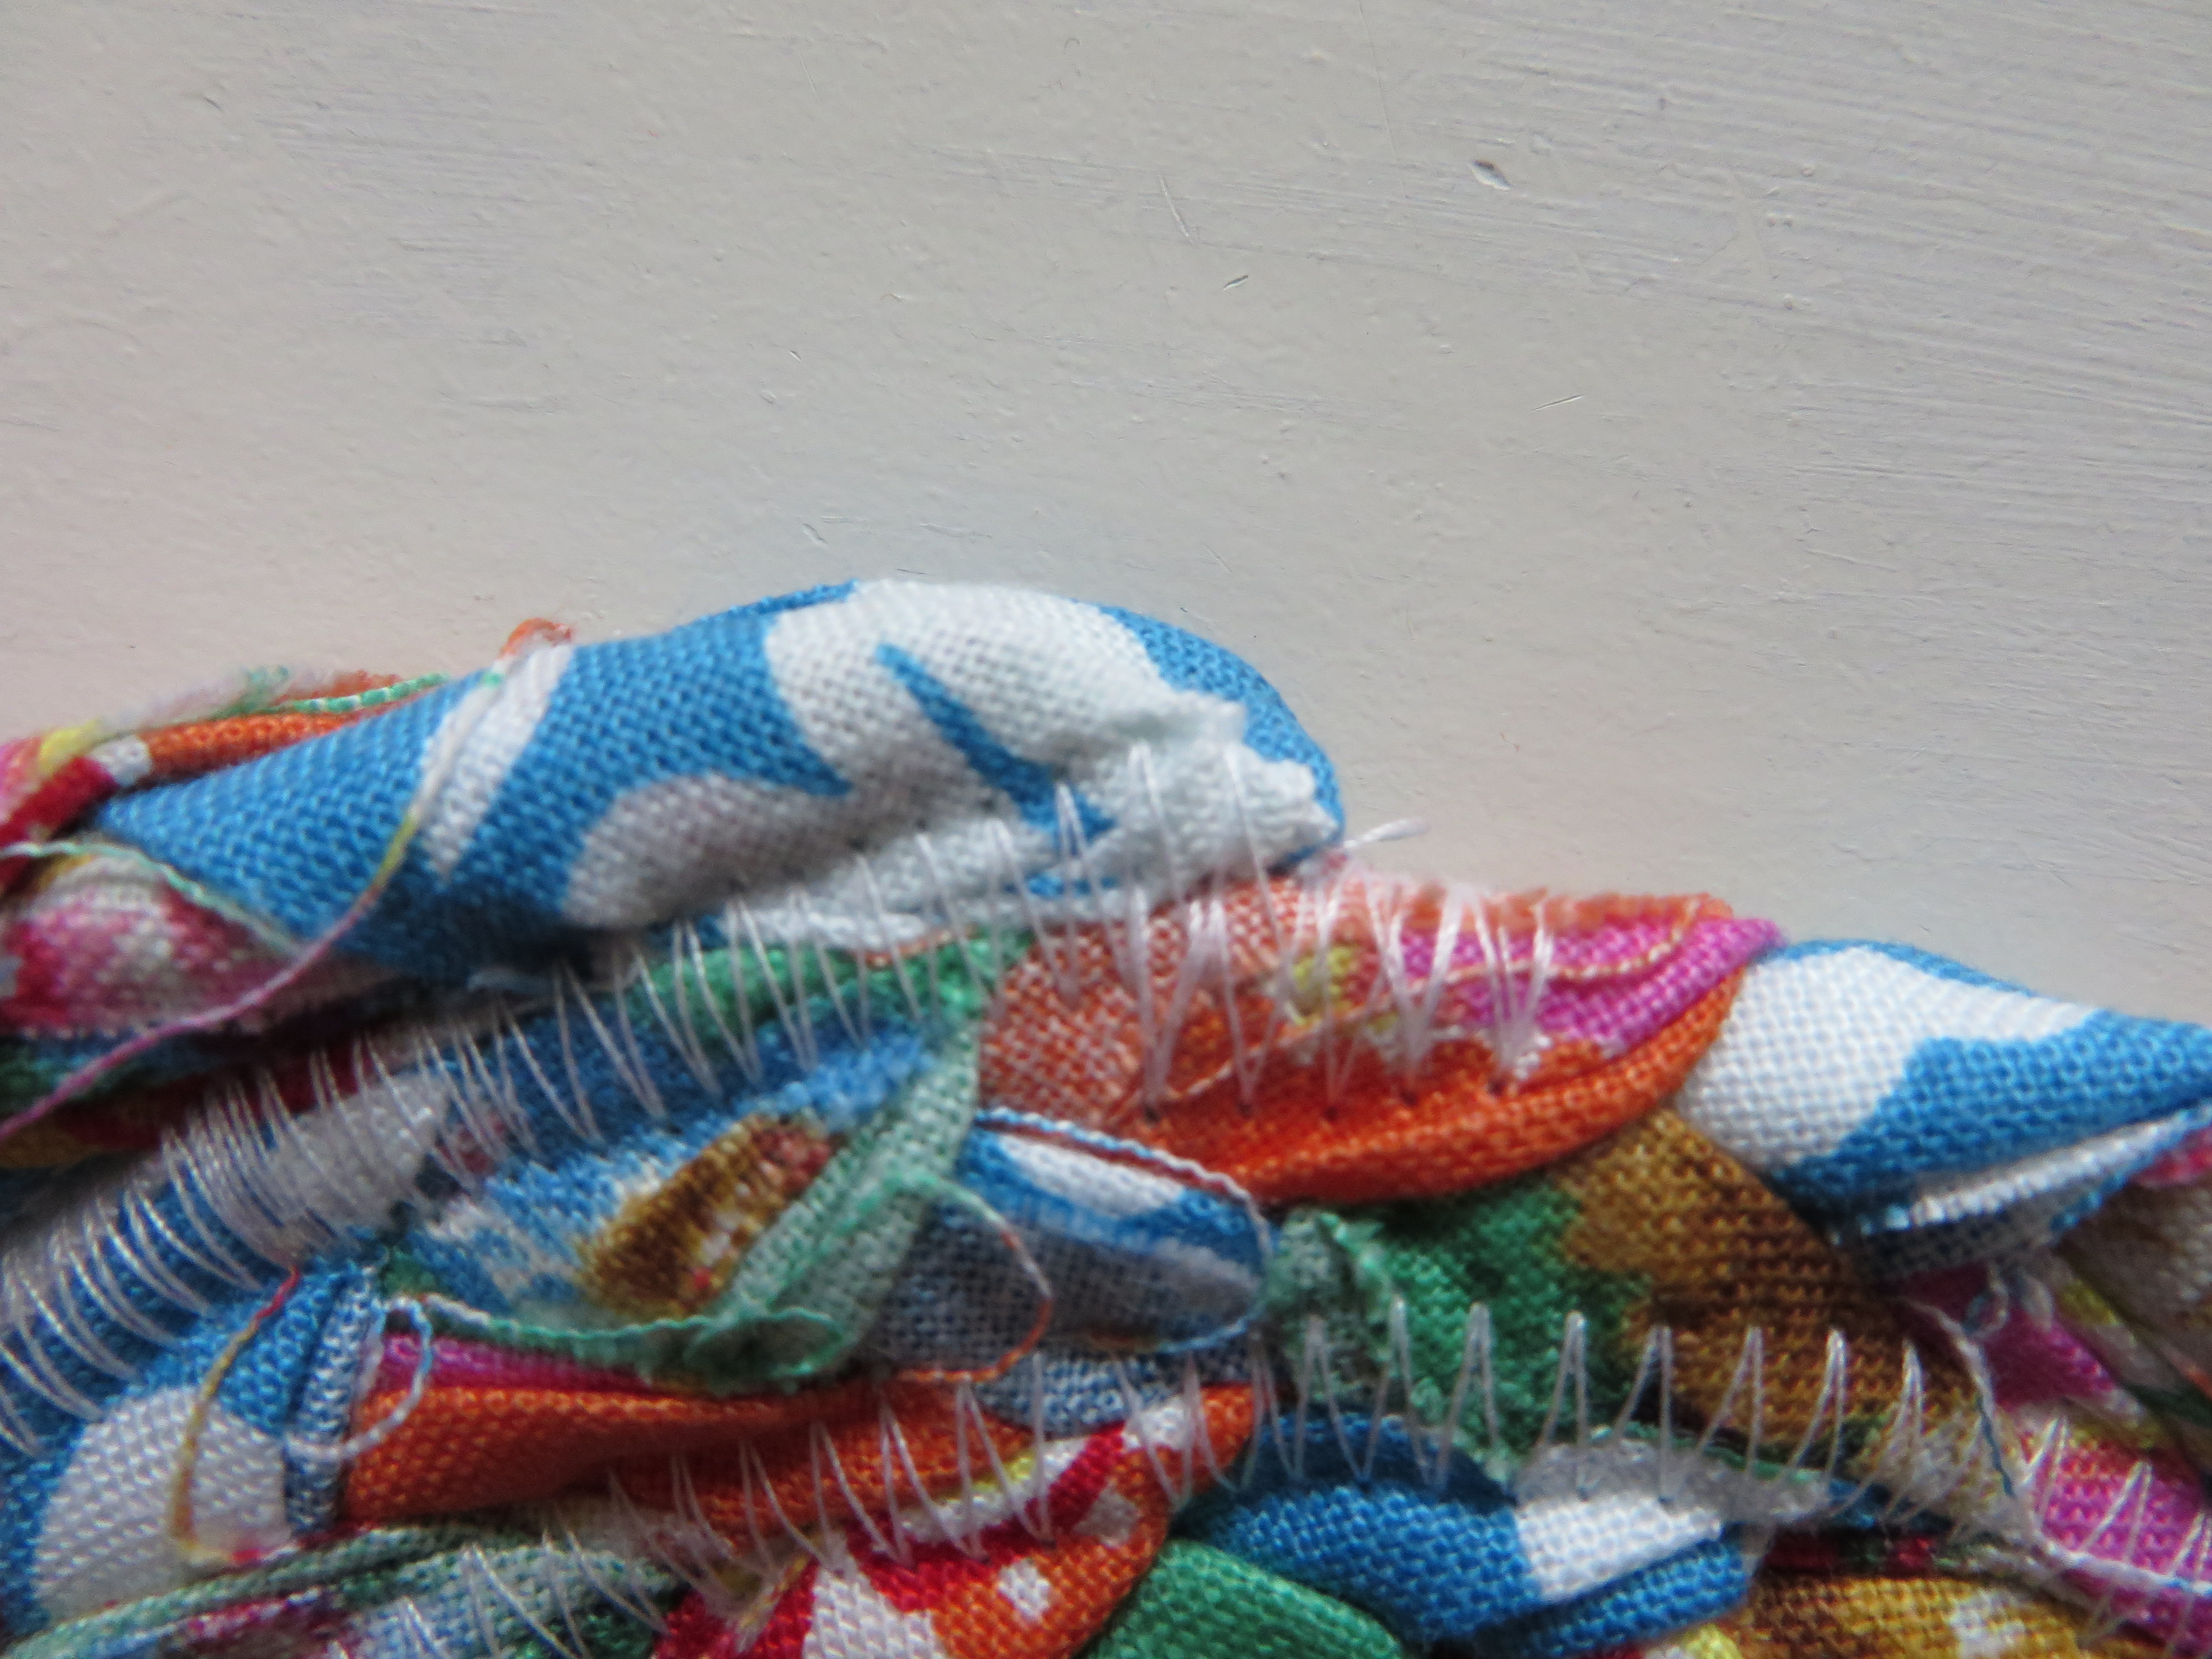
Keep stitching around and keep your braid laid flat. Try to have the coil on the left and the braid on the right meet in the middle. This way the zig zag stitch will catch both sides.
When you near the end, trim two of your pieces so they are a little shorter than the 3rd.
Wrap the longer piece around the other two.
Fold the fabric end up and push it between the coil and remaining braid.

No raw edges on the end.
Here’s a quick little video:
embedded by Embedded VideoYouTube Direkt
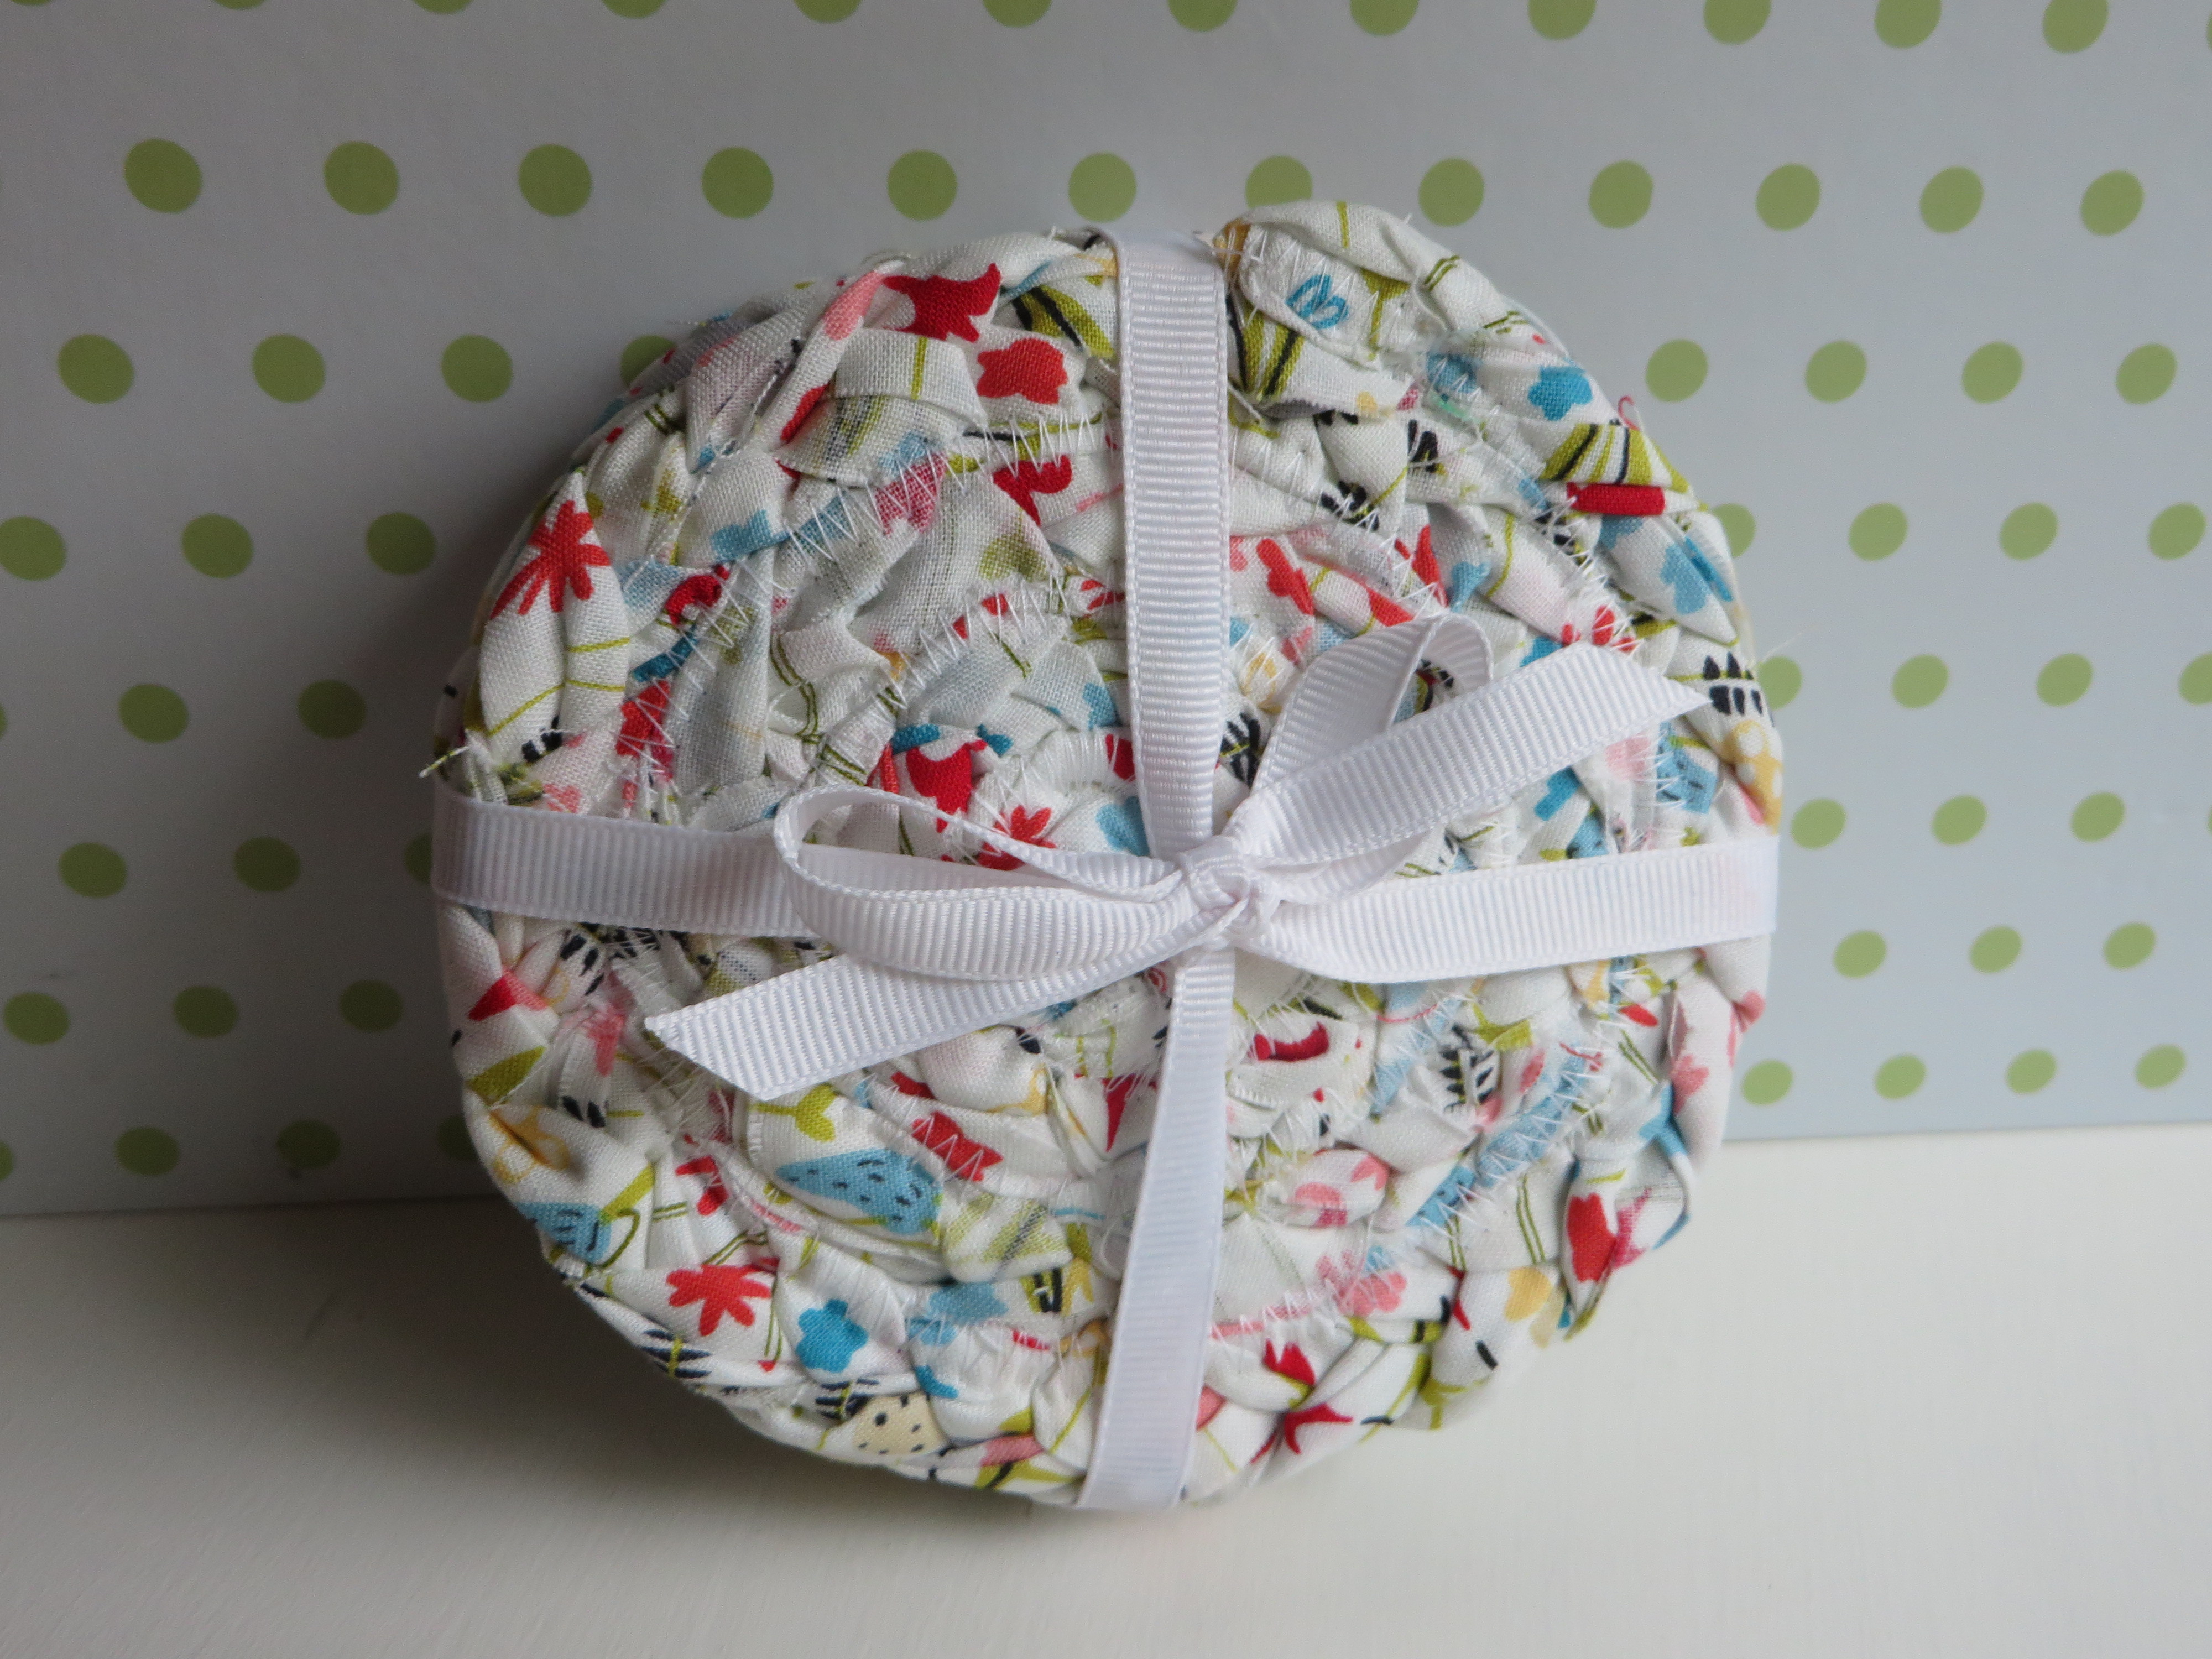
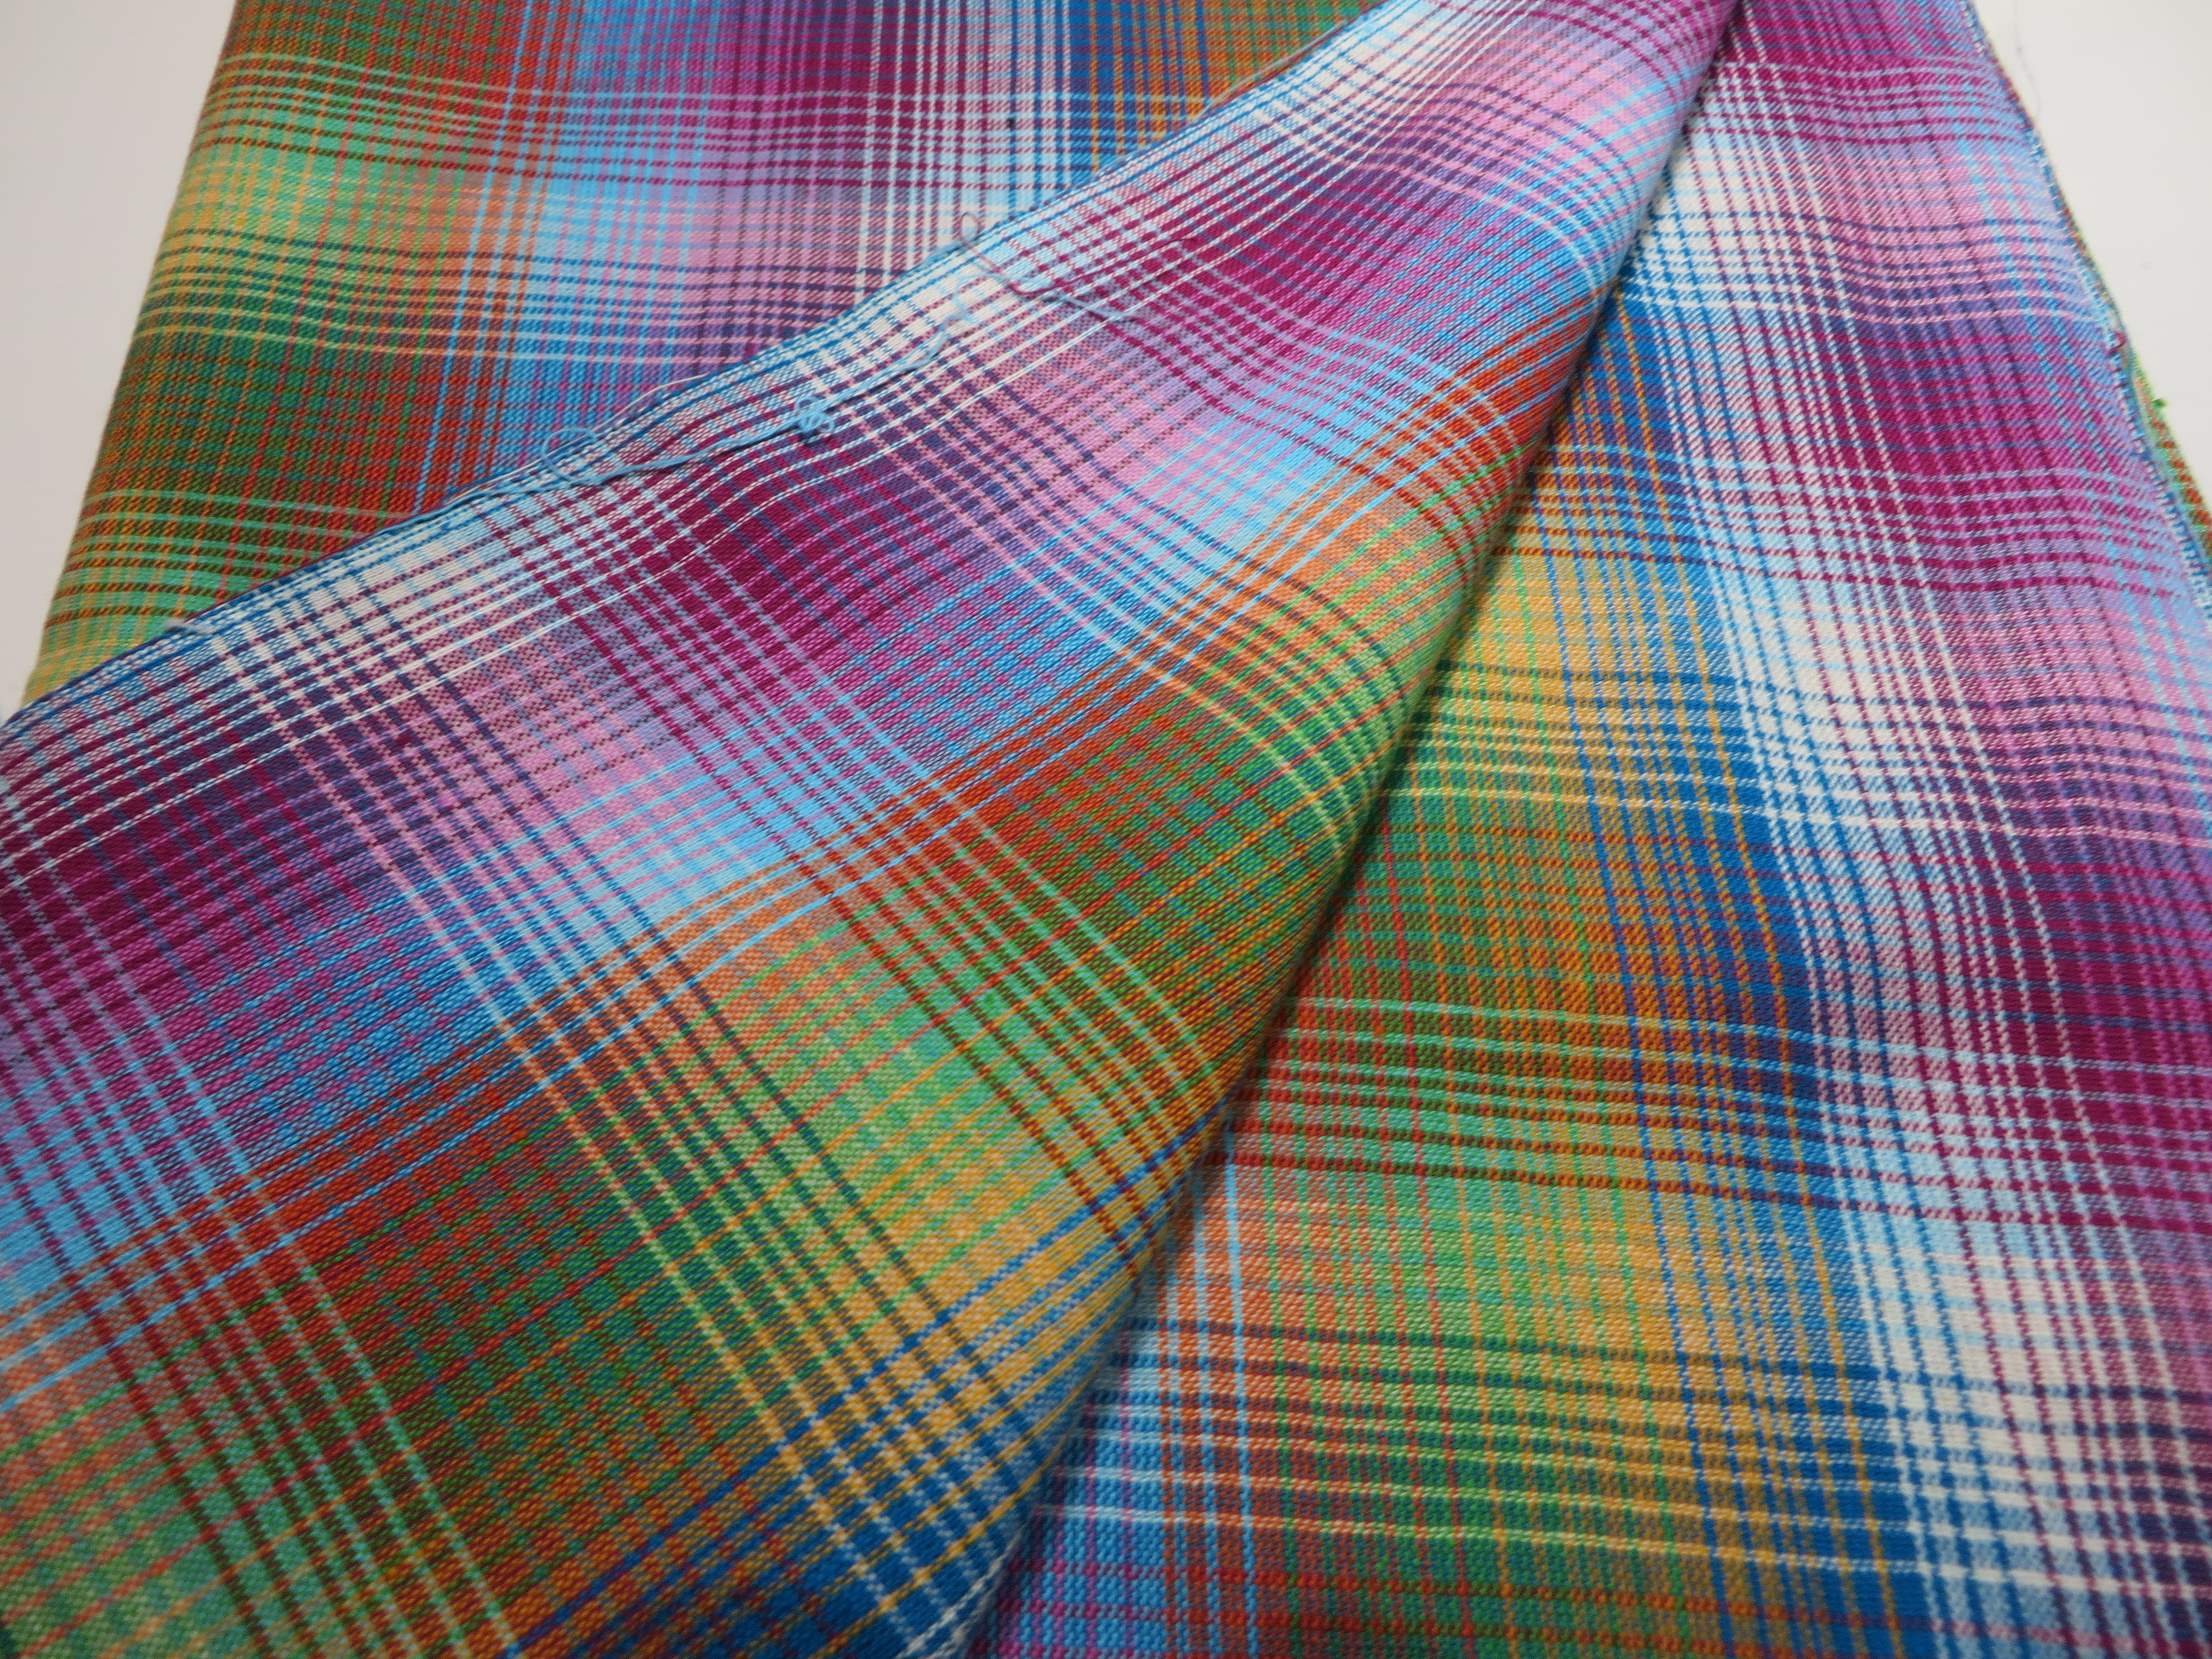
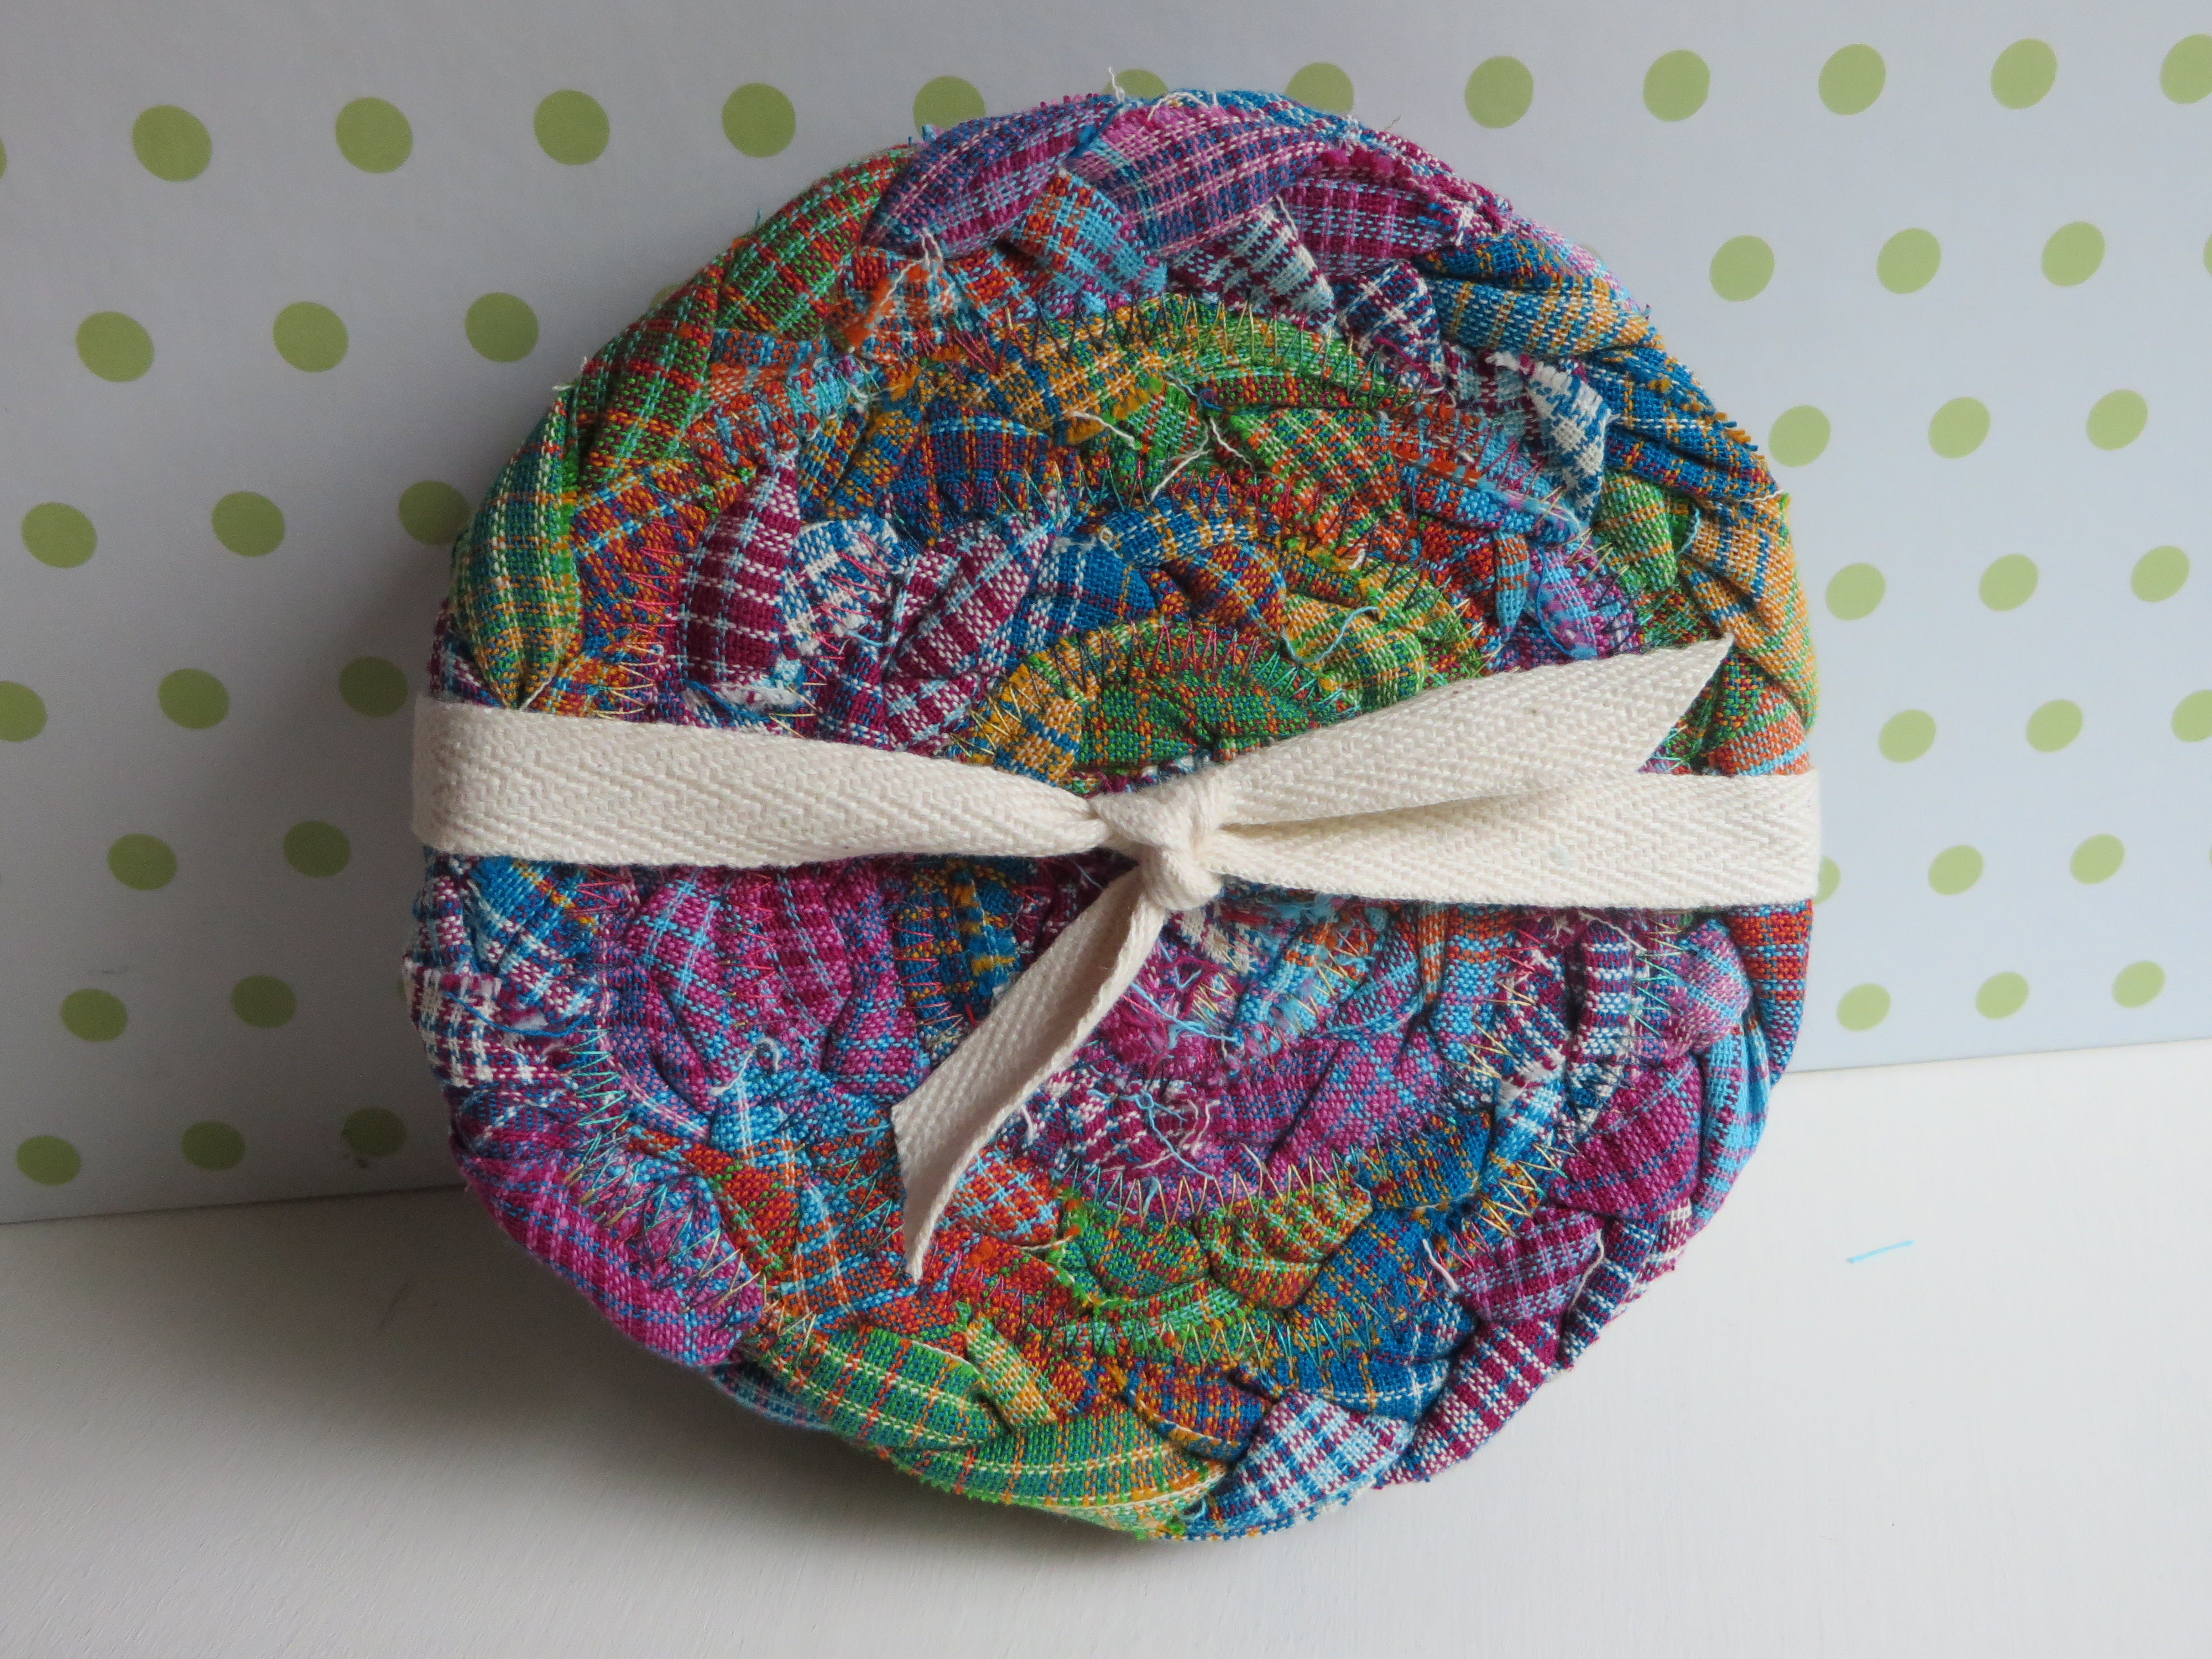
Here are a few examples of other fabric choices:

The plaid shirting is the same on both sides, so I didn’t have to worry about too much ‘wrong side’ showing on the braids.
I really like these because they are thick, super absorbent, and fast to make.
I have a few sets available for sale in my Etsy shop here, here and here!

 Friday, October 10th, 2014, 7:37 pm |
  Sewing & Fabric |
 ![]() RSS feed
Comments and pings are currently closed.
RSS feed
Comments and pings are currently closed.
October 11, 2014 at 8:43 am
These are too cute, Julie!
October 11, 2014 at 3:55 pm
Thanks for a great tutorial. You have given me an idea for making some gifts.
October 12, 2014 at 7:24 am
These are so cute!
October 13, 2014 at 7:06 am
Beautiful!
October 13, 2014 at 4:53 pm
That’s really awesome. I’m not positive I would have put that much fabric under the foot. It’s nice to know it works!
November 6, 2014 at 11:31 am
Thanks! These cute, useful coasters inspire me to get started on Christmas gifts.
November 8, 2014 at 4:35 am
These are wonderful, and your video is very informative. This is perfect for those random leftover jelly roll strips. Thanks so much for sharing this tutorial; much appreciated!
November 9, 2014 at 12:39 pm
I have made rugs for years like this… I use left over pieces of binding from quilts. If any one need some I have bags for sale at a really cheap price . Please get a hold of me at Marylyn0090@gmail.com Happy rug making.
November 10, 2014 at 11:48 am
Thank you!
Last night was discussing getting new coasters with my DBF. Our ceramic ones have hit the tile floor one too many times.
Lo and behold I find you coaster tutorial this morning. And I wasn’t even looking for a coaster pattern.
November 11, 2014 at 12:16 pm
Love this idea but was wondering how many strips are used for each coil and are they stitched together to a certain length before beginning? Did I miss this in the instructions?
November 11, 2014 at 12:29 pm
Actually on second look I now see that 12 strips makes 4 coasters !! Great idea. Thank you
November 11, 2014 at 12:22 pm
nice ideas, I am a quilter and I have a lot reminds from fabric. Sorry, me English is not good!
November 11, 2014 at 2:10 pm
Thank you for the great tutorial – I am going to try and make them for by sewing friends!
November 11, 2014 at 4:26 pm
Just to say thank-you Julie for such a useful item. I always make mum (93 yrs) something special for Xmas and these certainly will be appreciated by her. I am now 70 been sewing since I was 7 and still enjoy the discovery of the unexpected. Once again many thanks for sharing, regards Lyn (grandmum@dodo.com.au)
November 14, 2014 at 7:22 pm
Thanks so much for tutorial!!
November 23, 2014 at 1:37 am
Wonderful use of fabric, thank for sharing!
January 17, 2016 at 10:28 pm
What size needle do you use?
January 25, 2016 at 7:34 pm
oooh pretty!!! I’ve got a Craft Gossip post scheduled for tomorrow that features your rag rug coaster tutorial: http://sewing.craftgossip.com/?p=86395 –Anne
August 16, 2016 at 12:08 pm
two cool. I don’t know why I hadn’t seen coasters – crafty gemini had a tutorial on making jelly rolls into fabric bowls. but braiding never even entered my mind – for the bottoms or just stand alone – like you have done. thanks for another great one.
May 18, 2018 at 12:46 pm
Very cute!!
May 18, 2018 at 12:47 pm
Especially cute with Christmas fabric!
October 28, 2018 at 6:14 pm
Do you keep the presser foot up for stitching?? I just tried it and well…that doesnt work and my braid is too thick for keeping the foot down….help!
Trackbacks
November 10, 2014 at 7:52 am
July 13, 2015 at 7:54 pm
July 31, 2015 at 3:22 am
November 9, 2015 at 10:14 am
January 26, 2016 at 3:11 pm
January 28, 2016 at 9:58 am
August 17, 2017 at 9:25 am