


I came up with this design when trying to attempt Dogwood/Orange Peel quilting and mine was just looking too sloppy.
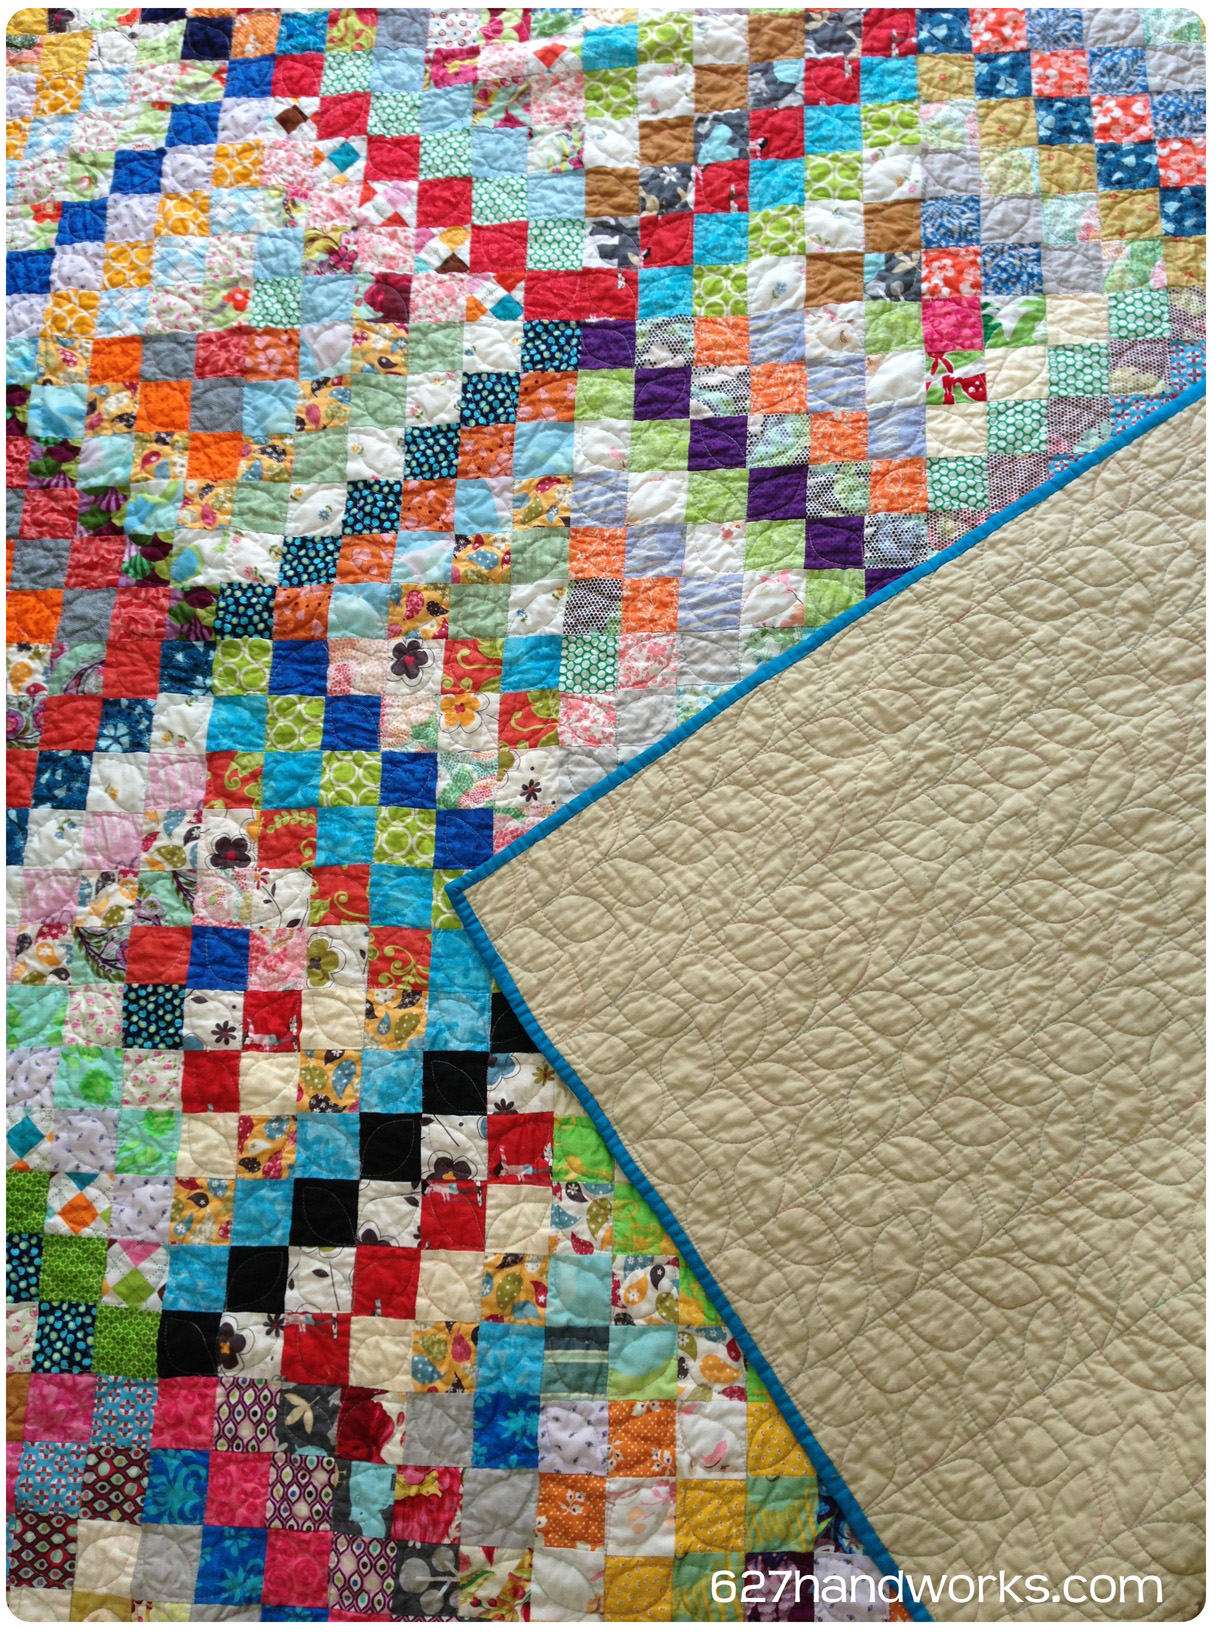
Patchwork squares make this an easy pattern, so it works well for the Scrappy Trip, Postage Stamp or Scrap Vomit quilts.
Here we go:
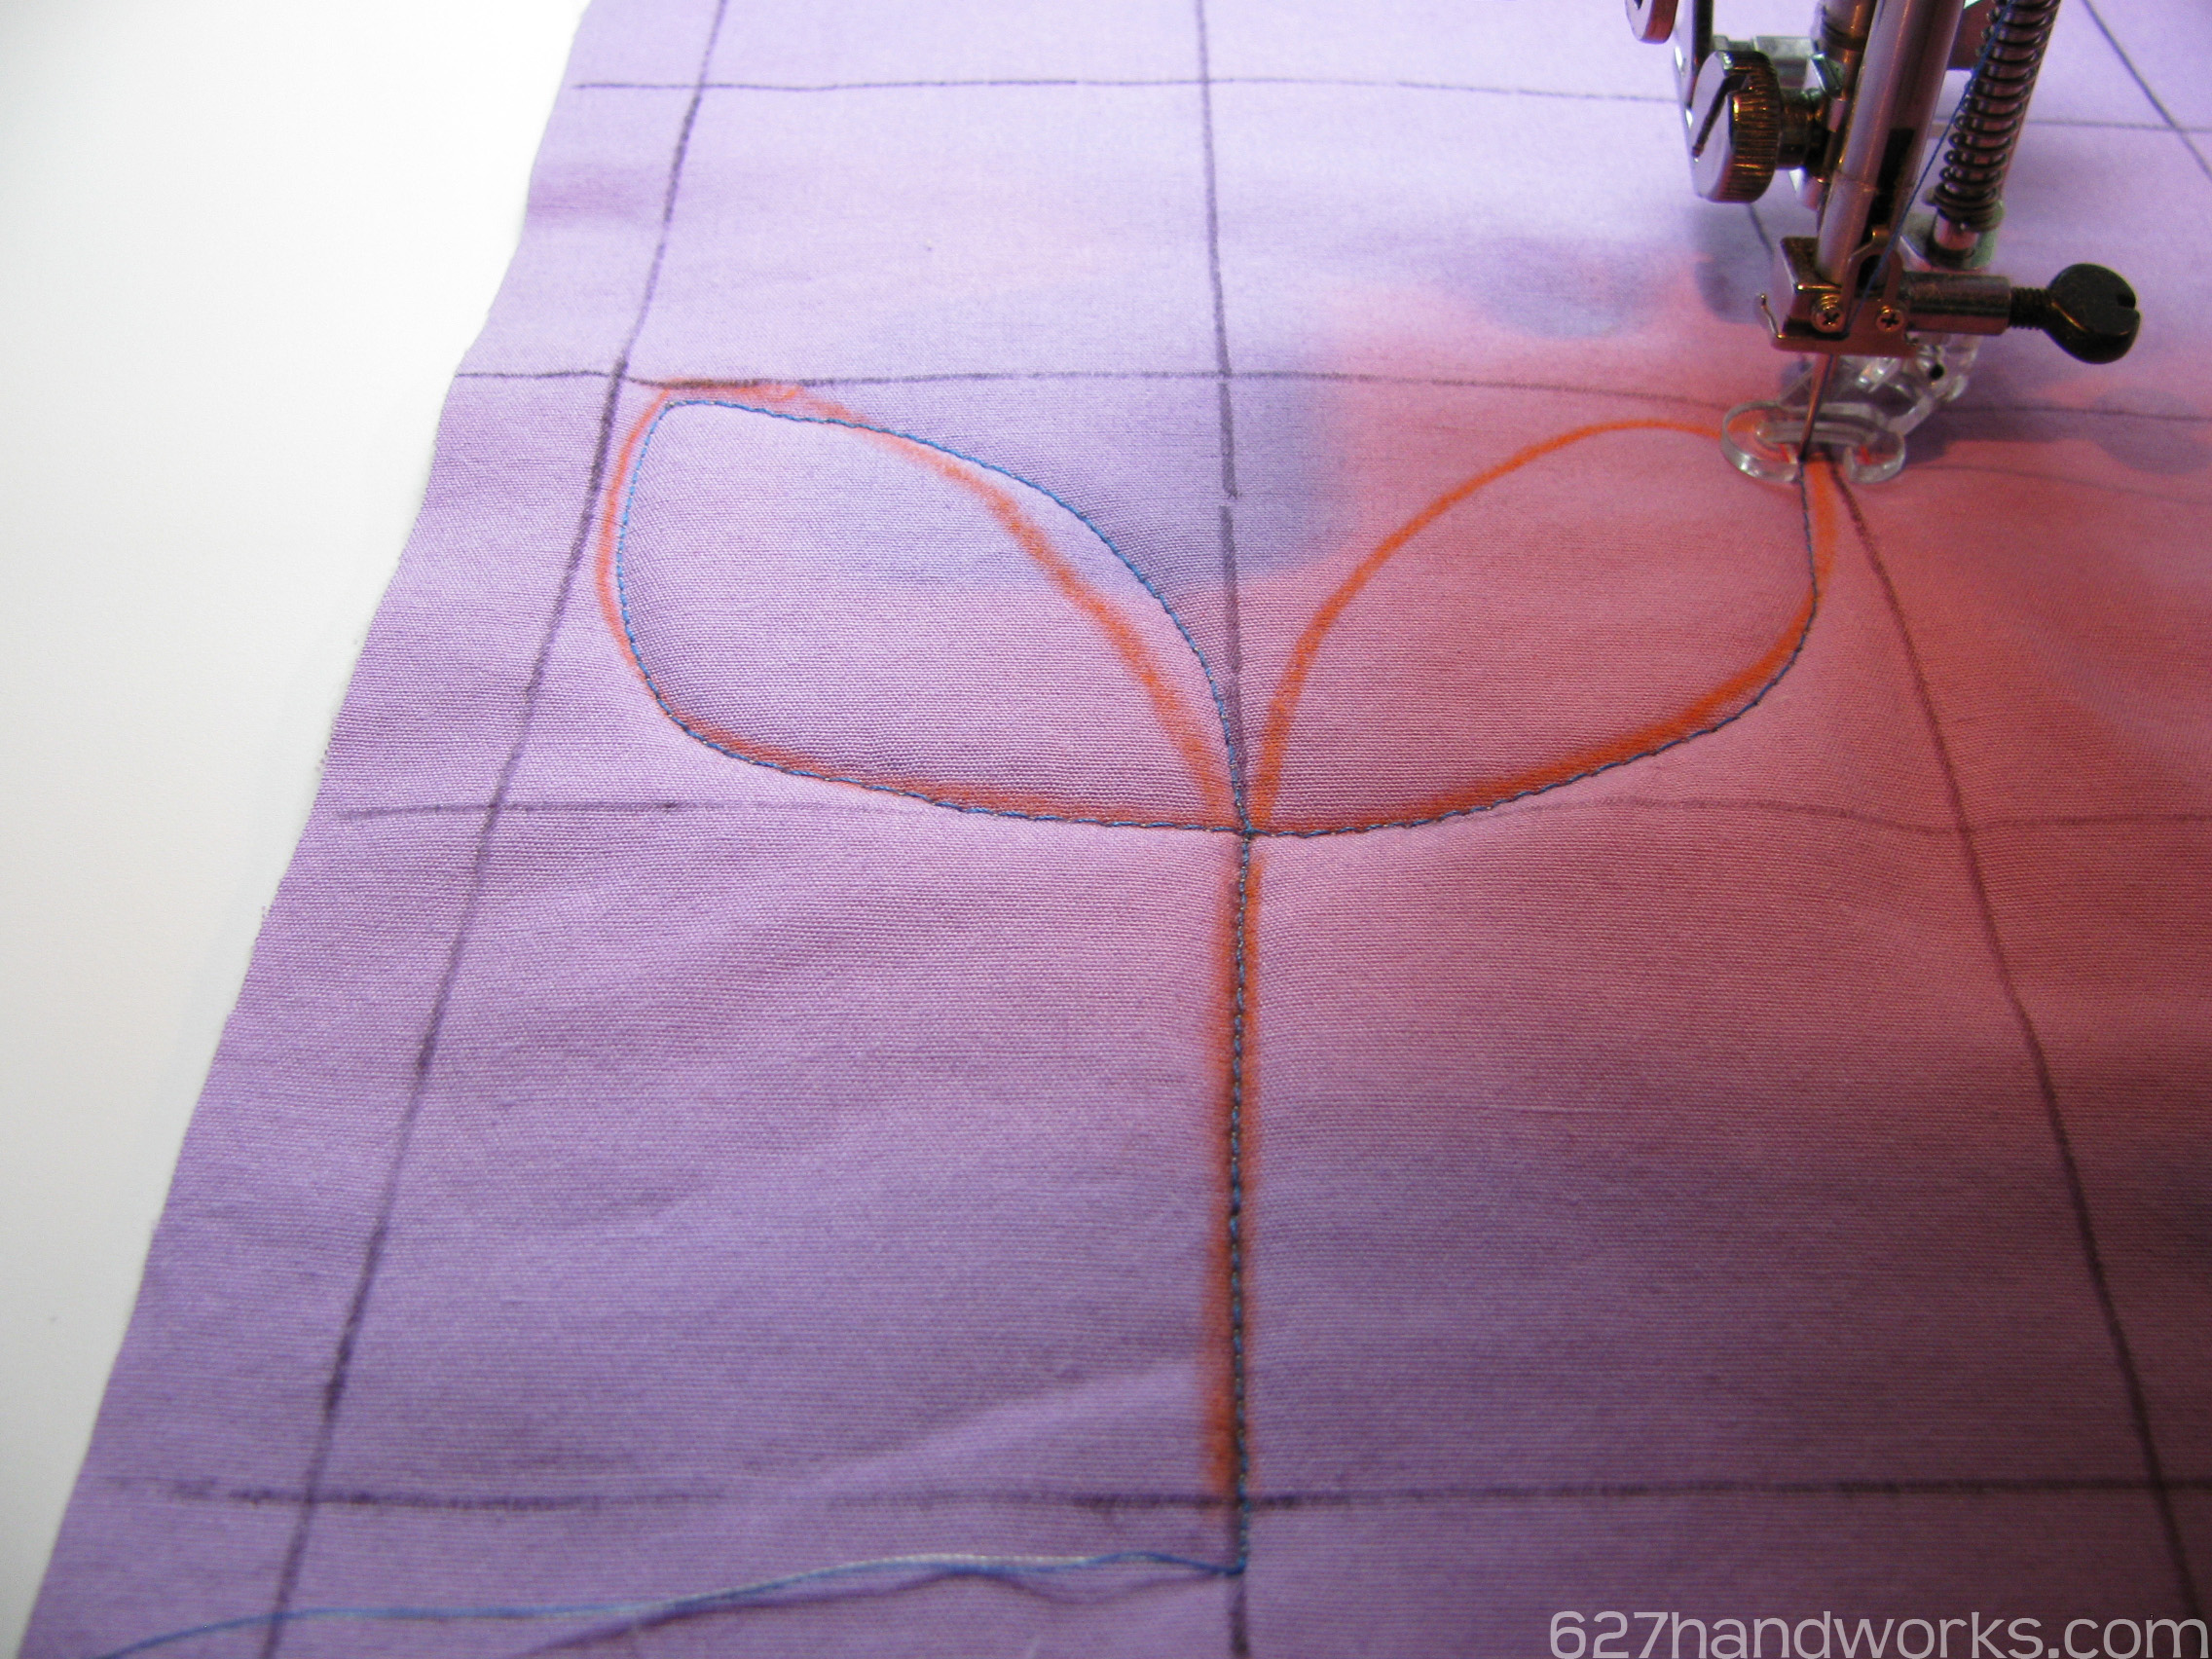
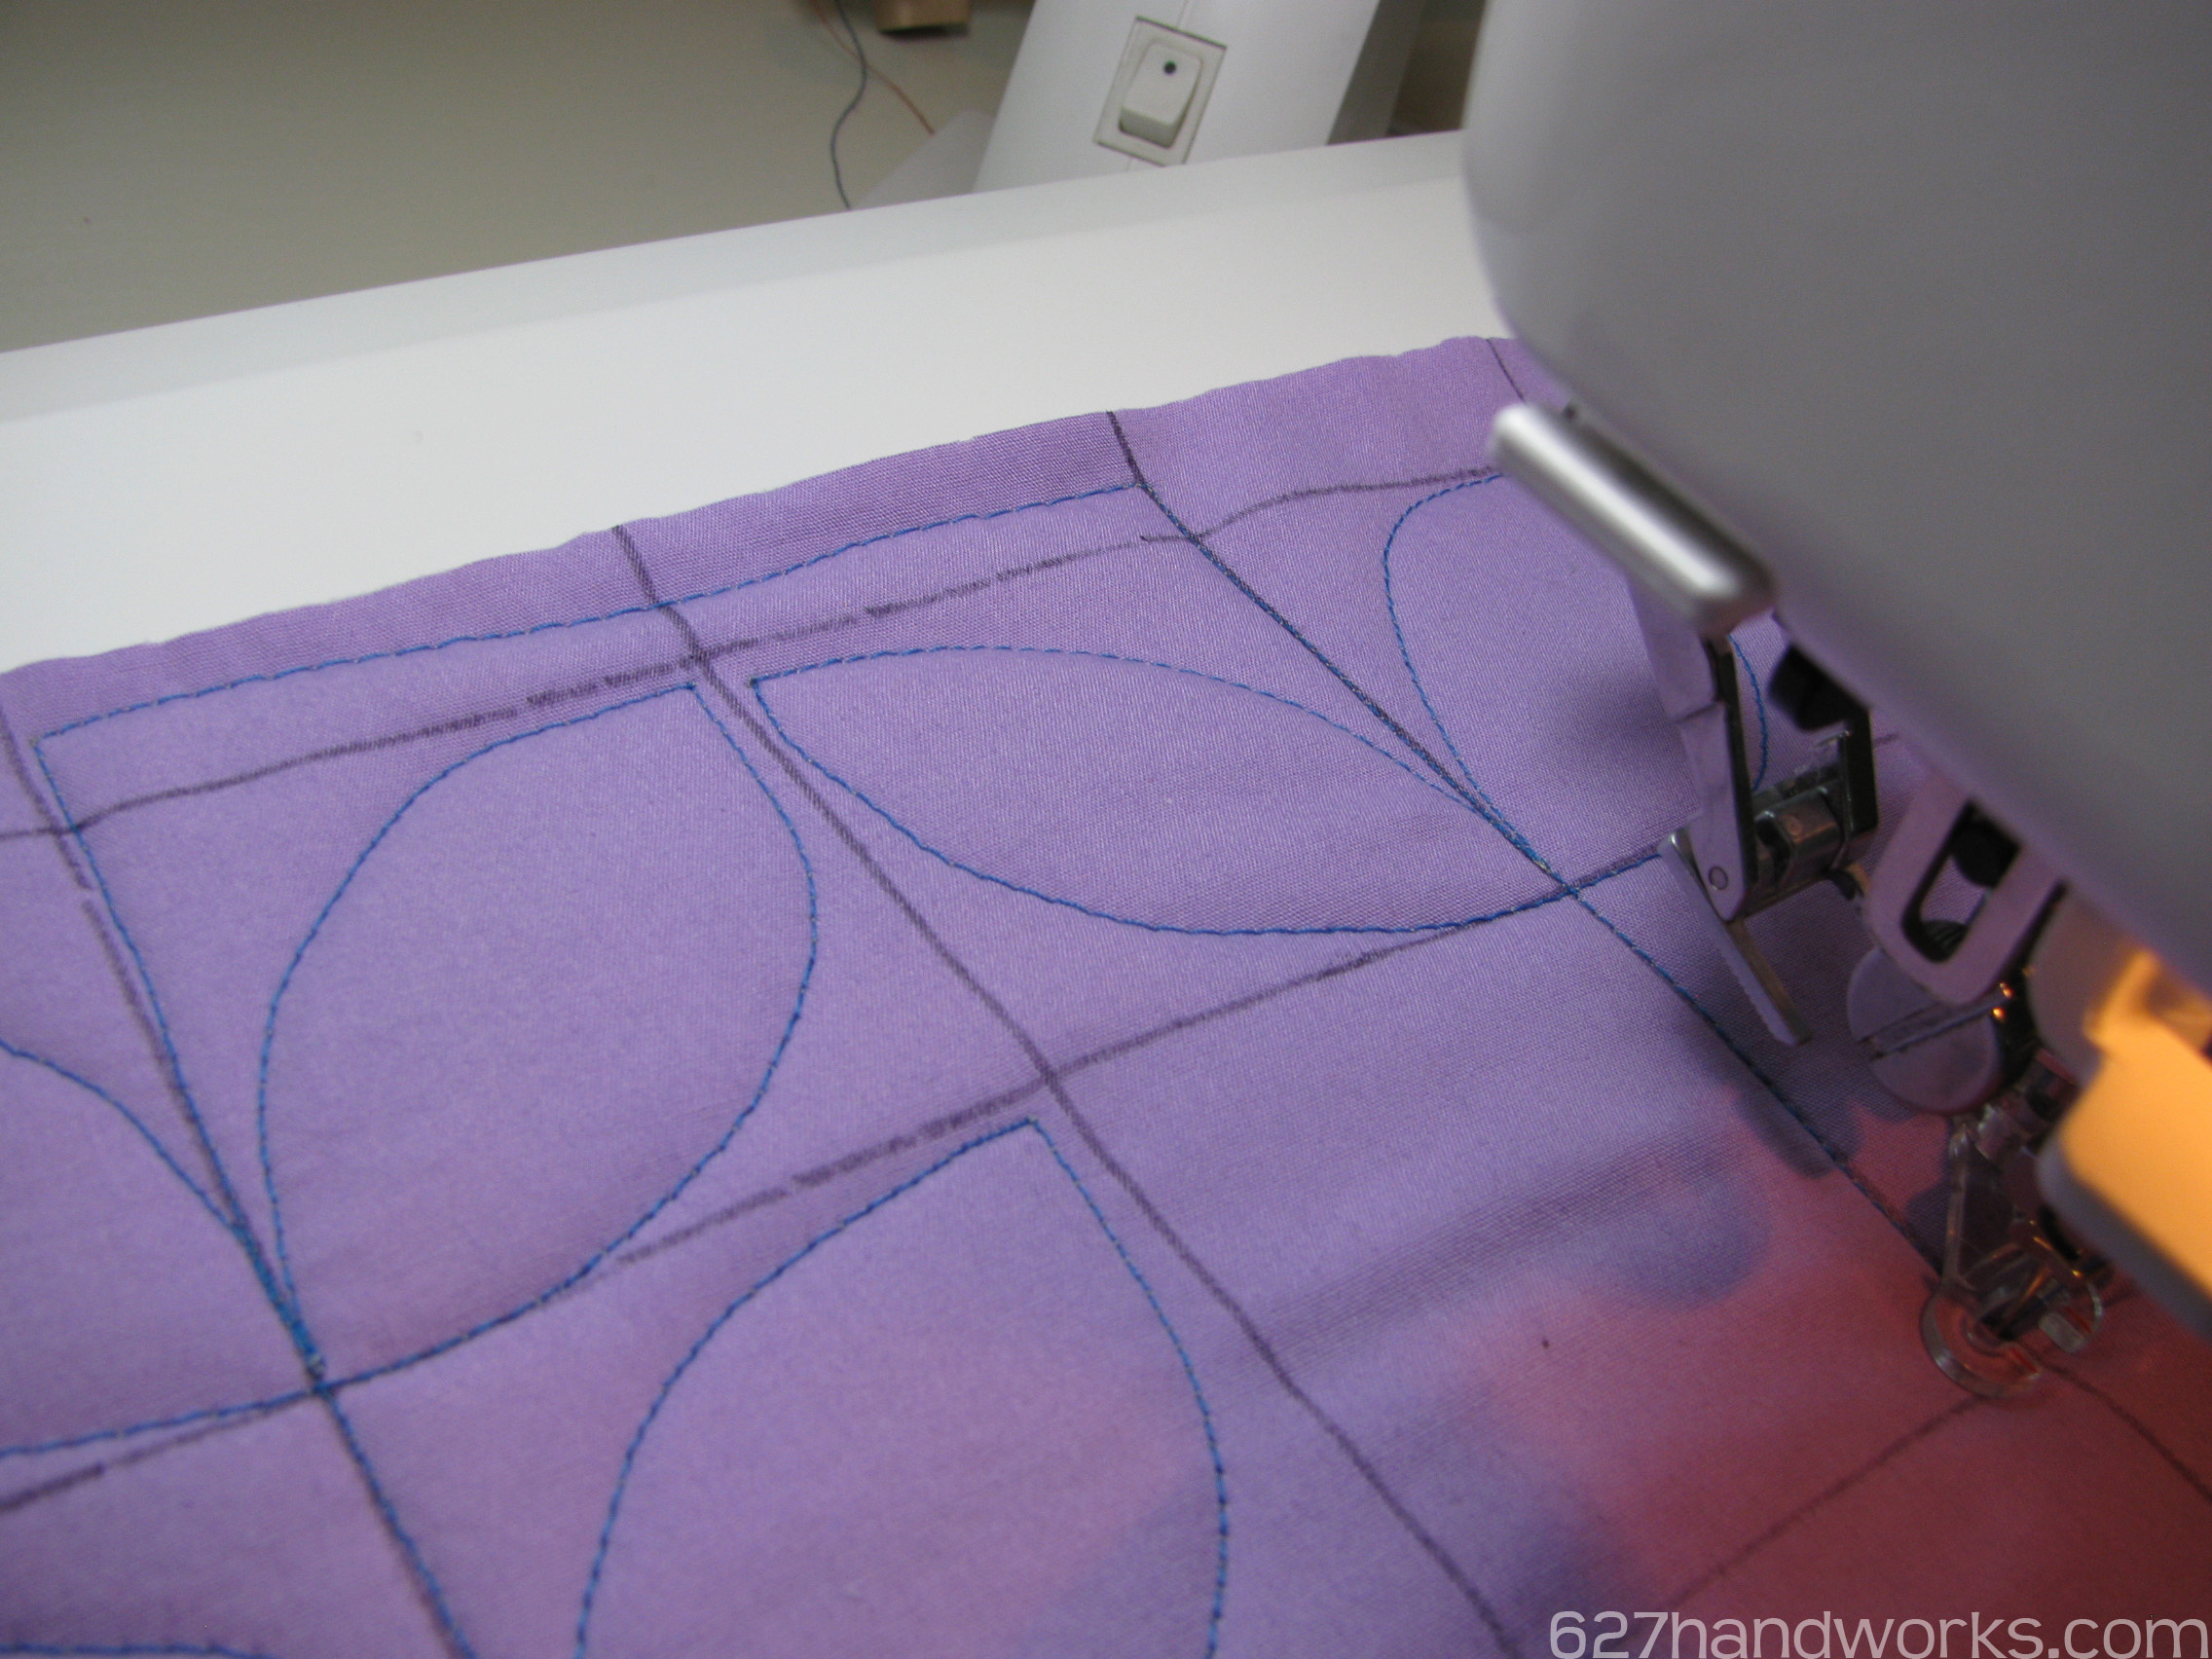
Pretend my drawn lines are patchwork pieces. Just use your blocks as a grid pattern.
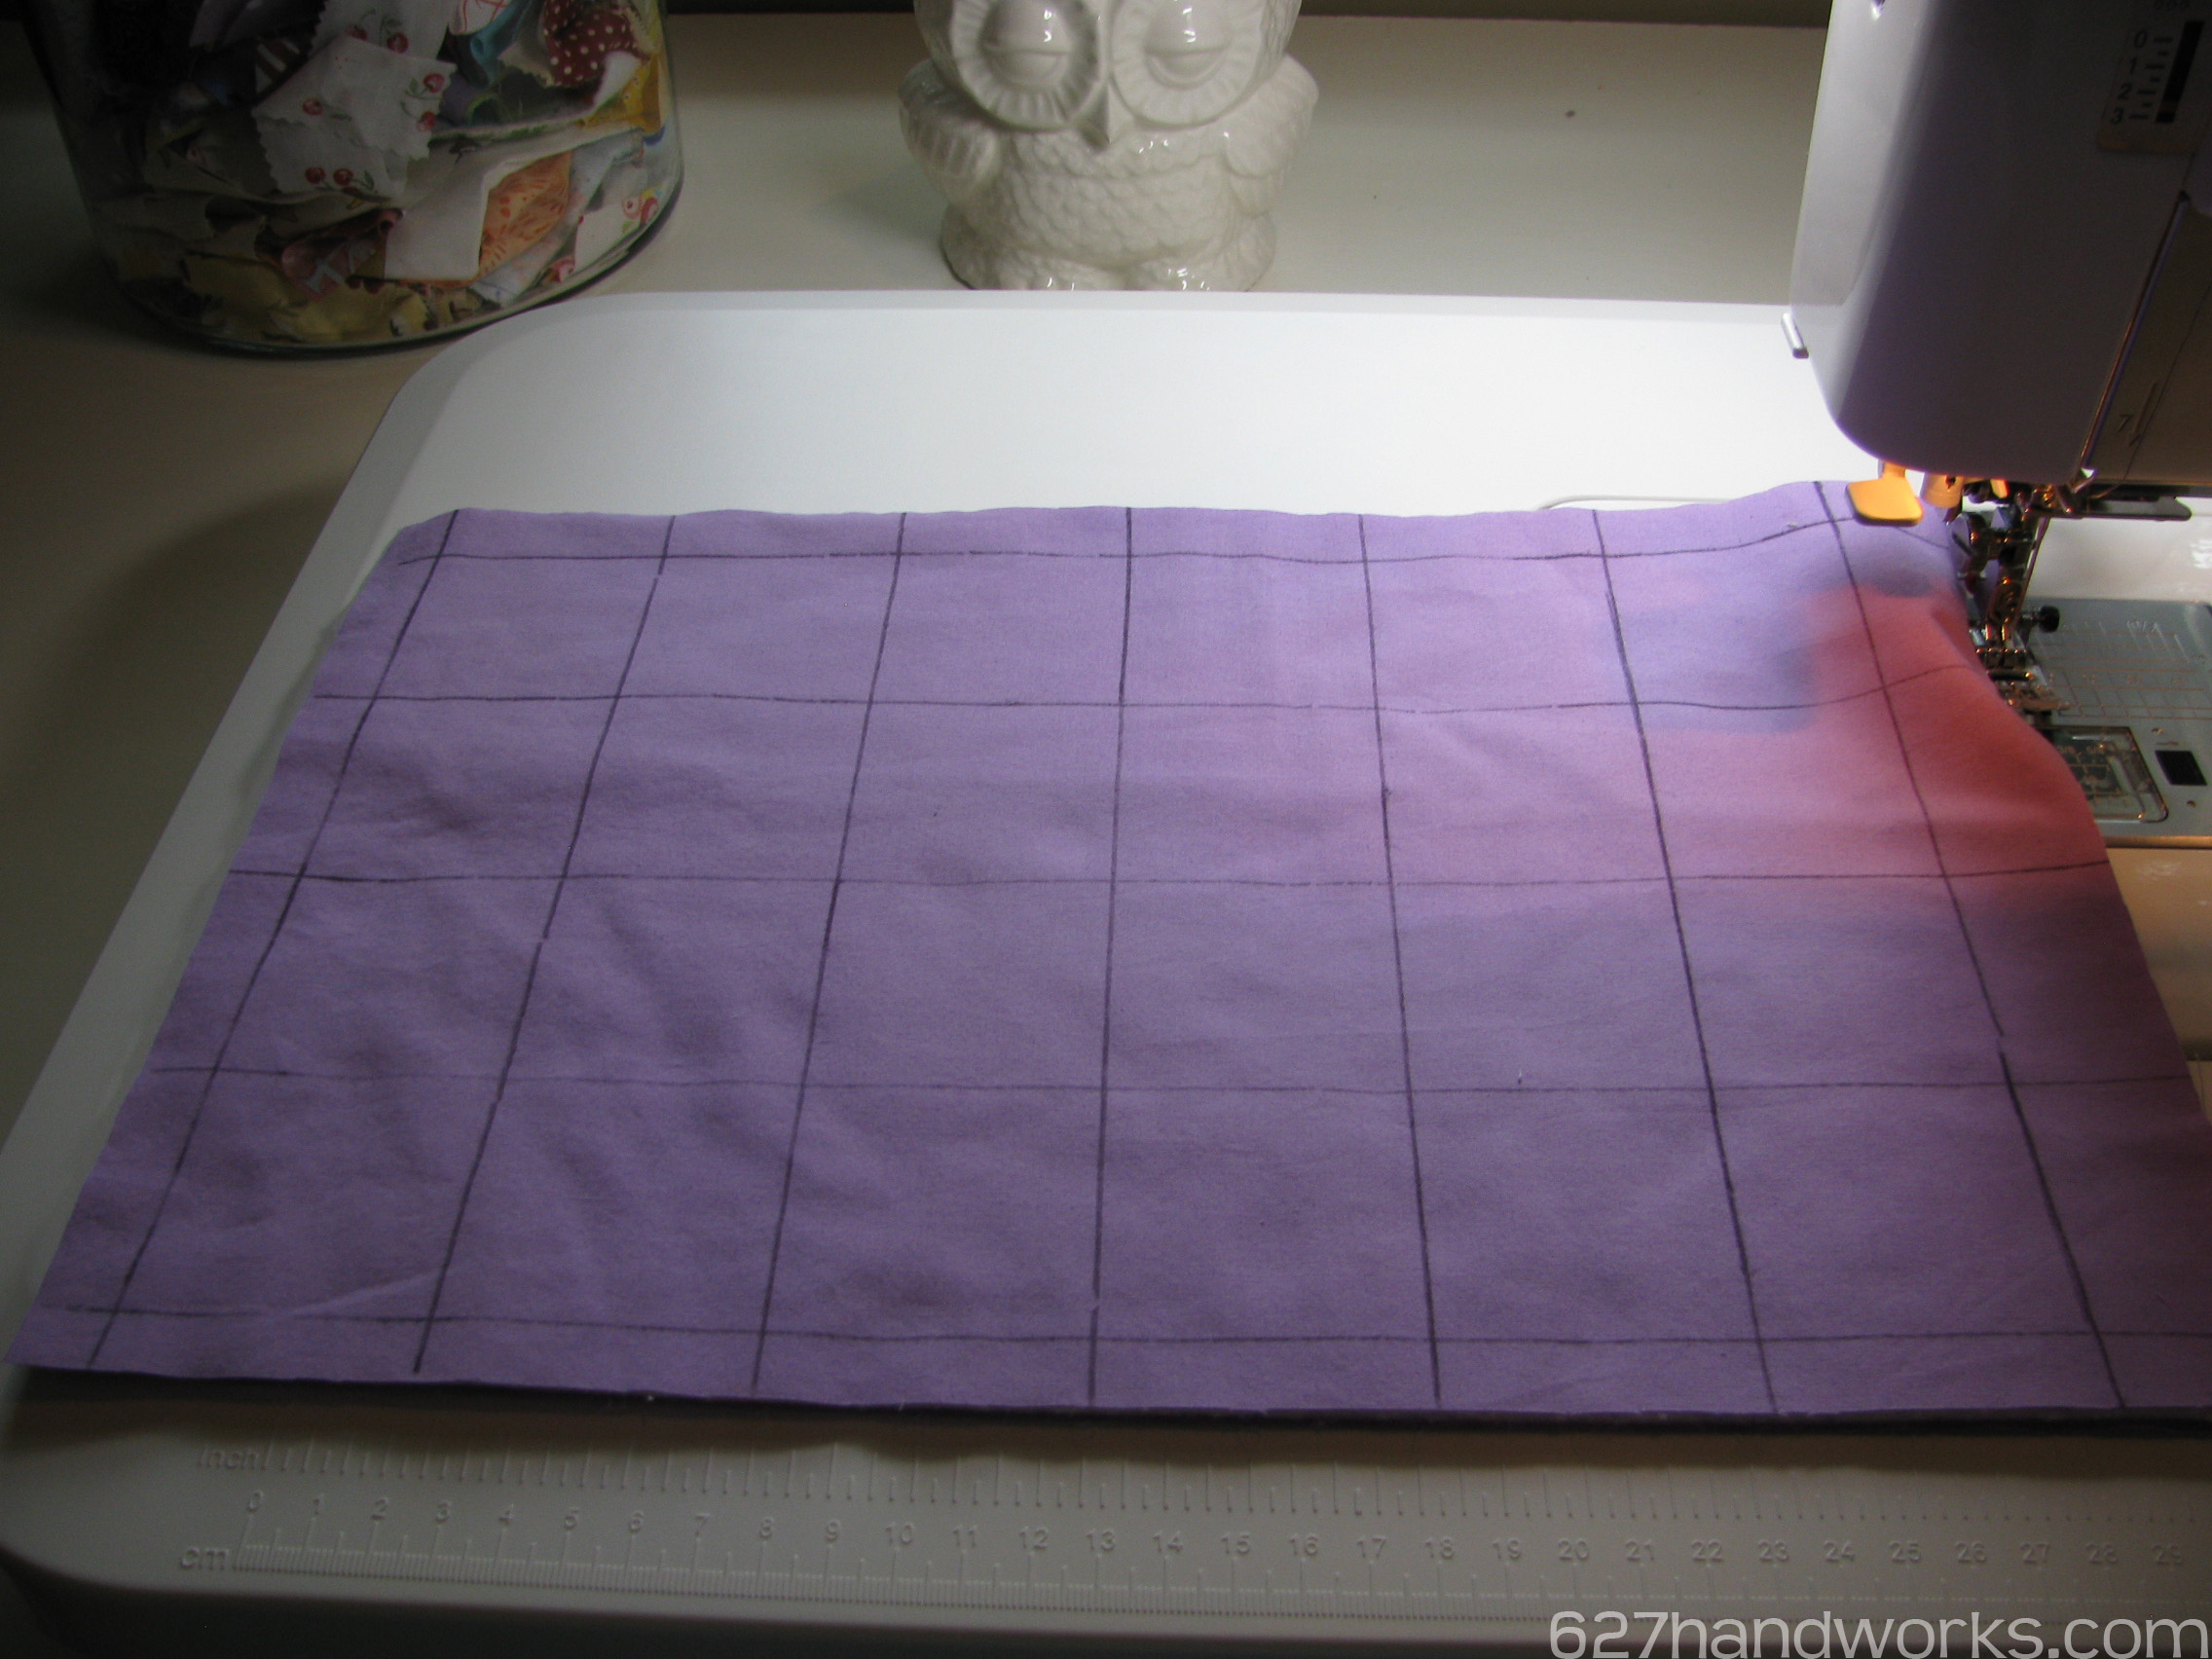
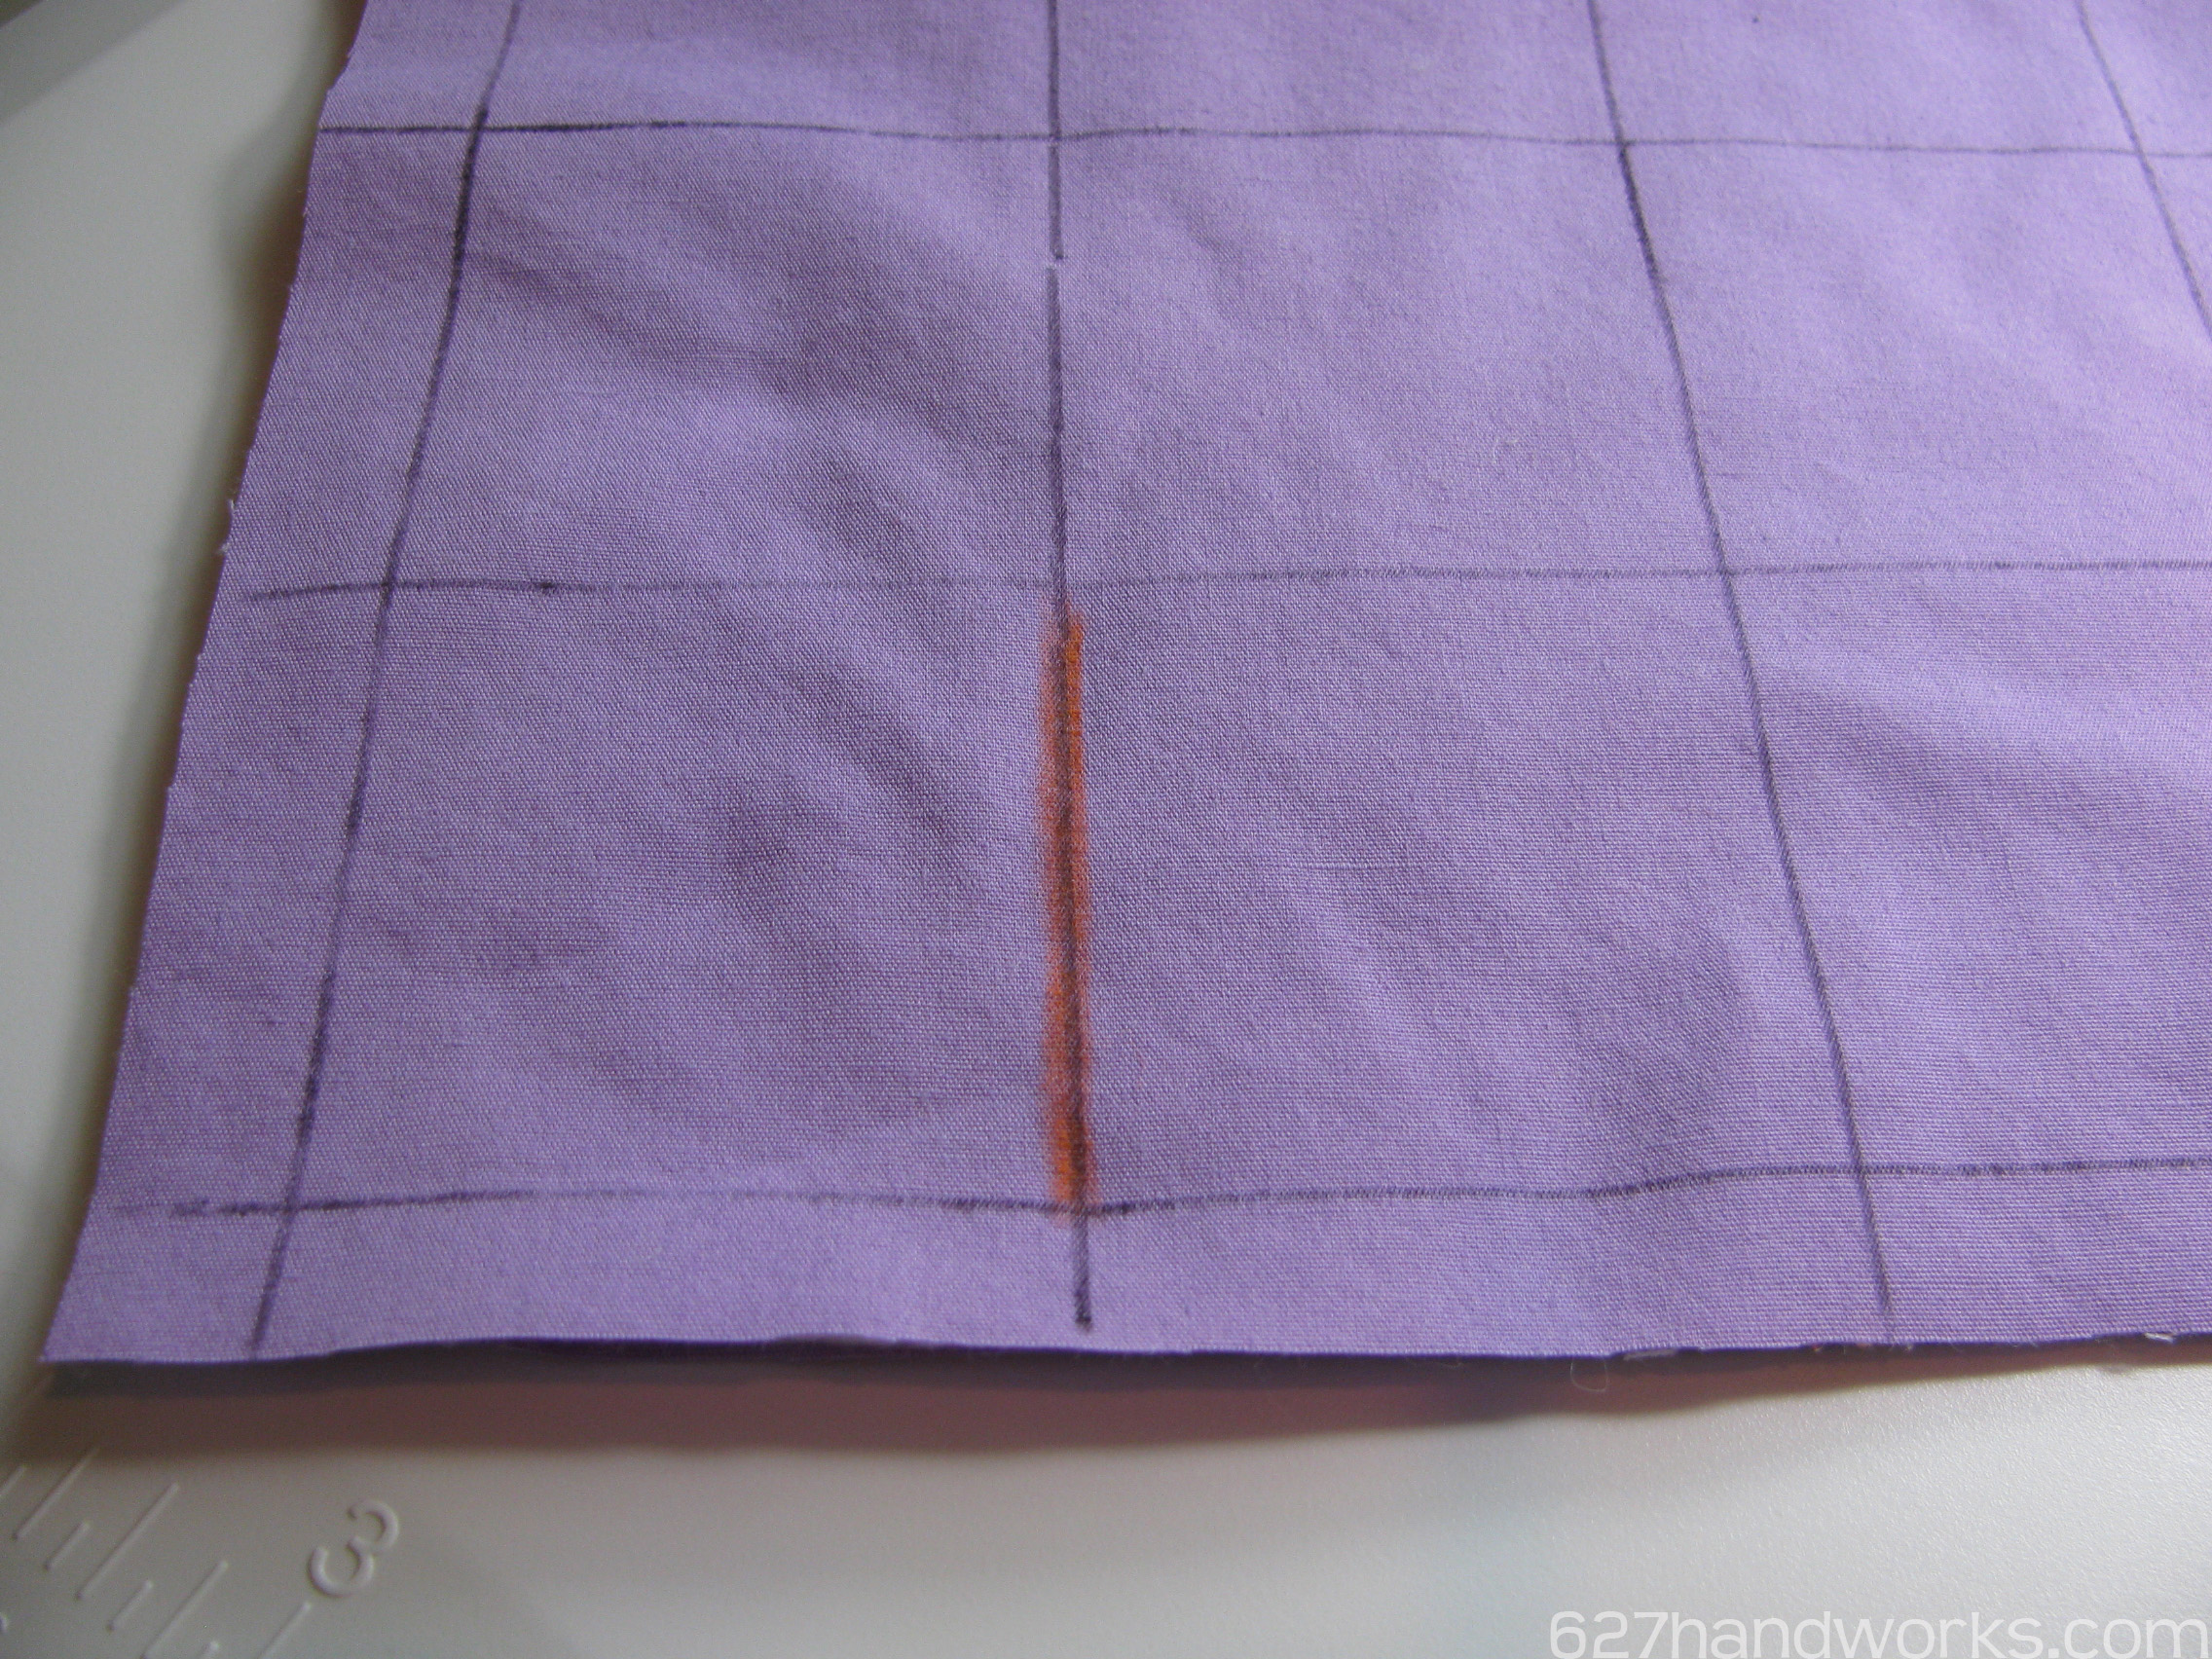
Step 1: Quilt a straight line up between 2 blocks
Step 2: Curve up and around to the left corner
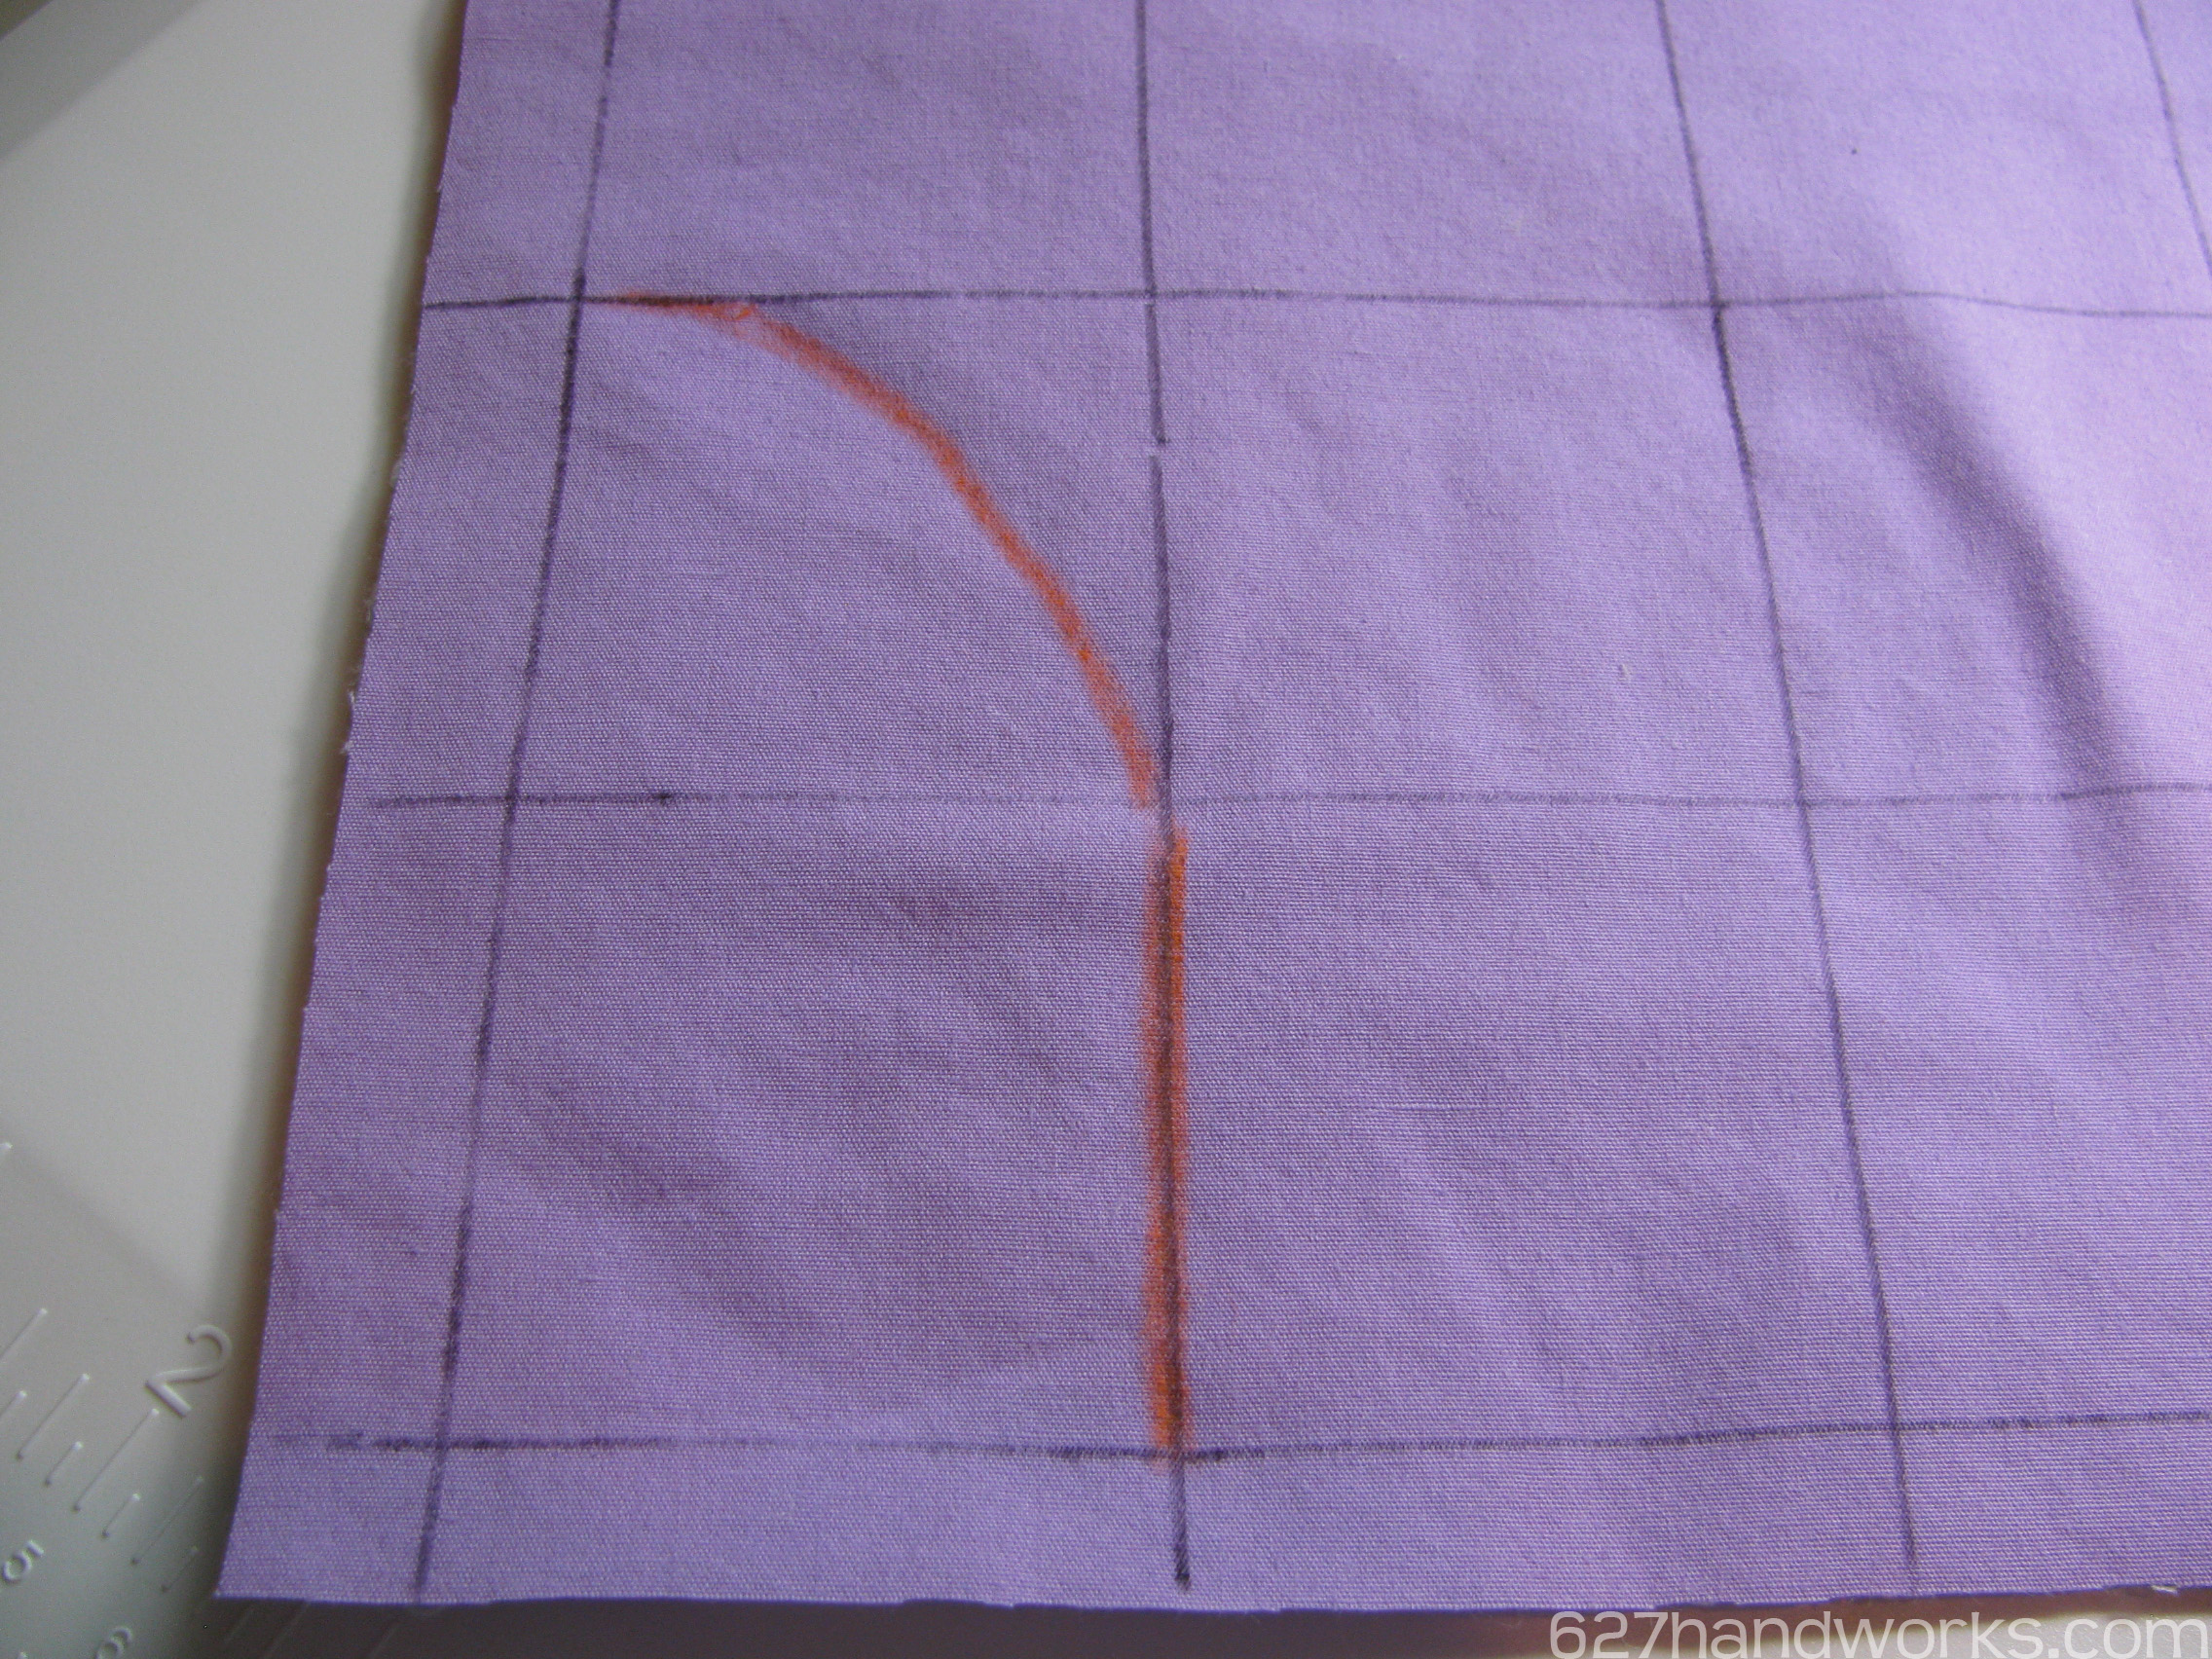
Step 3: Swing down and around to the upper right corner creating a half circle
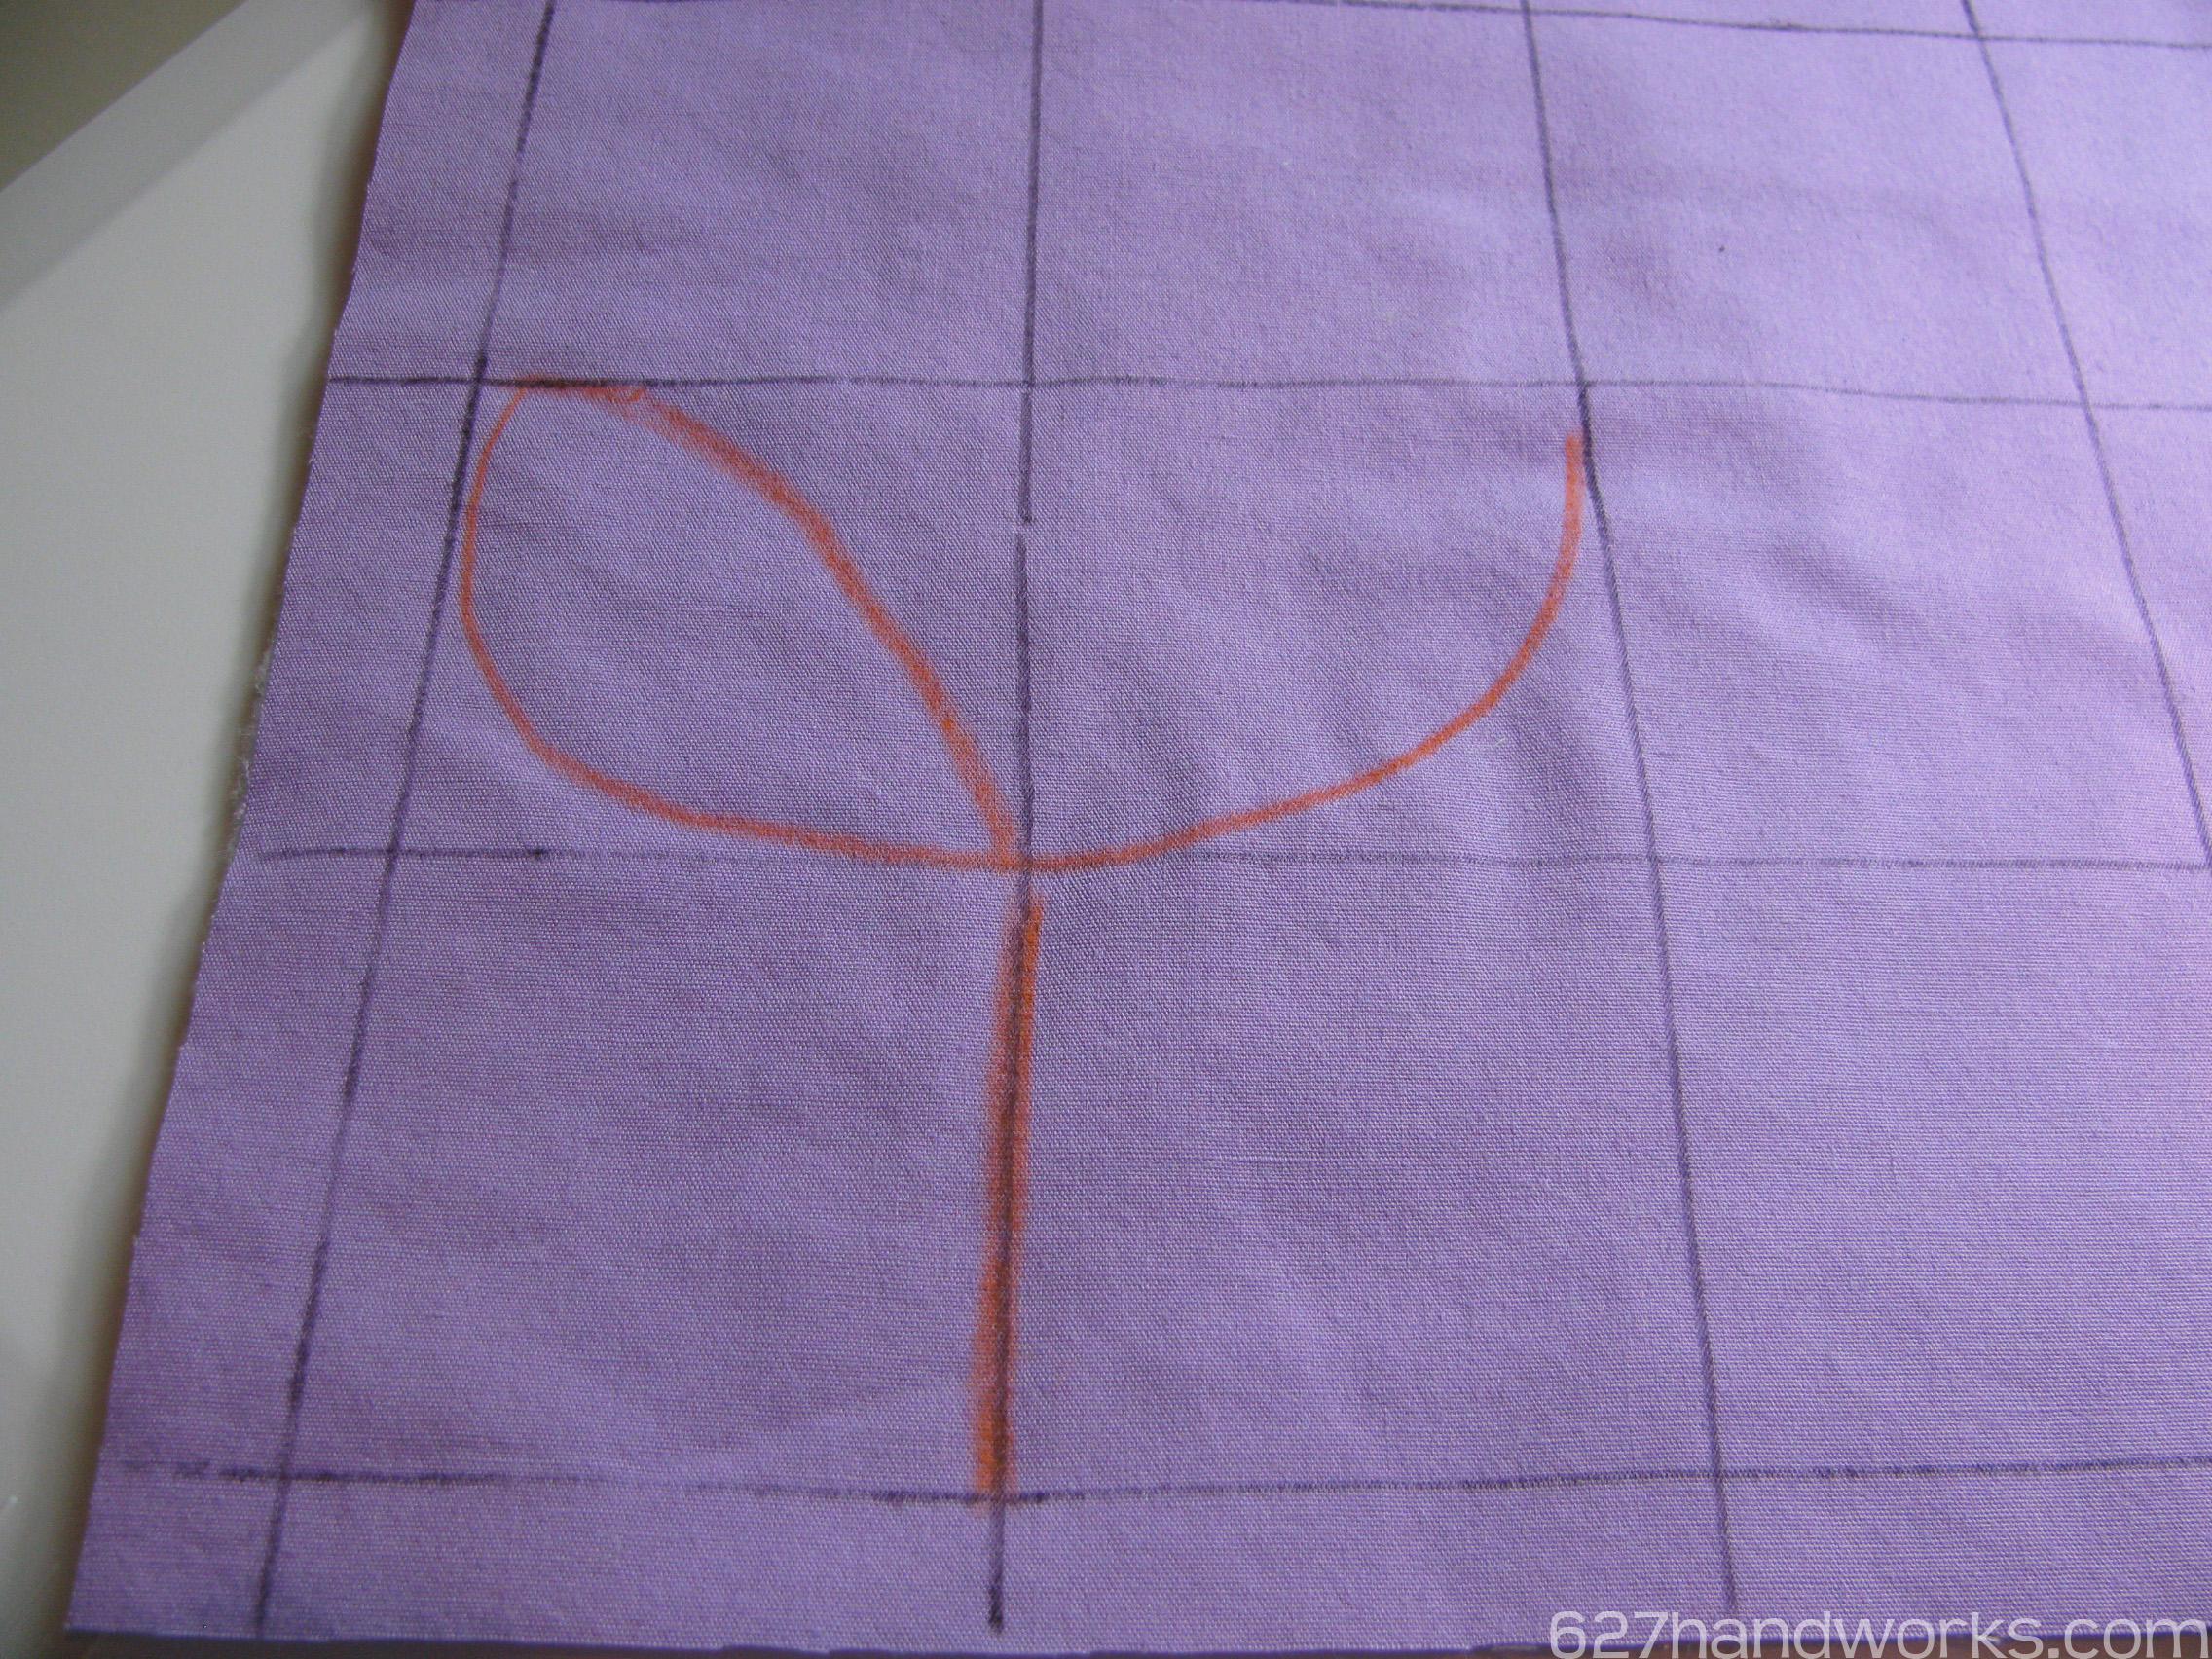
Step 4: Curve back down to the middle
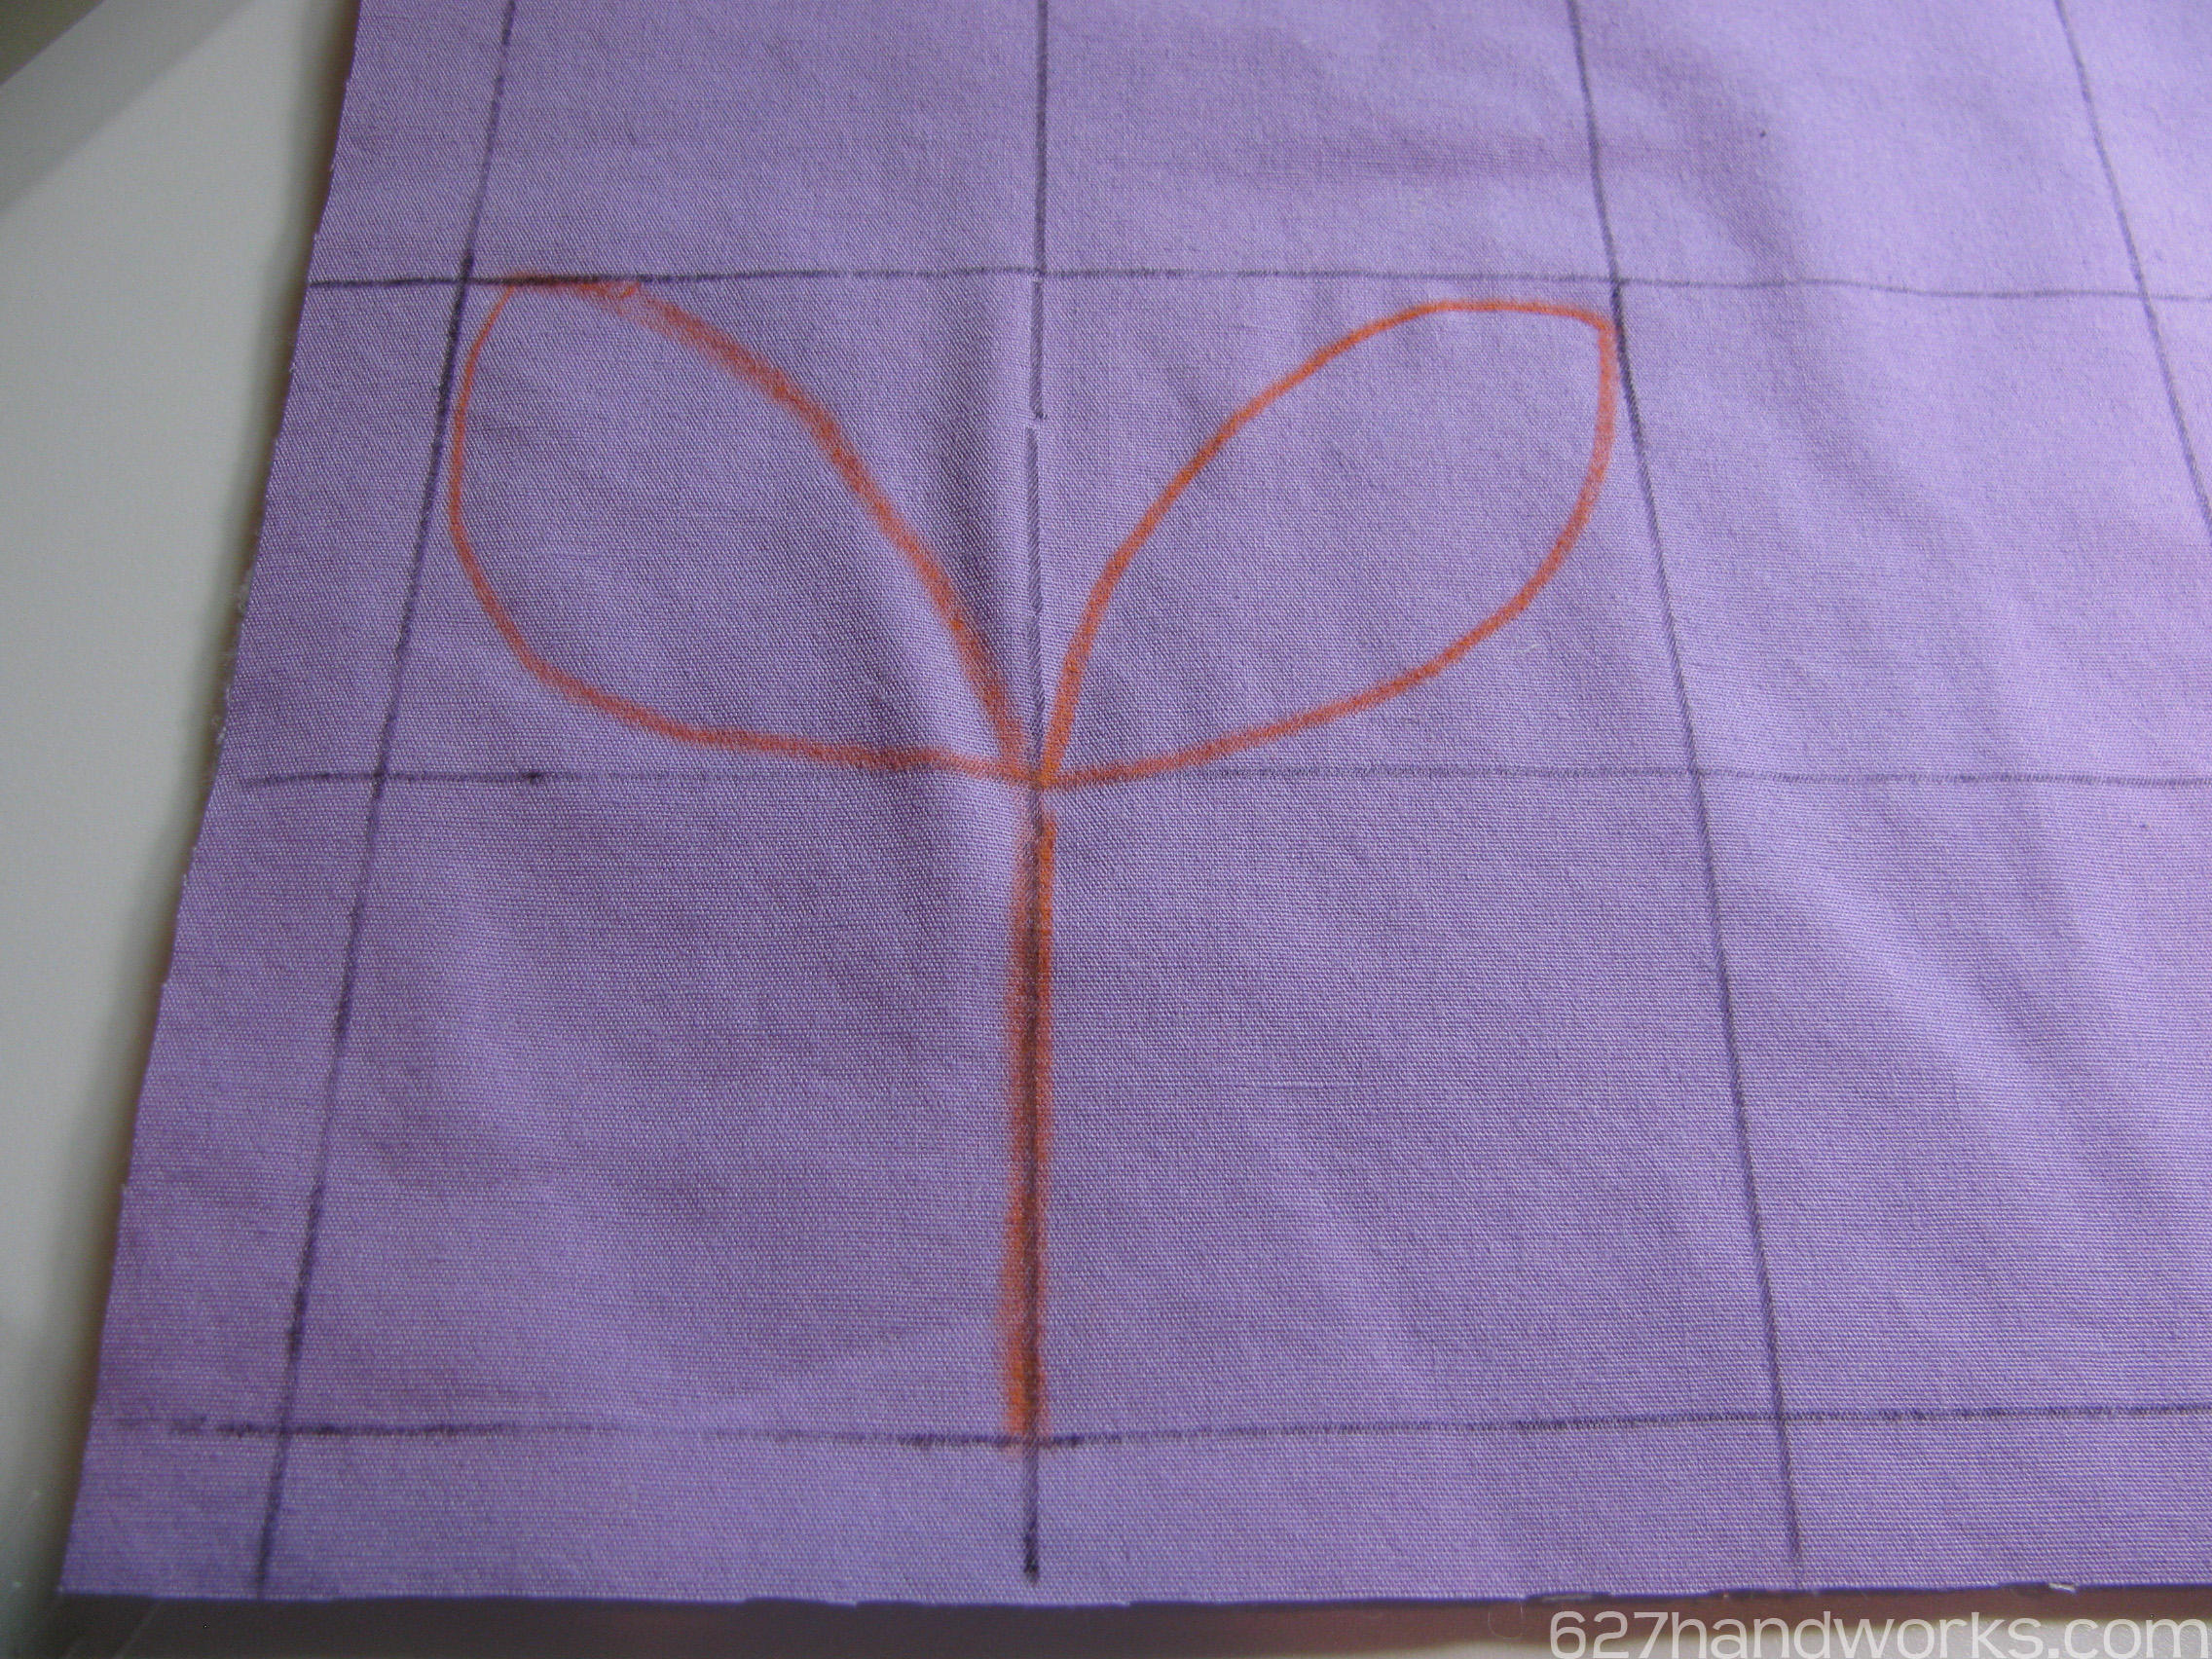
Repeat: Steps 1 – 4 all the way up your row.
TIP: I don’t have my petal tips reach the points of the corners. This way there is a little spacing between the rows.
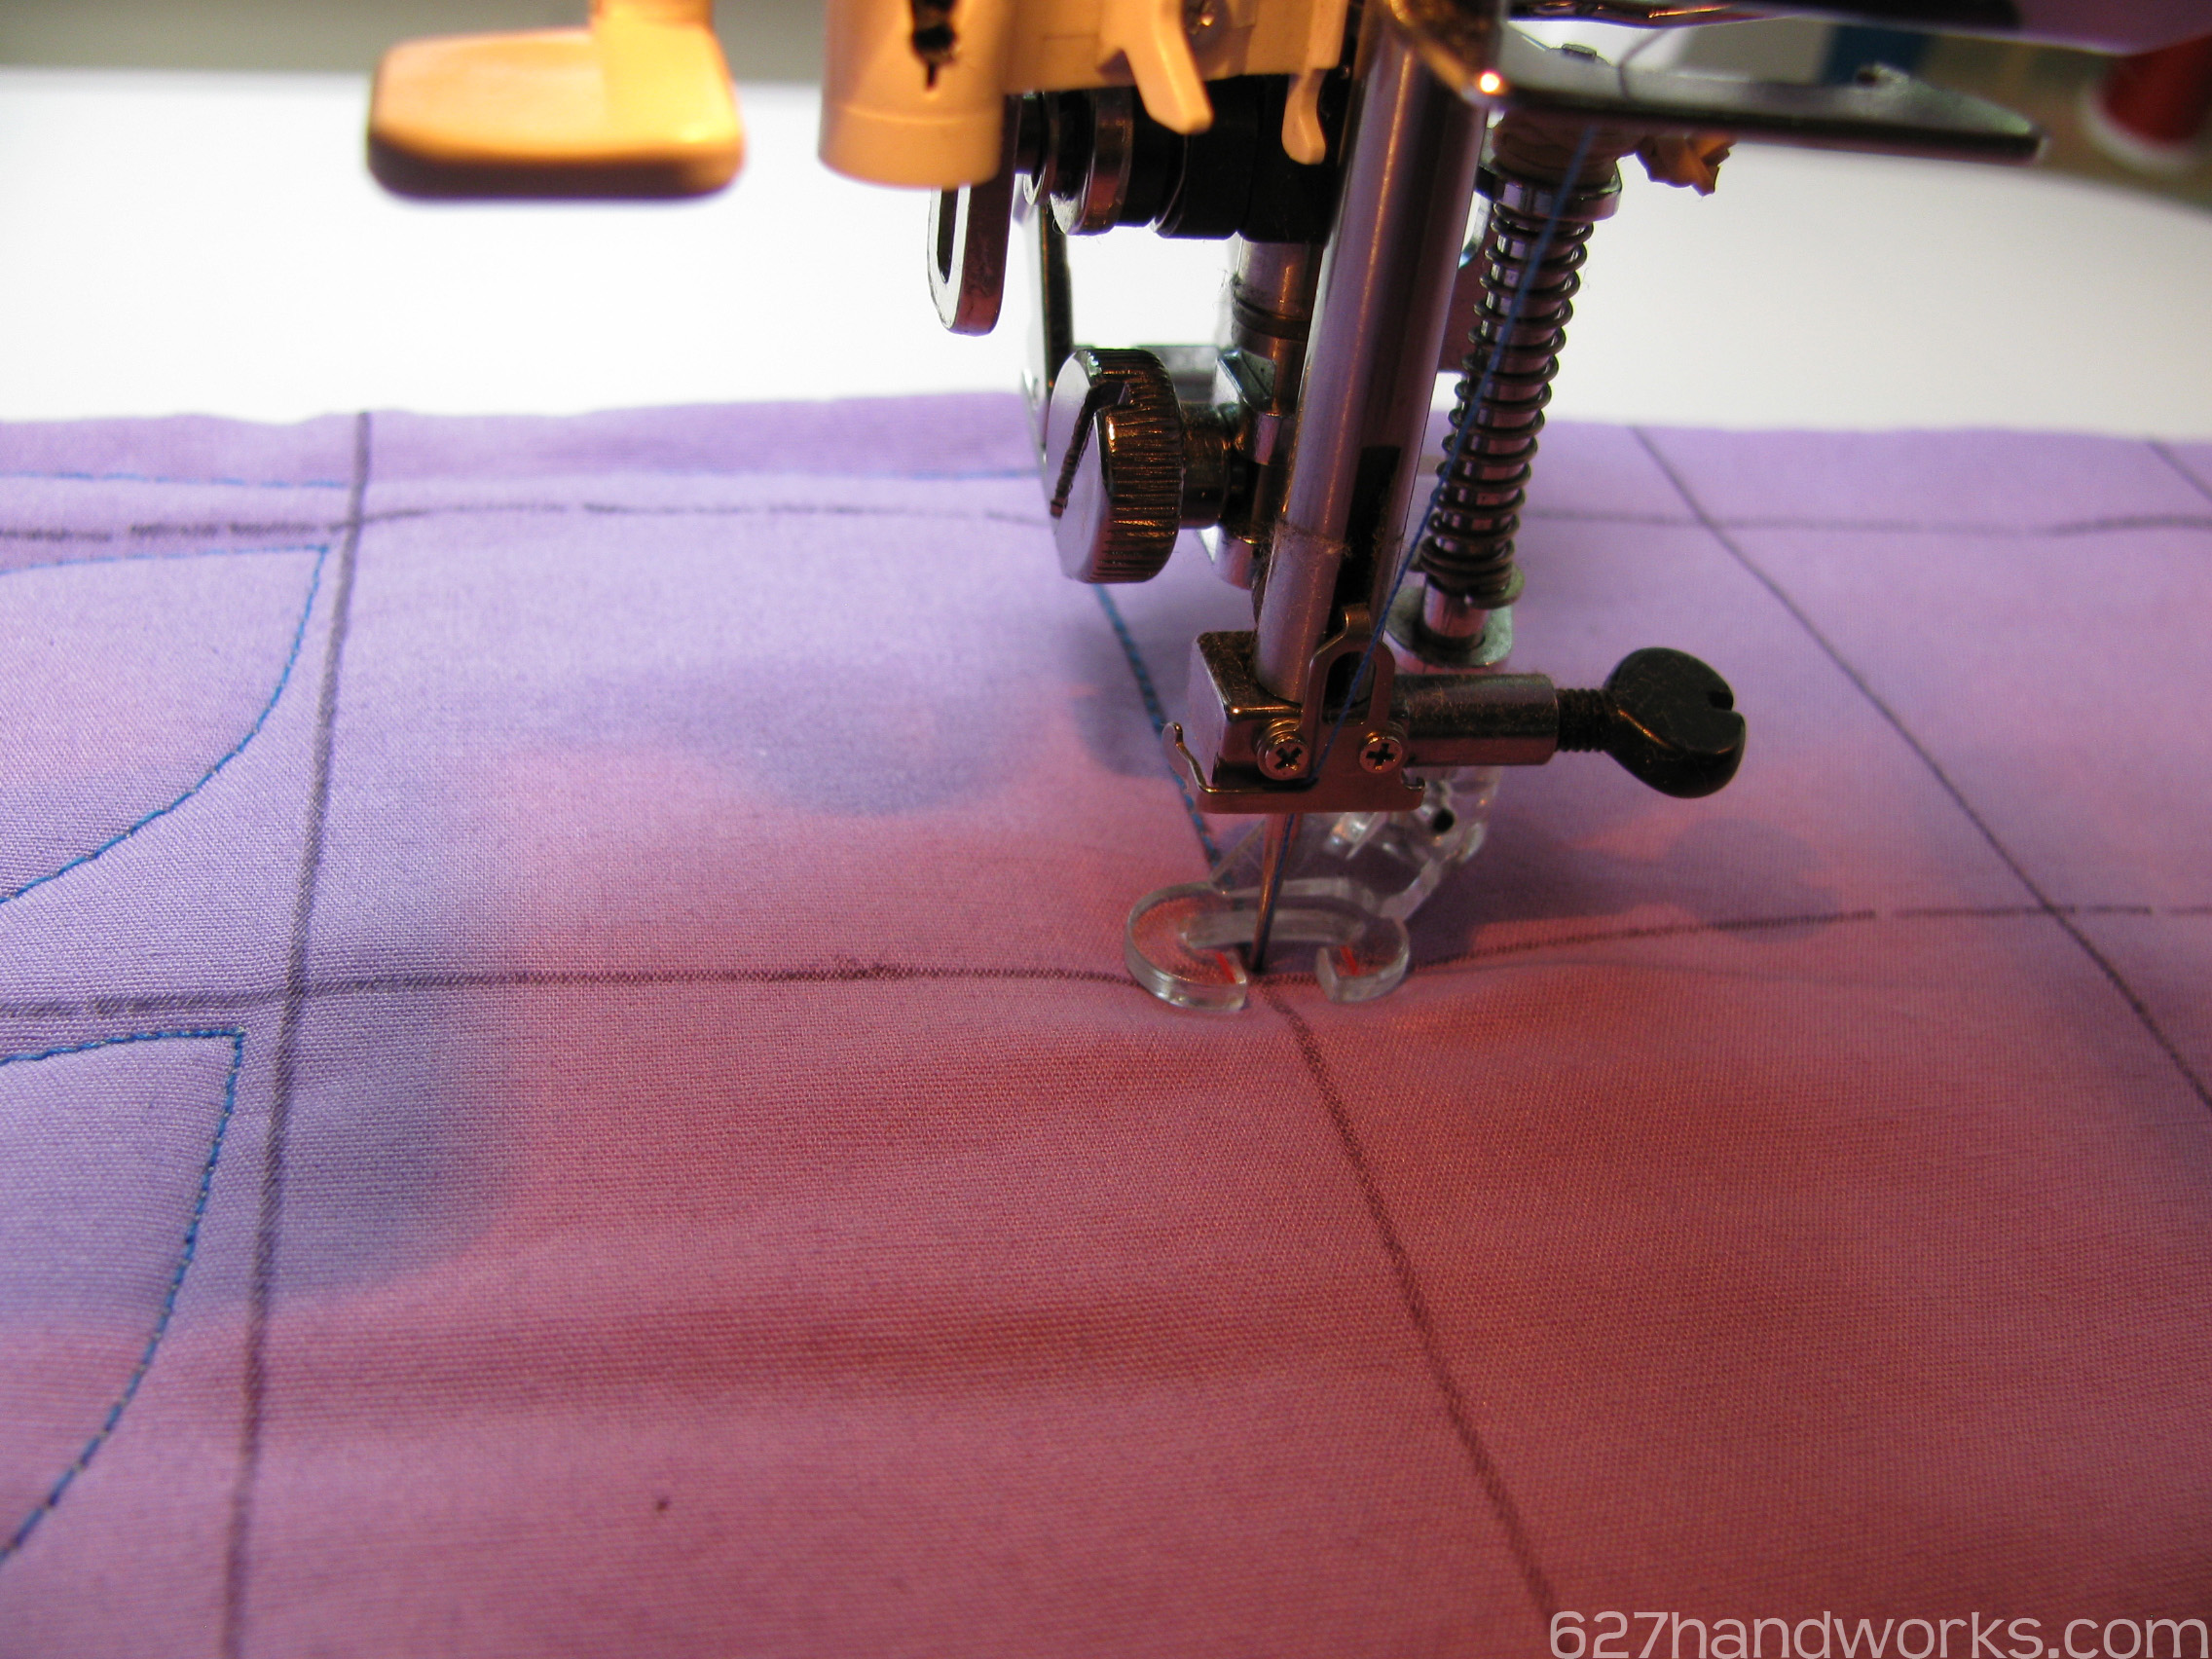
Now, I’ll show you how on the machine. Use your free motion foot, feet down and draw your thread up.
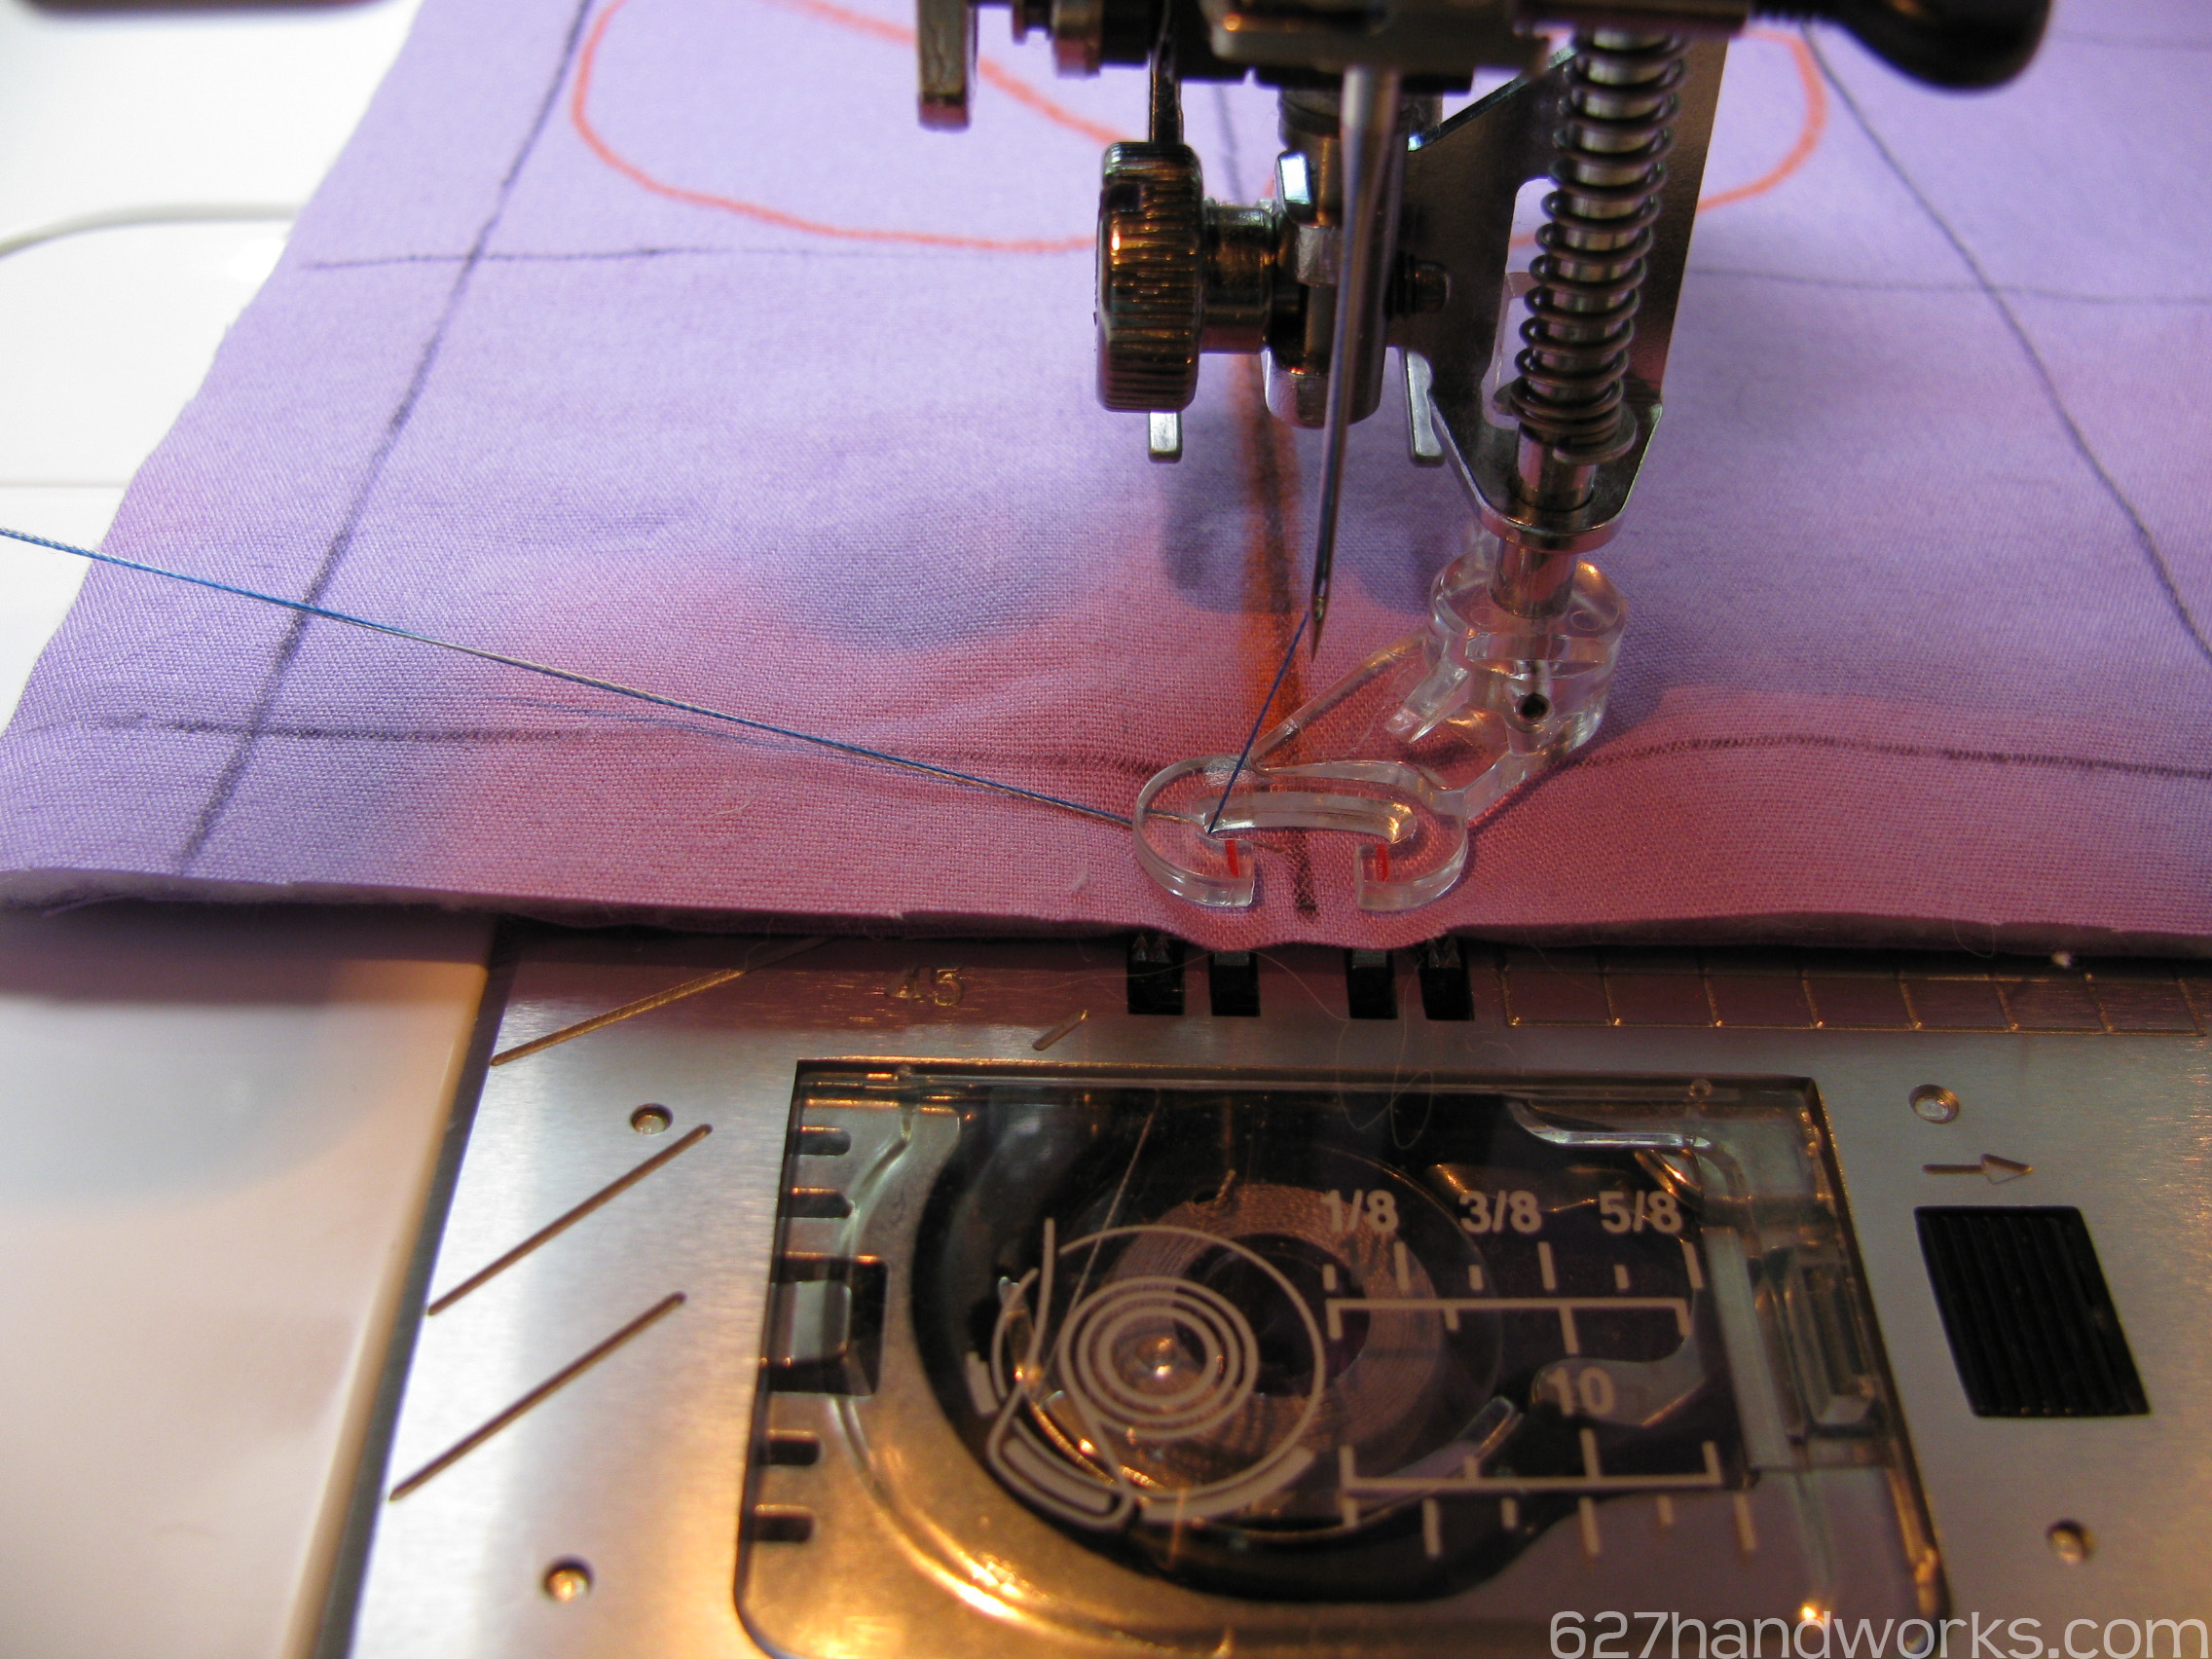
Straight line up
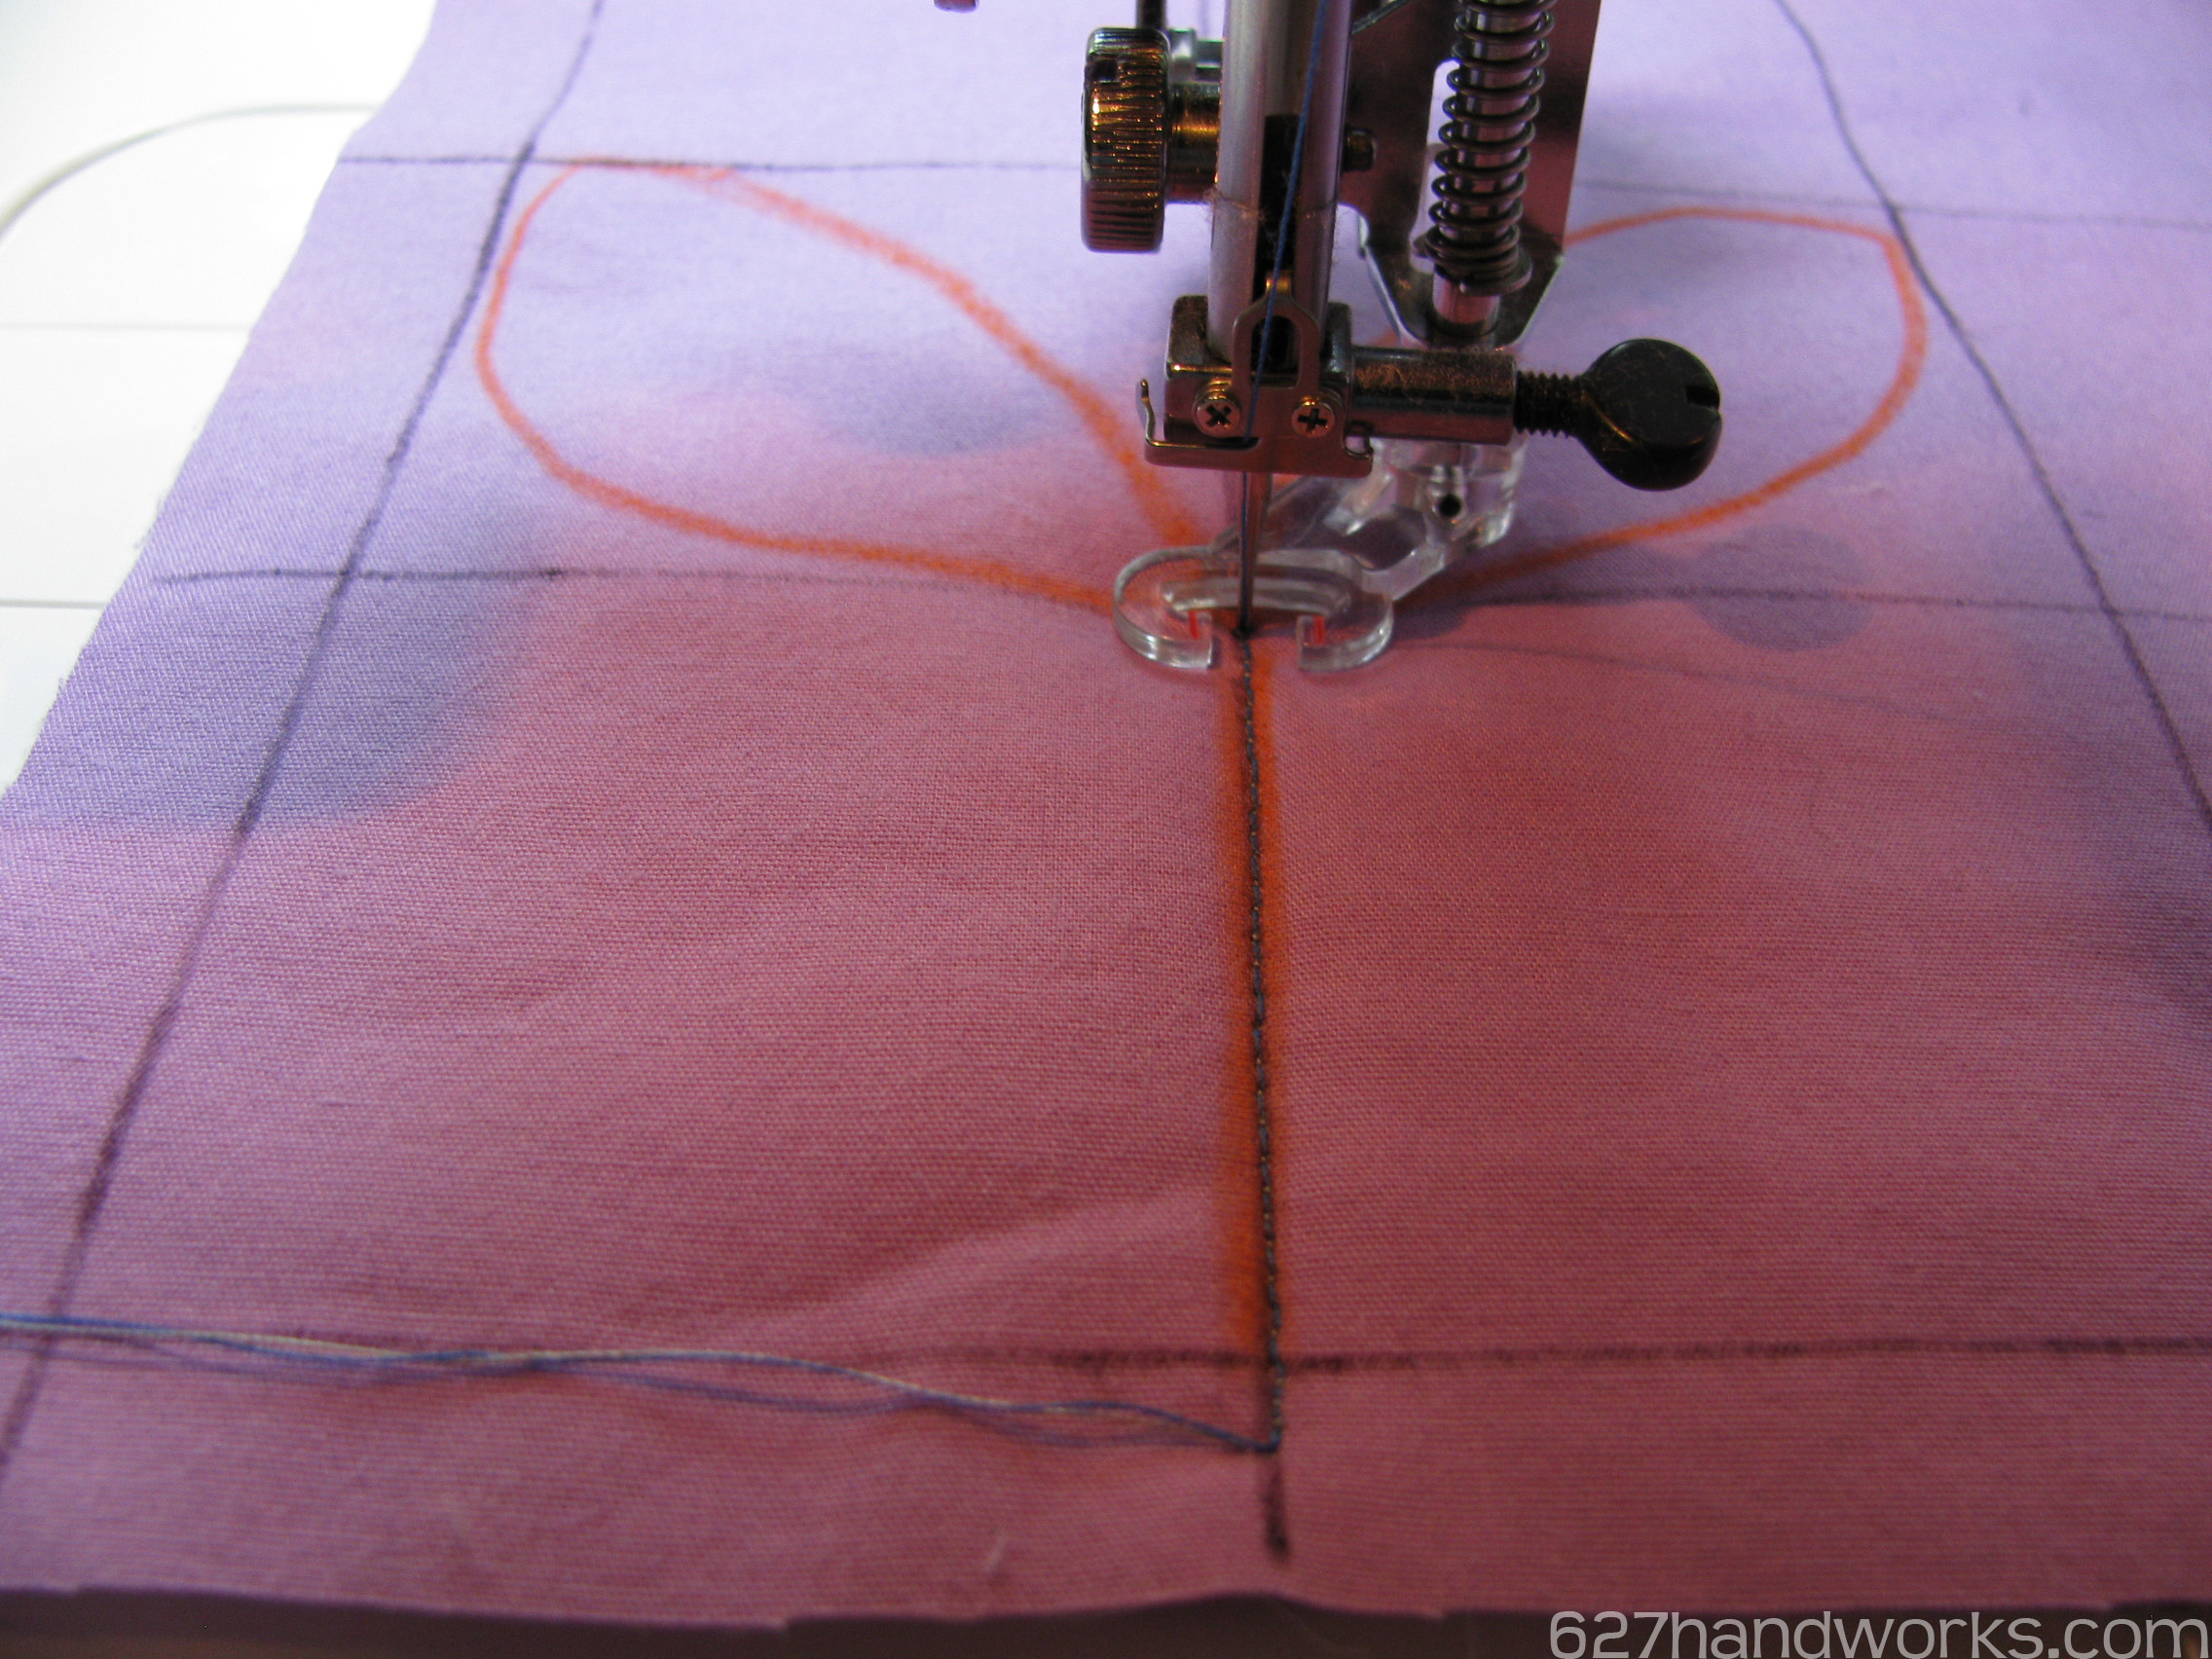
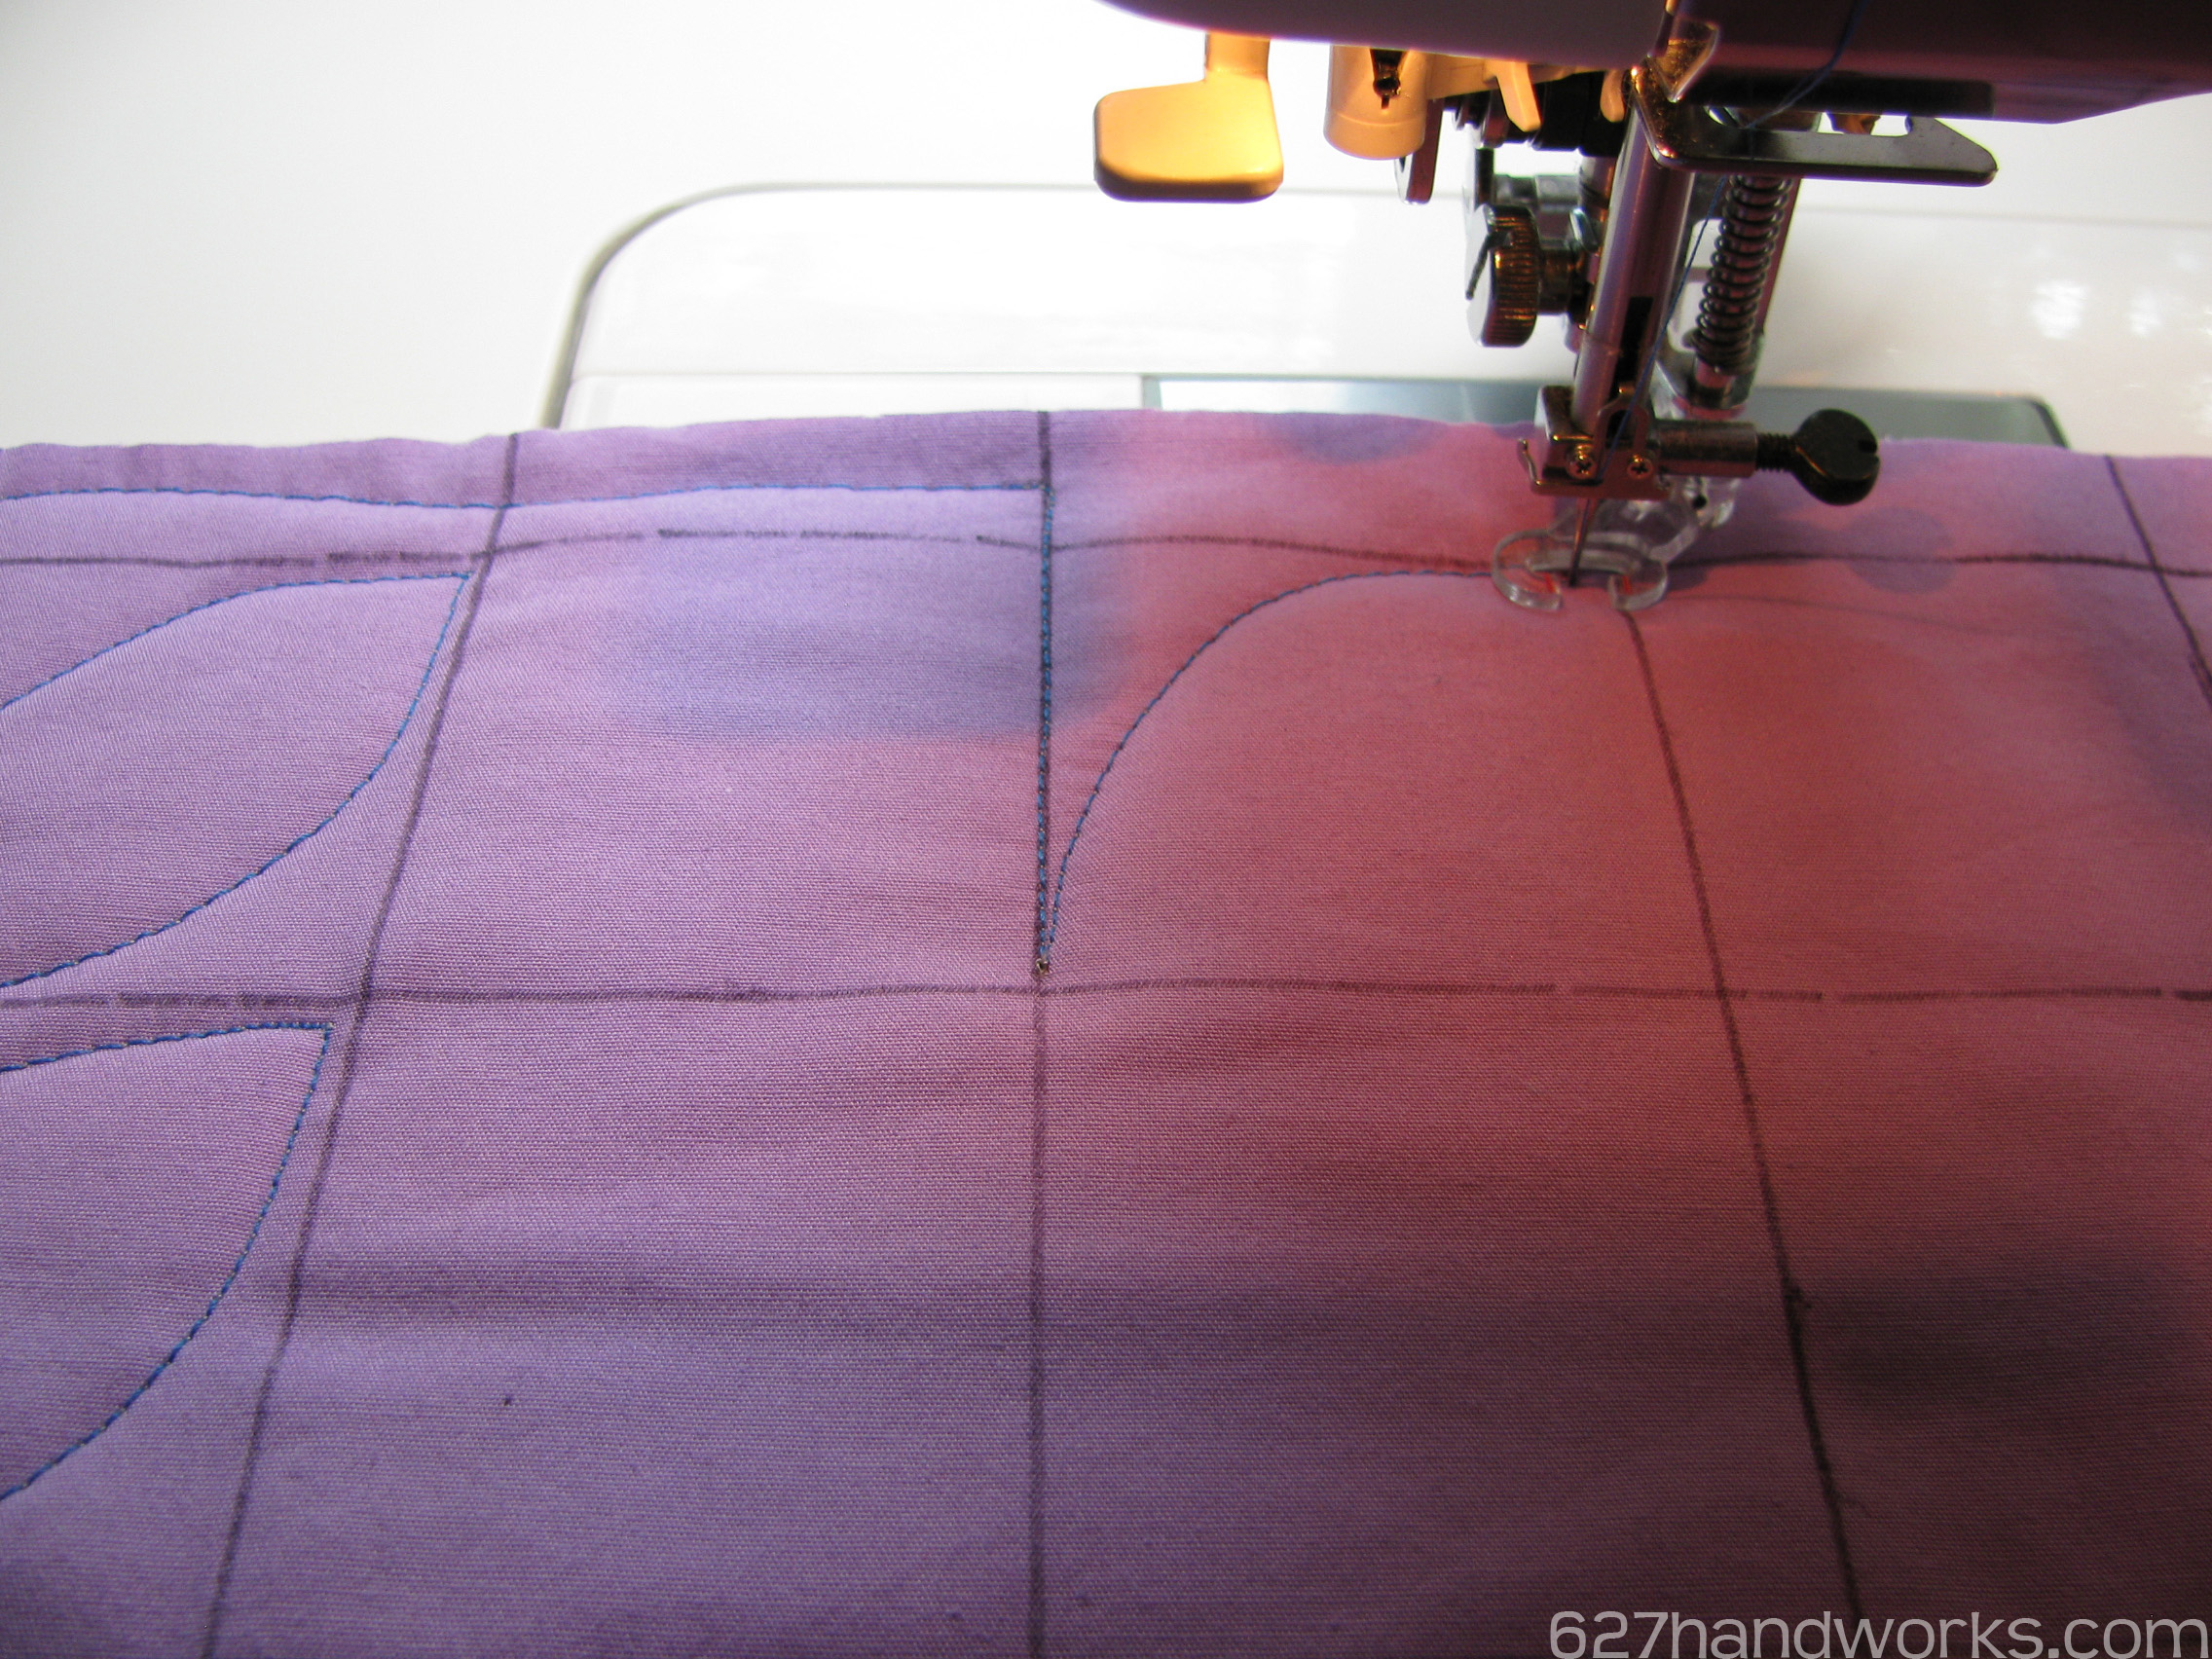
Curve up to the corner

Half circle around to the other corner
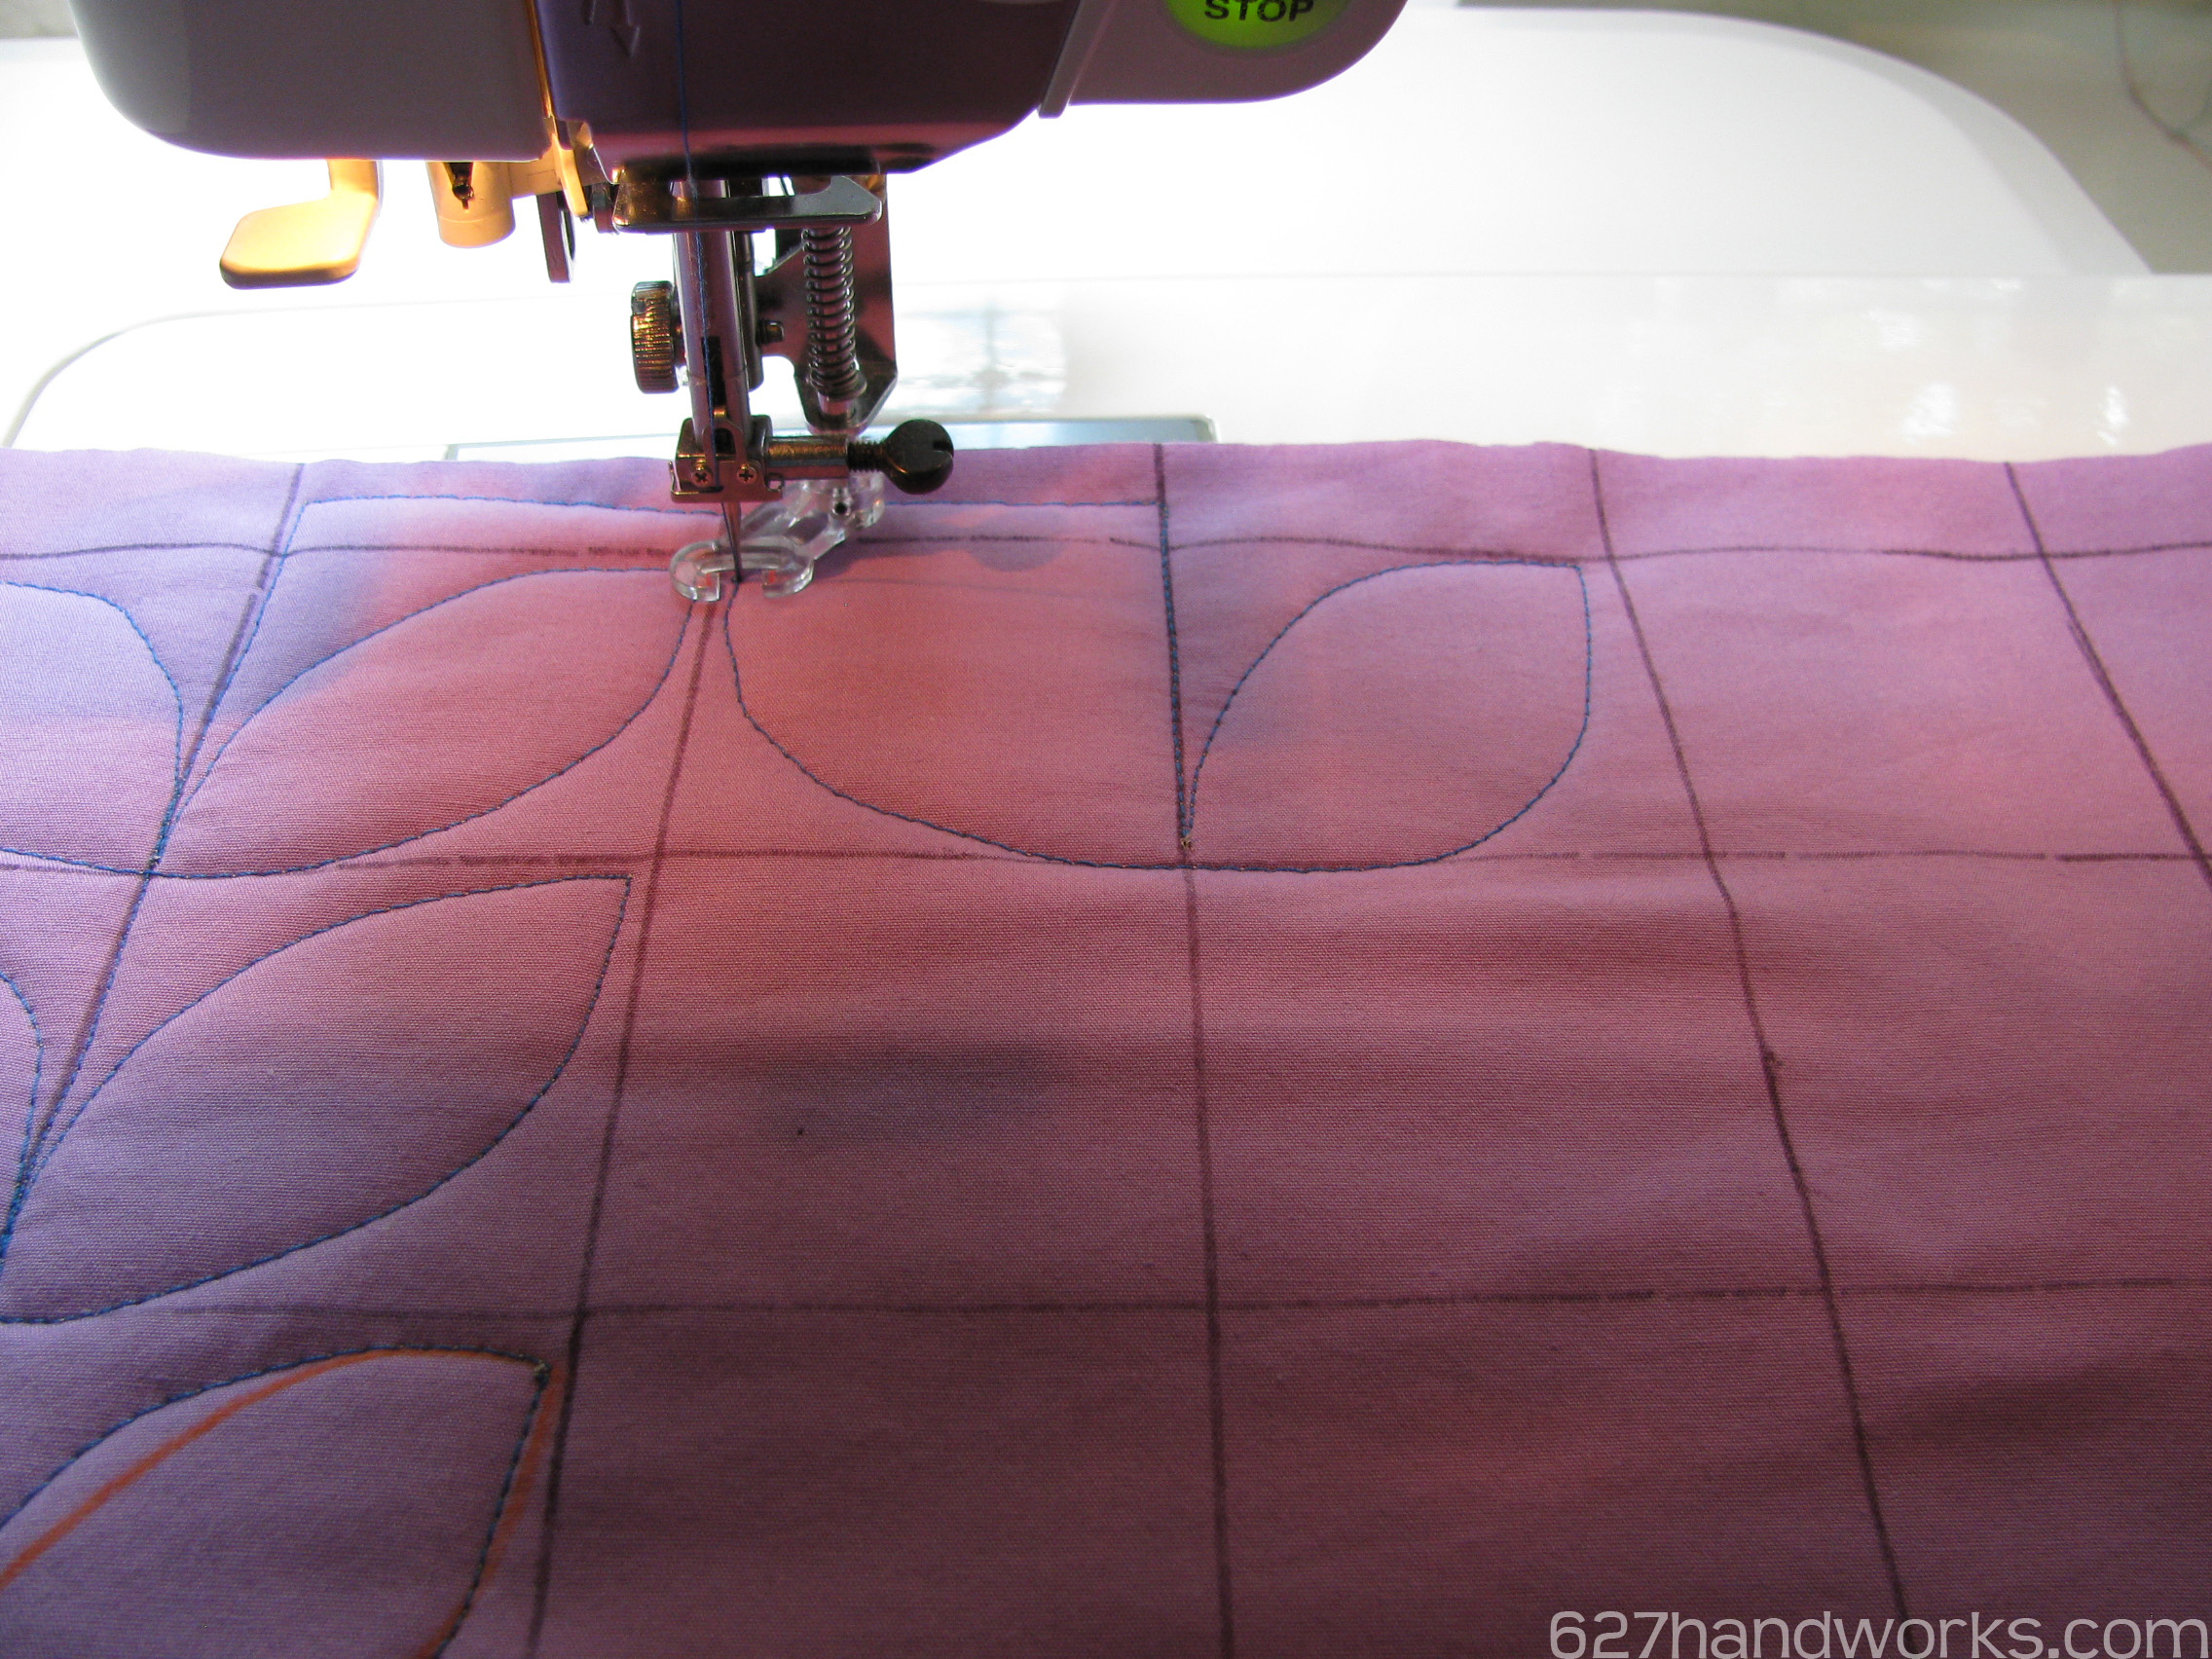
Curve back down

When you get to the top of your quilt you can just reverse these steps and work your way back down.
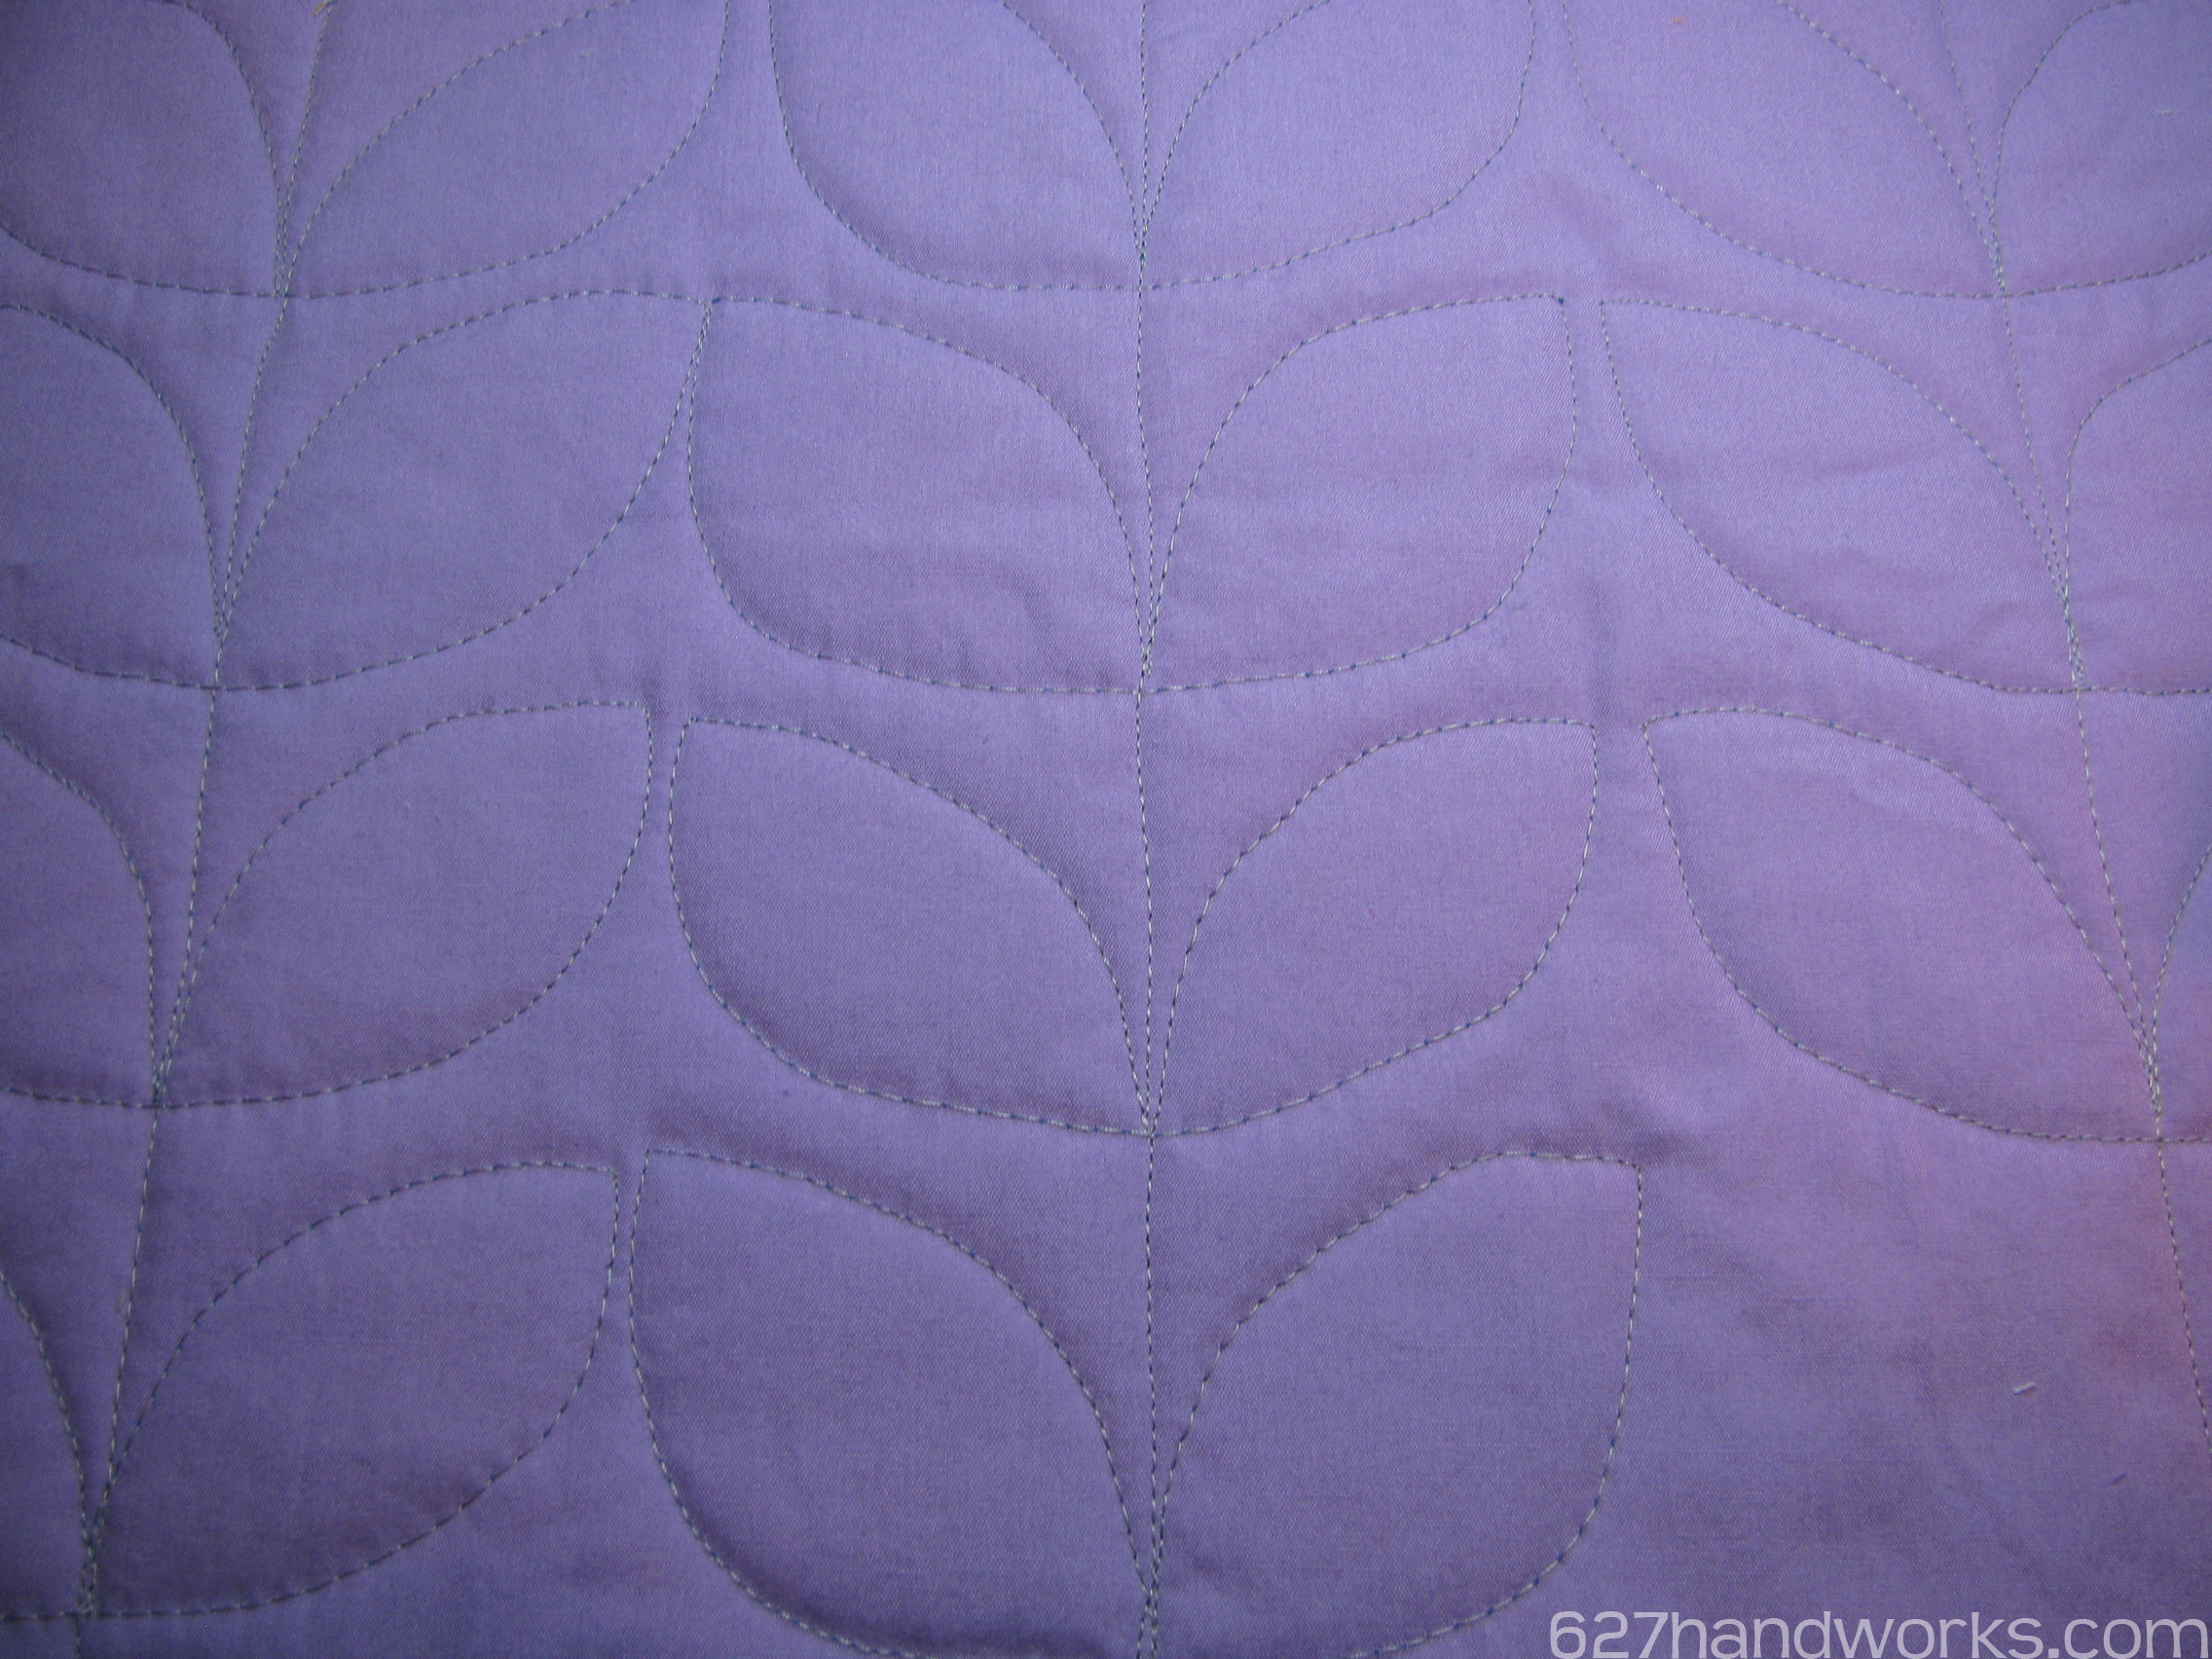
This is a simple pattern and depending on the size of your squares, it can get really crinkly in the wash!
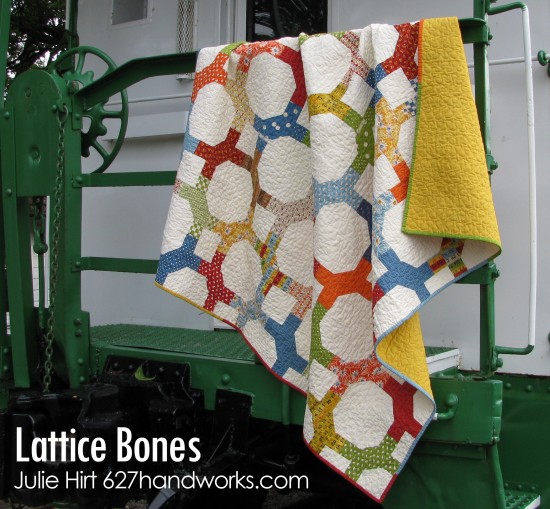
Here is the Scrappy Trip quilted with ‘Modern Petals’.
Let me know if you have any questions! I’ll answer questions in the comments thread rather than emailing.
![]()
 Tuesday, July 23rd, 2013, 12:10 am |
  Sewing & Fabric |
 ![]() RSS feed
Comments and pings are currently closed.
RSS feed
Comments and pings are currently closed.
July 23, 2013 at 1:48 am
I love this! I’m actually working on a quilt right now that I was considering doing something like this with. Thanks for the tute!
July 23, 2013 at 1:57 am
Love this idea! what kind of markers do you use?
July 23, 2013 at 8:03 am
I use this pattern with quilts that have small patched squared, so no markers! The pictures above are made with a pen and you definitely don’t want to do that on your quilt top.
July 23, 2013 at 7:48 am
Thanks for the very, very clear tutorial. I think I might even be able to try this.
July 23, 2013 at 7:58 am
Thanks for sharing! Very clear instructions and great pictures. I love the look of this design. I have one question though. Did you press your seams open or to one side for the patchwork and do you think it makes any difference when you quilt up the seam?
Lorna:)
http://sewfreshquilts.blogspot.com
July 23, 2013 at 8:06 am
The scrappy trip tutorial actually has a clever way of pressing so your seams line up.
I think it actually makes a difference to press the seams in opposite directions. It helps them butt up together so it’s easier to line them up to sew.
July 23, 2013 at 8:08 am
Thanks for the instructions! I think I need to try this!
July 23, 2013 at 11:03 am
Nice! I haven’t tried FMQ yet but when I do it’ll definitely be something like this.
July 23, 2013 at 11:12 am
It’s a great beginner pattern because you have guidelines with your blocks. Let me know if you try it!
July 23, 2013 at 11:12 am
great tutorial!
July 23, 2013 at 12:45 pm
I love your quilting on the Scrappy Trip! Fits the pattern so well!
July 23, 2013 at 4:50 pm
Very nice! It’s funny, I find that with almost every pattern I’ve tried, I can work really well with it in one direction, but when I come back to do it in the opposite direction, everything goes crazy! That’s my biggest practice hurdle these days.
July 23, 2013 at 5:40 pm
The modern petals look great on your scrappy quilt!! I’m going to try some of these for practice.
July 24, 2013 at 2:07 am
I think I’ll try this! I have a Trip Around the World top that I did that is still just sitting there waiting for me to do something with. This modern petals tutorial of yours looks like it would be perfect for it! Thanks bunches!!
August 19, 2013 at 9:45 am
Love it! What an easy starter tutorial for making a quilt look great! I would love to see more of these posted
August 27, 2013 at 8:26 am
Great instructions and I want to try this. I am no clear on one thing though. When you bring the stitching back to where you started do you sew over that beginning point again or end the stiching, lift the needle and start again on the next block?
September 20, 2013 at 7:36 am
Doesn’t going up, and then down, up and then down, leave wrinkles in the quilt? I thought all patterns were supposed to go in one direction!
September 23, 2013 at 12:58 am
I’ve never had any problems!
February 9, 2014 at 7:05 pm
love your tutorials so clear to understand thanks
April 2, 2020 at 7:41 am
Thanks ‘ great idea
Trackbacks
September 26, 2013 at 11:42 am
September 26, 2013 at 2:05 pm
March 14, 2014 at 12:55 pm
May 17, 2017 at 10:51 am