Archive for January, 2016

January 25th, 2016

Sleep Tight Dreamcatcher – Tutorial

by Julie Hirt

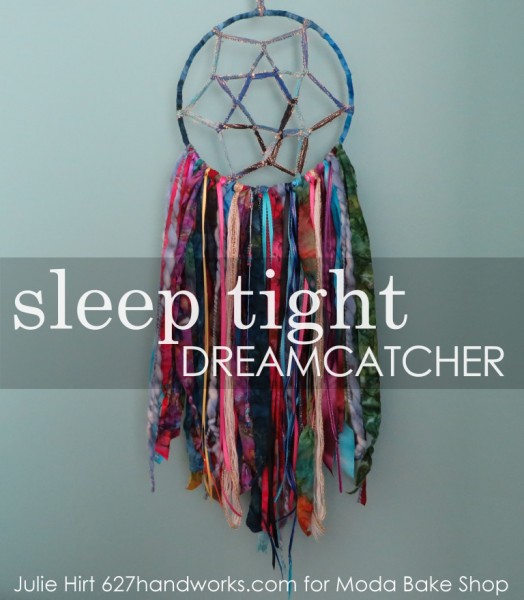
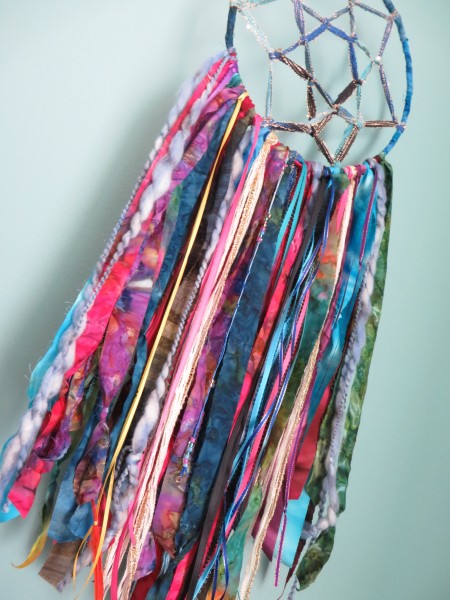
I have a new tutorial up over at Moda Bake Shop.

Sleep-Tight-Dreamcatcher-Tutorial-1-768x879

These are a lot of fun to put together and are kid friendly. Probably ages 7+ with a little adult supervision.

Sleep-Tight-Dreamcatcher-Tutorial-24

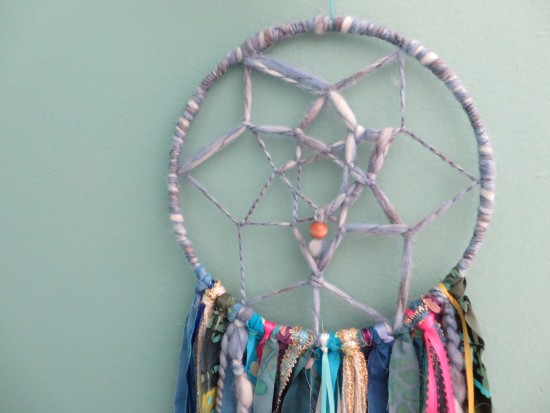
If you aren’t a quilter and don’t sew, this is a fun way to use fabric.

Sleep-Tight-Dreamcatcher-Tutorial-25

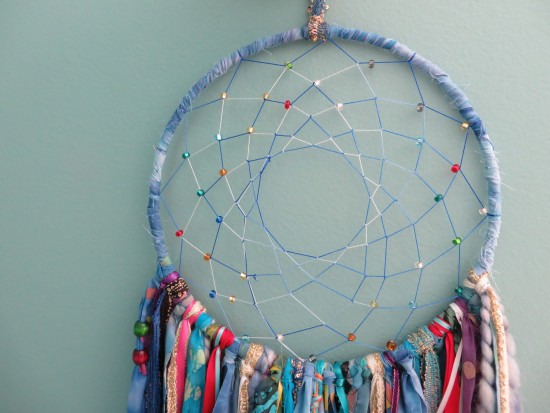
You get completely different looks just by changing the materials around.

Sleep-Tight-Dreamcatcher-Tutorial-41-e1453159018820

You can find the tutorial HERE.

siggy

January 19th, 2016

Needlebook with Scissors Holder

by Julie Hirt

Needlebook 627handworks (4)

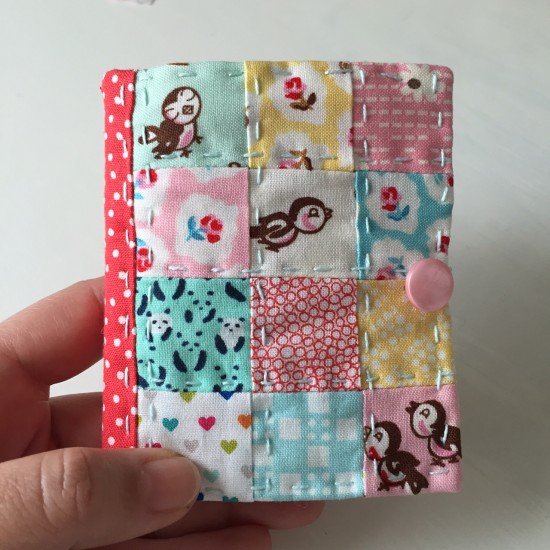
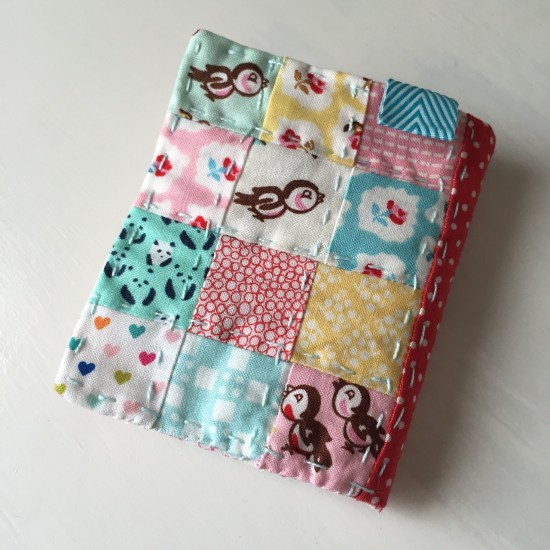
!!! Isn’t it cute?   A new needlebook has been on my list for a while. When I saw this free pattern/tutorial by Nana Company I knew it was the one.

Needlebook 627handworks (9)

It did take a couple hours between fussy cutting and the hand stitching embellishments, but so worth the time.  If I’m going to use it and see it often, I may as well enjoy it.

Needlebook 627handworks (8)

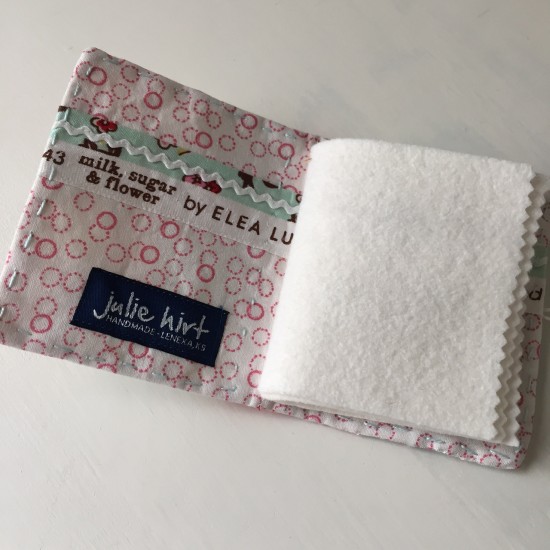
The interior is has a little strip of selvage from one of the fussy prints and 1973 ric-rac purchased from an estate sale.  I’ve been saving that little package for something special and this was it.  The pink button is from a jar of vintage buttons purchased from the same estate sale.

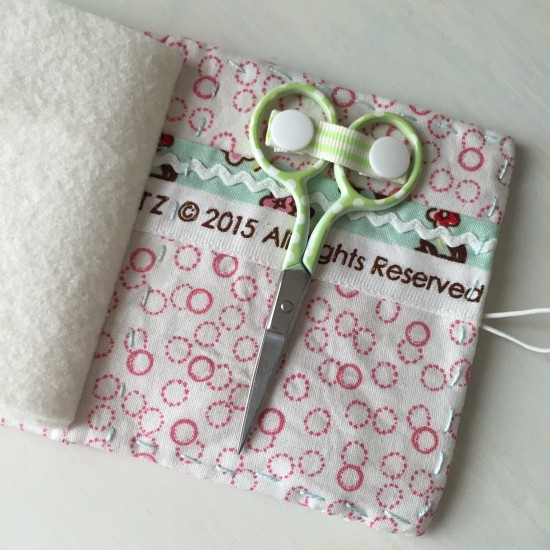
Here is my favorite part:

Needlebook KamSnaps 2 627handworks

My previous needle case has a little pocket but the scissors slip out.  Kam snaps came to mind and this is what I came up with.

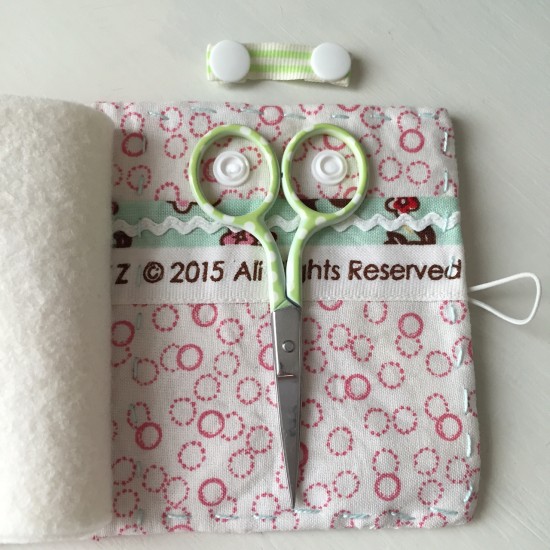
Needlebook KamSnaps 627handworks

When making the pattern add medium interfacing the interior fabric so the snaps can attach to something with more substance.  Take a small piece of ribbon, fold the ends over a few times and add the snap.   This process is customized to your scissor size.

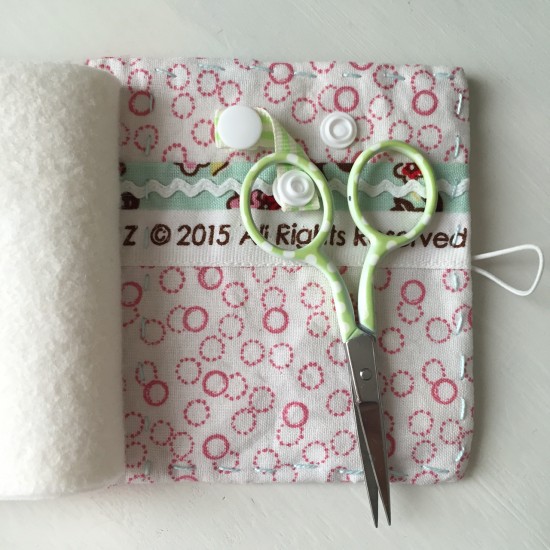
Needlebook KamSnaps 1 627handworks

When removing the scissors you really only need to undo one snap for quick access. You won’t lose the ribbon and the scissors are secure.

Needlebook 627handworks (3)

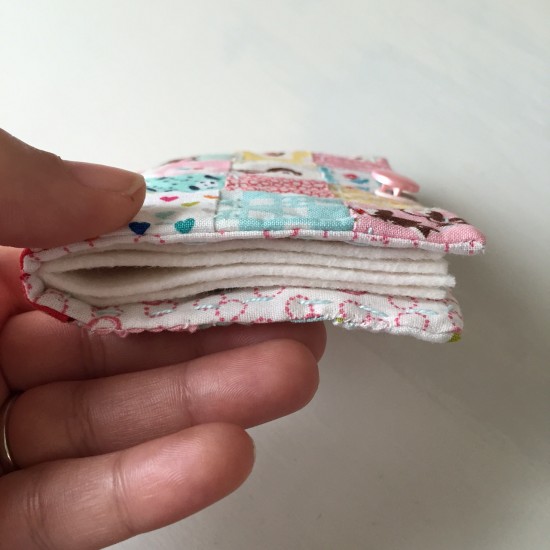
I recommend using wool or wool blend felt and not the $.50 per sheet craft felt.  It’s better for your needles and just feels a bit luxurious.

Needlebook 627handworks (4)

What is your favorite needlebook pattern?


siggy


January 17th, 2016

Here we go 2016

by Julie Hirt

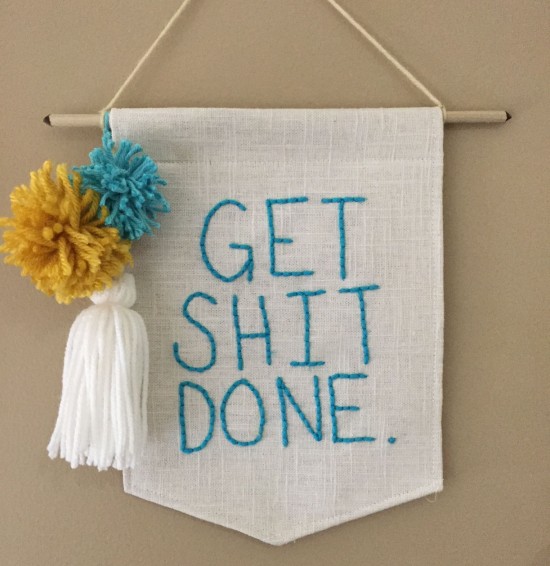
Instead of a New Years resolution or Word of the Year, I chose a phrase for 2016.

Get Shit Done

Doing my best to stick with it and made this little banner. I have it hanging above my sewing machine to remind me.

FullSizeRender

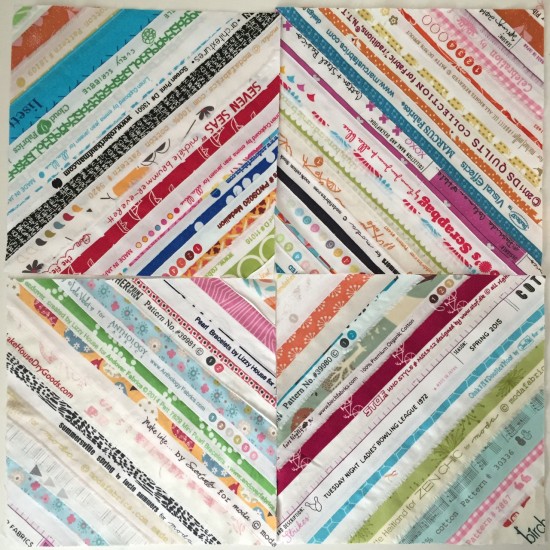
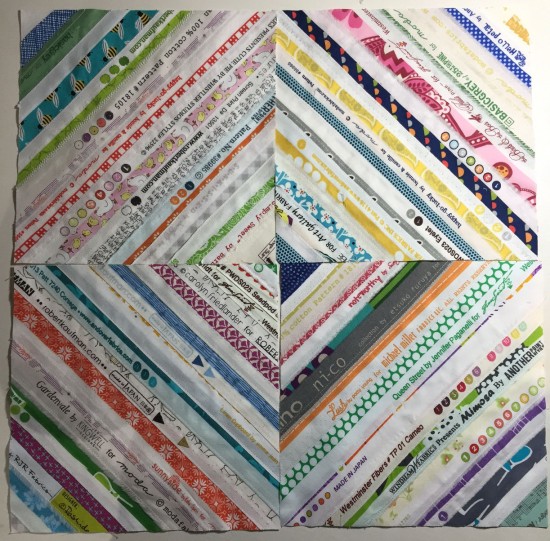
I save my selvages in a big glass jar on my cutting table.  After a few years it’s starting to get pretty full so I’m stitching them into 8.5″ blocks. Hoping to have enough variety for 64 blocks. I’ve always admired selvage quilts so I’m looking forward to this one.


IMG_5668

Hope you are off to a good 2016!


siggy

January 7th, 2016

Rope Bowl Tutorial

by Julie Hirt

Rope Bowl Tutorial 627handworks

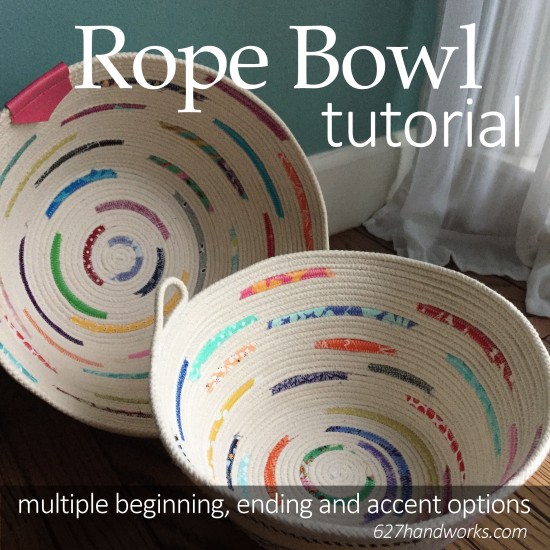
I’ve been noticing a lot of rope bowls in my social media feeds and wanted to share some of the information I’ve gathered. From different ways to begin, end and options to decorate as you go.

Using this basic method you can make baskets, coasters, plate chargers, hot mats, table runners, rugs and I’ve even seen bags!

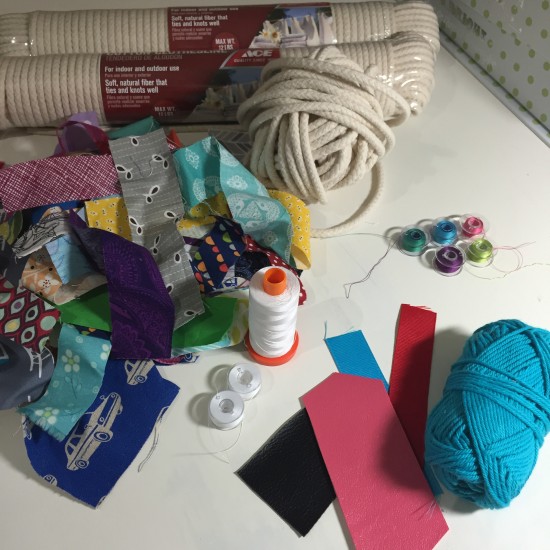
Gather Supplies

  • Rope*
  • Thread

Optional:

  • Thread in different colors
  • Fabric scrap strips
  • Ribbon
  • Yarn
  • Leather/Pleather scraps
  • Natural dye – Dye your rope beforehand, allow to fully dry
  • Paint – Paint your rope beforehand, allow to fully dry

*I like the 7/32″ cotton clothesline rope from my local hardware store. The cost was $9 for 100 ft.  I recommend cotton approximately 1/4″ to start with, then venture out from there.
Rope Basket Making 627handworks (1)

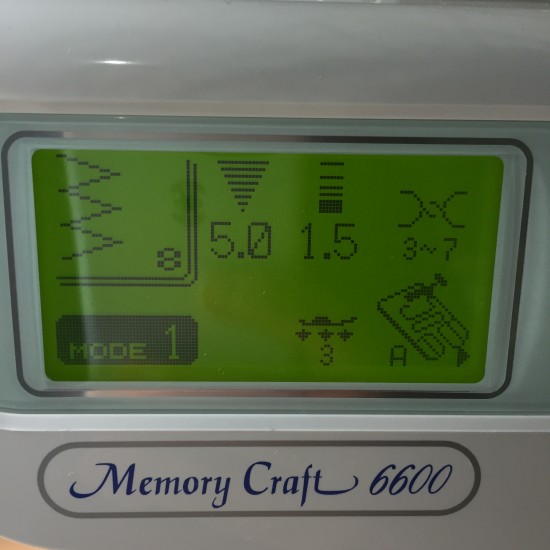
Set your machine to zig zag stitch.

Rope Basket Making 627handworks (3)


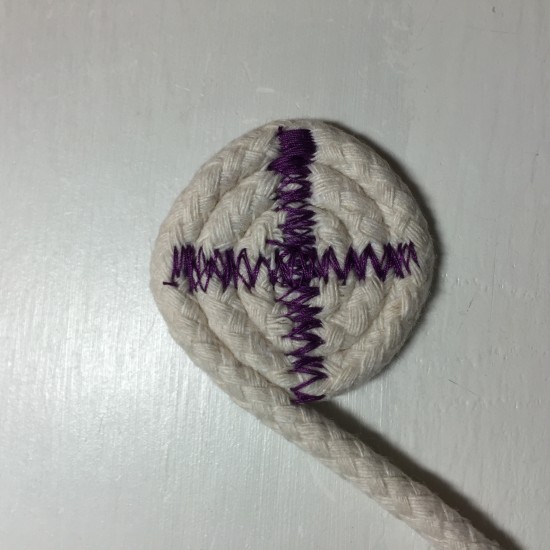
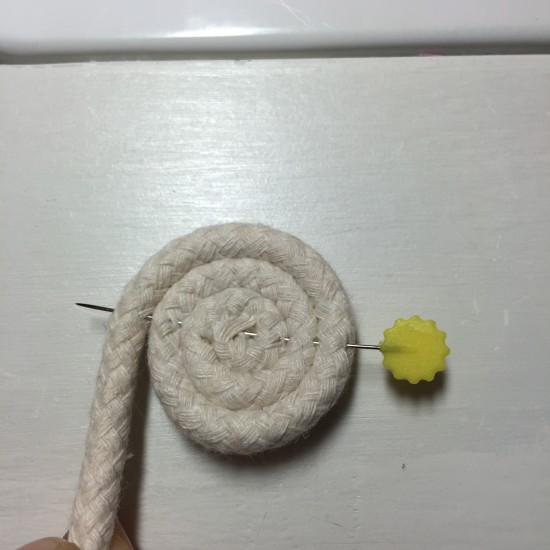
START – Optional Criss Cross

Make a tight coil and put a pin in place to help hold it.
Rope Basket Making 627handworks (14)

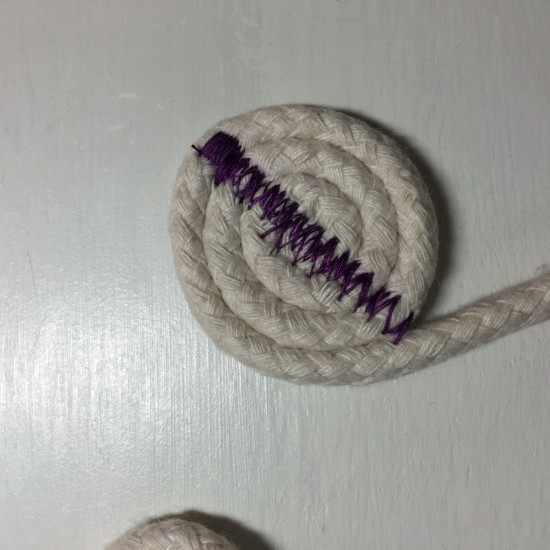
Zig Zag stitch straight across and reverse a few times.
Rope Basket Making 627handworks (4)

And the other direction.

Rope Basket Making 627handworks (5)

What this does is help hold your coil in place.  You need to start your zig zag stitching back in the center section. The criss cross helps with stability and I also like the look of it with contrasting thread.

START

Make a tight coil and put a pin in place to help hold it.

Rope Basket Making 627handworks (14)

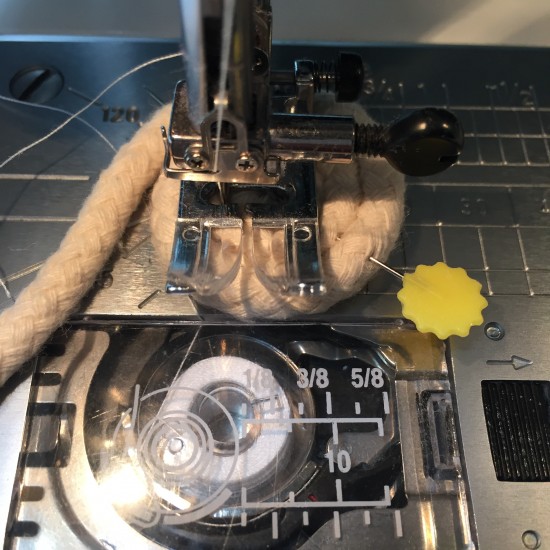
Slowly start zig zig stitching around the coil.  (If you did the Criss Cross you still need to start in the center)
Rope Basket Making 627handworks (15)

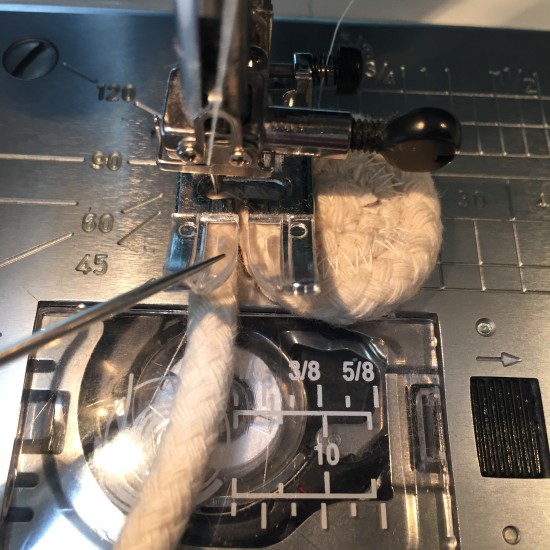
The goal is the keep the coil and loose rope going through the center so the zig zag catches both sides.
Rope Basket Making 627handworks (17)

Decorate with Fabric

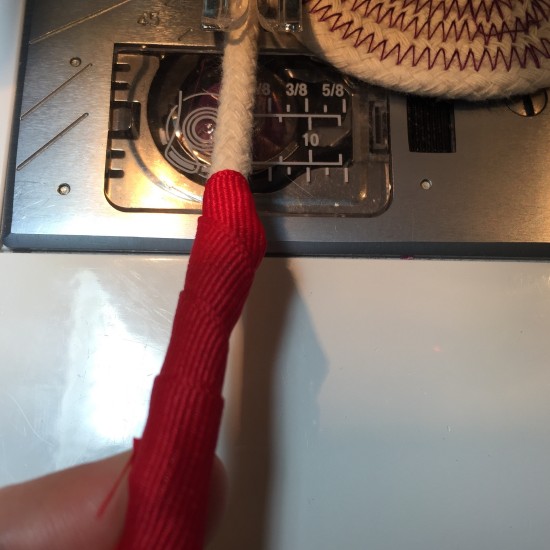
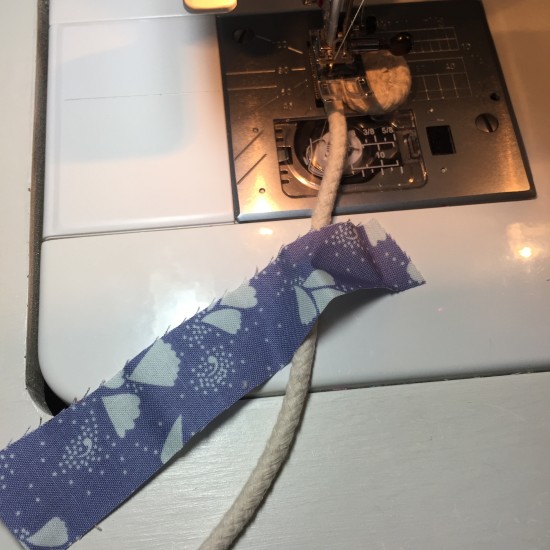
I like to use strips less than 1″ wide and the length is up to you. You could even wrap the rope from beginning to end in different fabrics.
Rope Basket Making 627handworks (18)

I just tuck the end in and start wrapping. Keep zig zag stitching.
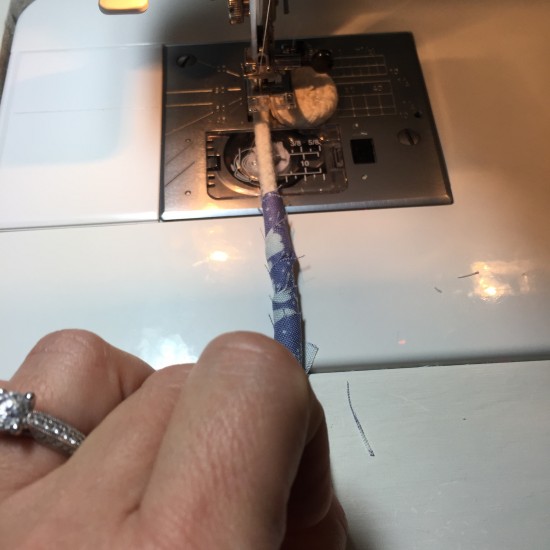
Rope Basket Making 627handworks (19)

Keep going and you’ll come back around to it.
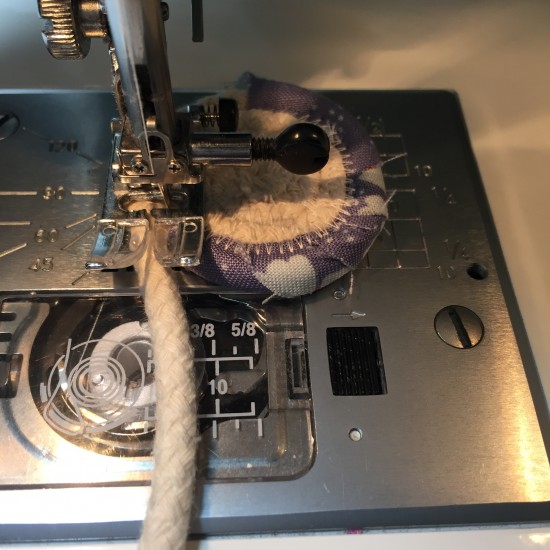
Rope Basket Making 627handworks (20)

Decorate with Yarn and Ribbon

Using the same method as above.  The yarn is fun to play with because you can make different designs and use multiple strands at once.
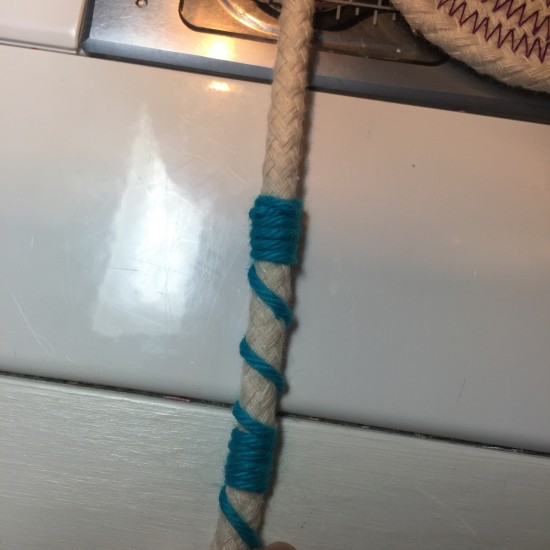
Rope Basket Making 627handworks (7)

Ribbon:

Rope Basket Making 627handworks (6)


Here is a little coaster using the Criss Cross beginning, loop and tuck end (below), ribbon, yarn and contrasting thread.

(This may not be the most fabulous look combined but I wanted you to see the different options!)
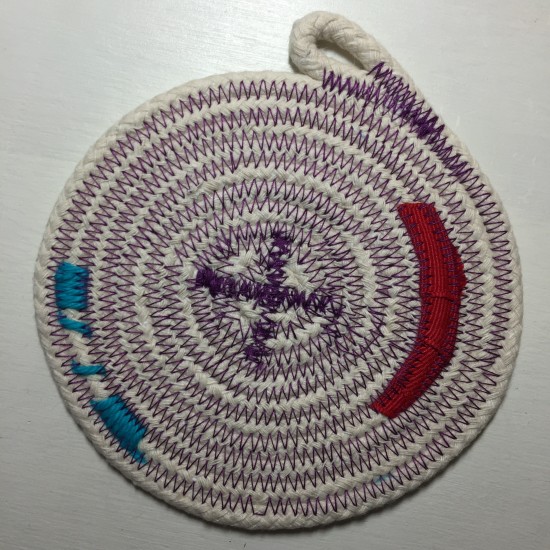
Rope Basket Making 627handworks (13)


Bowl Making   

Keep making your base until it’s the width you’d like. This one is 7″.
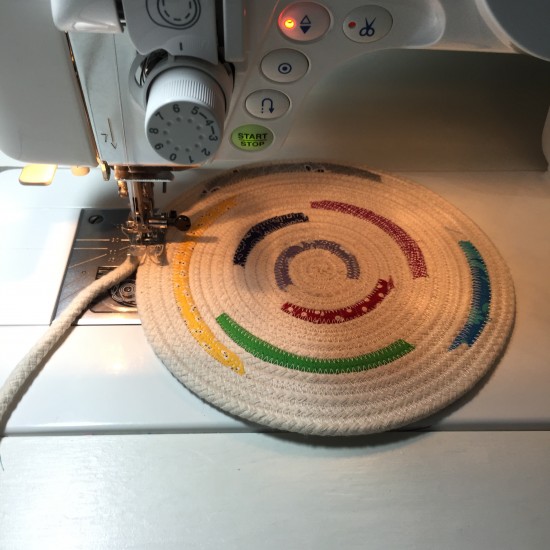
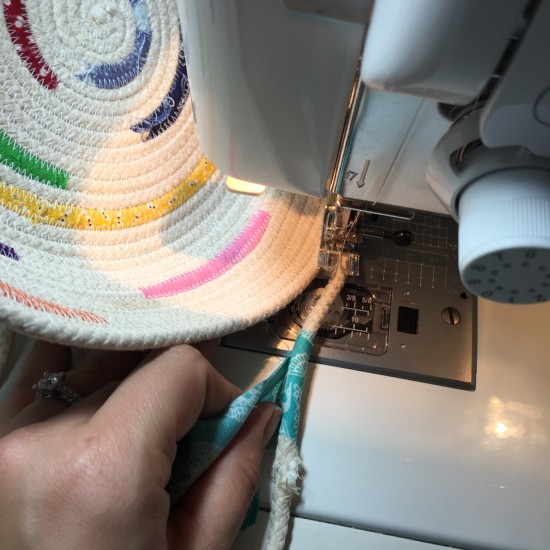
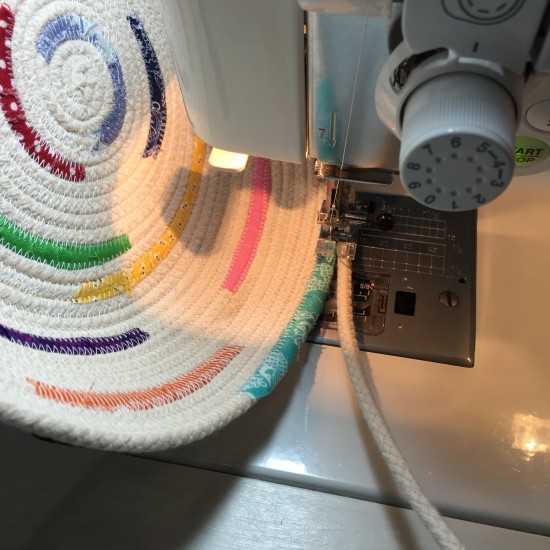
Rope Basket Making 627handworks (26)

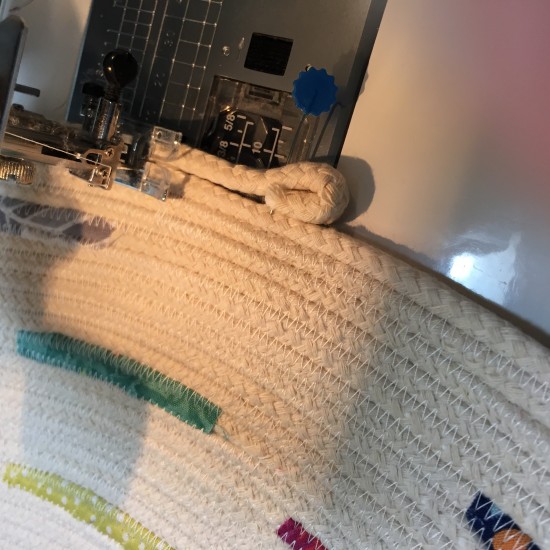
You’ll notice that the direction I’m going above puts the coil under the arm of my machine. I cannot continue bowl making with my coil in this position, I have to cut threads and move it to the other side. (You can avoid this by going the other direction to begin with.)

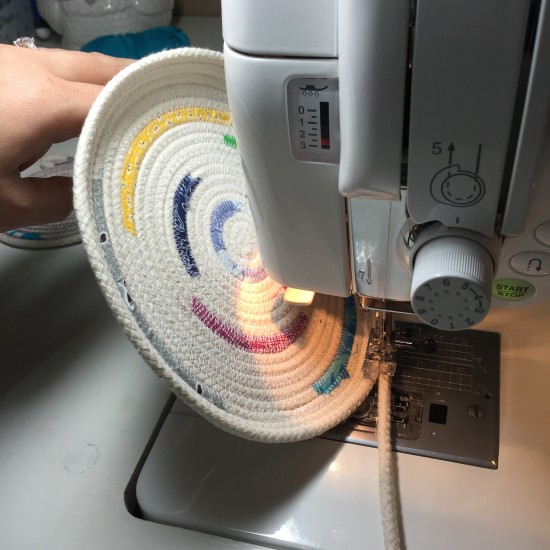
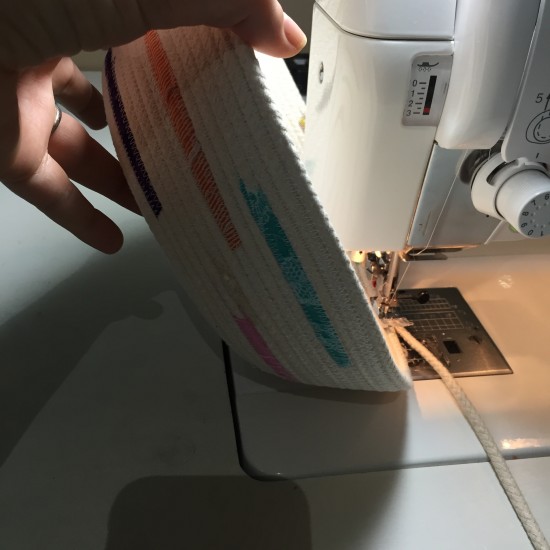
Take your base and lift it up on its side and continue the zig zag stitch.
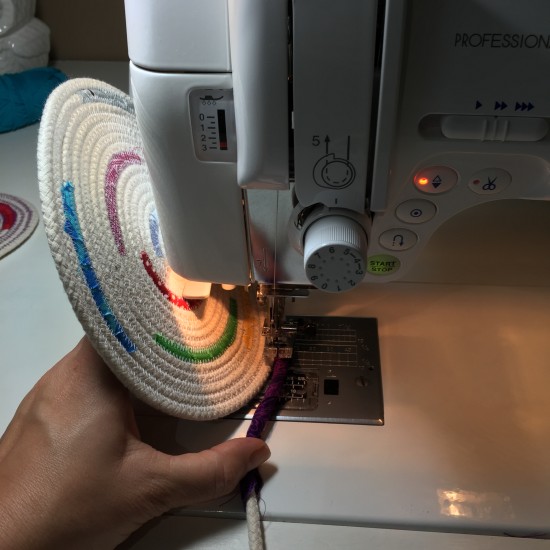
Rope Basket Making 627handworks (27)

A lip will begin to form.

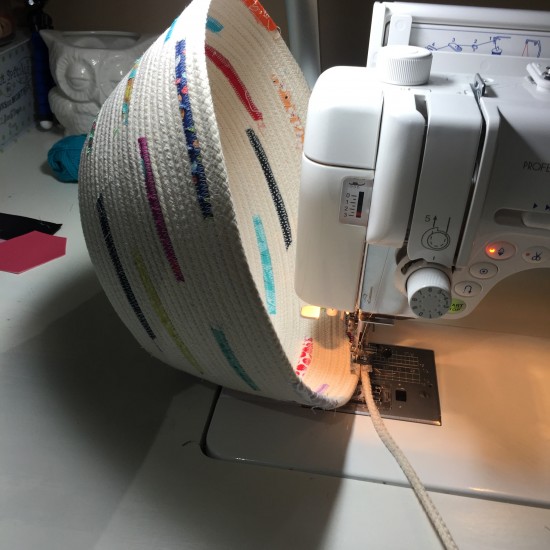
Rope Basket Making 627handworks (28)

Just keep going and adding your fabrics, yarn or ribbon.
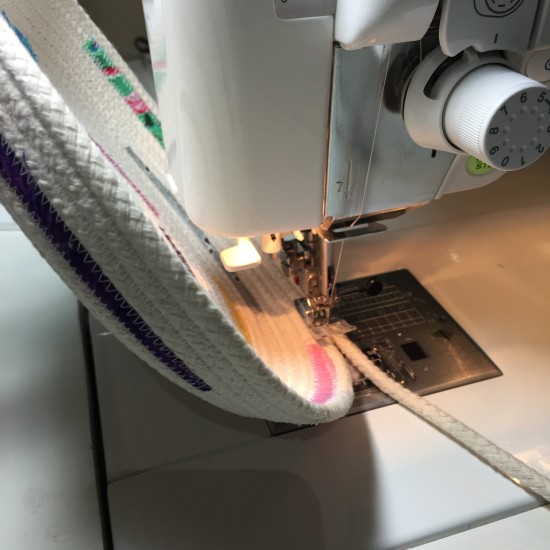
Rope Basket Making 627handworks (29)

Join New Rope

Just for reference – the bowl on the left, coaster and bowl in progress is what you can make with 100′ of 7/32″ rope.
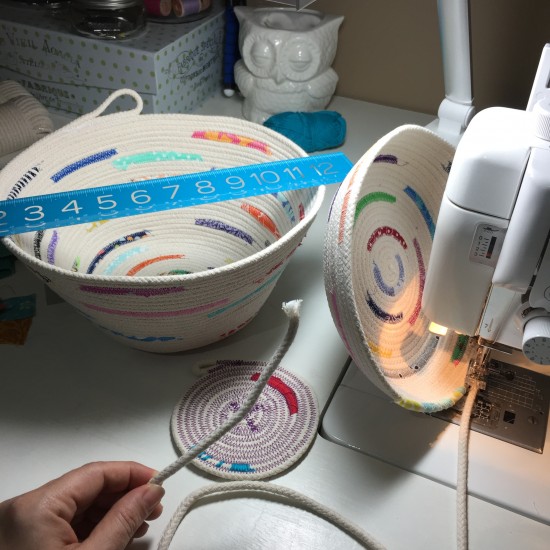
Rope Basket Making 627handworks (30)

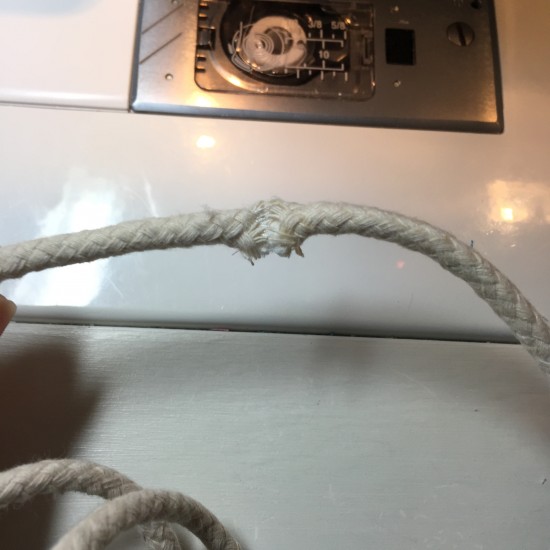
If you run out of rope, no worries.  Just stitch the end and the beginning of a new rope together.  I zig zagged.
Rope Basket Making 627handworks (31)

Cover the join with wrapped fabric.

Rope Basket Making 627handworks (32)

No one is the wiser.

Rope Basket Making 627handworks (33)

Just keep going around.

Rope Basket Making 627handworks (34)

And around.

Rope Basket Making 627handworks (35)

END – Loop & Tuck Option

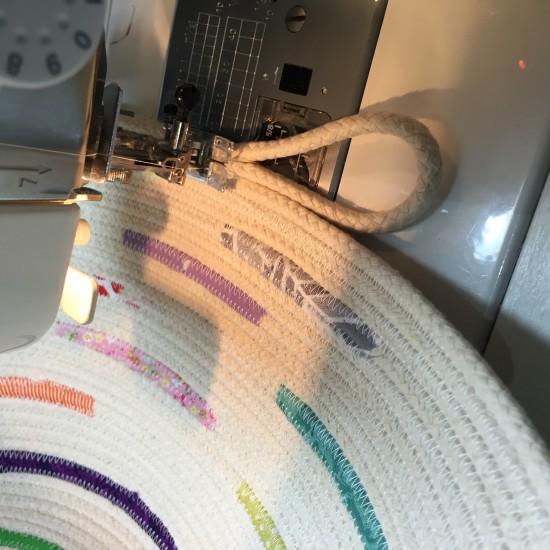
Decide how big you want your loop to be.  Pictured here is a large loop.
Rope Basket Making 627handworks (36)

Pictured here is a tiny nub loop.

Rope Basket Making 627handworks (37)

For this I will make a small loop.

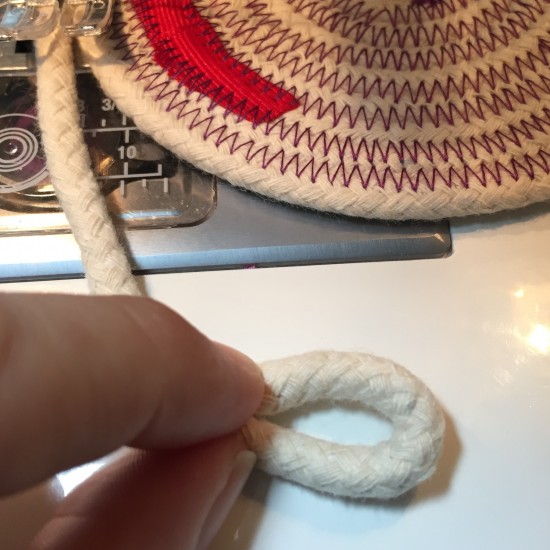
Rope Basket Making 627handworks (8)

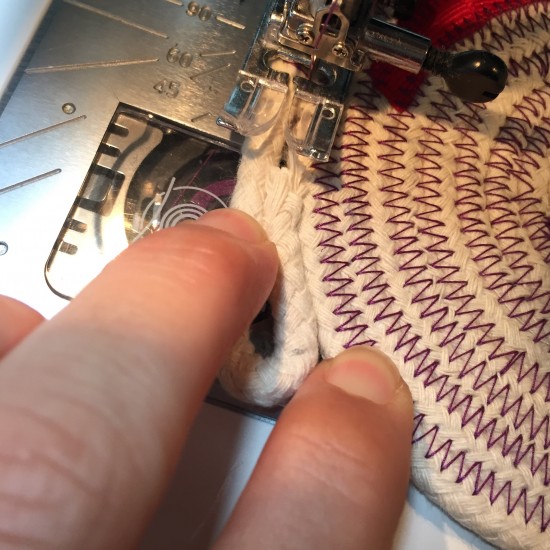
Press the loop up against your coils, raw edge inside.
Rope Basket Making 627handworks (9)

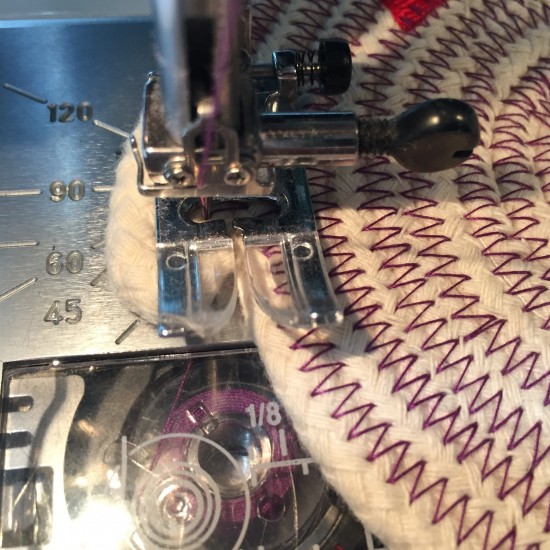
Zig zag stitch over the raw edge and down the side, back stitch the beginning of the loop.

The further you stitch, the less round the loop will be.
Rope Basket Making 627handworks (10)

After you’ve back stitched, zig zag stitch over the raw edge and the outer loop.  This helps secure the loop.
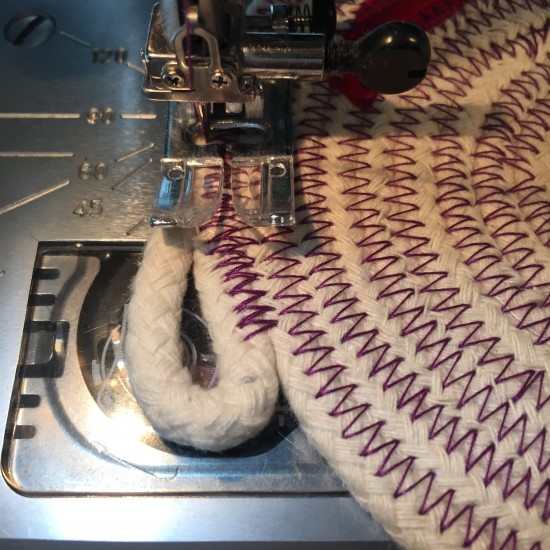
Rope Basket Making 627handworks (11)

The further you stitch, the smaller your loop.  Back stitch this as well.
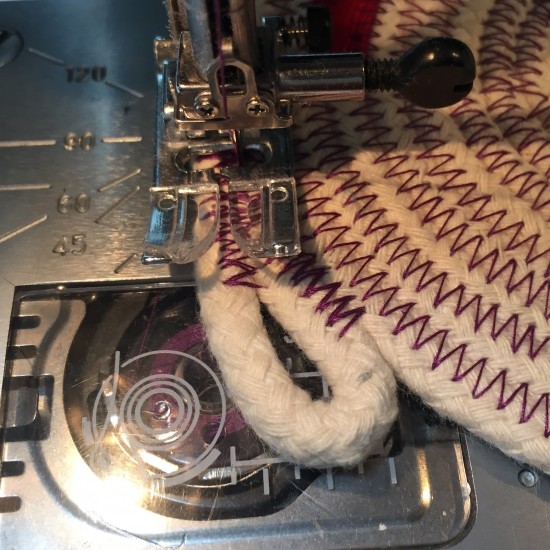
Rope Basket Making 627handworks (12)

Result:

Rope Basket Making 627handworks (45)

END – Wrapped Edge

Zig zag stitch right up to the end of your rope.
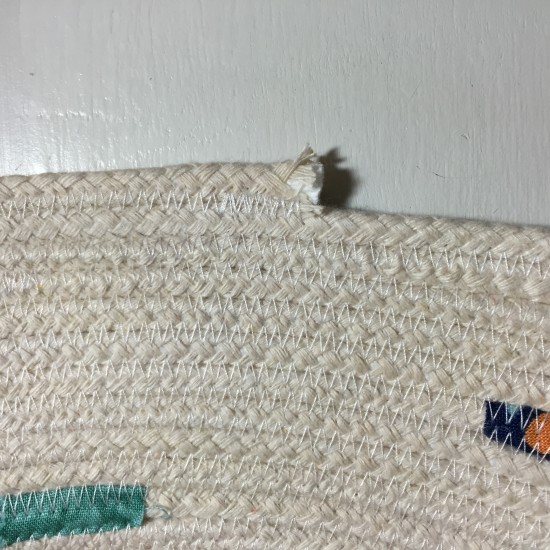
Rope Basket Making 627handworks (38)

Fold your leather/pleather piece over the edge and close to the end.
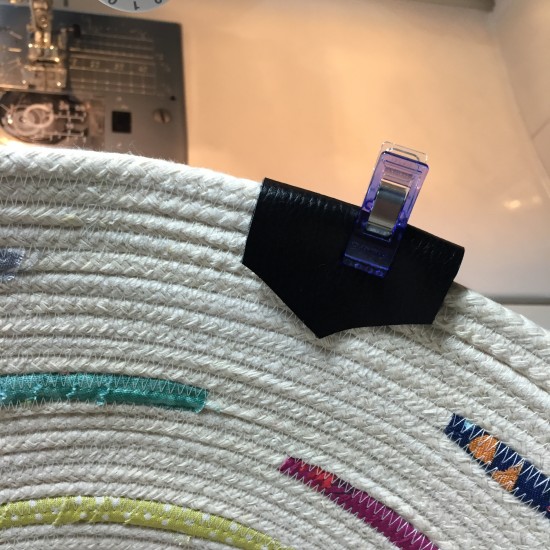
Rope Basket Making 627handworks (39)

Stitch down. I triple stitched using matching thread.
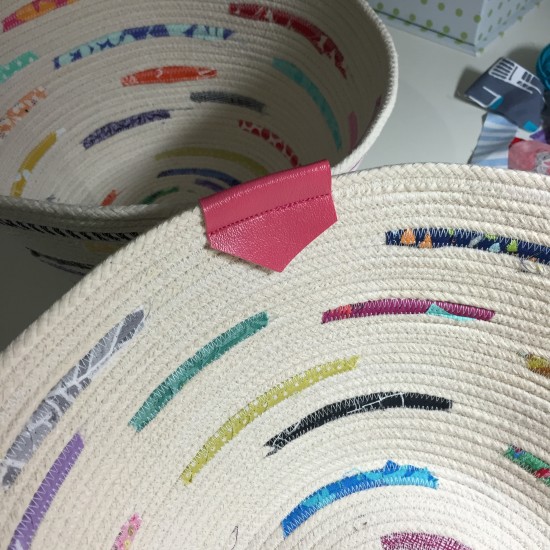
Rope Basket Making 627handworks (40)

YAY!  You’re all done.

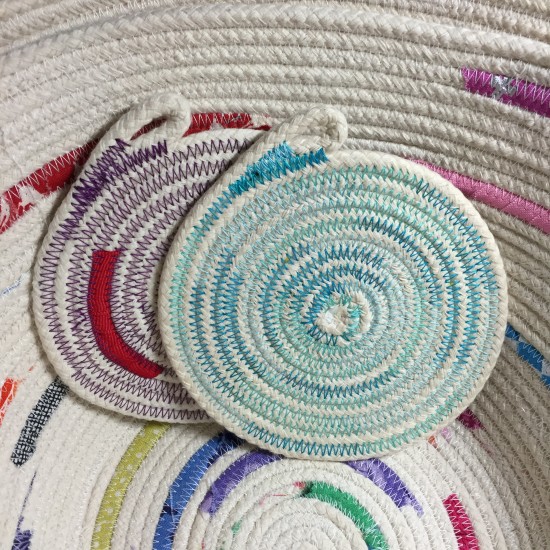
I love my bowls and coasters and know this is just the beginning of a nice little collection.
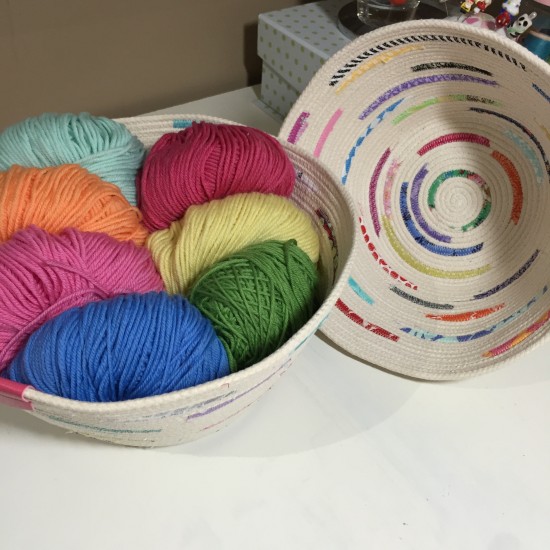
Rope Basket Making 627handworks (43)

I’ll definitely be playing more with color changing thread.
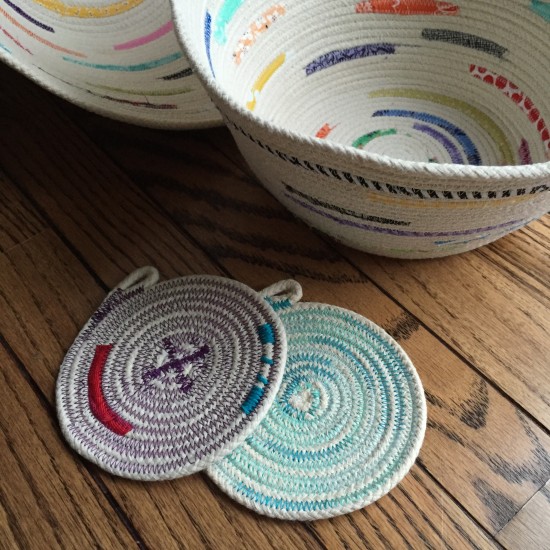
Rope Basket Making 627handworks (47)

INSPIRATION!

Different size ropes and and patterns. (image courtesy of @jmzblond Instagram)
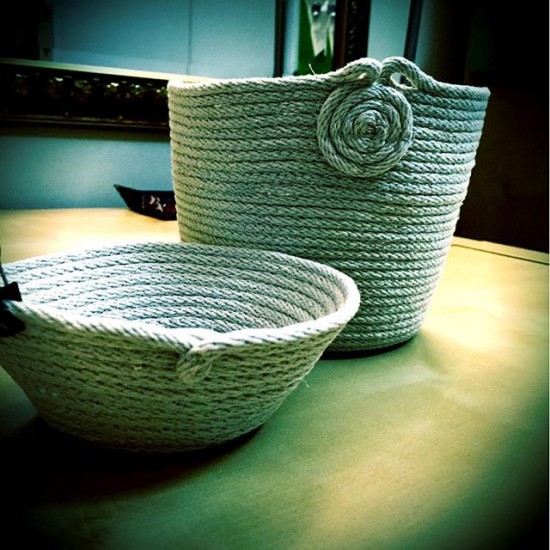
jmzblond

Painted rope! (image courtesy of @onethousandlayers Instagram)
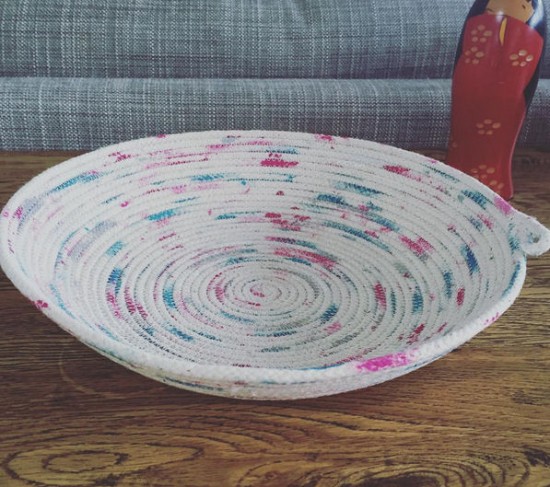
onethousandlayers

Gorgeous natural dyes (image courtesy of @sewbettyjane Instagram)
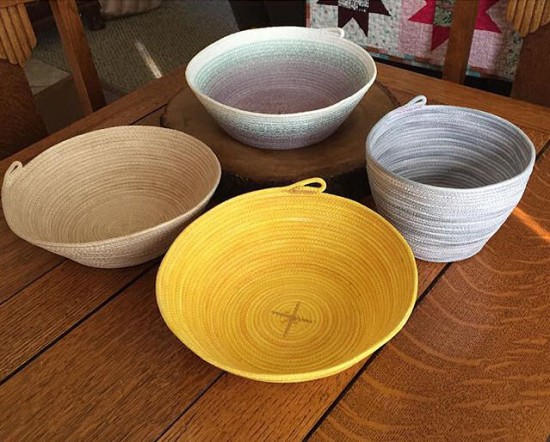
sewbettyjane

Handles! Thread and rope options (image courtesy of @vivelymade Instagram)
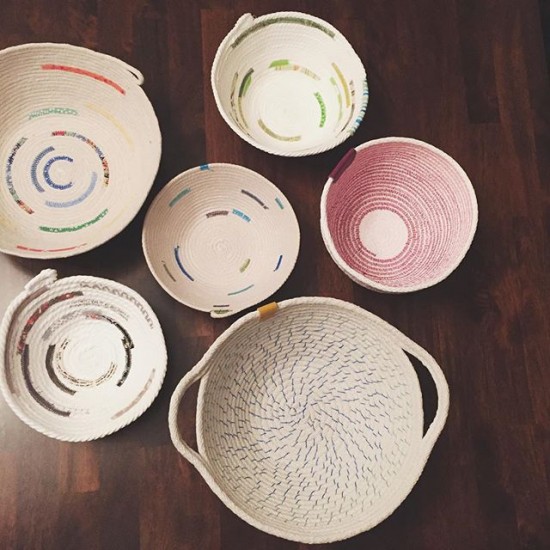
vivelymade


siggy

January 5th, 2016

Kansas City Royals Rally Towel Quilt

by Julie Hirt

IMG_2055

This quilt is a big deal… because ROYALS! When my Aunt contacted me to make this for my cousin using their 2015 Post Season and World Series rally towels I was pretty excited.

IMG_2056

I was also a little nervous because I had never worked with terry cloth before.  Honestly, it wasn’t an issue other than lint fluffs from trimming the towels.

The process was similar to making a t-shirt quilt as the towels were all slightly different sizes and orientations. I filled spaces with baby blue Kona cotton.

IMG_2033

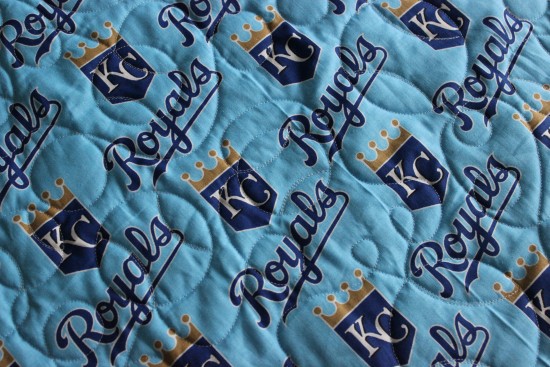
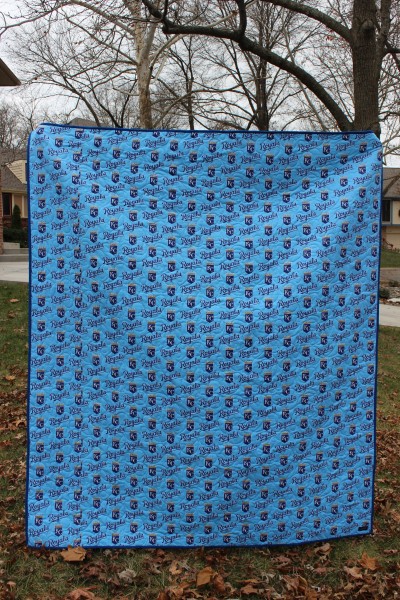
We found some awesome Royals fabric for the backing and quilted in a baseball pattern.  With a layer of Hobbs 80/20 between the terry and backing this turned into a nice, heavy quilt.

IMG_2057

The only drawback to making this quilt was giving it back.

Let’s go Royals! *clap* *clap* *clapclapclap*


siggy


Related Posts Plugin for WordPress, Blogger...