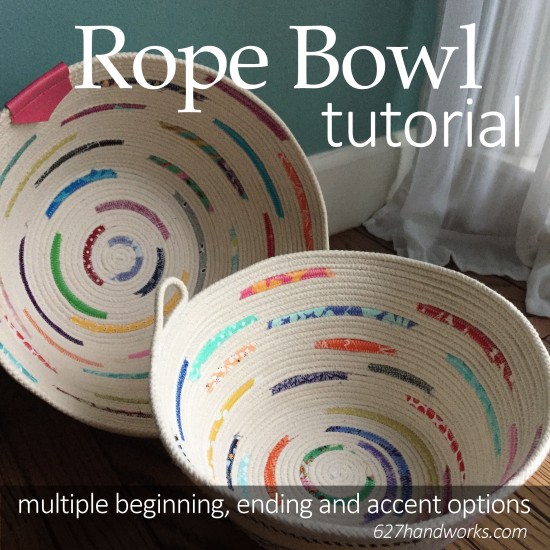
I’ve been noticing a lot of rope bowls in my social media feeds and wanted to share some of the information I’ve gathered. From different ways to begin, end and options to decorate as you go.
Using this basic method you can make baskets, coasters, plate chargers, hot mats, table runners, rugs and I’ve even seen bags!
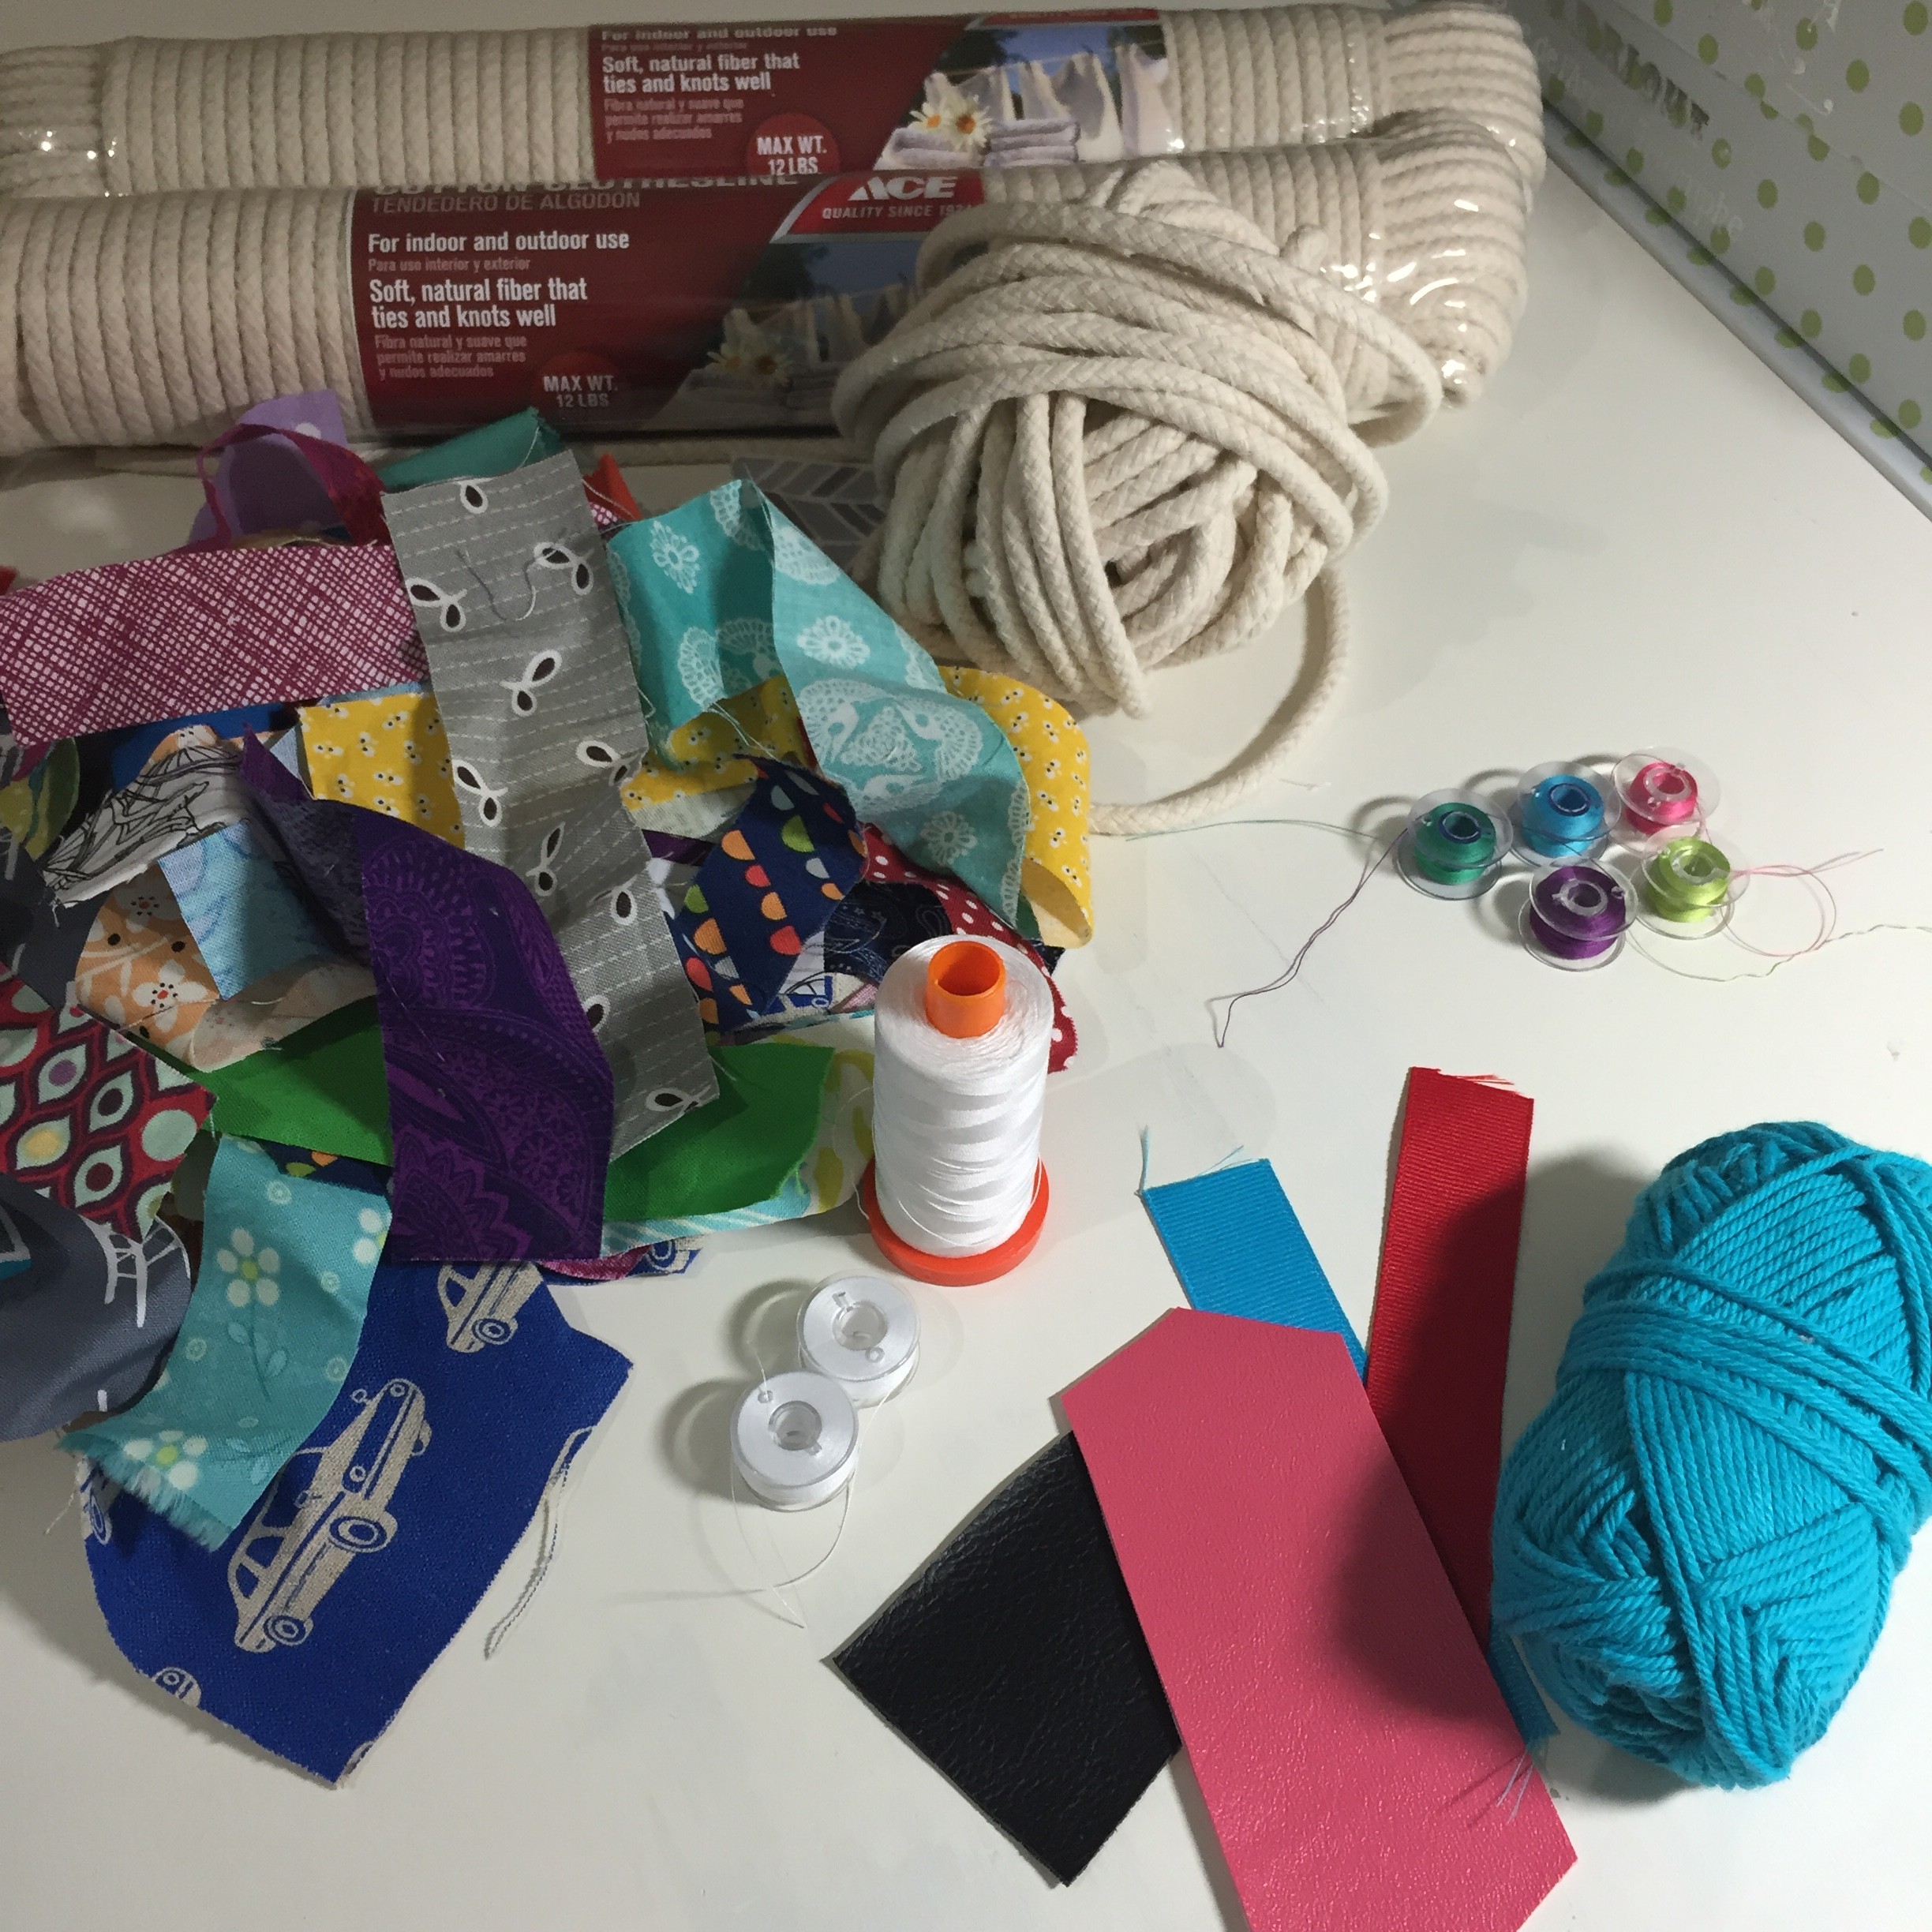
Gather Supplies
Optional:
- Thread in different colors
- Fabric scrap strips
- Ribbon
- Yarn
- Leather/Pleather scraps
- Natural dye – Dye your rope beforehand, allow to fully dry
- Paint – Paint your rope beforehand, allow to fully dry
*I like the 7/32″ cotton clothesline rope from my local hardware store. The cost was $9 for 100 ft. I recommend cotton approximately 1/4″ to start with, then venture out from there.

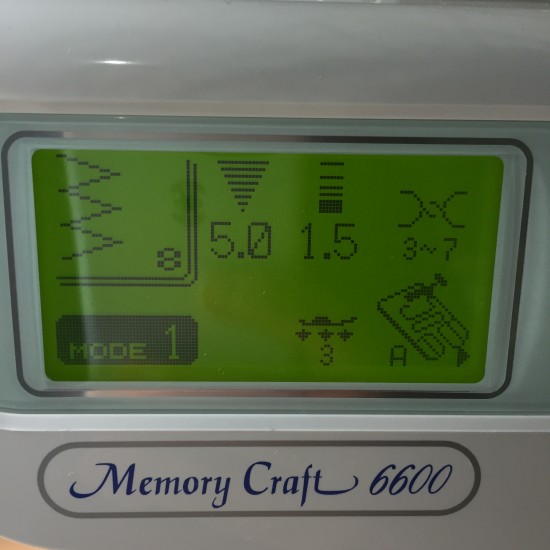
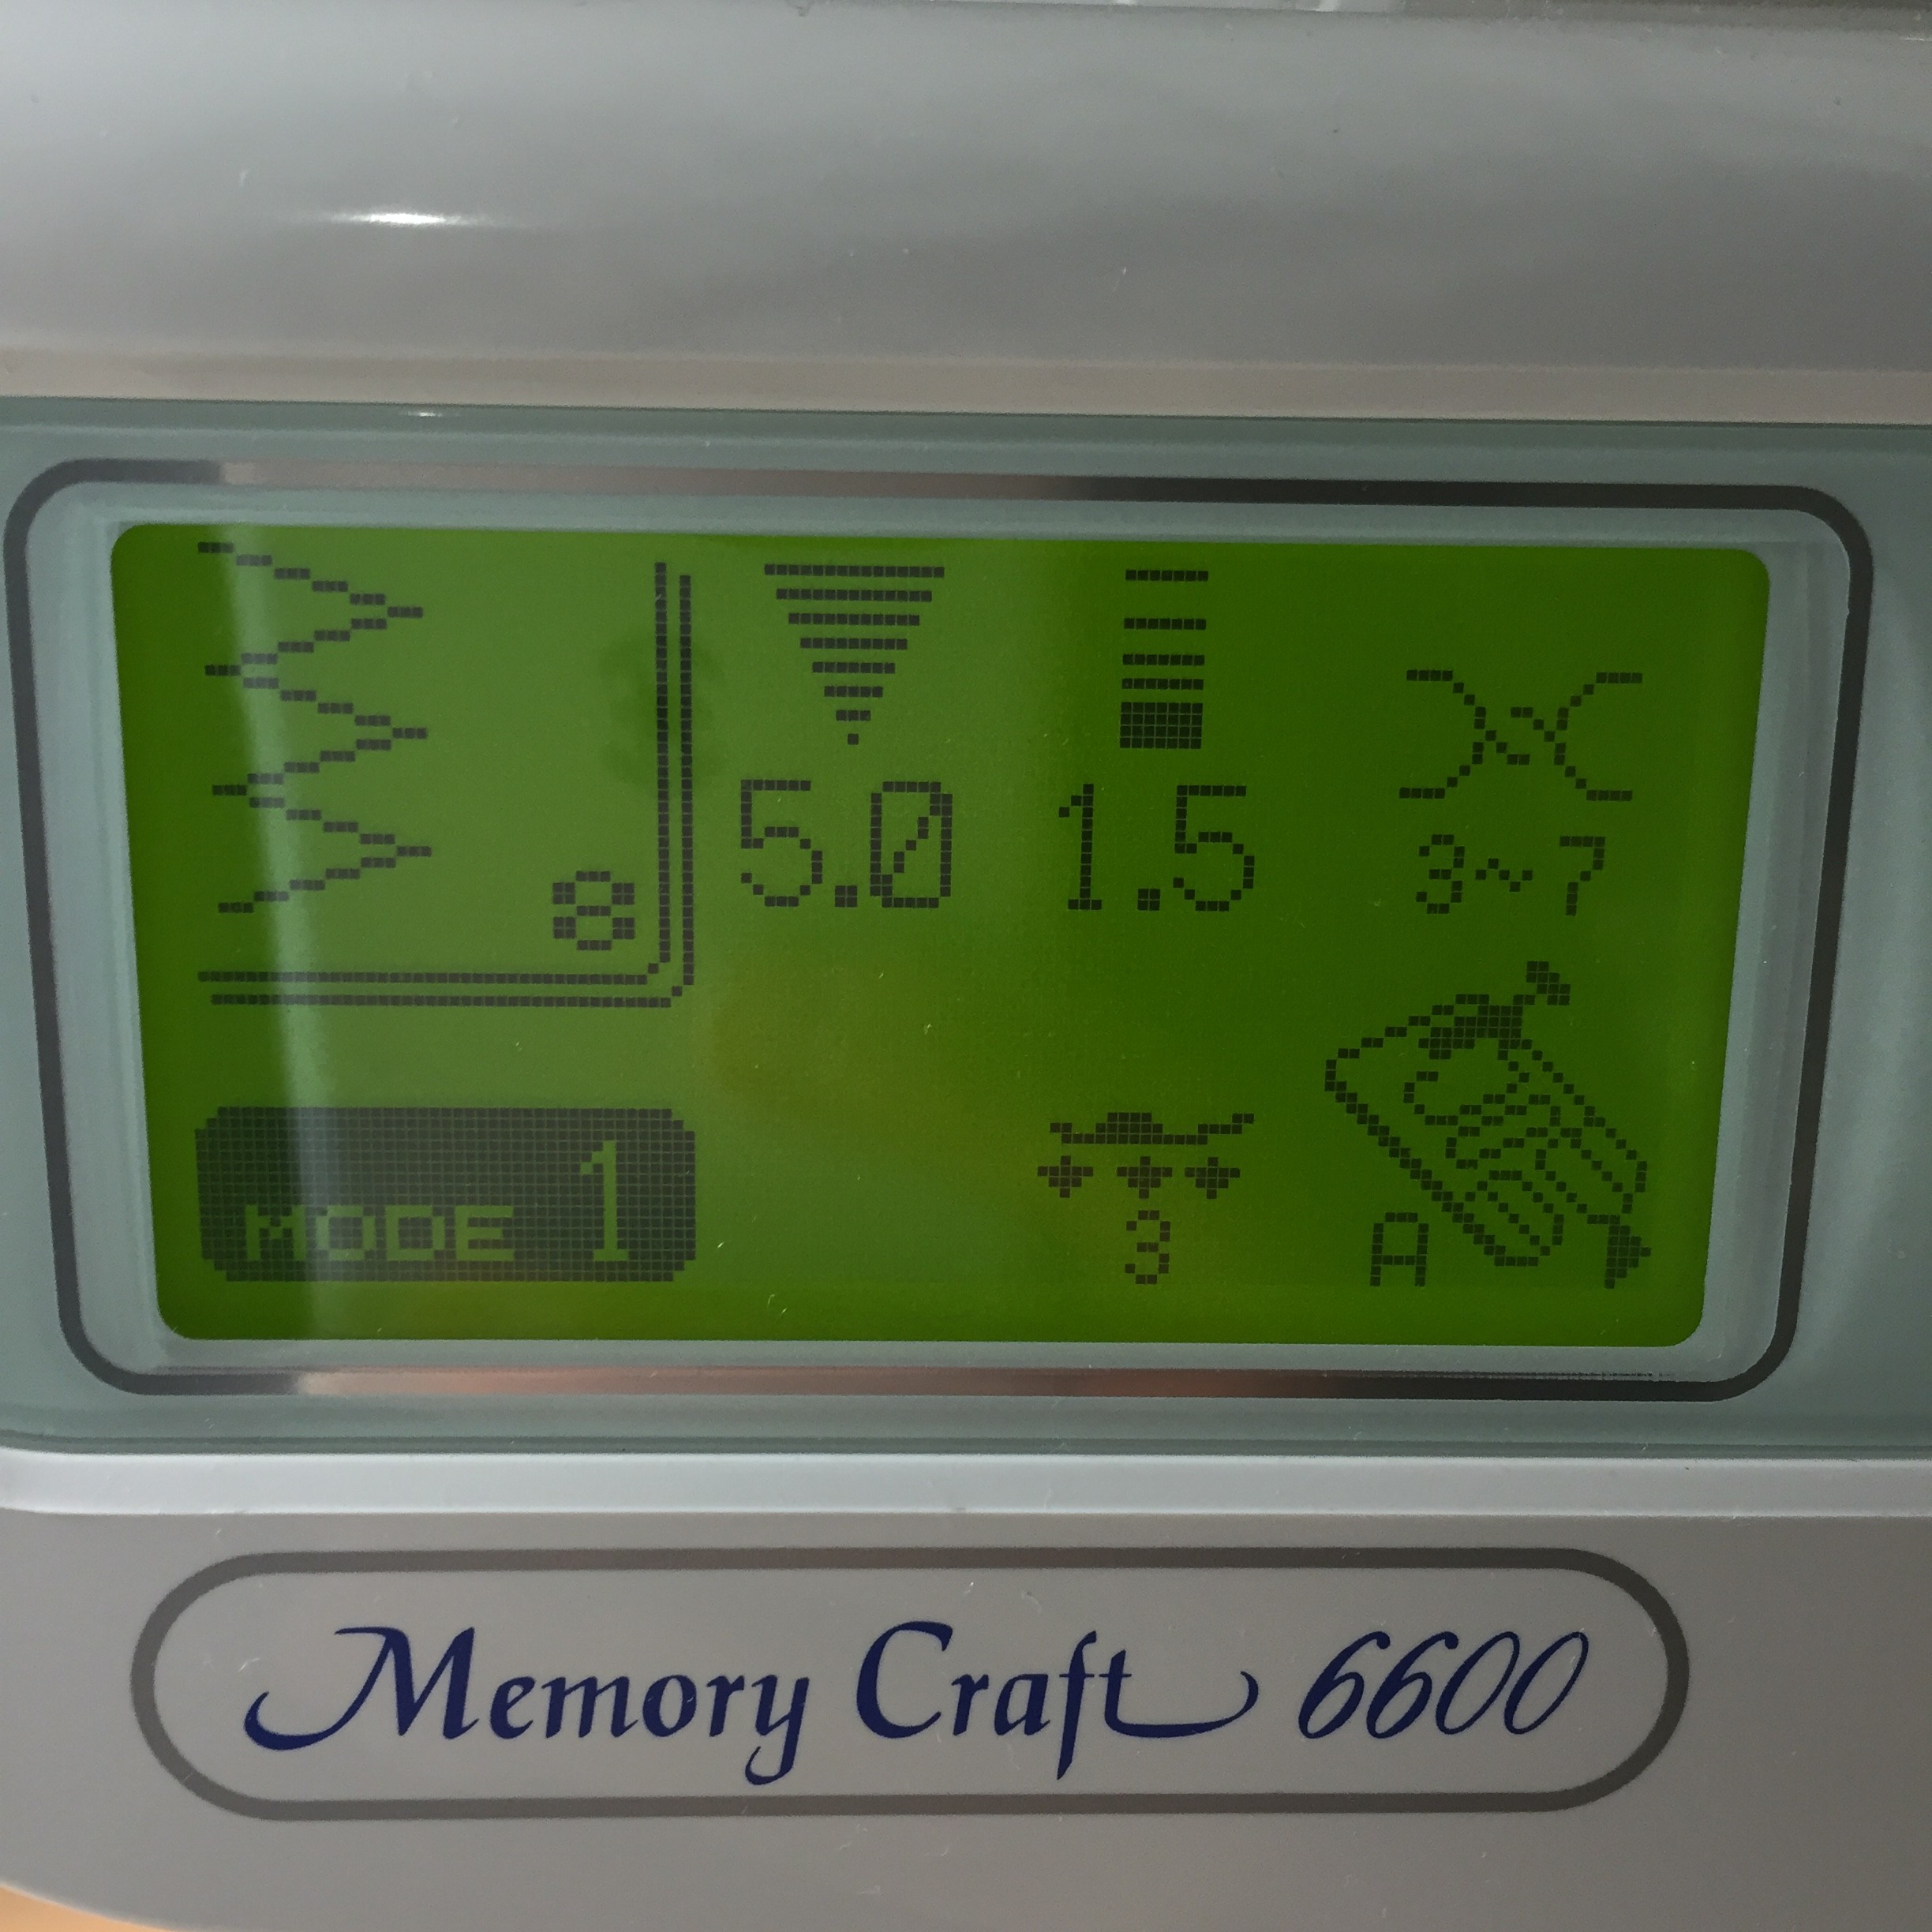
Set your machine to zig zag stitch.
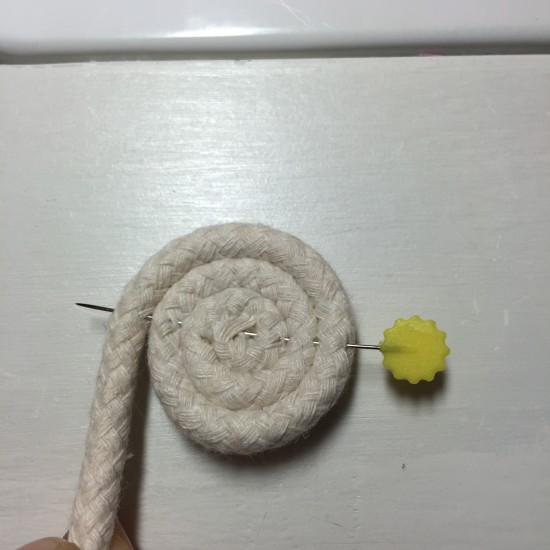
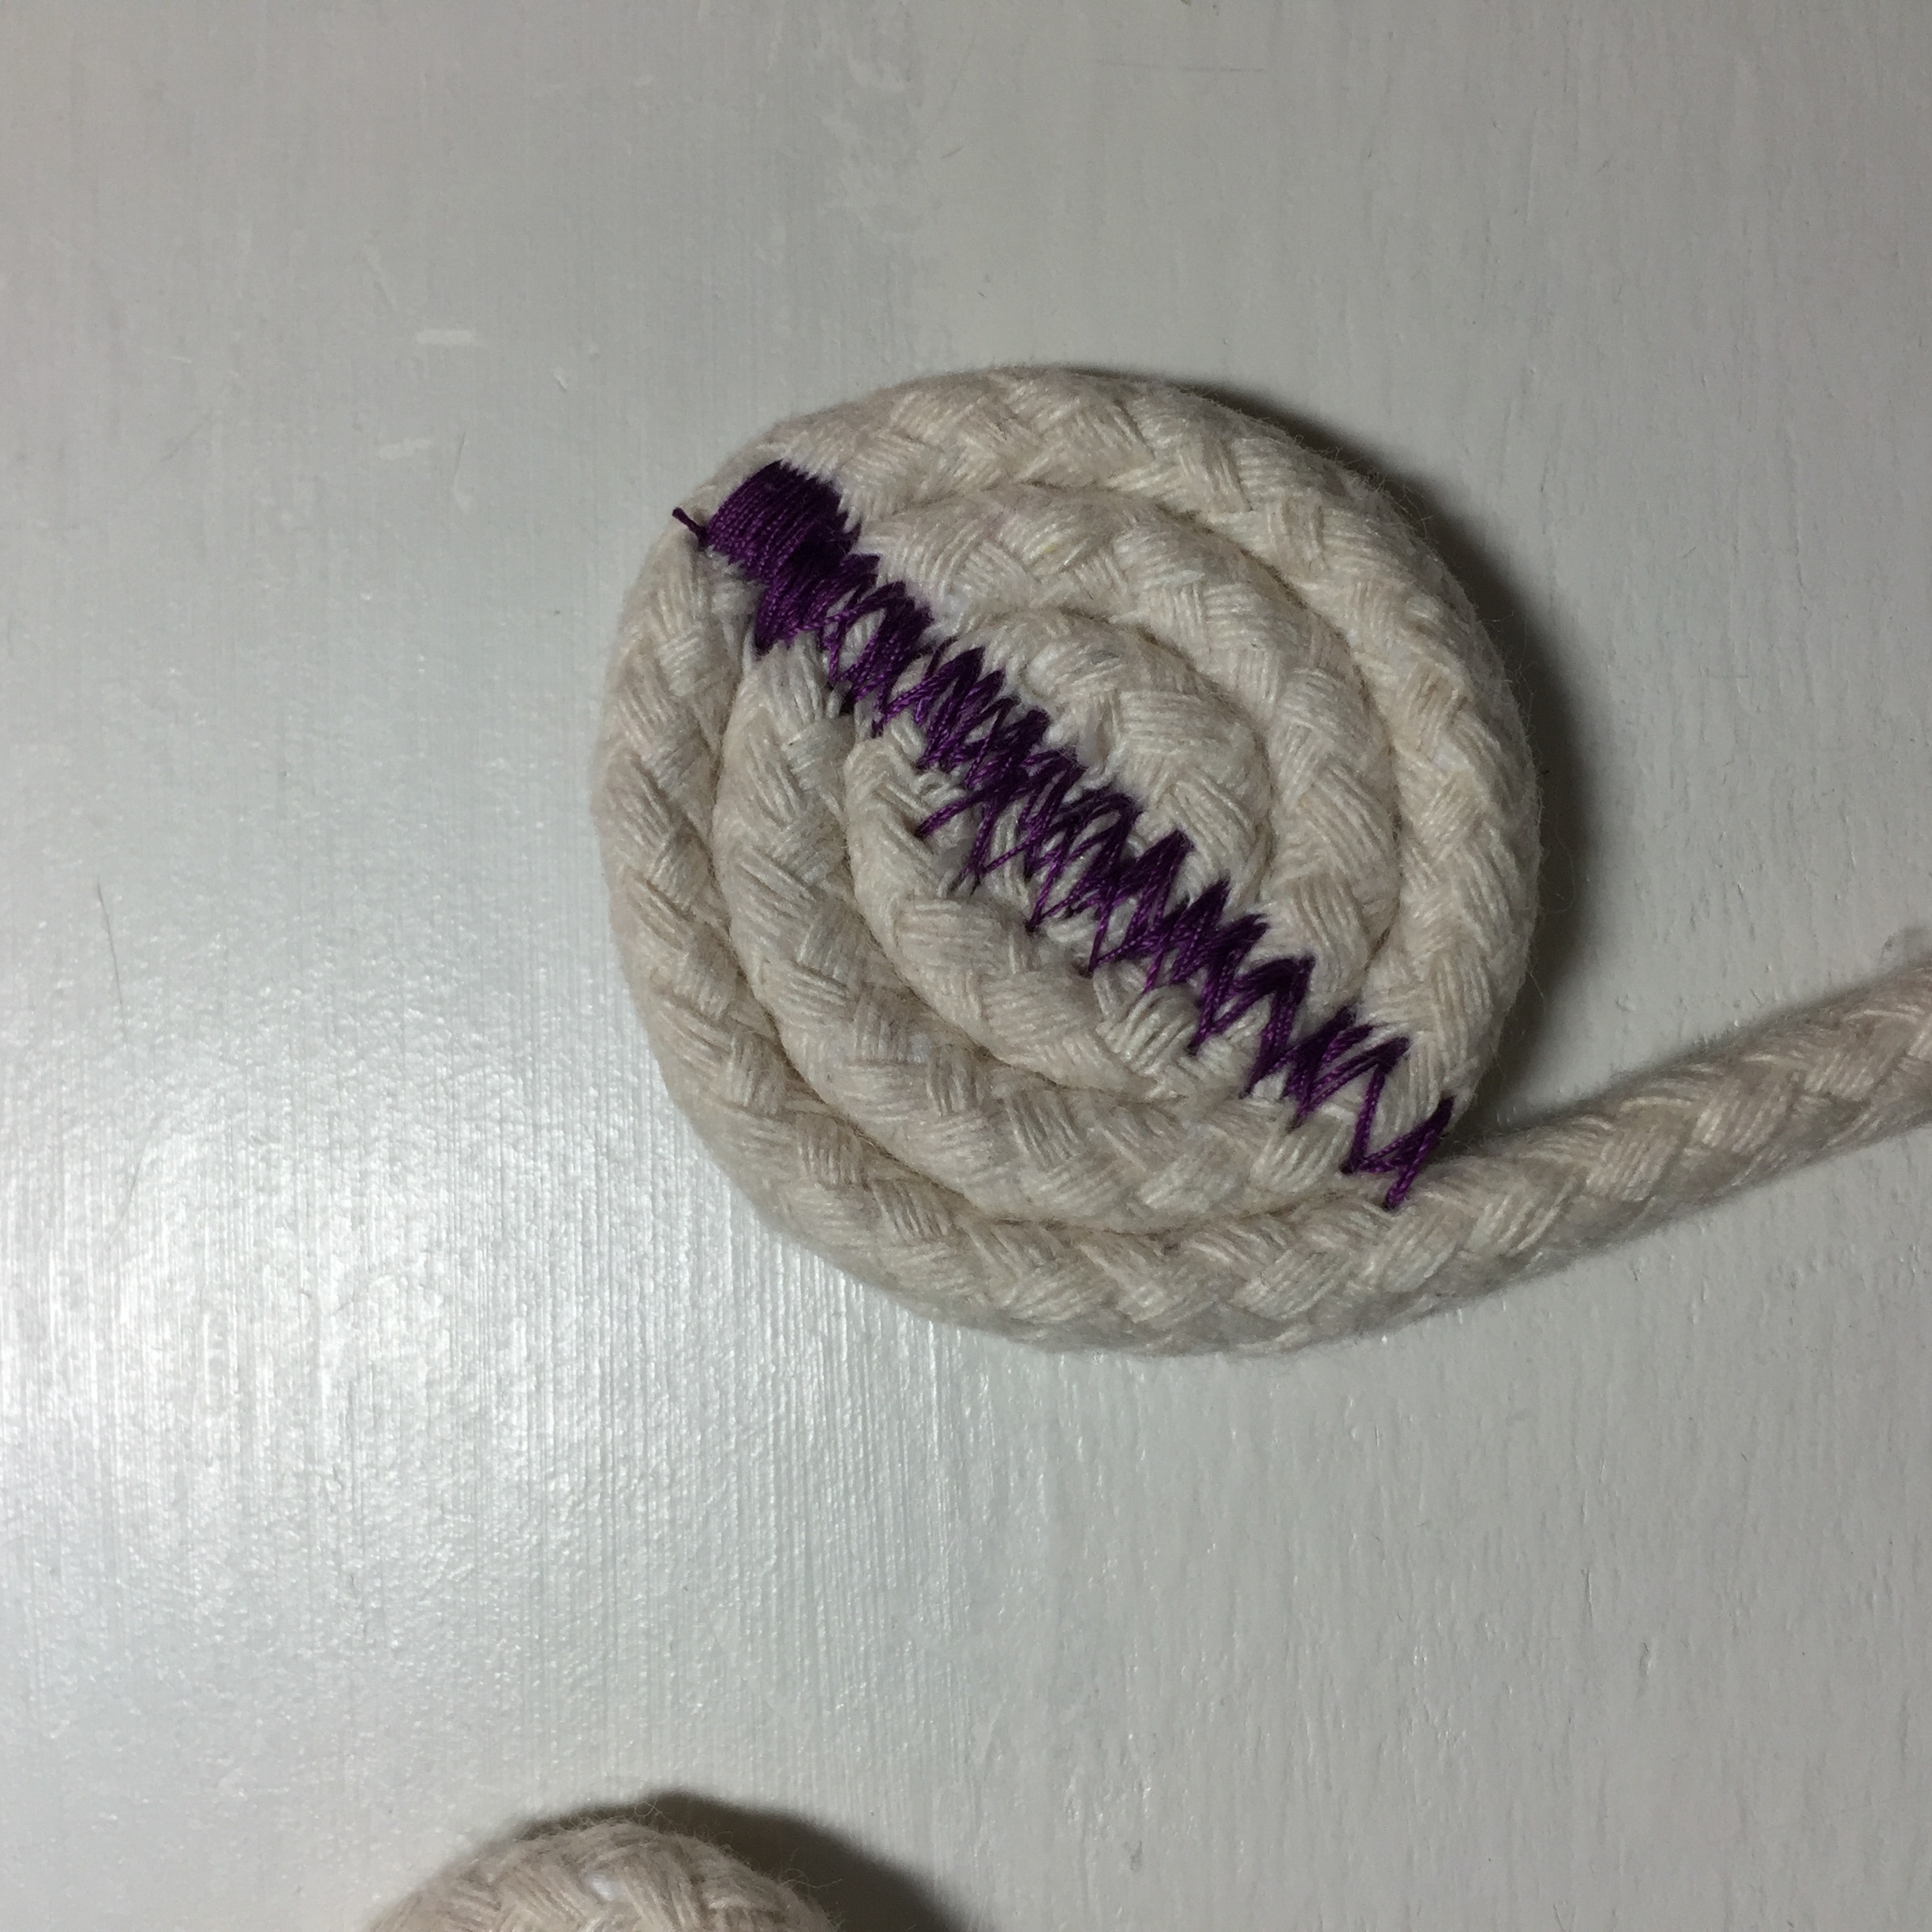
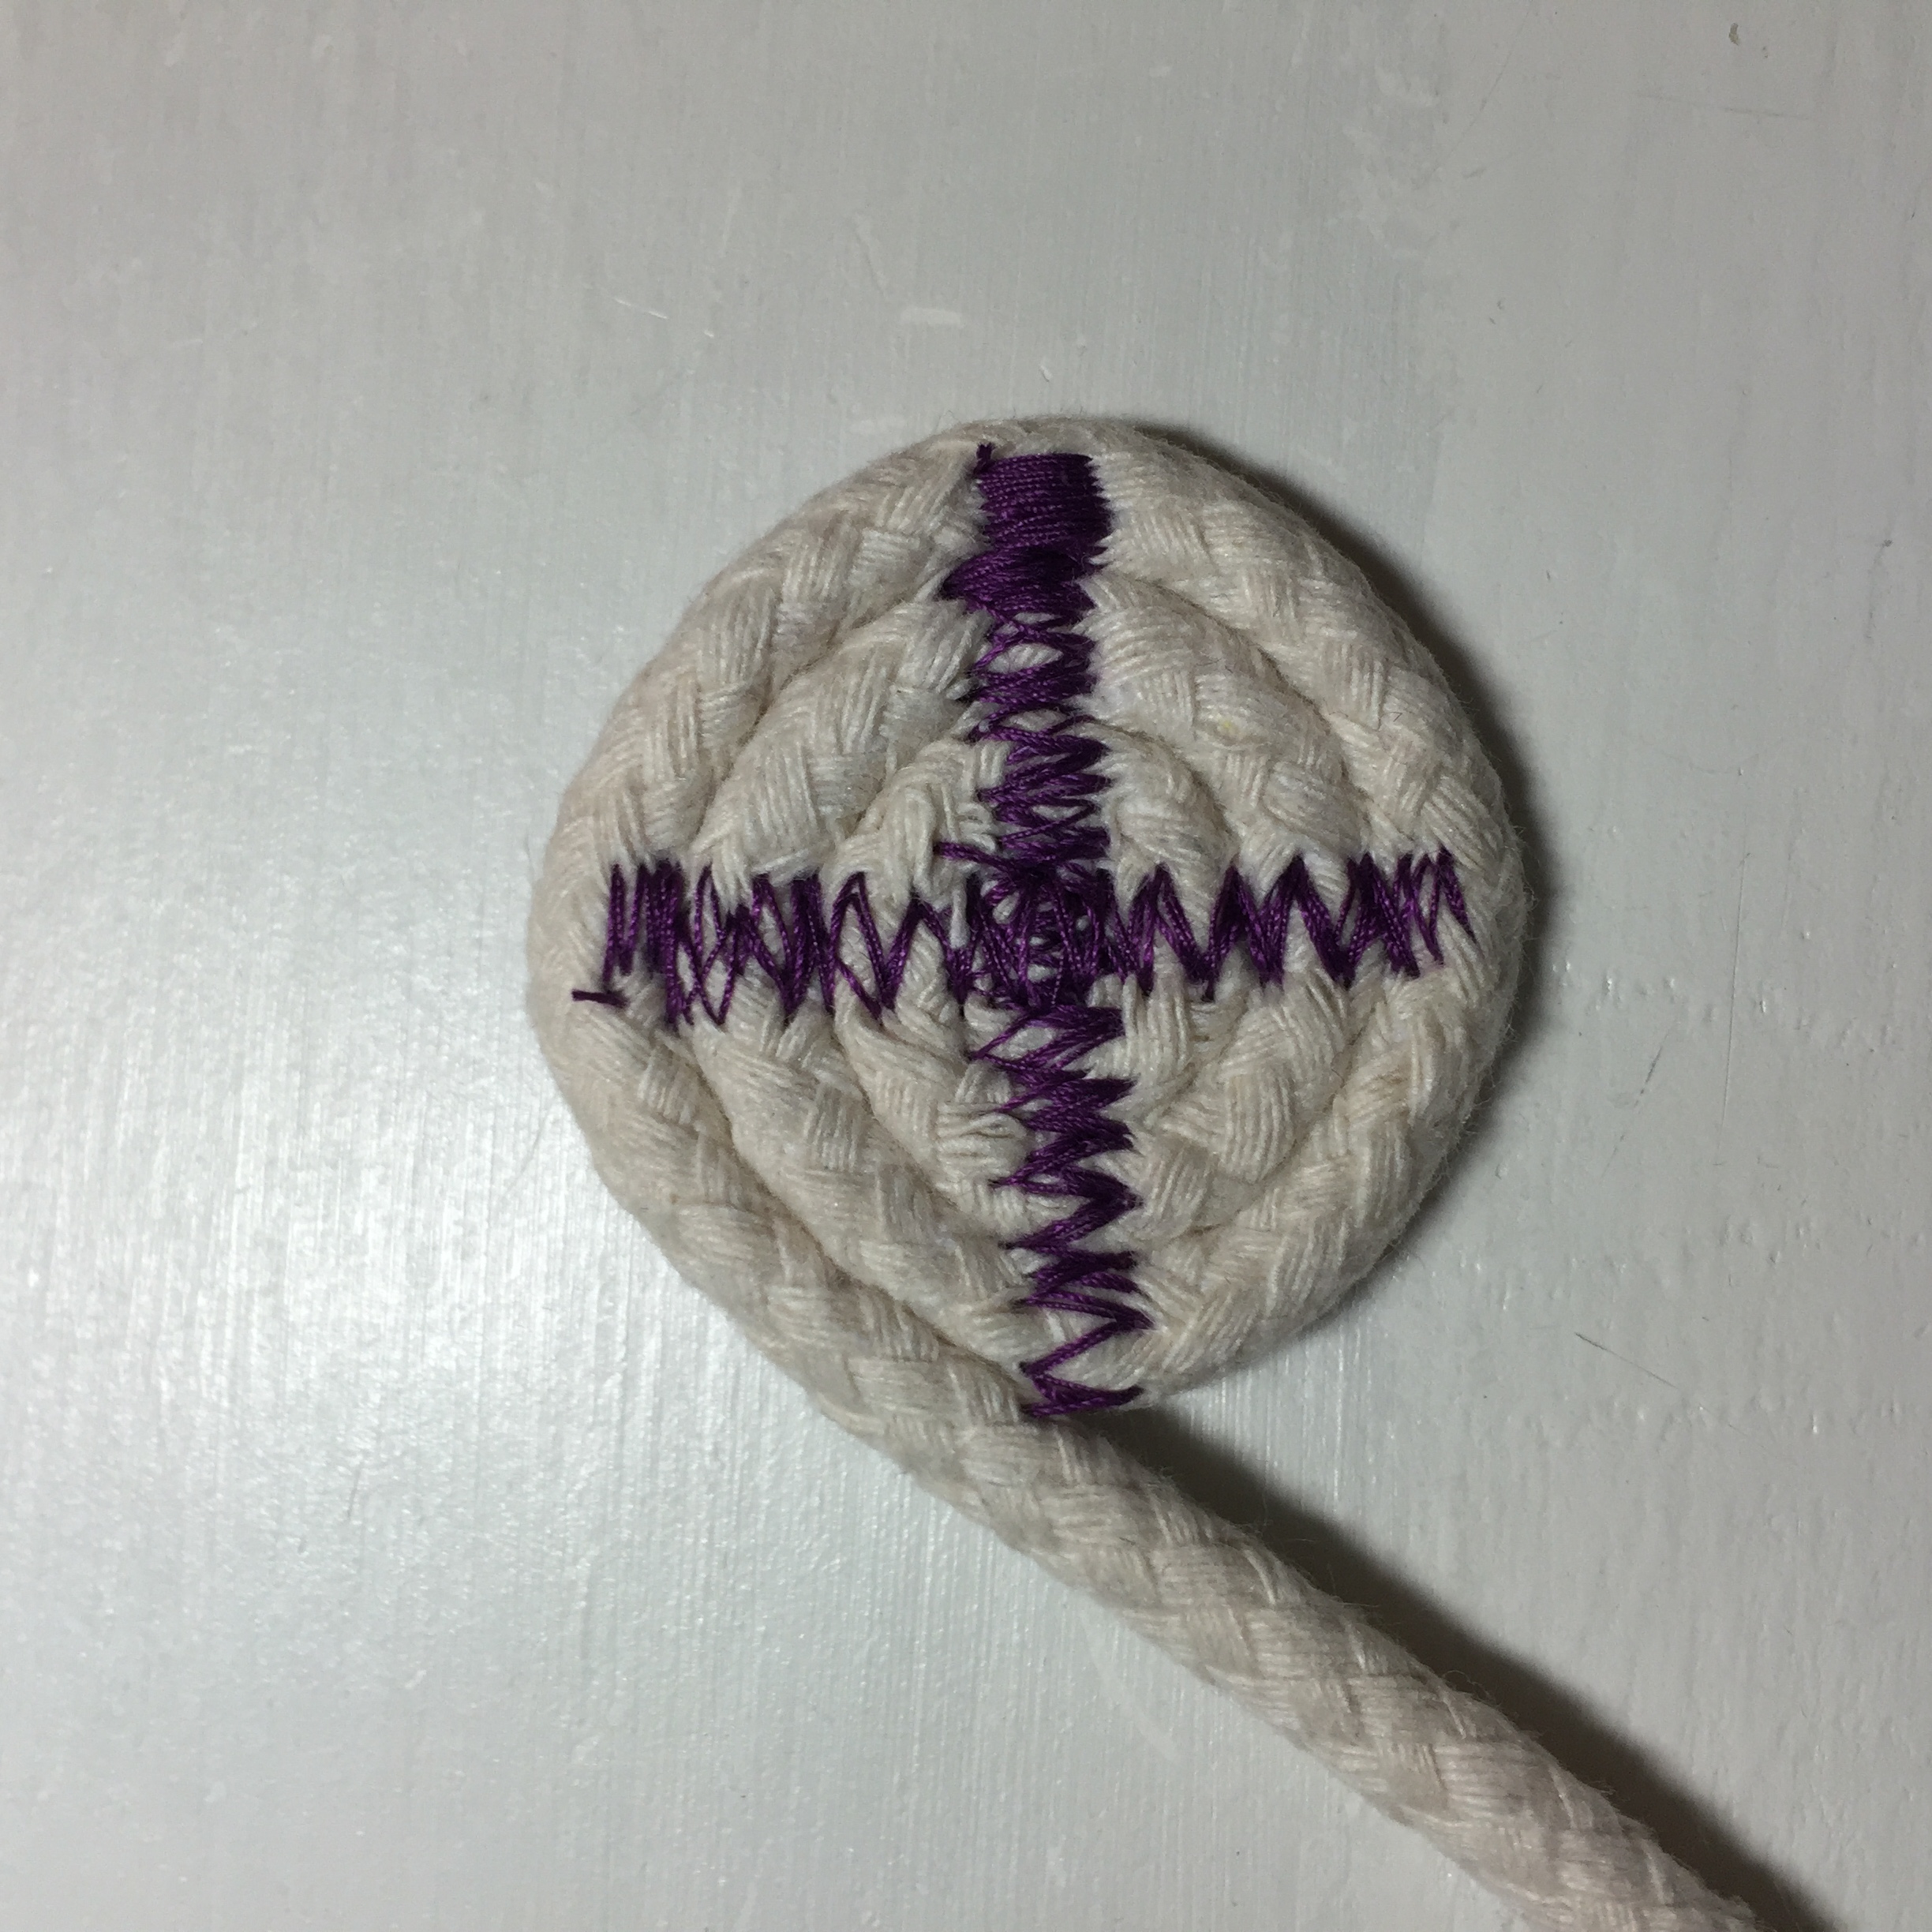
START – Optional Criss Cross
Make a tight coil and put a pin in place to help hold it.
Zig Zag stitch straight across and reverse a few times.

And the other direction.
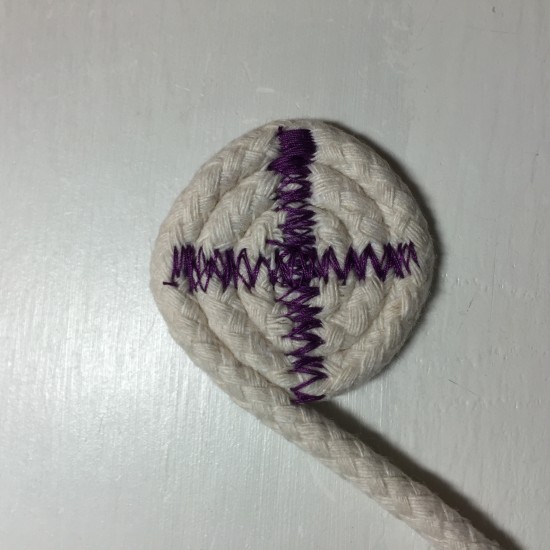
What this does is help hold your coil in place. You need to start your zig zag stitching back in the center section. The criss cross helps with stability and I also like the look of it with contrasting thread.
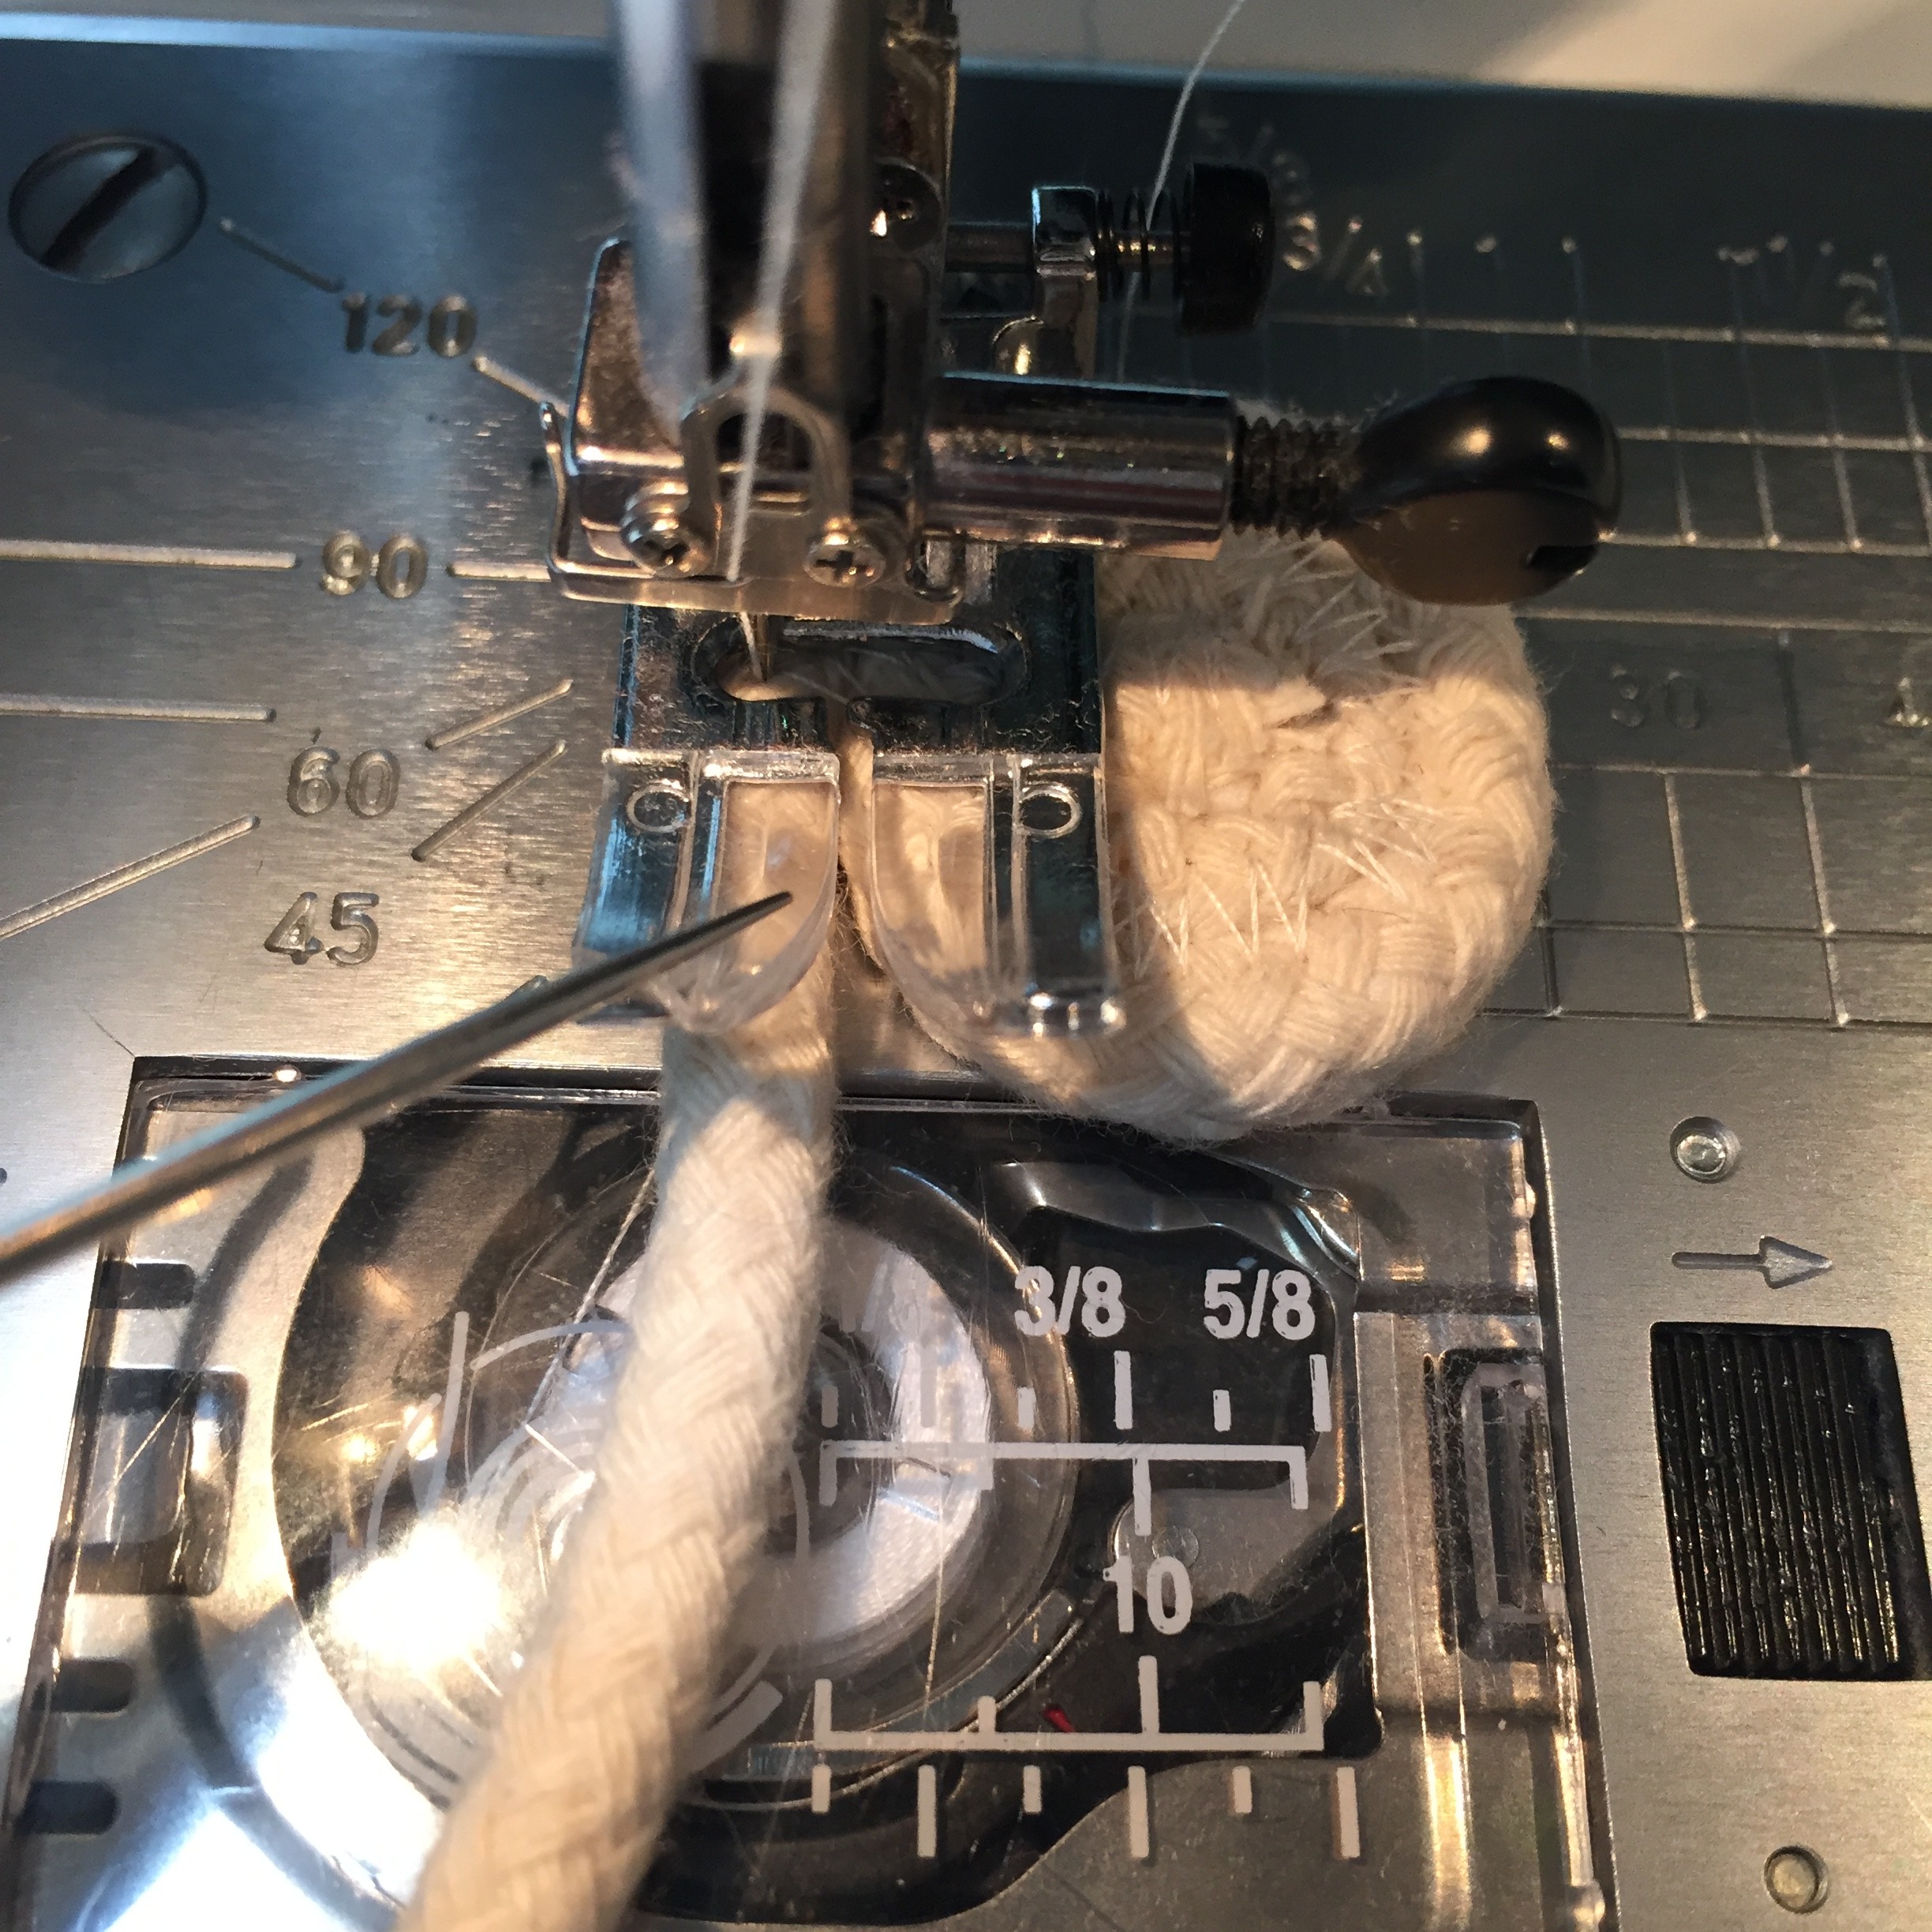
START
Make a tight coil and put a pin in place to help hold it.
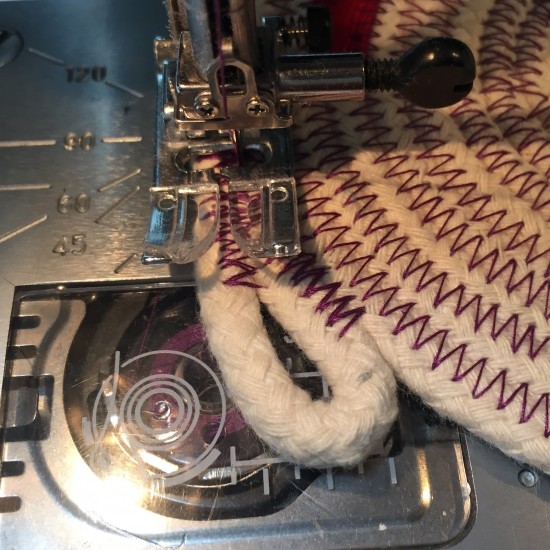
Slowly start zig zig stitching around the coil. (If you did the Criss Cross you still need to start in the center)
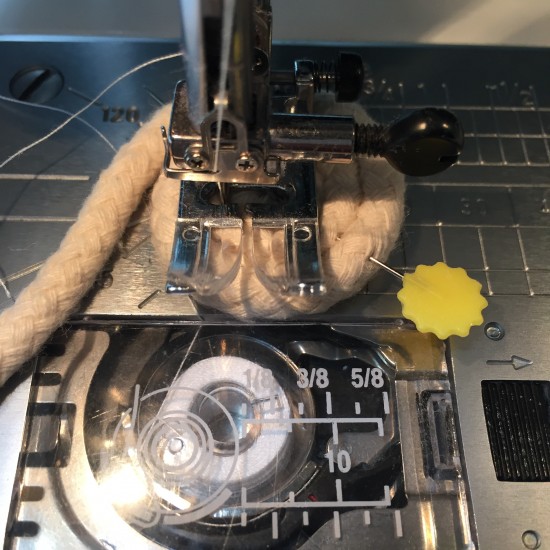
The goal is the keep the coil and loose rope going through the center so the zig zag catches both sides.

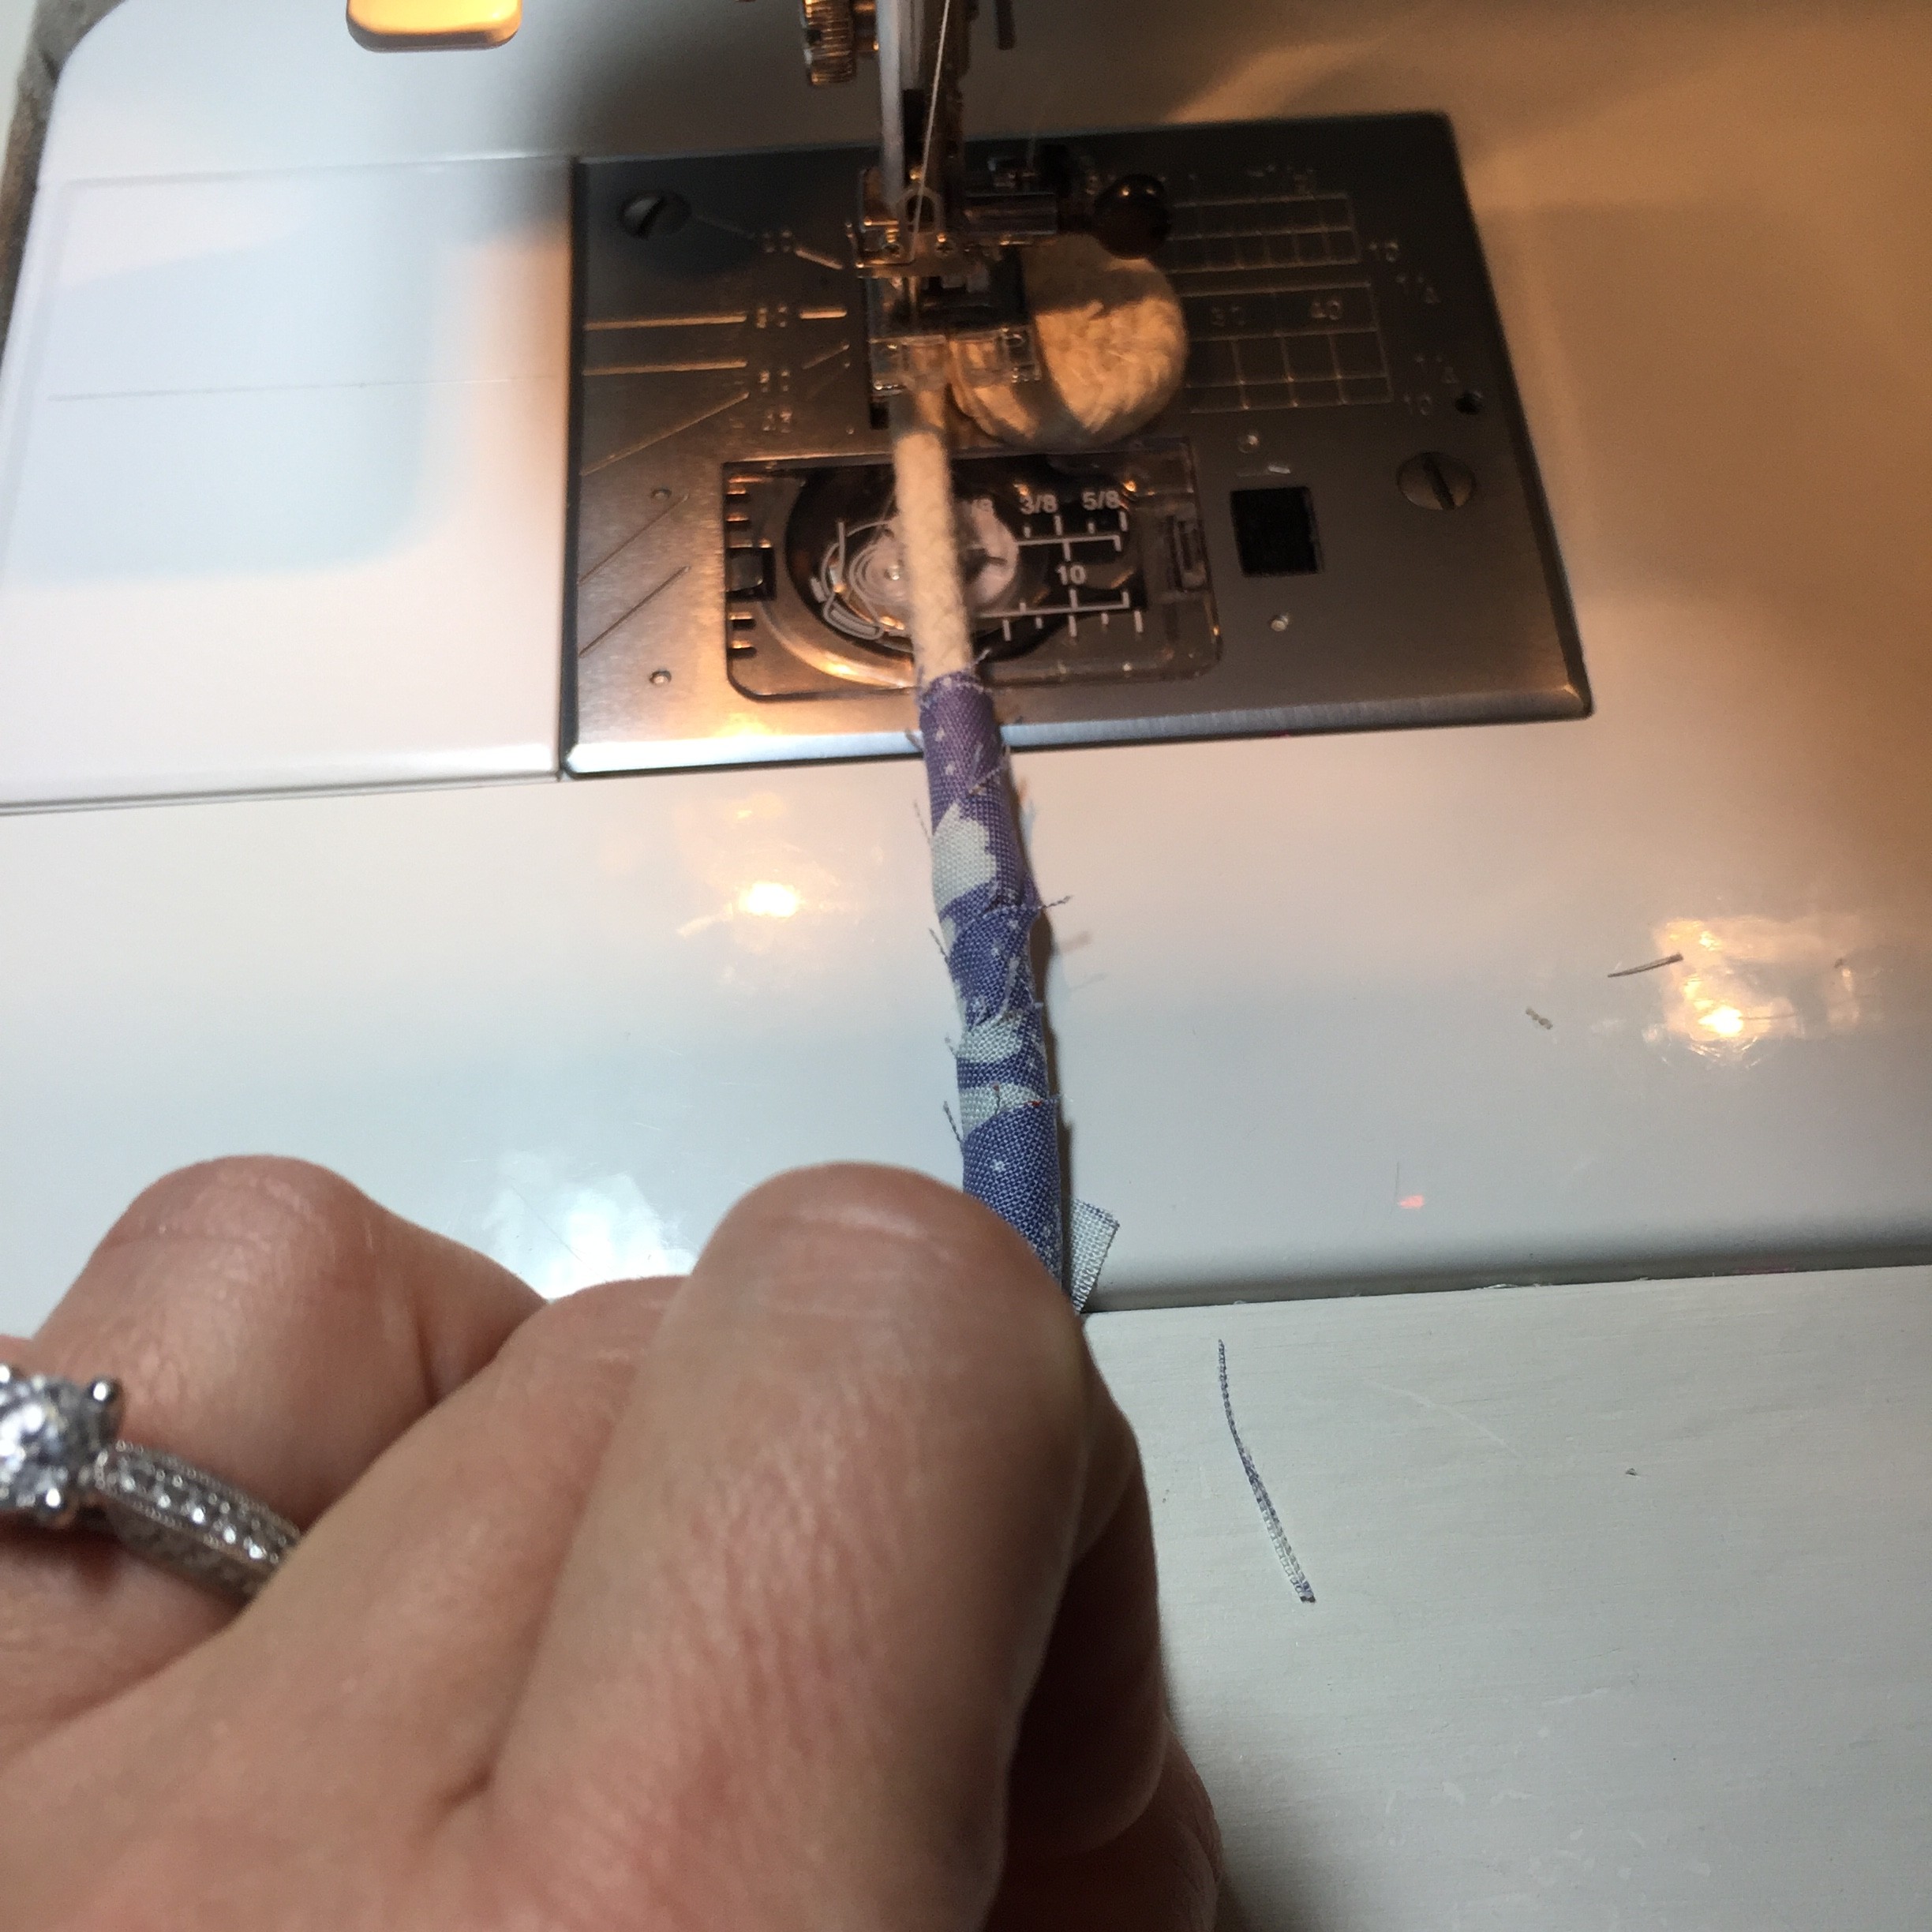
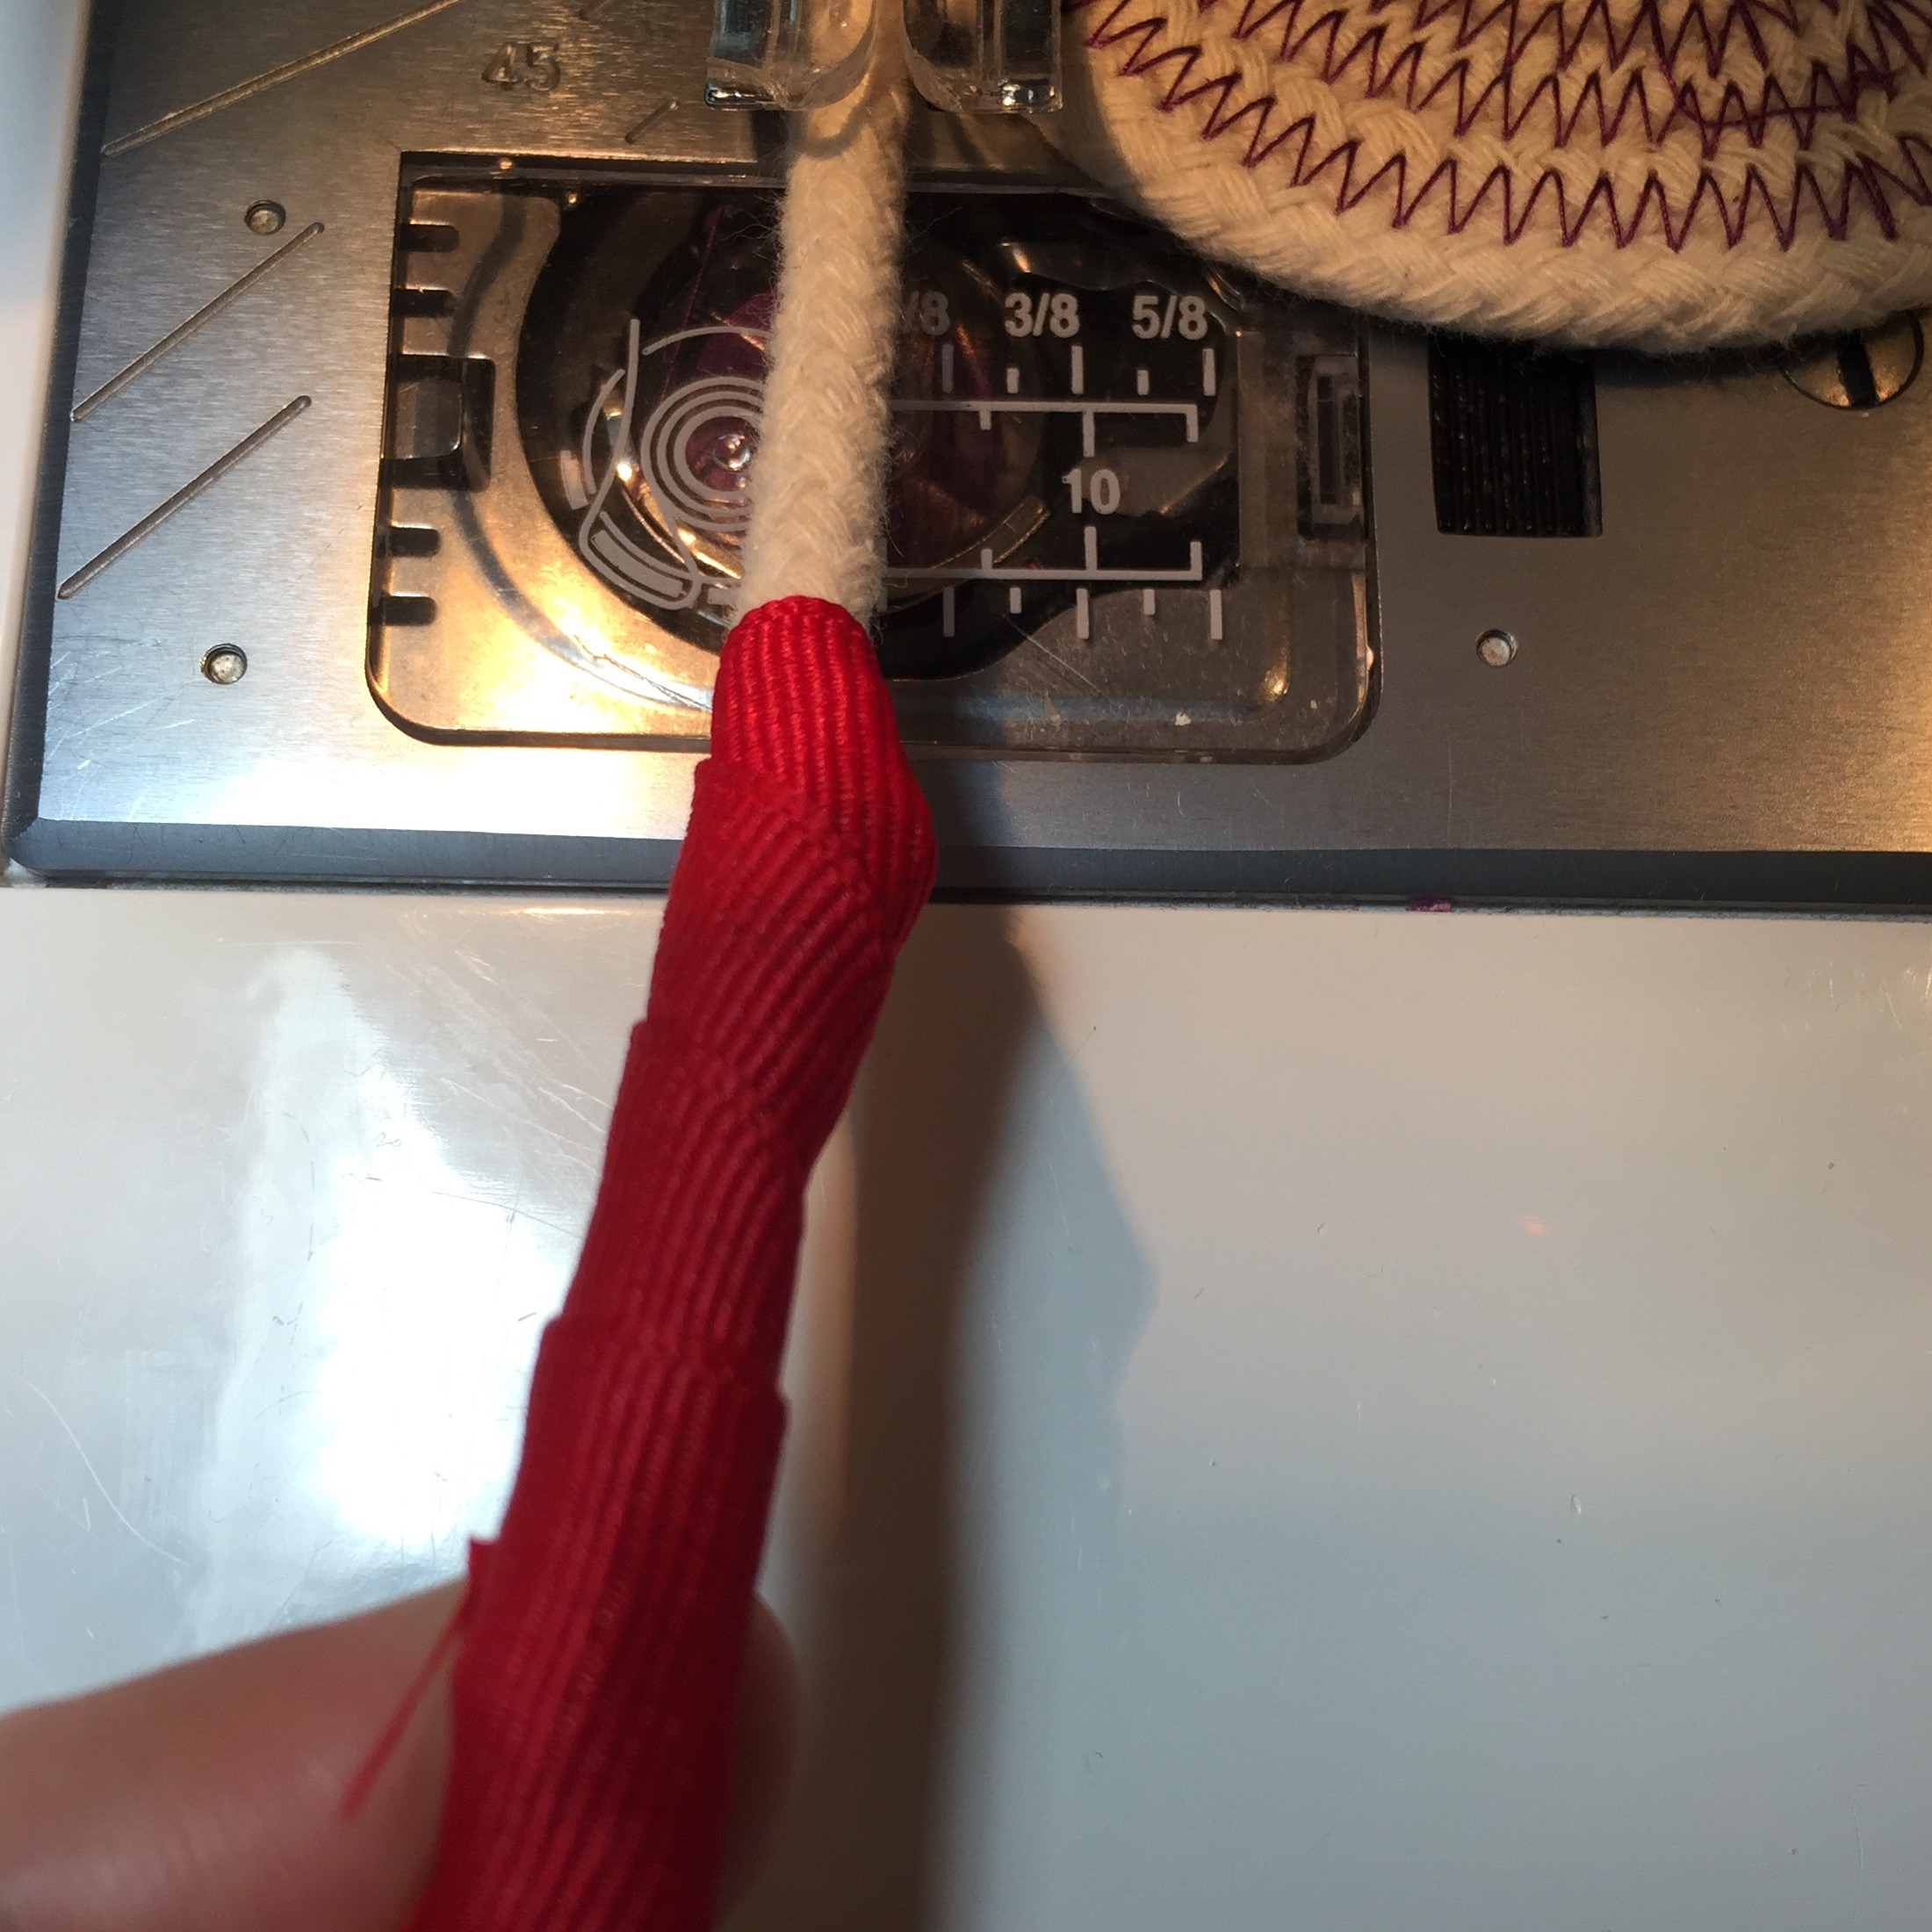
Decorate with Fabric
I like to use strips less than 1″ wide and the length is up to you. You could even wrap the rope from beginning to end in different fabrics.
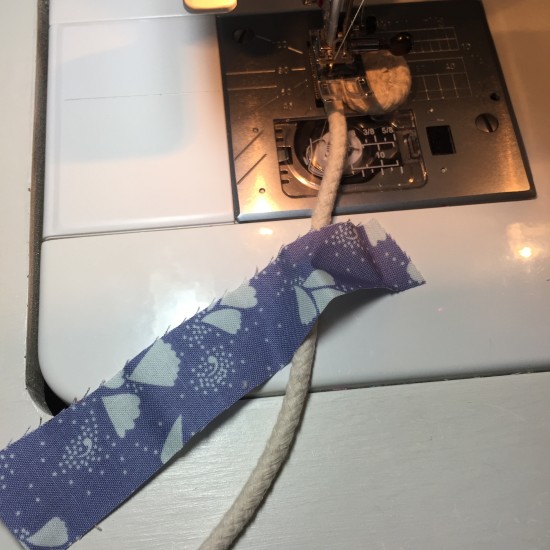
I just tuck the end in and start wrapping. Keep zig zag stitching.
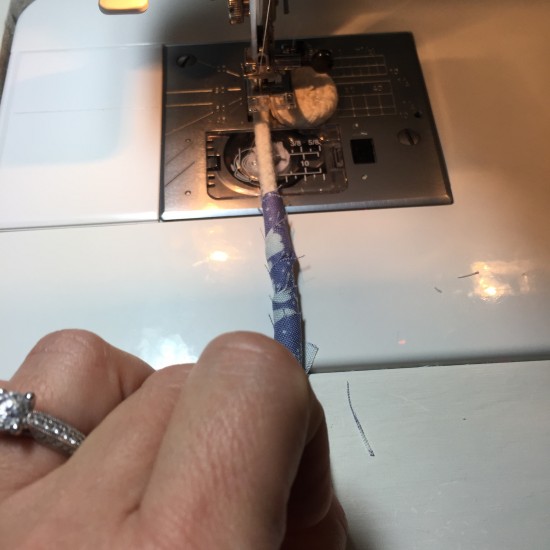
Keep going and you’ll come back around to it.

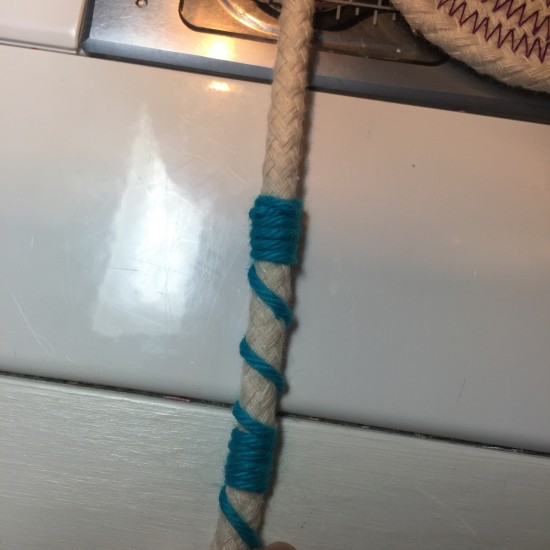
Decorate with Yarn and Ribbon
Using the same method as above. The yarn is fun to play with because you can make different designs and use multiple strands at once.
Ribbon:

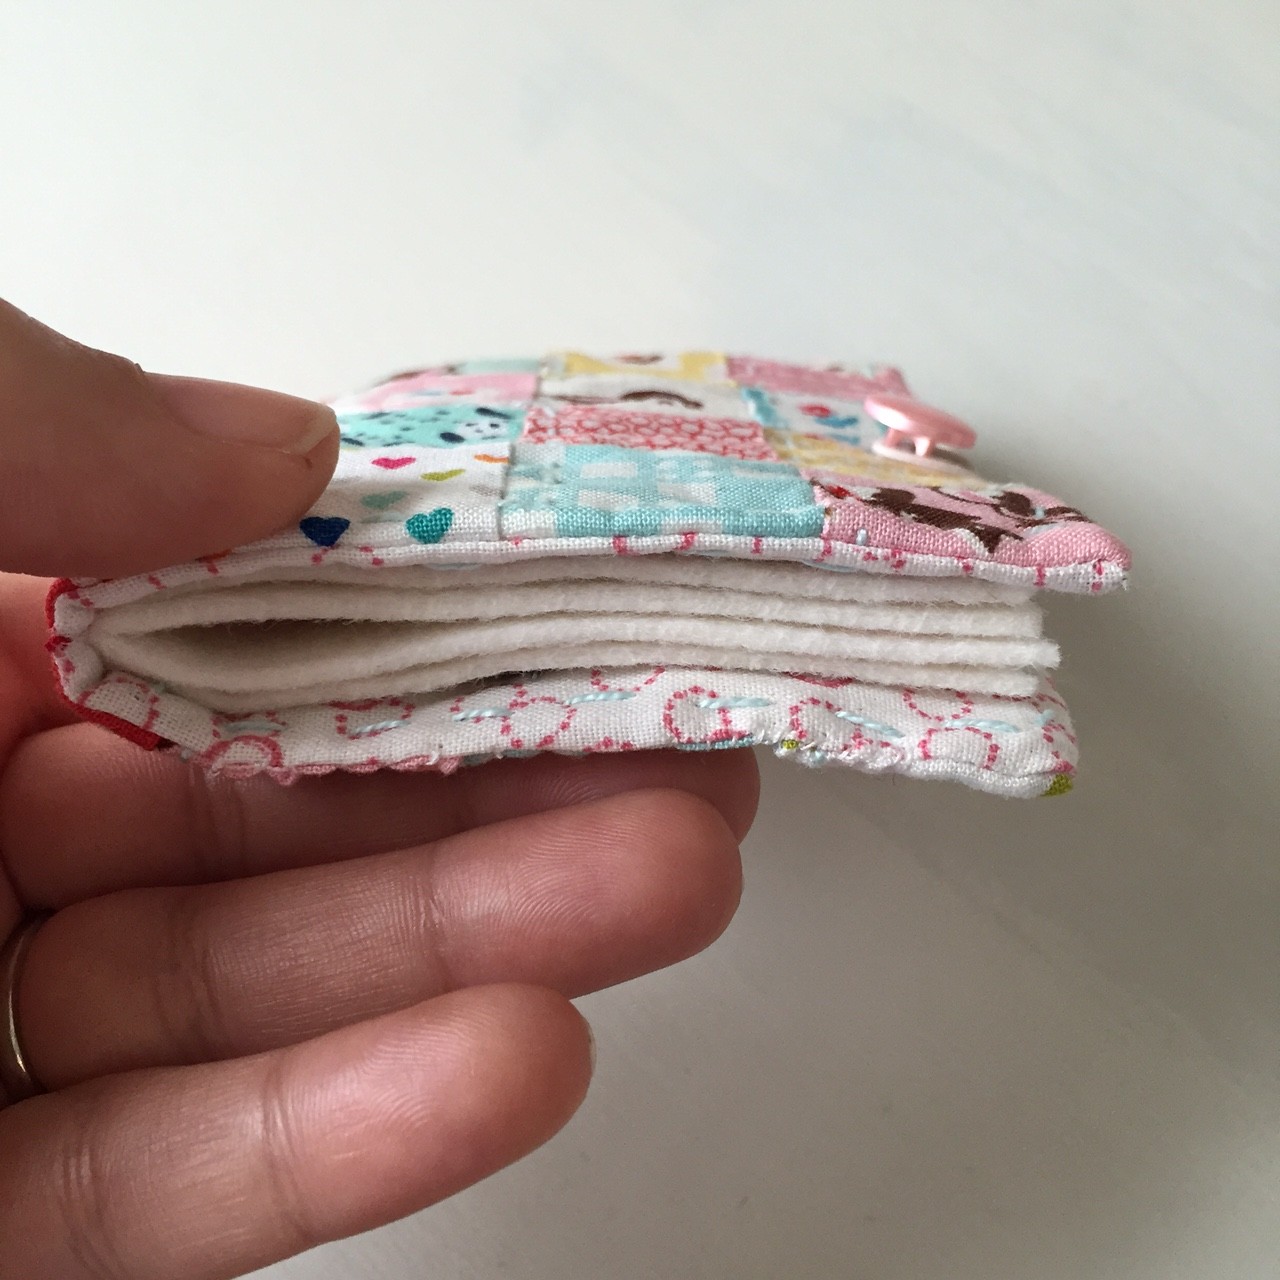
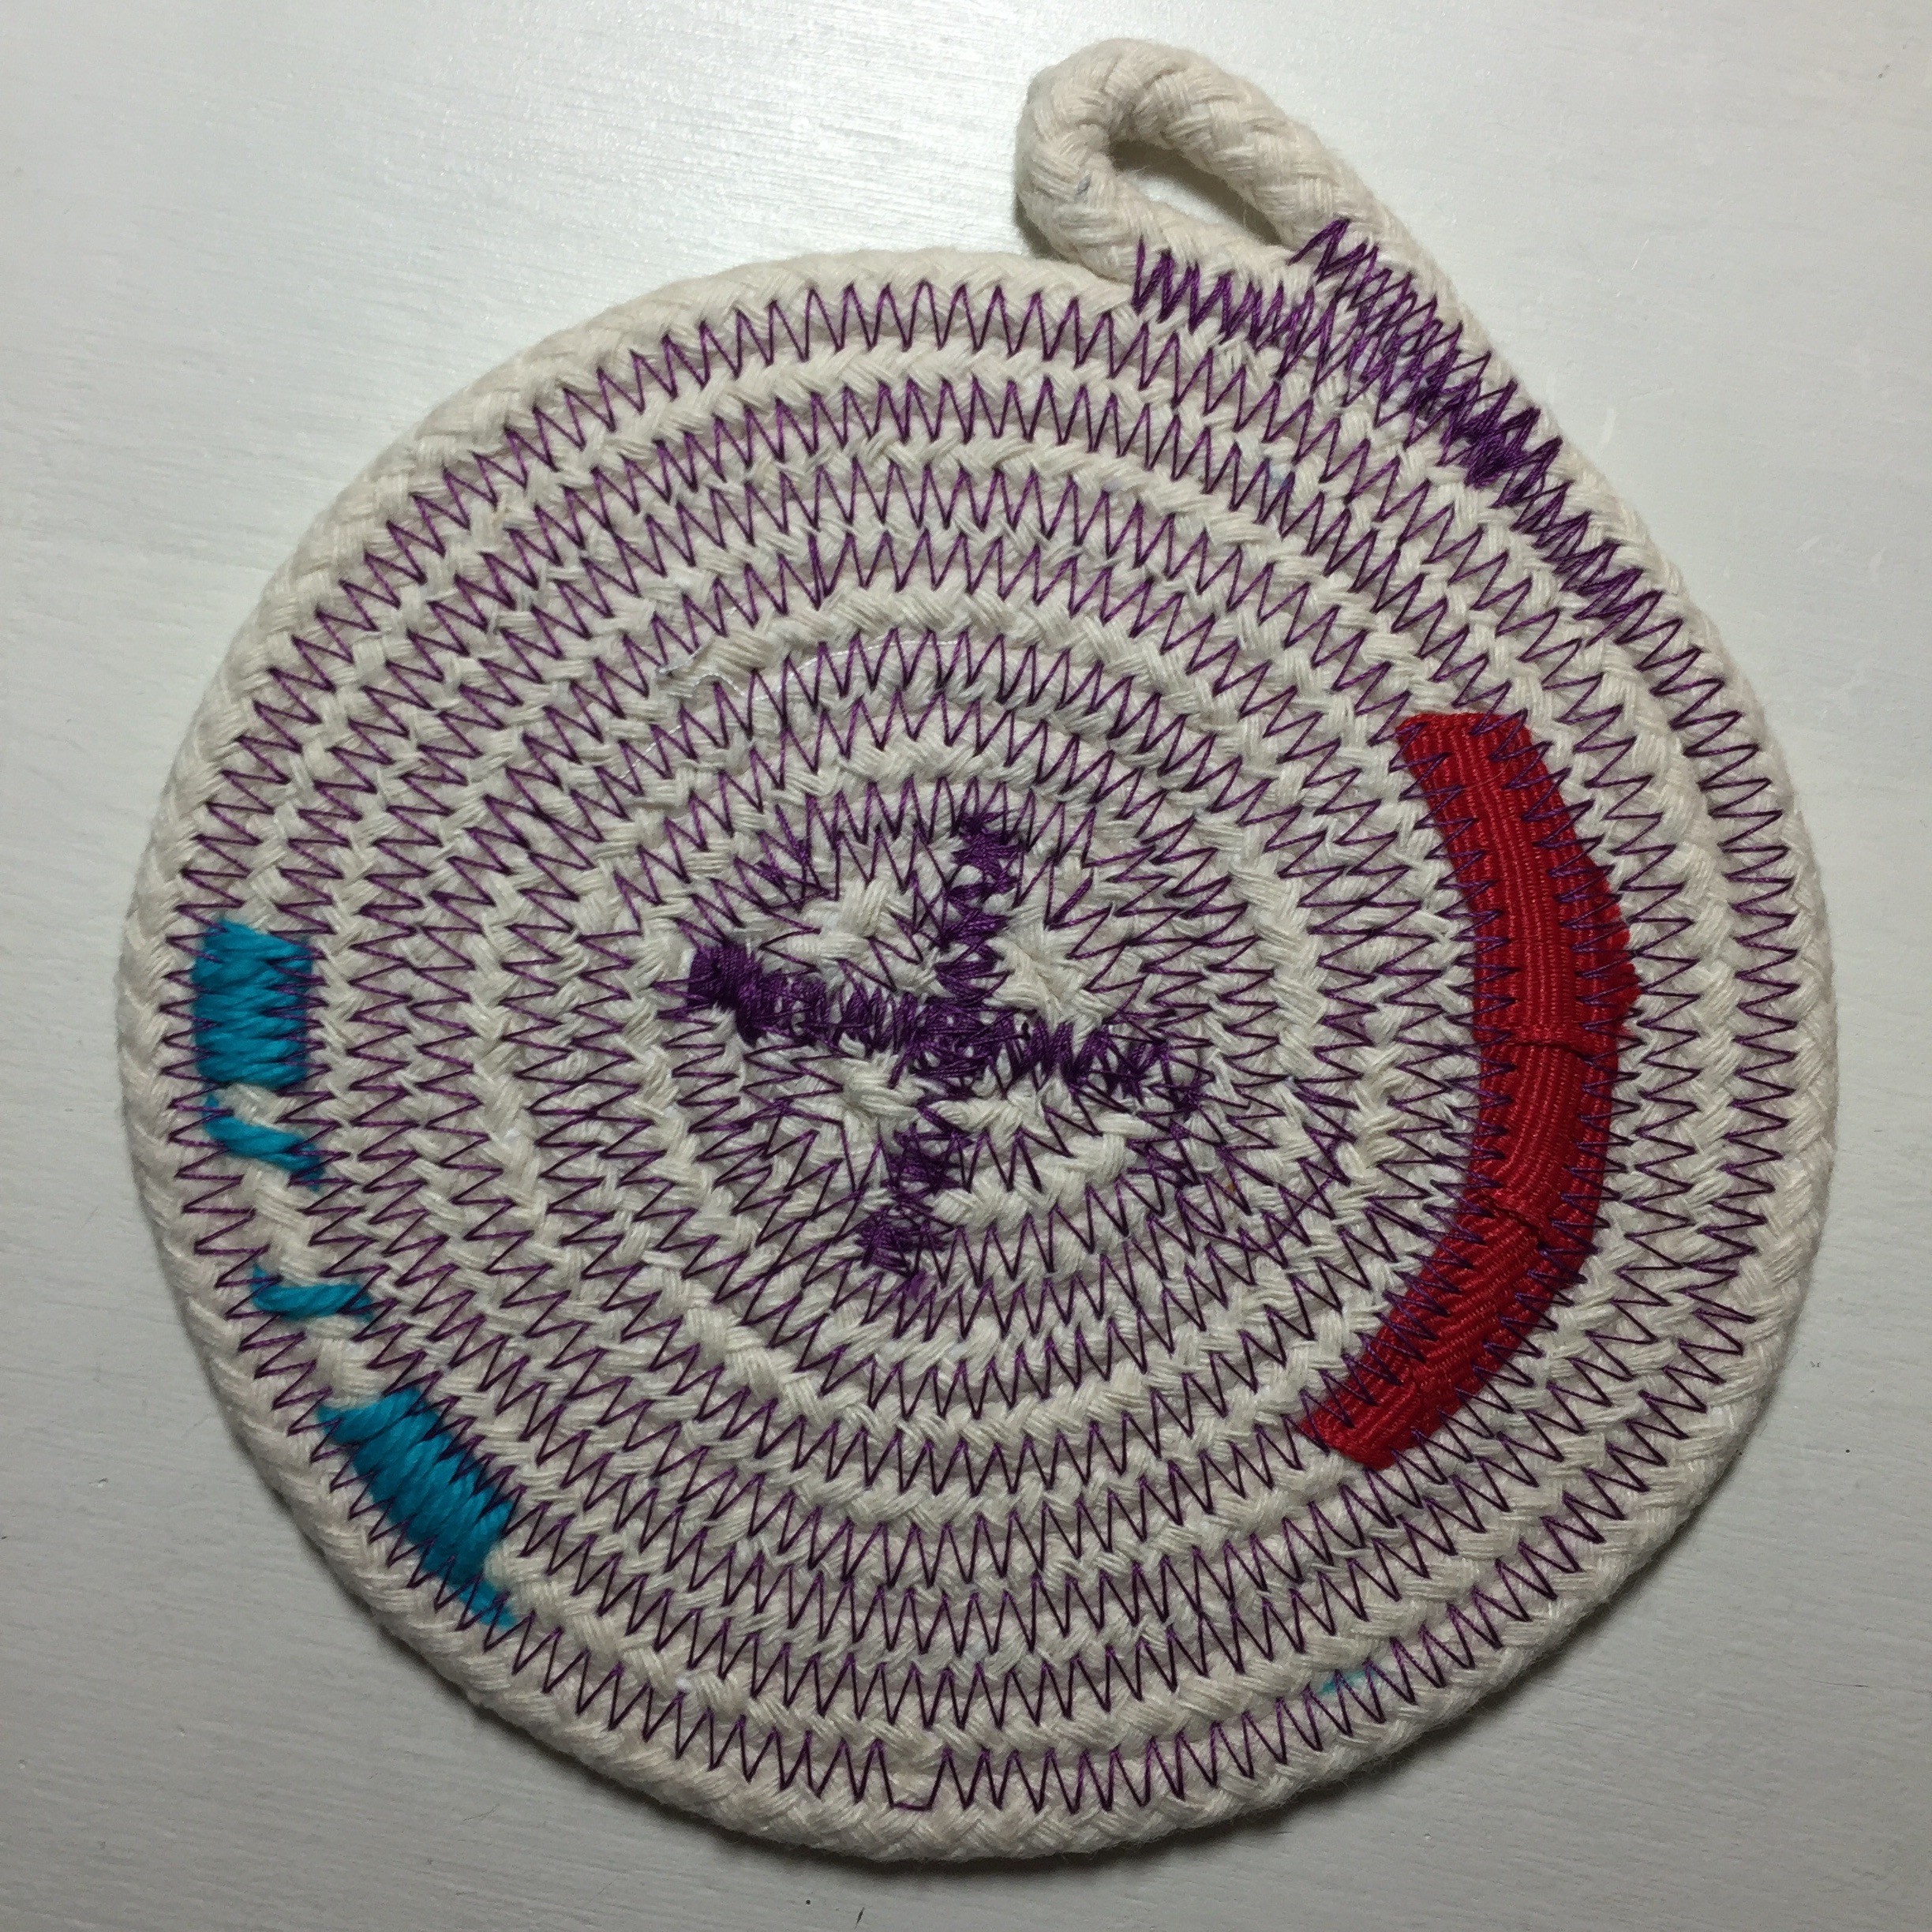
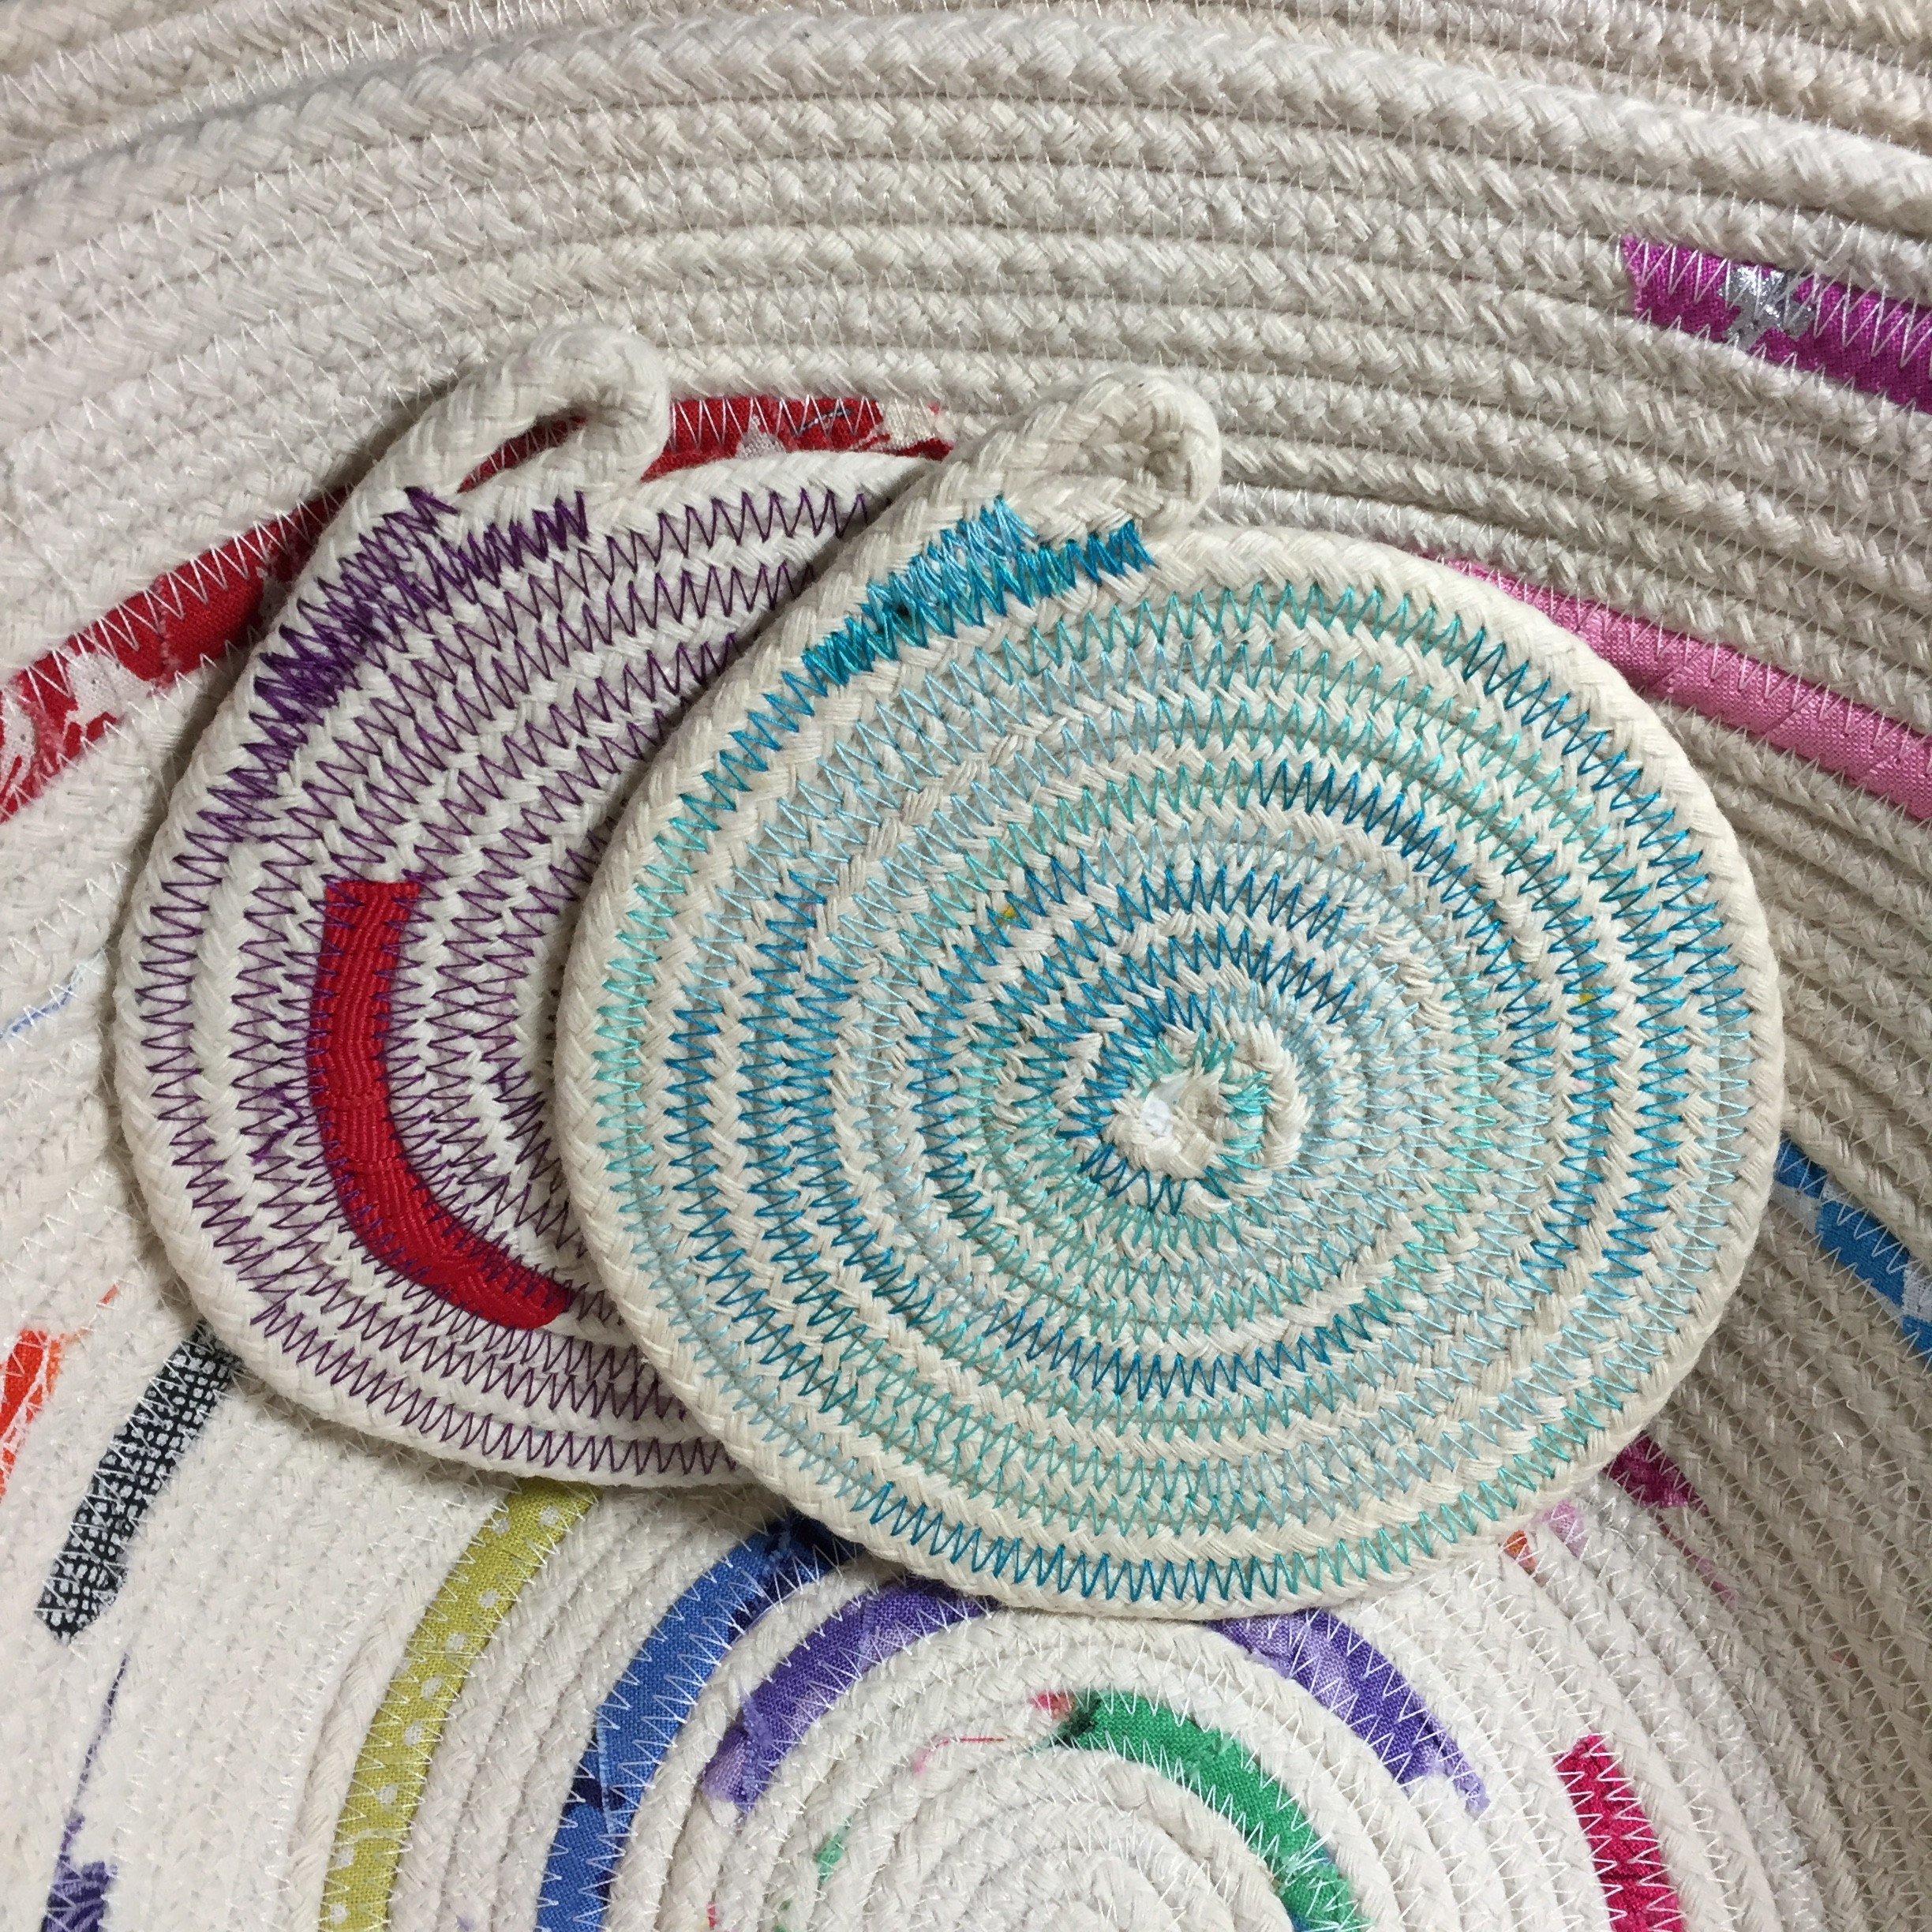
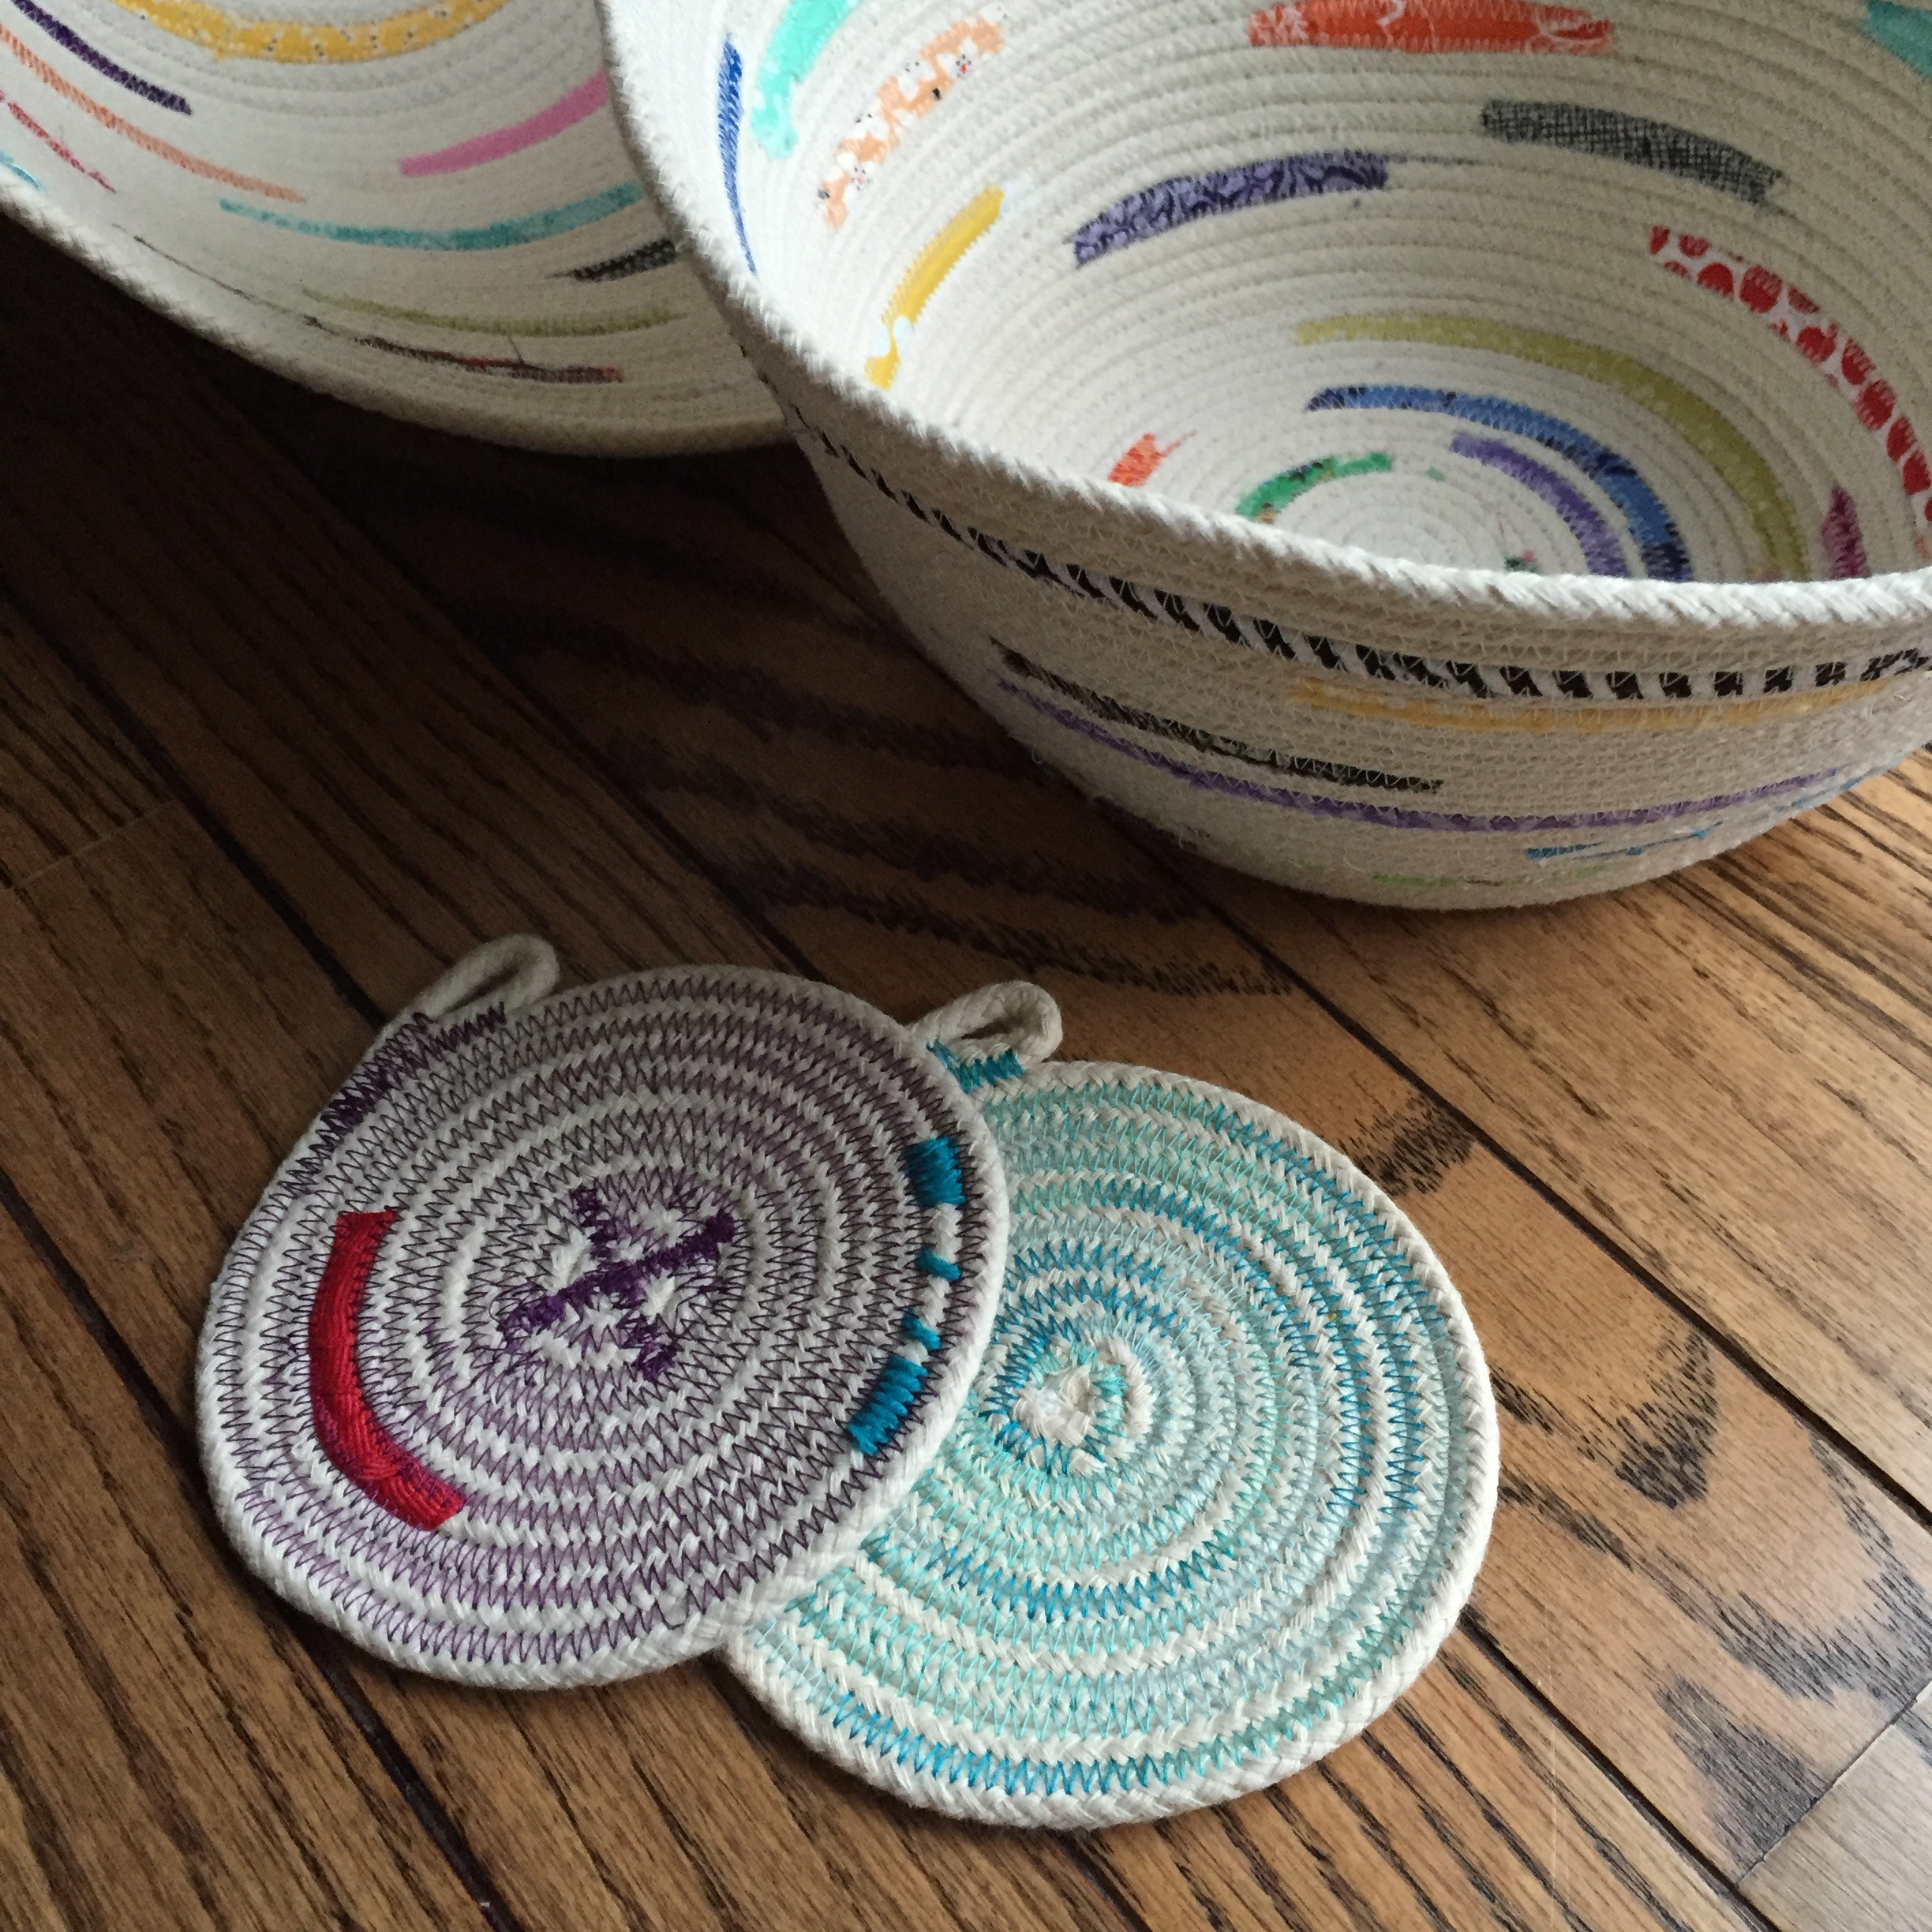
Here is a little coaster using the Criss Cross beginning, loop and tuck end (below), ribbon, yarn and contrasting thread.
(This may not be the most fabulous look combined but I wanted you to see the different options!)

Bowl Making
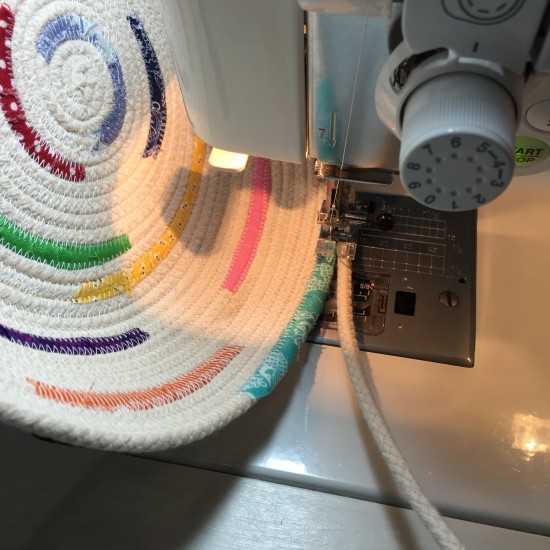
Keep making your base until it’s the width you’d like. This one is 7″.
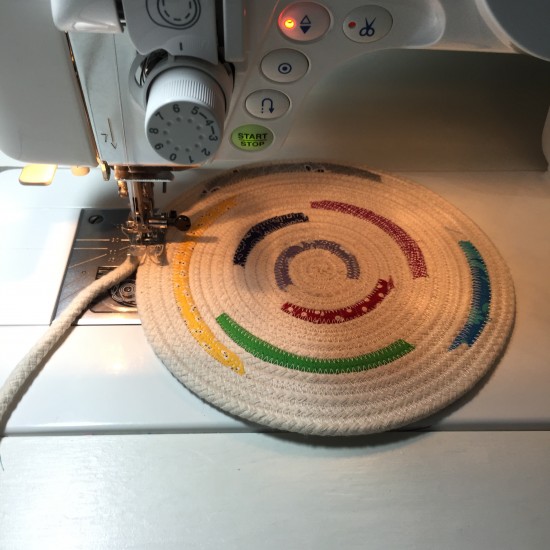
You’ll notice that the direction I’m going above puts the coil under the arm of my machine. I cannot continue bowl making with my coil in this position, I have to cut threads and move it to the other side. (You can avoid this by going the other direction to begin with.)
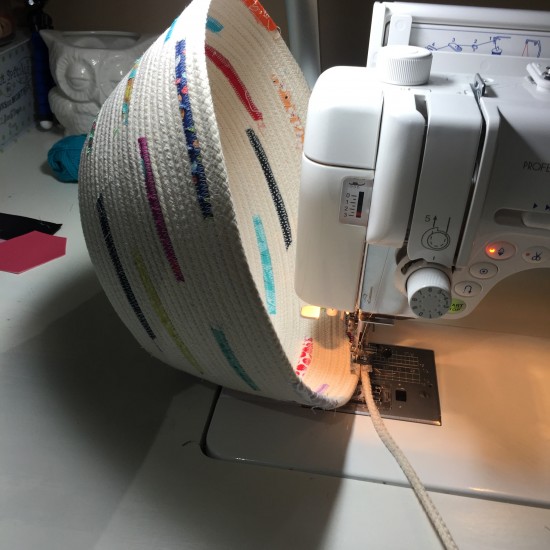
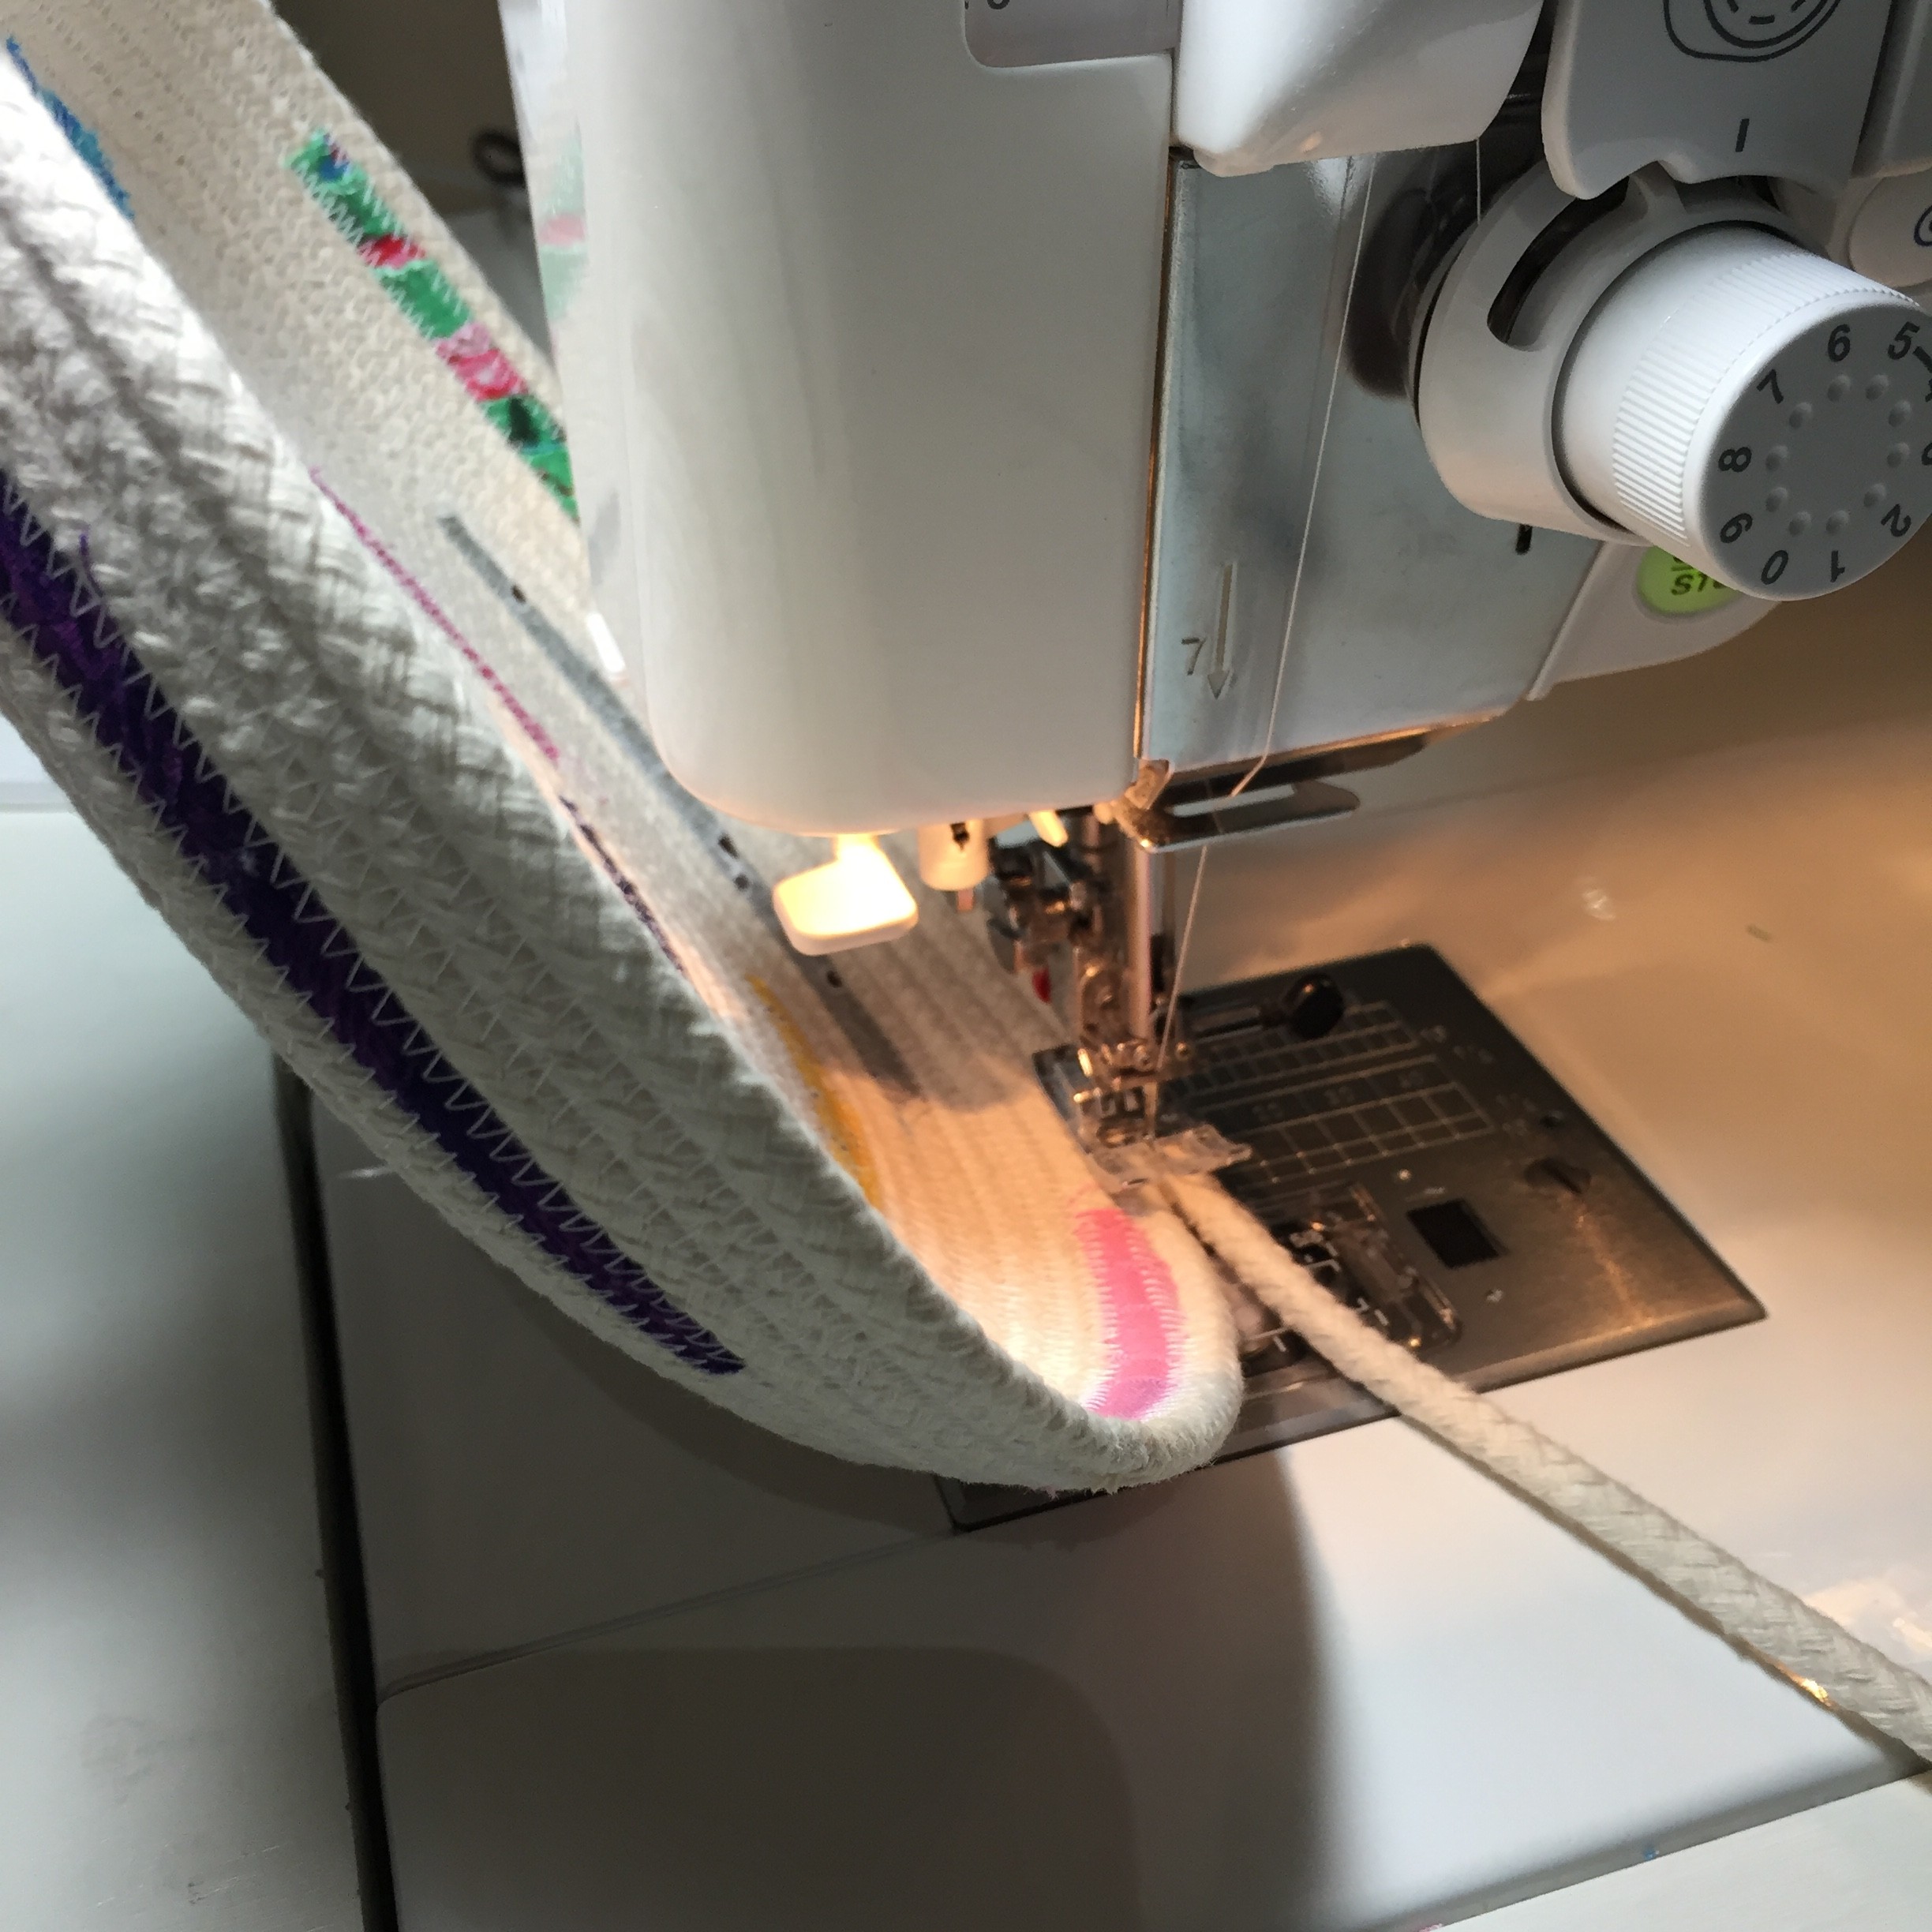
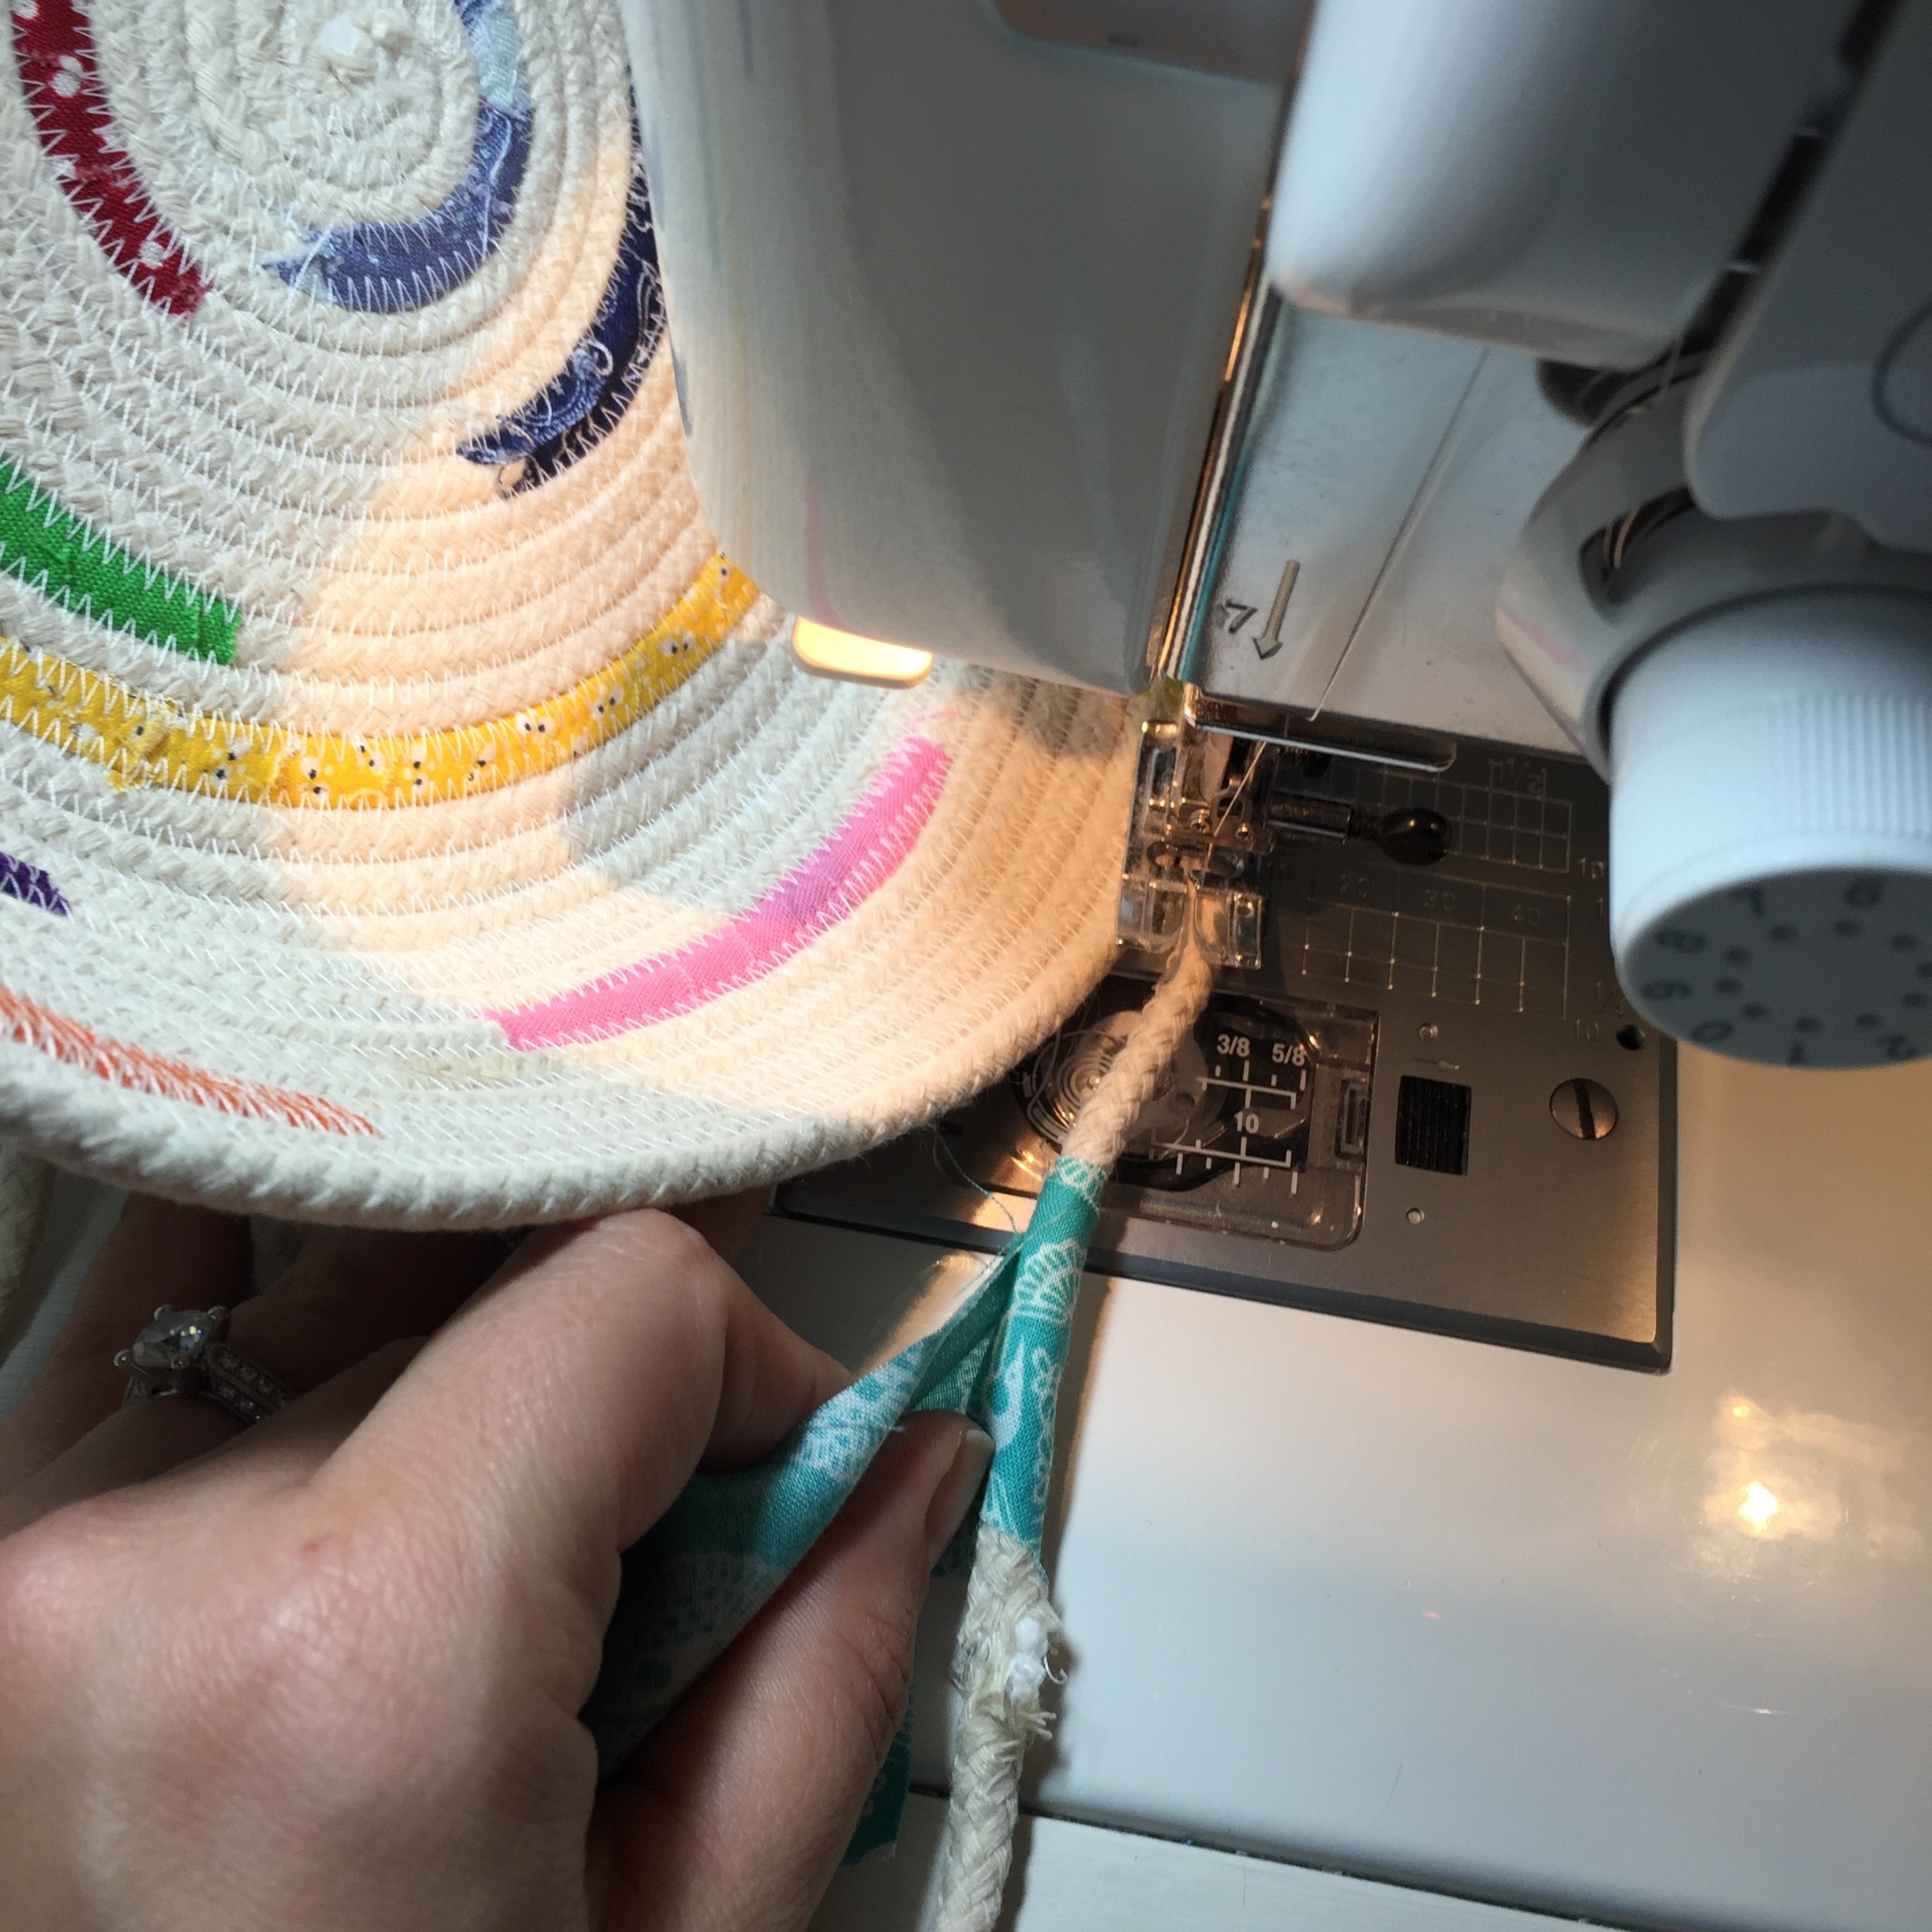
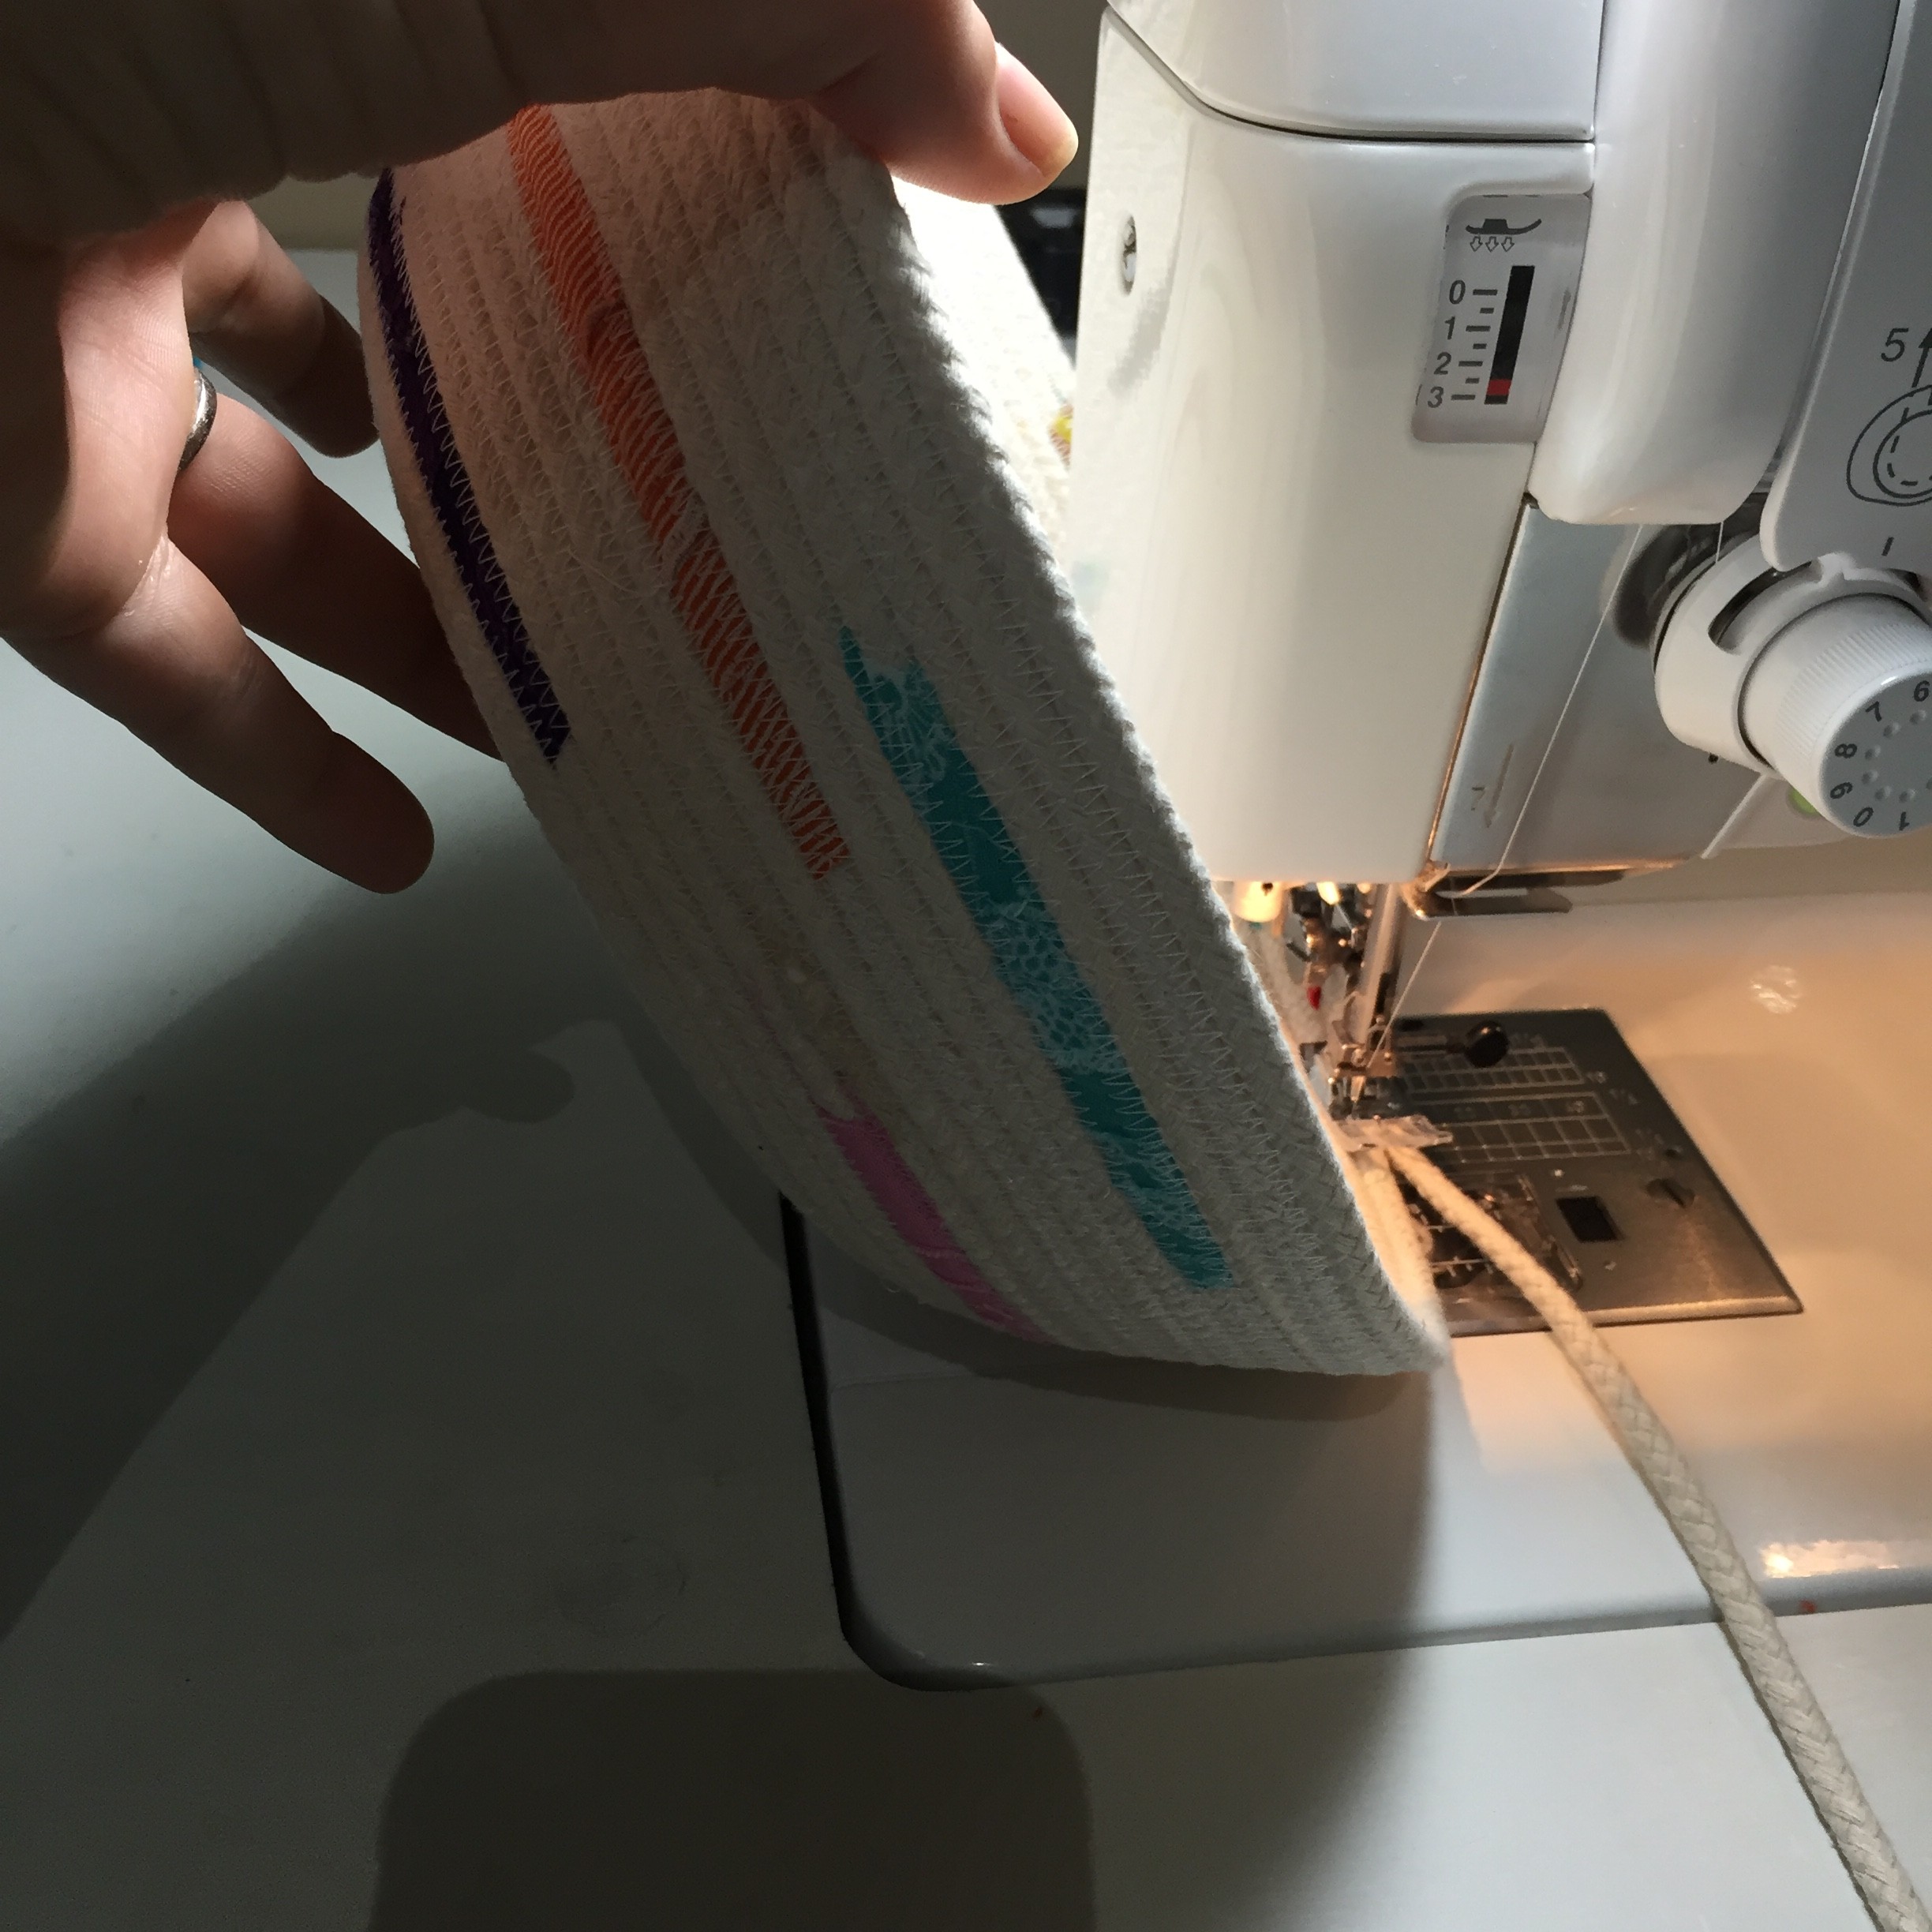
Take your base and lift it up on its side and continue the zig zag stitch.
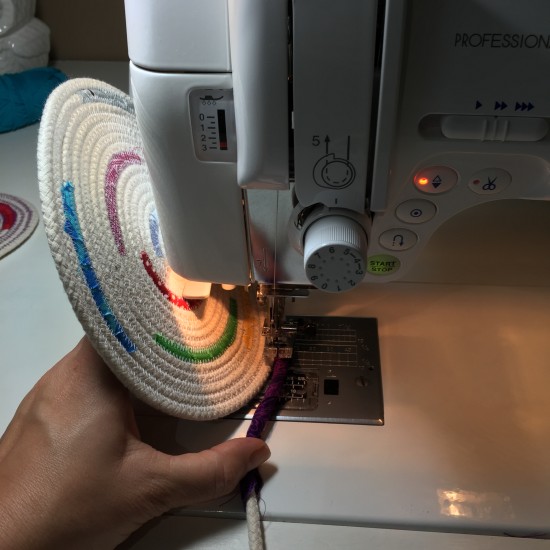
A lip will begin to form.
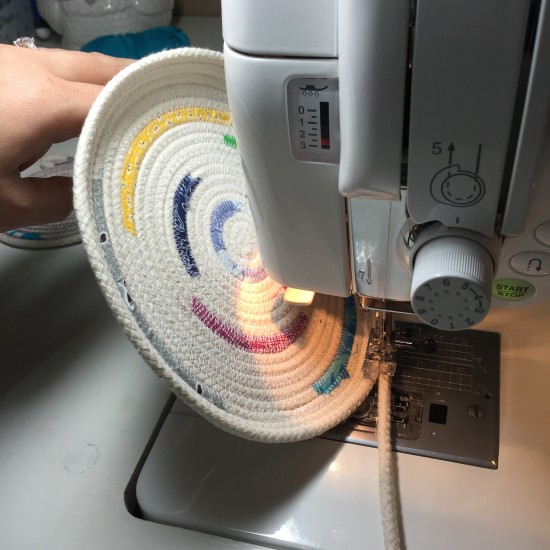
Just keep going and adding your fabrics, yarn or ribbon.

Join New Rope
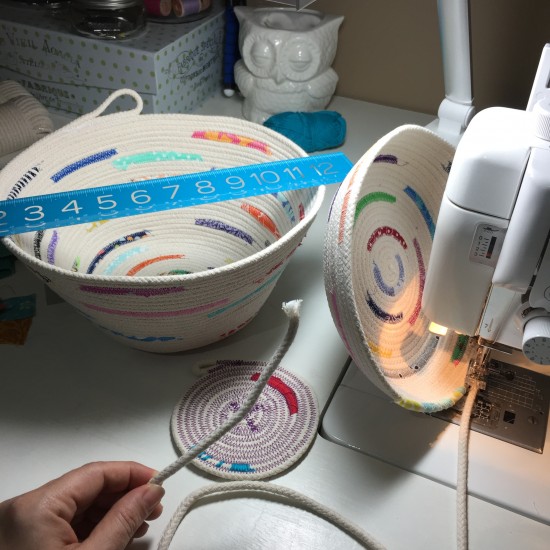
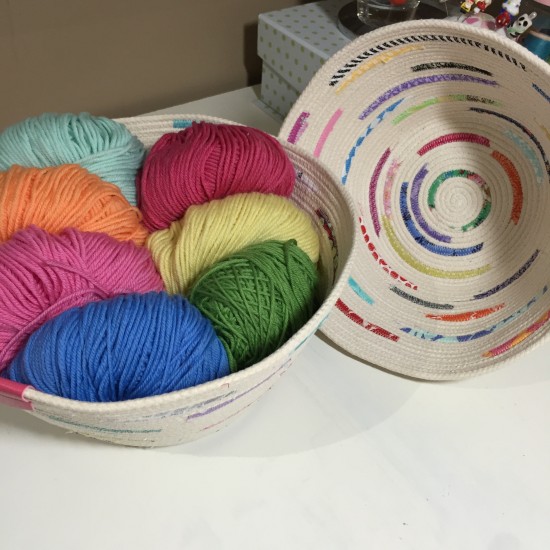
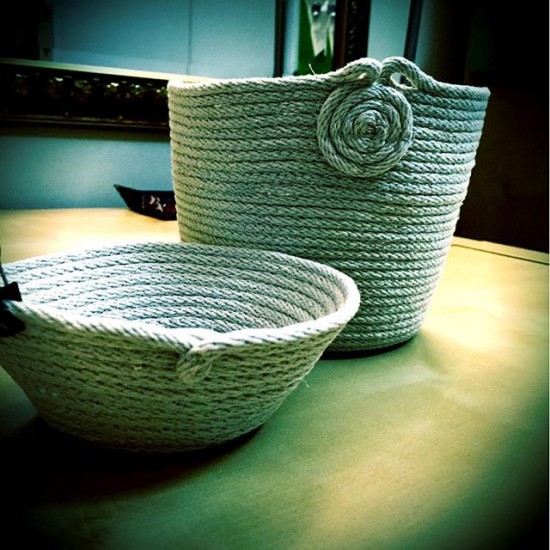
Just for reference – the bowl on the left, coaster and bowl in progress is what you can make with 100′ of 7/32″ rope.
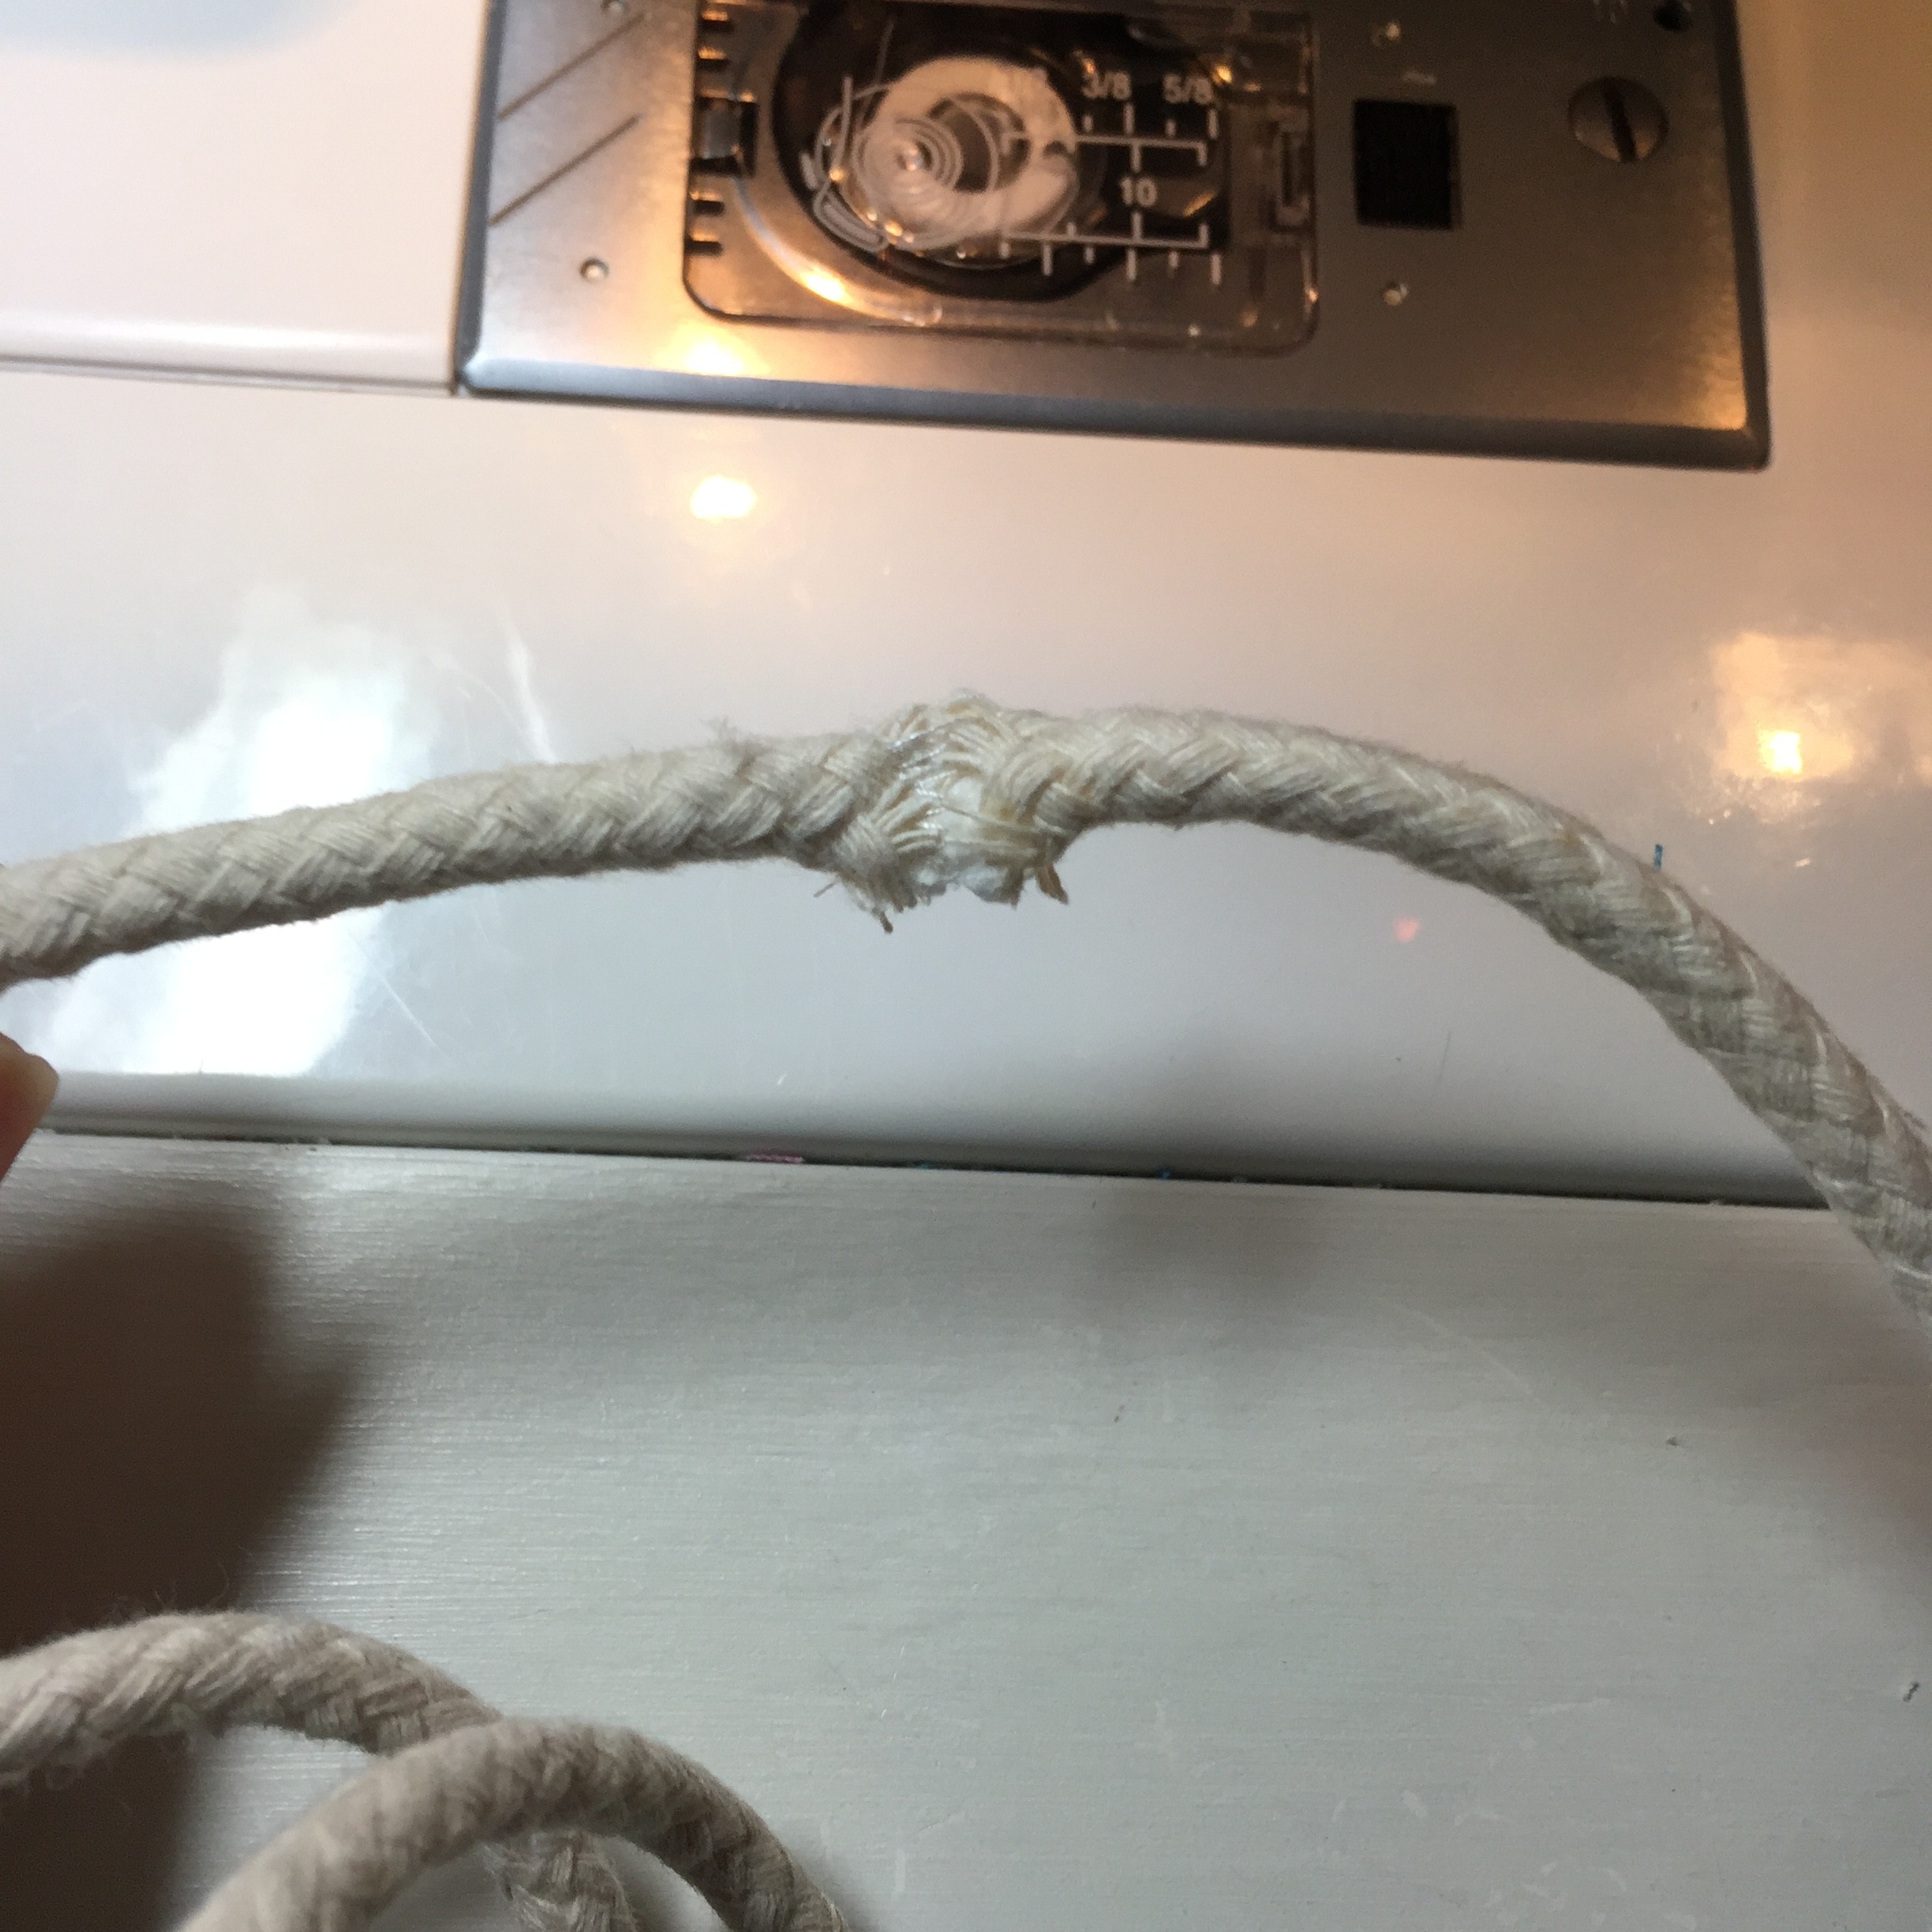
If you run out of rope, no worries. Just stitch the end and the beginning of a new rope together. I zig zagged.

Cover the join with wrapped fabric.

No one is the wiser.
Just keep going around.

And around.
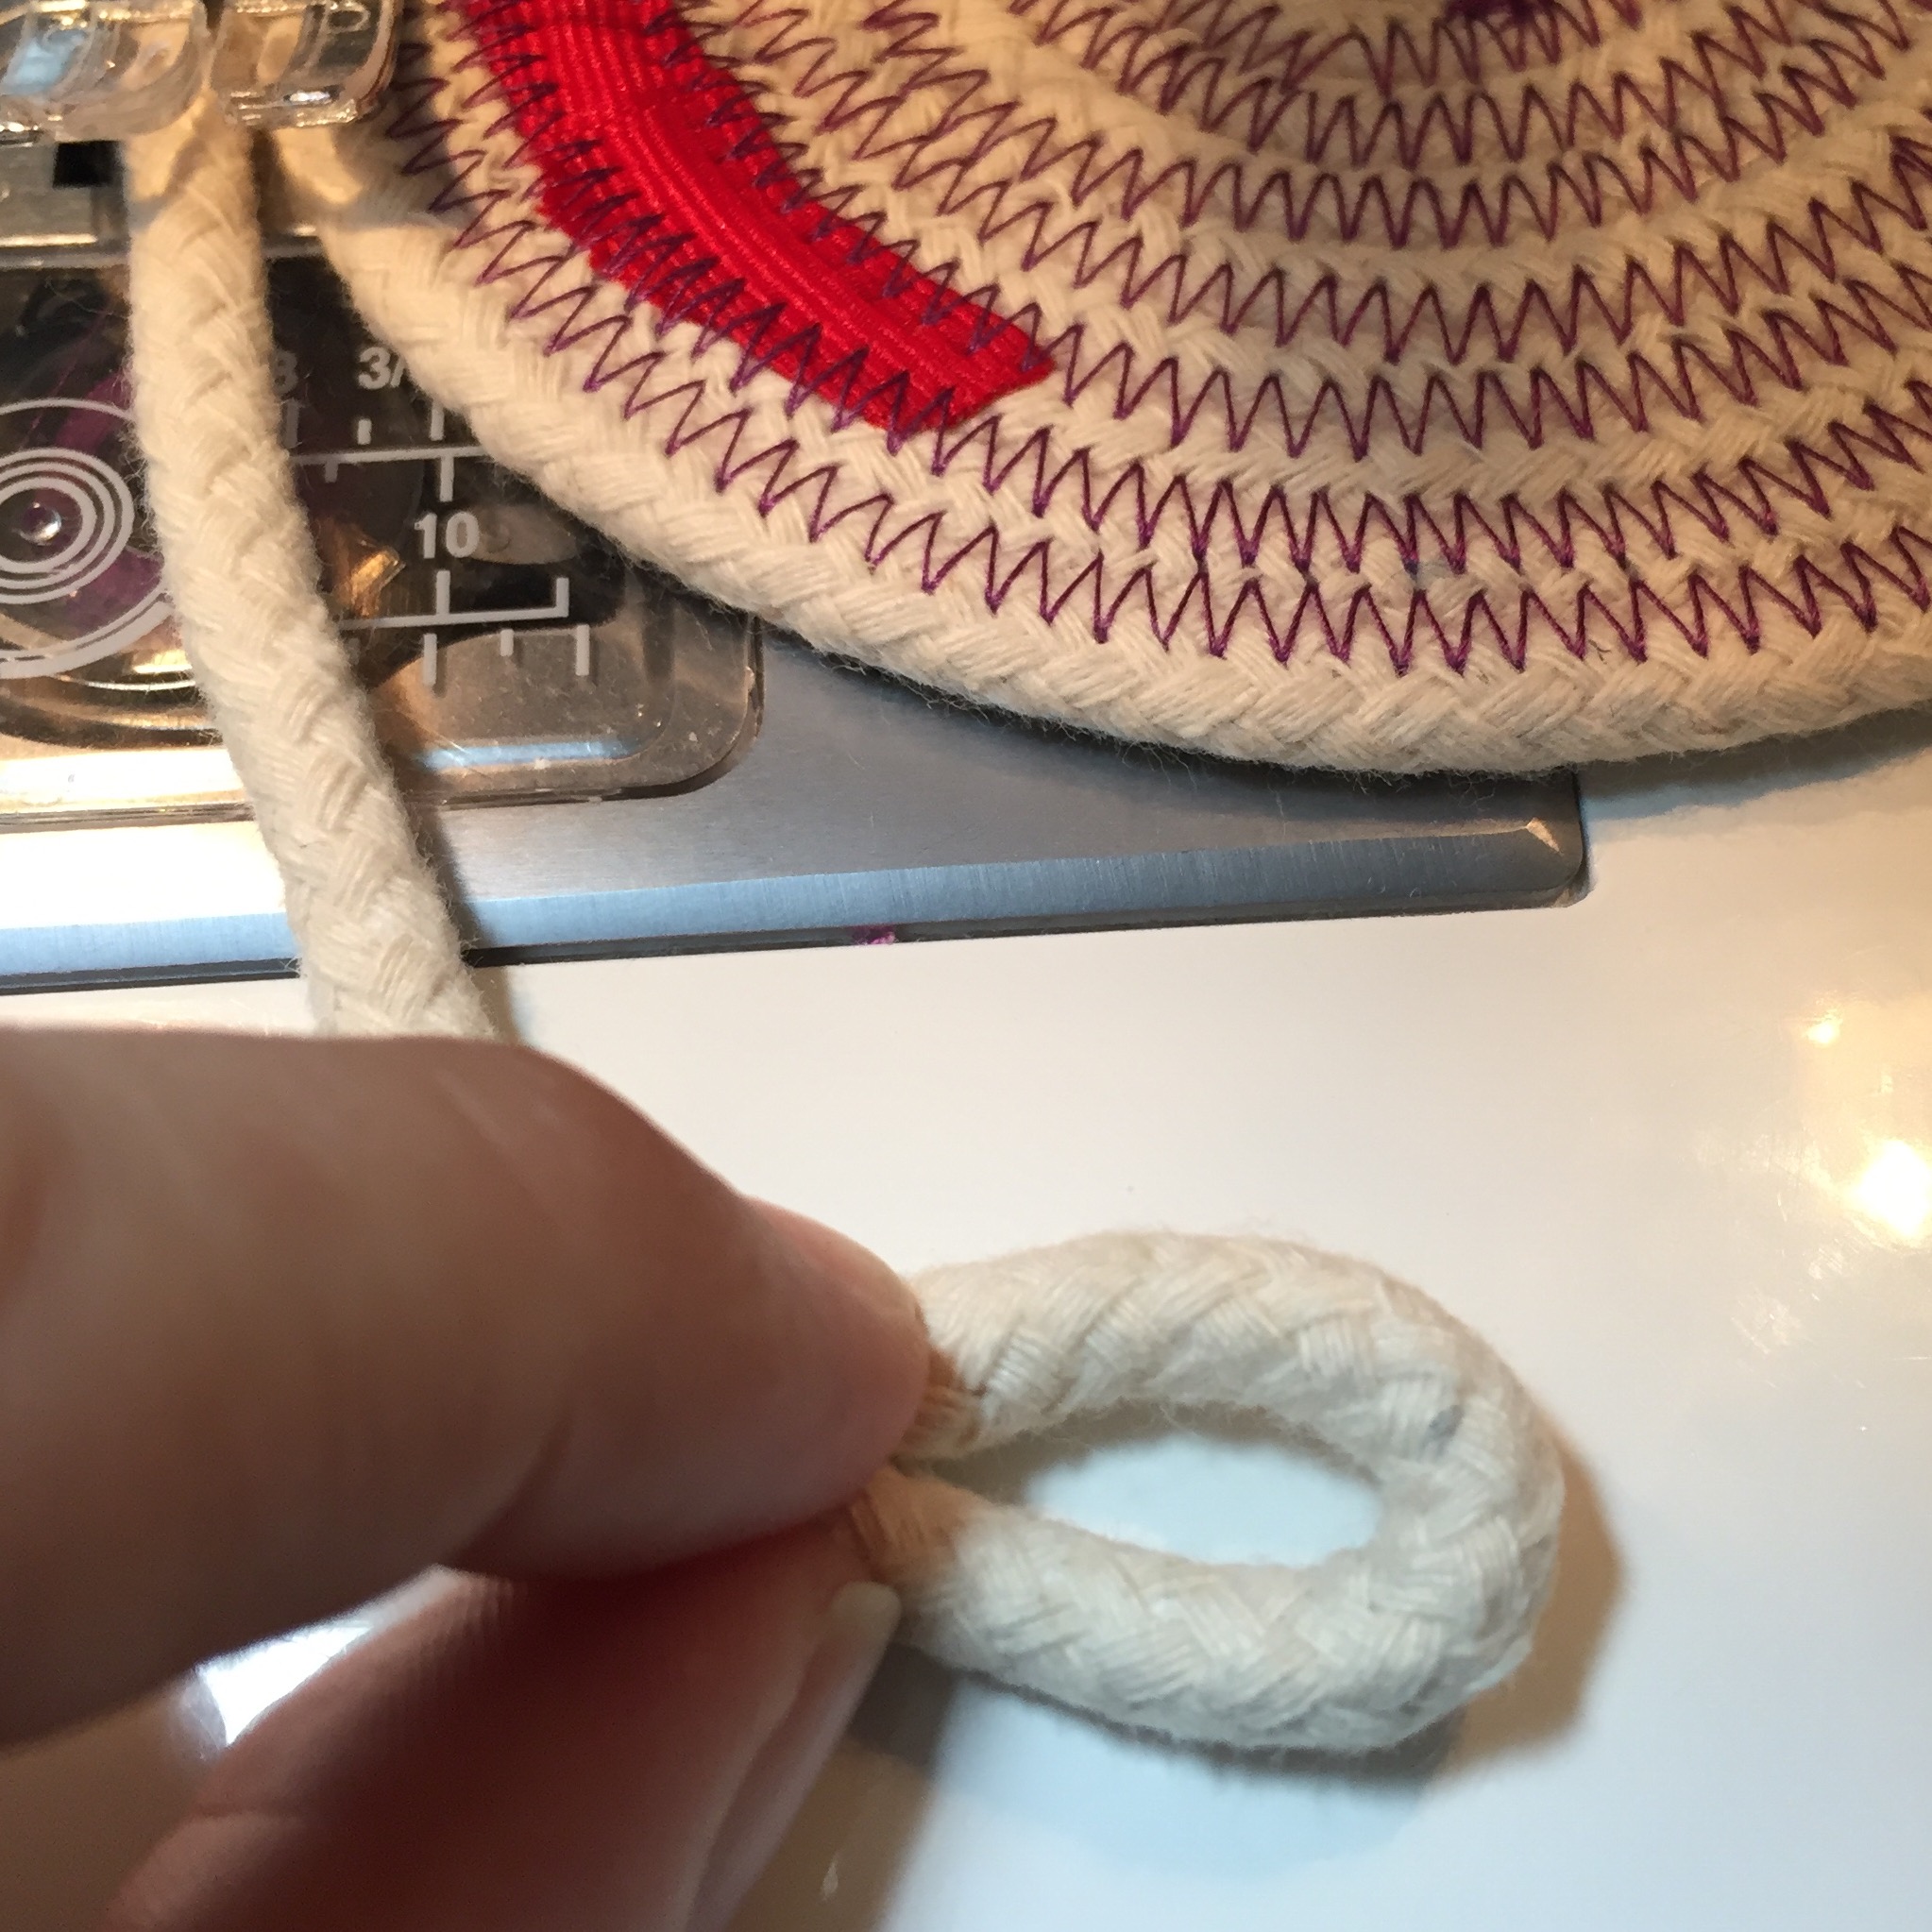
END – Loop & Tuck Option
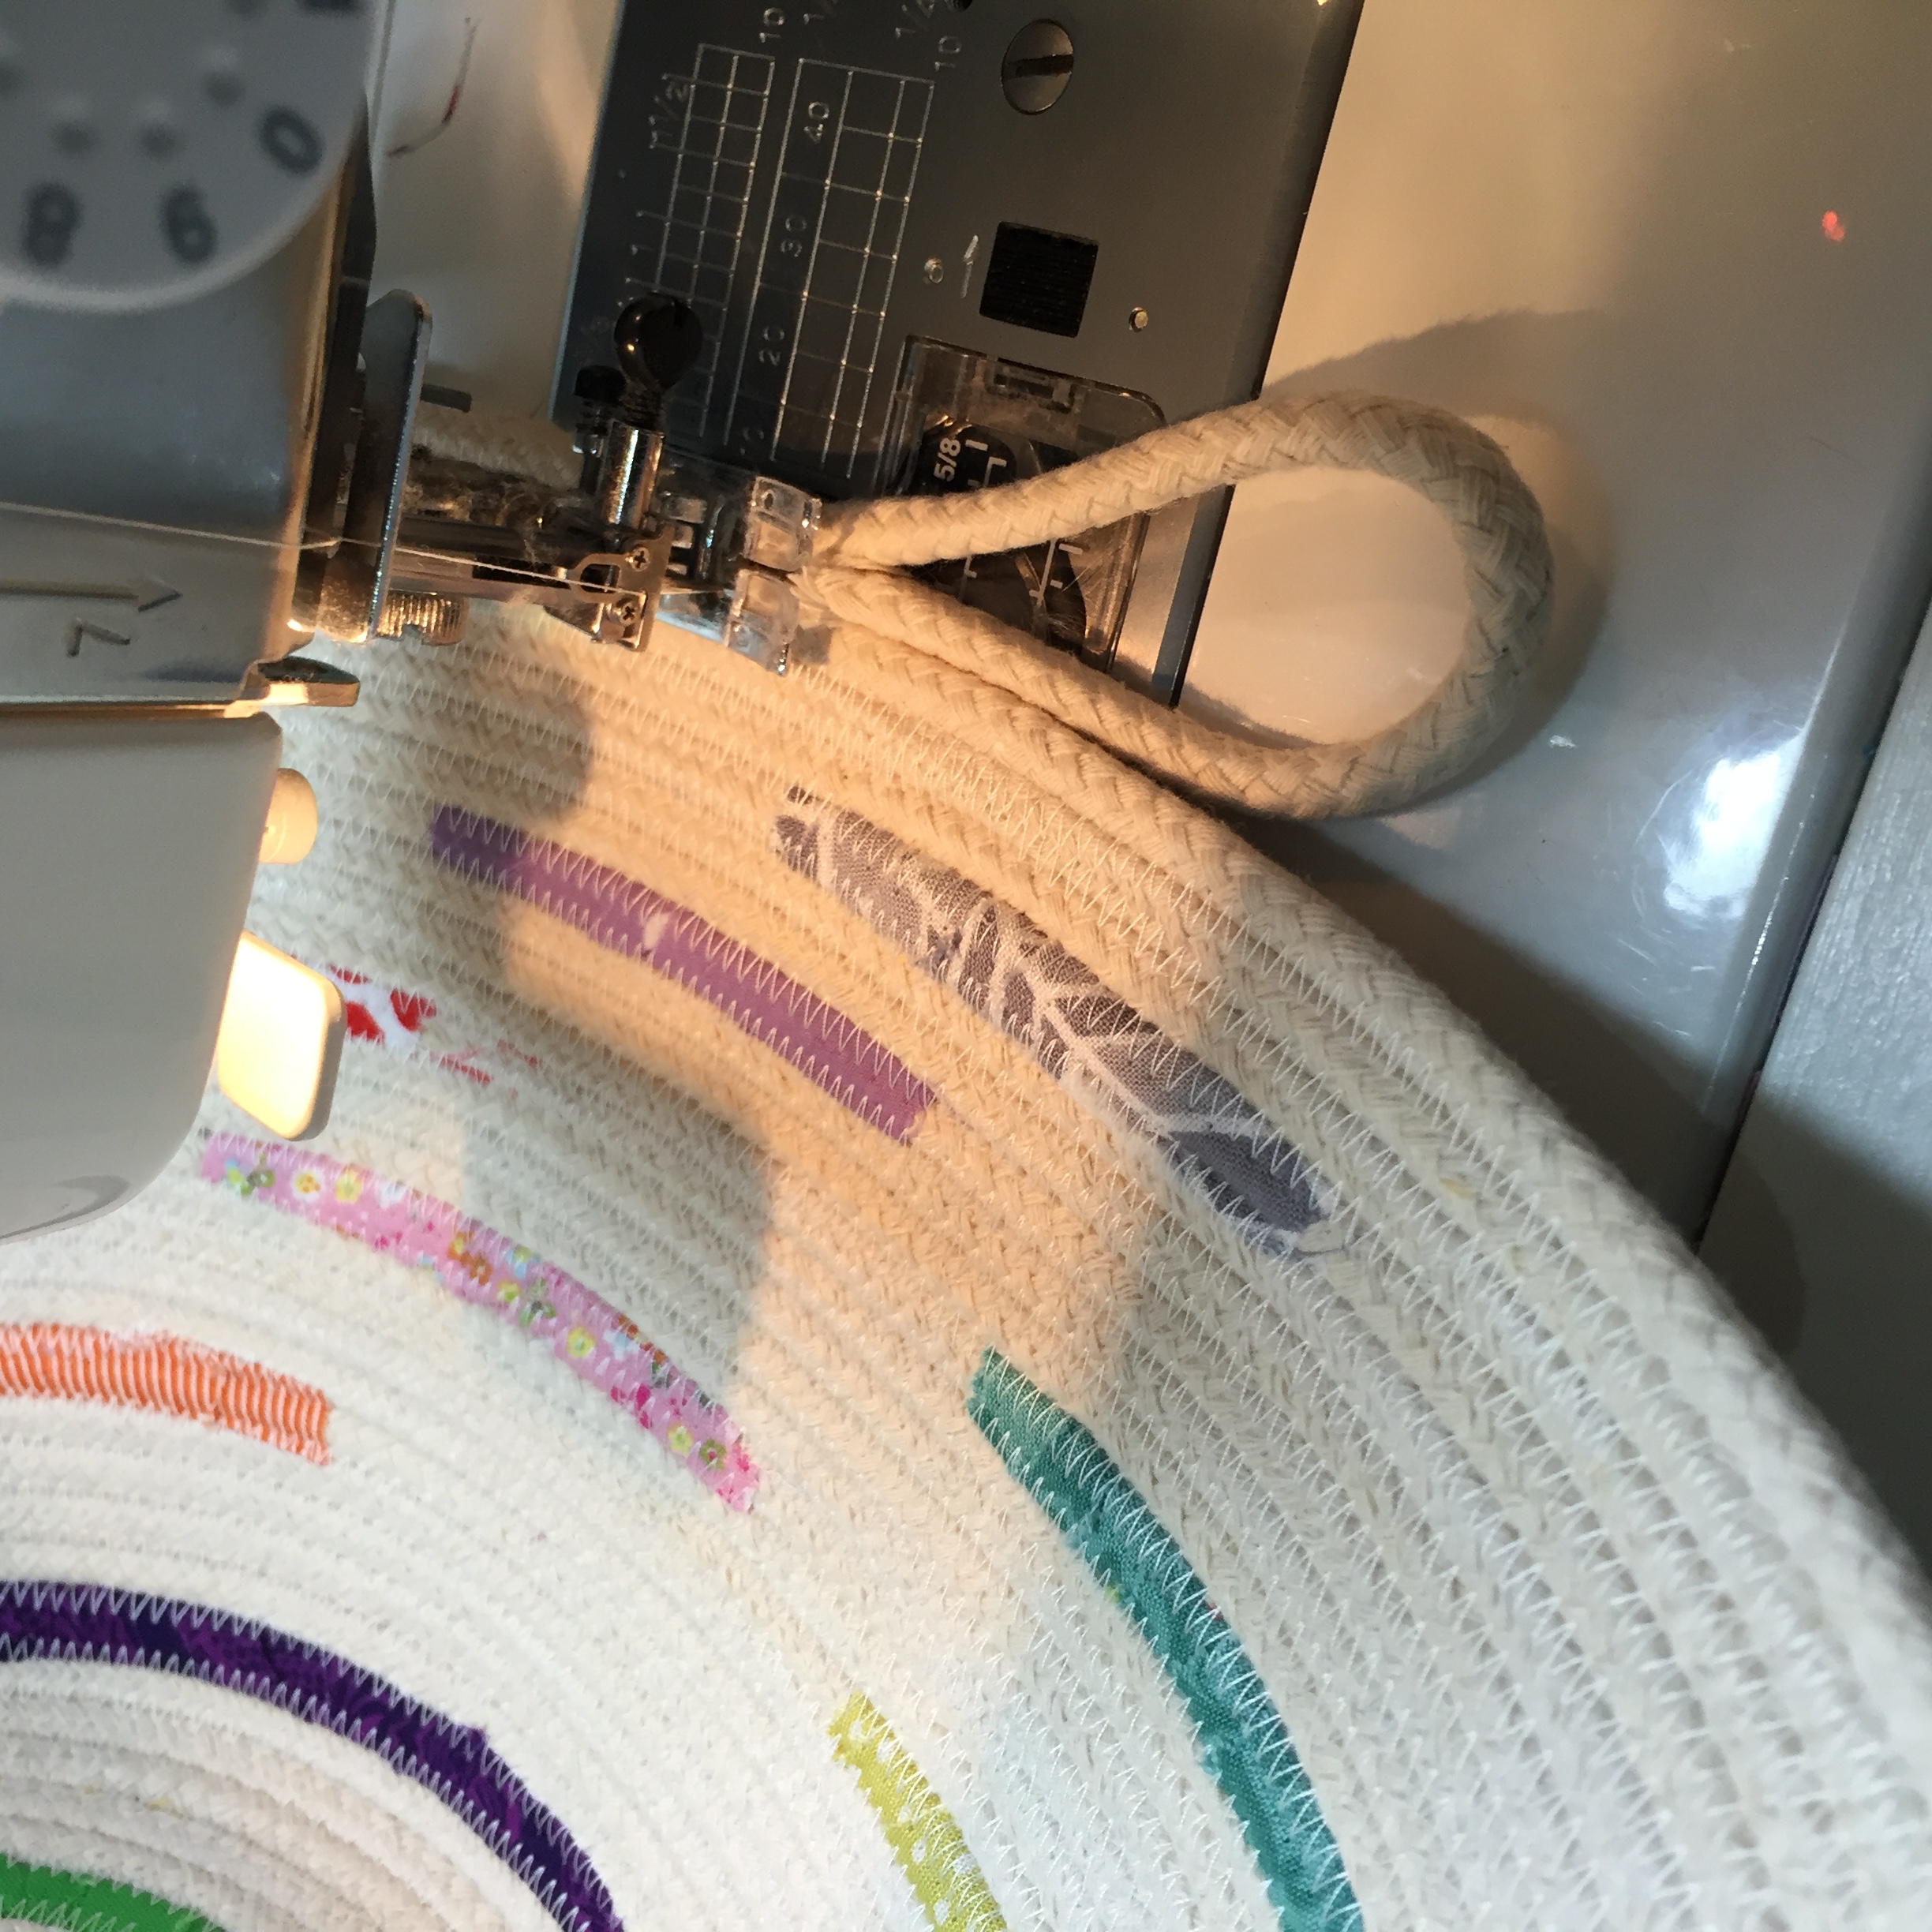
Decide how big you want your loop to be. Pictured here is a large loop.

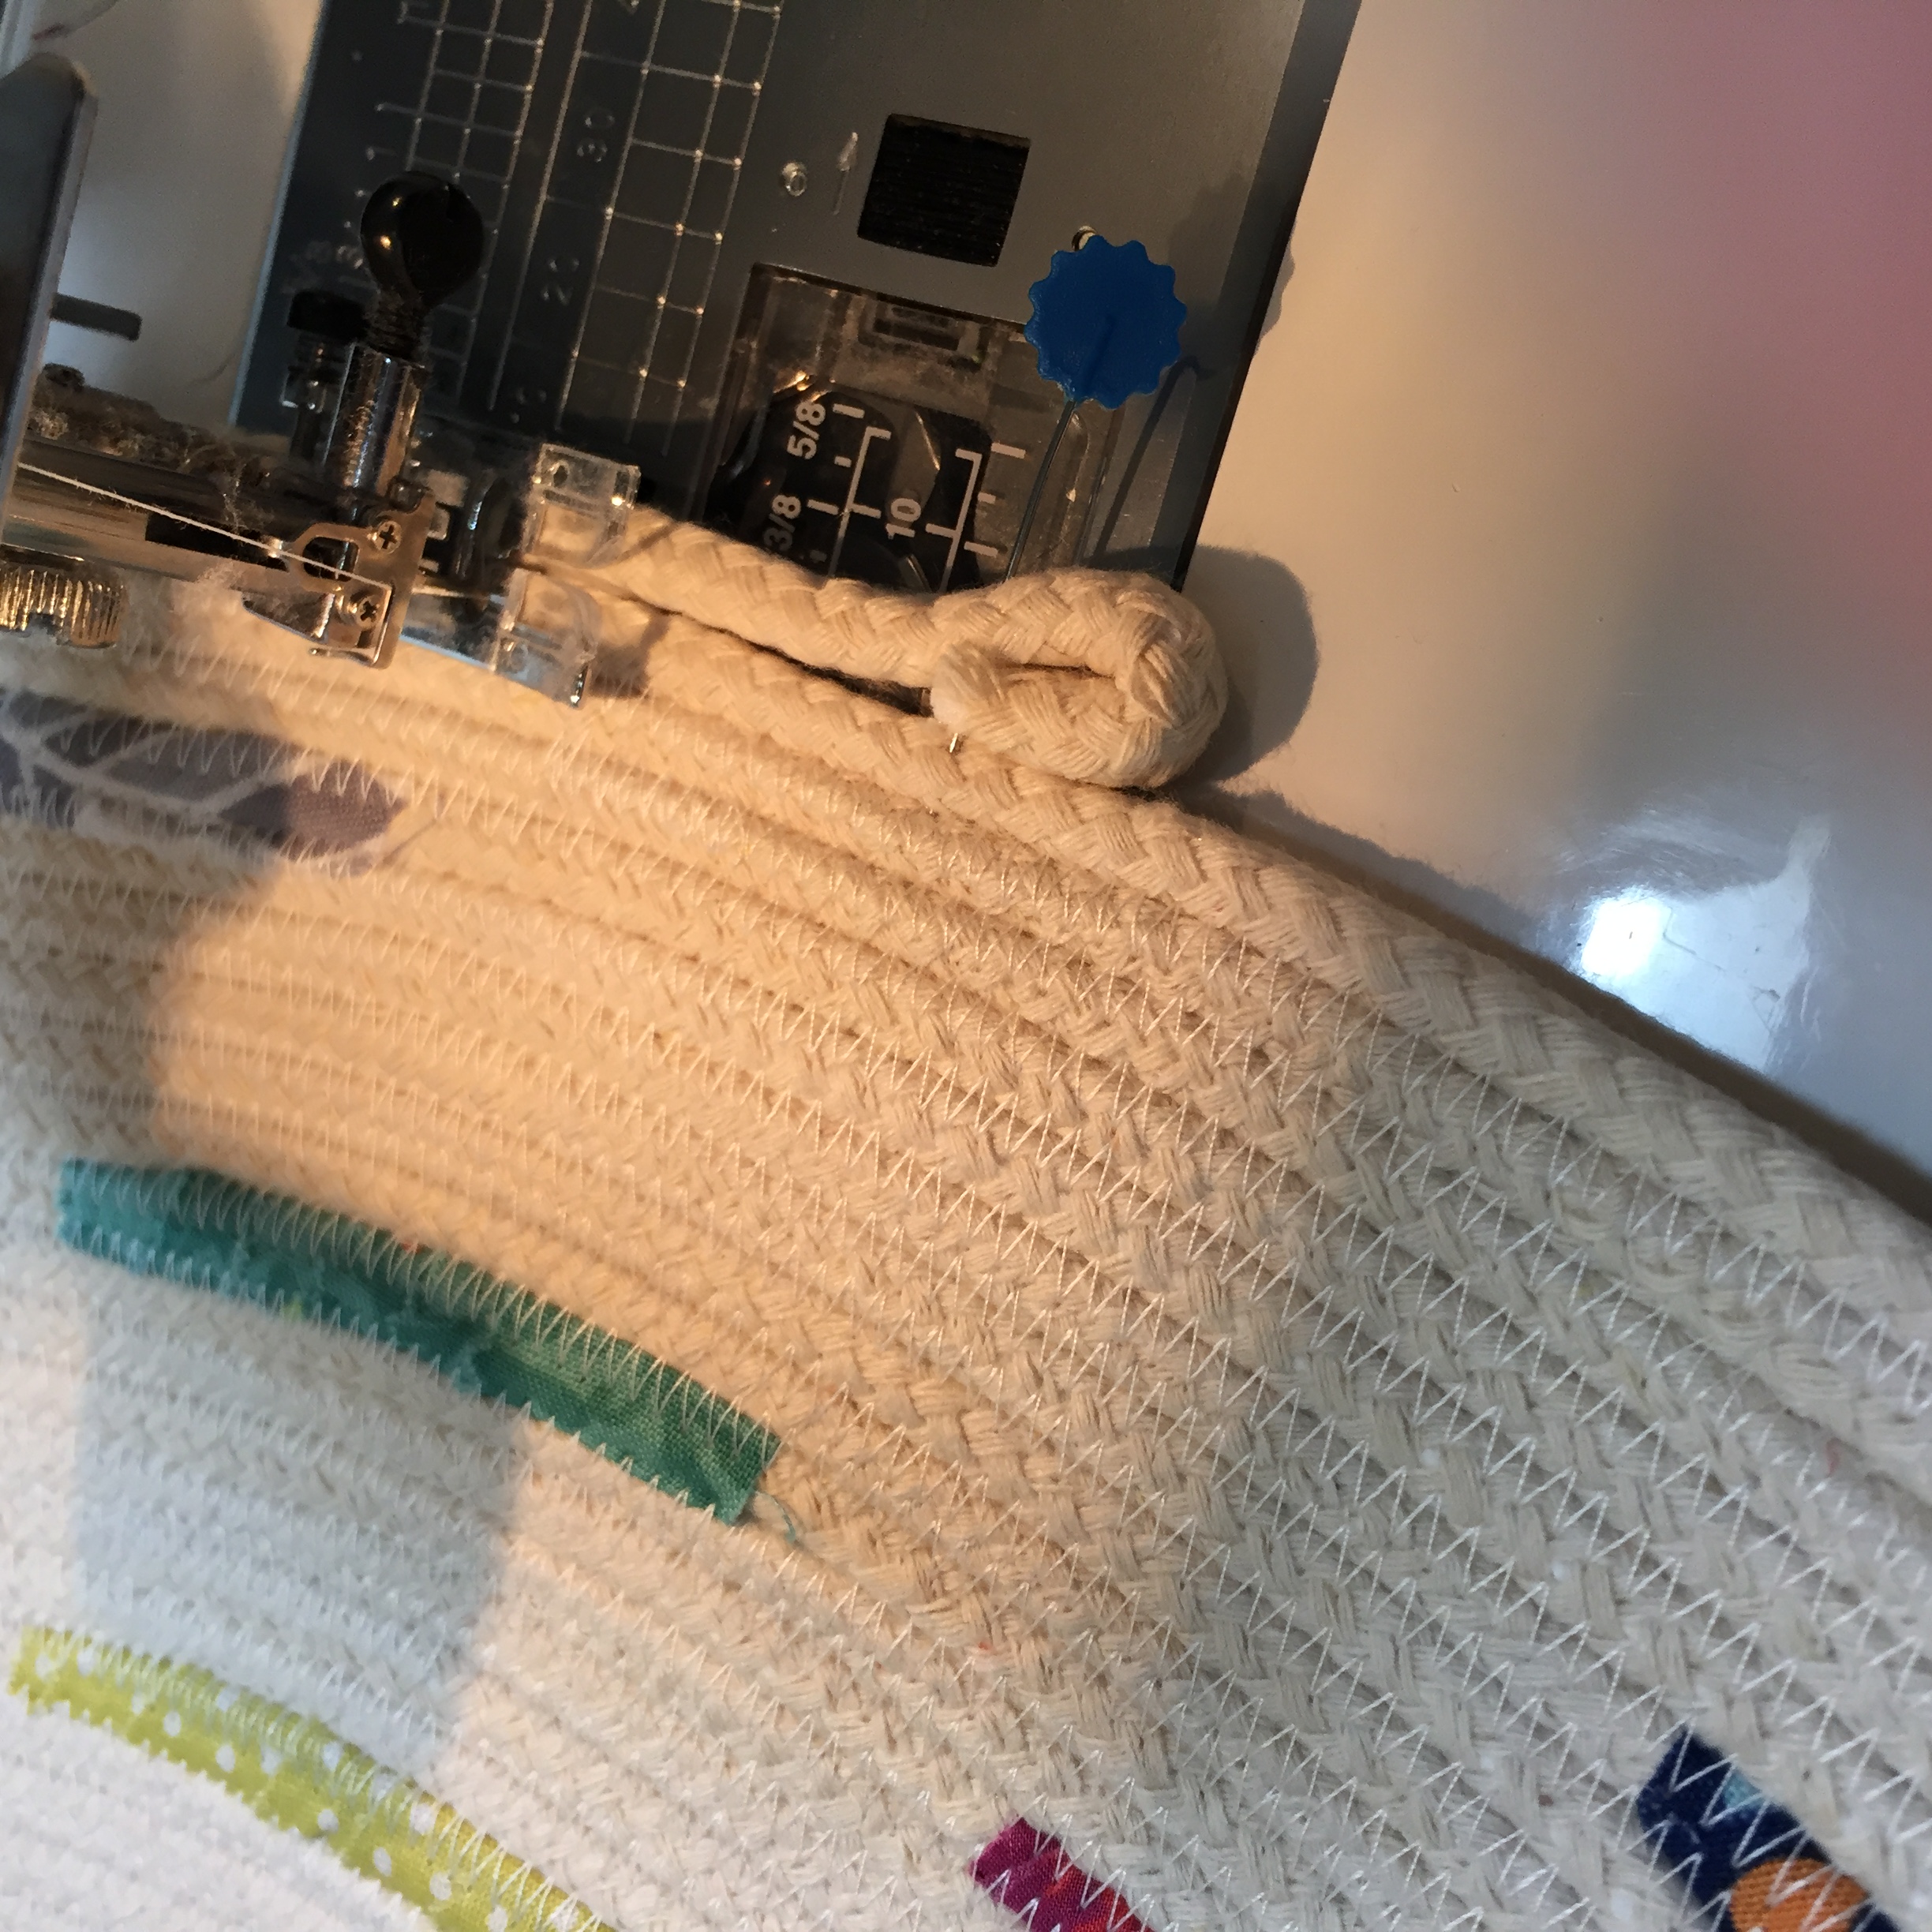
Pictured here is a tiny nub loop.

For this I will make a small loop.

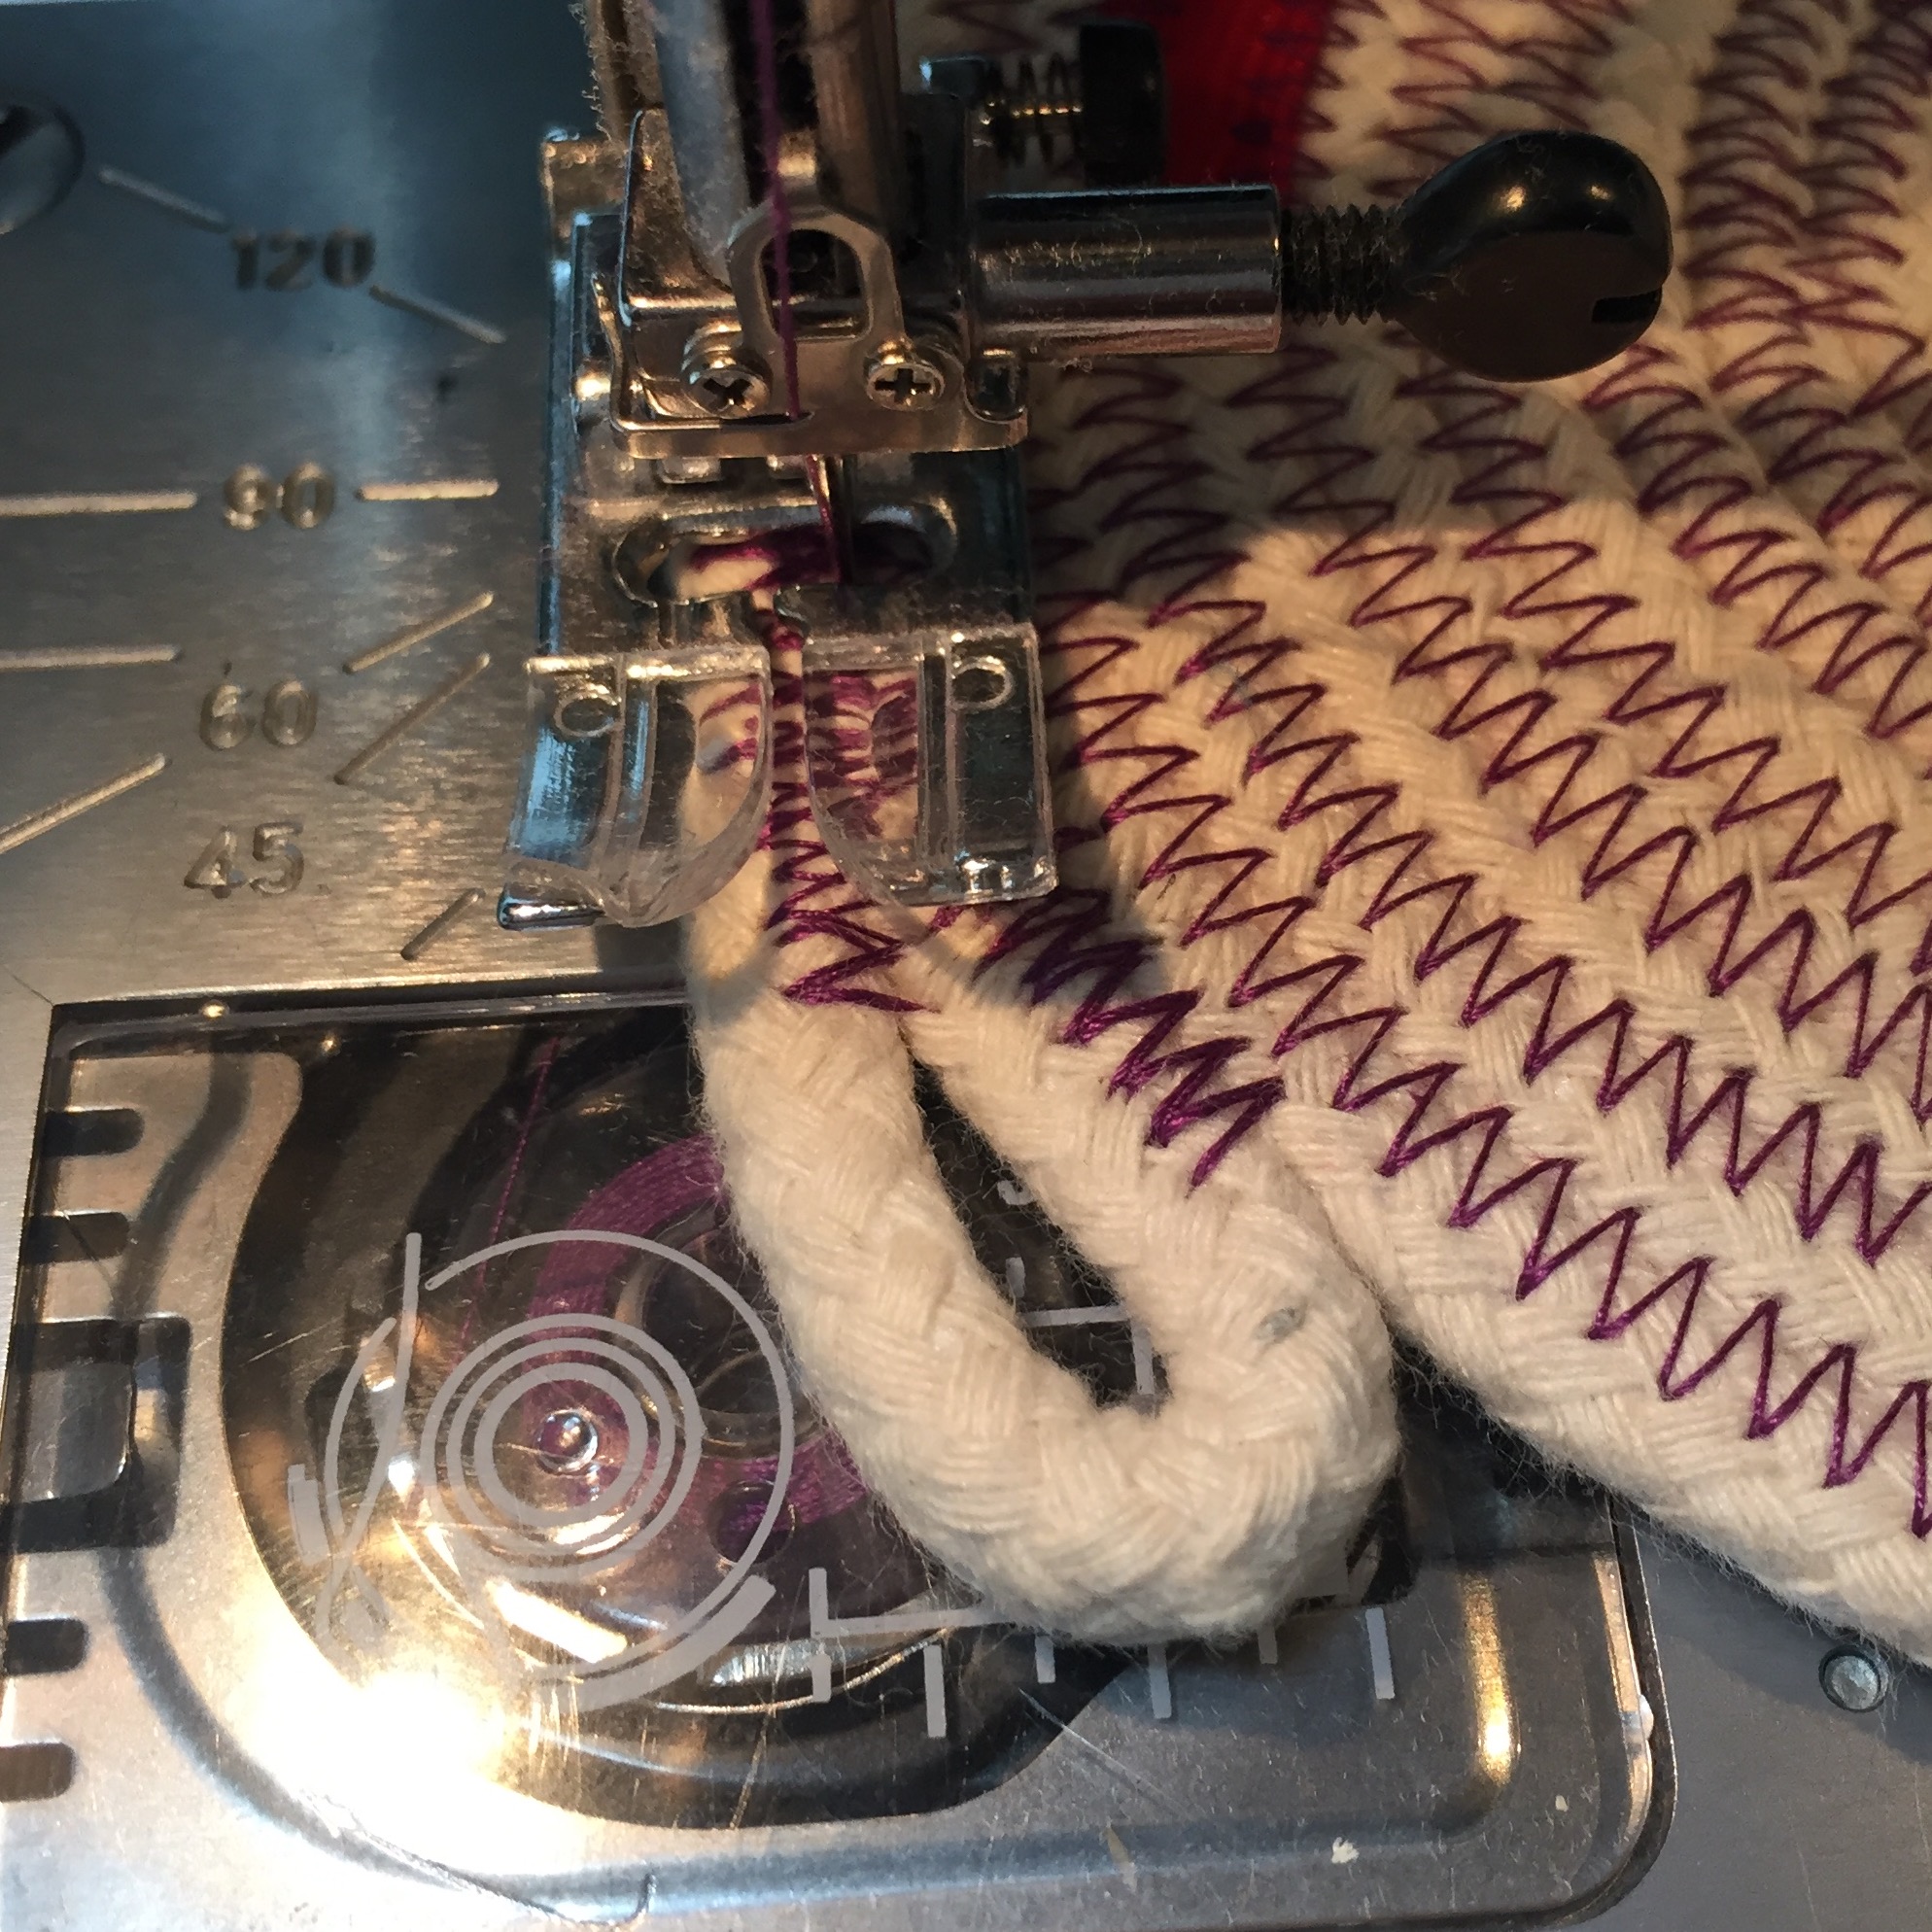
Press the loop up against your coils, raw edge inside.
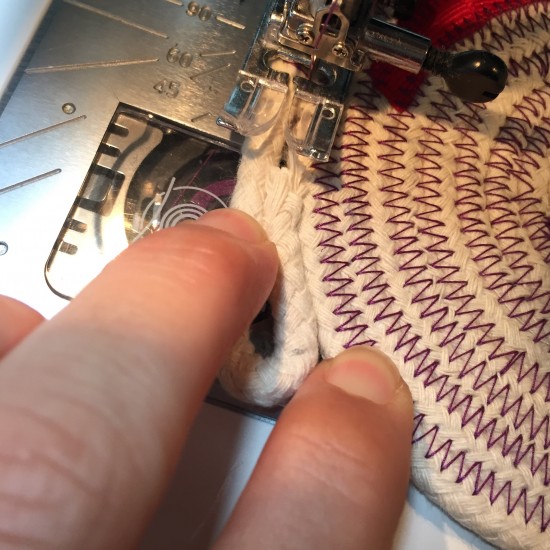
Zig zag stitch over the raw edge and down the side, back stitch the beginning of the loop.
The further you stitch, the less round the loop will be.

After you’ve back stitched, zig zag stitch over the raw edge and the outer loop. This helps secure the loop.
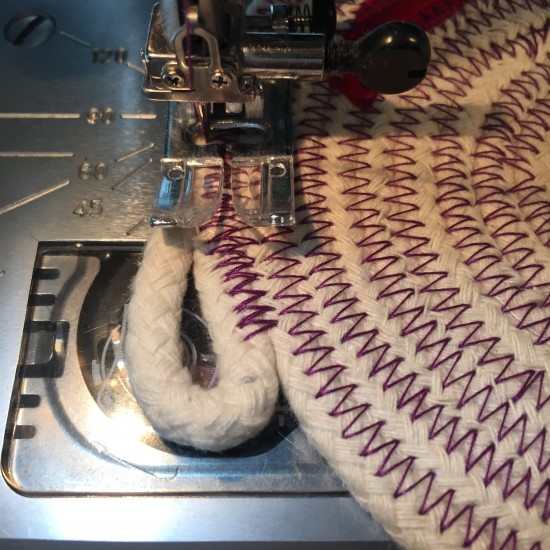
The further you stitch, the smaller your loop. Back stitch this as well.
Result:

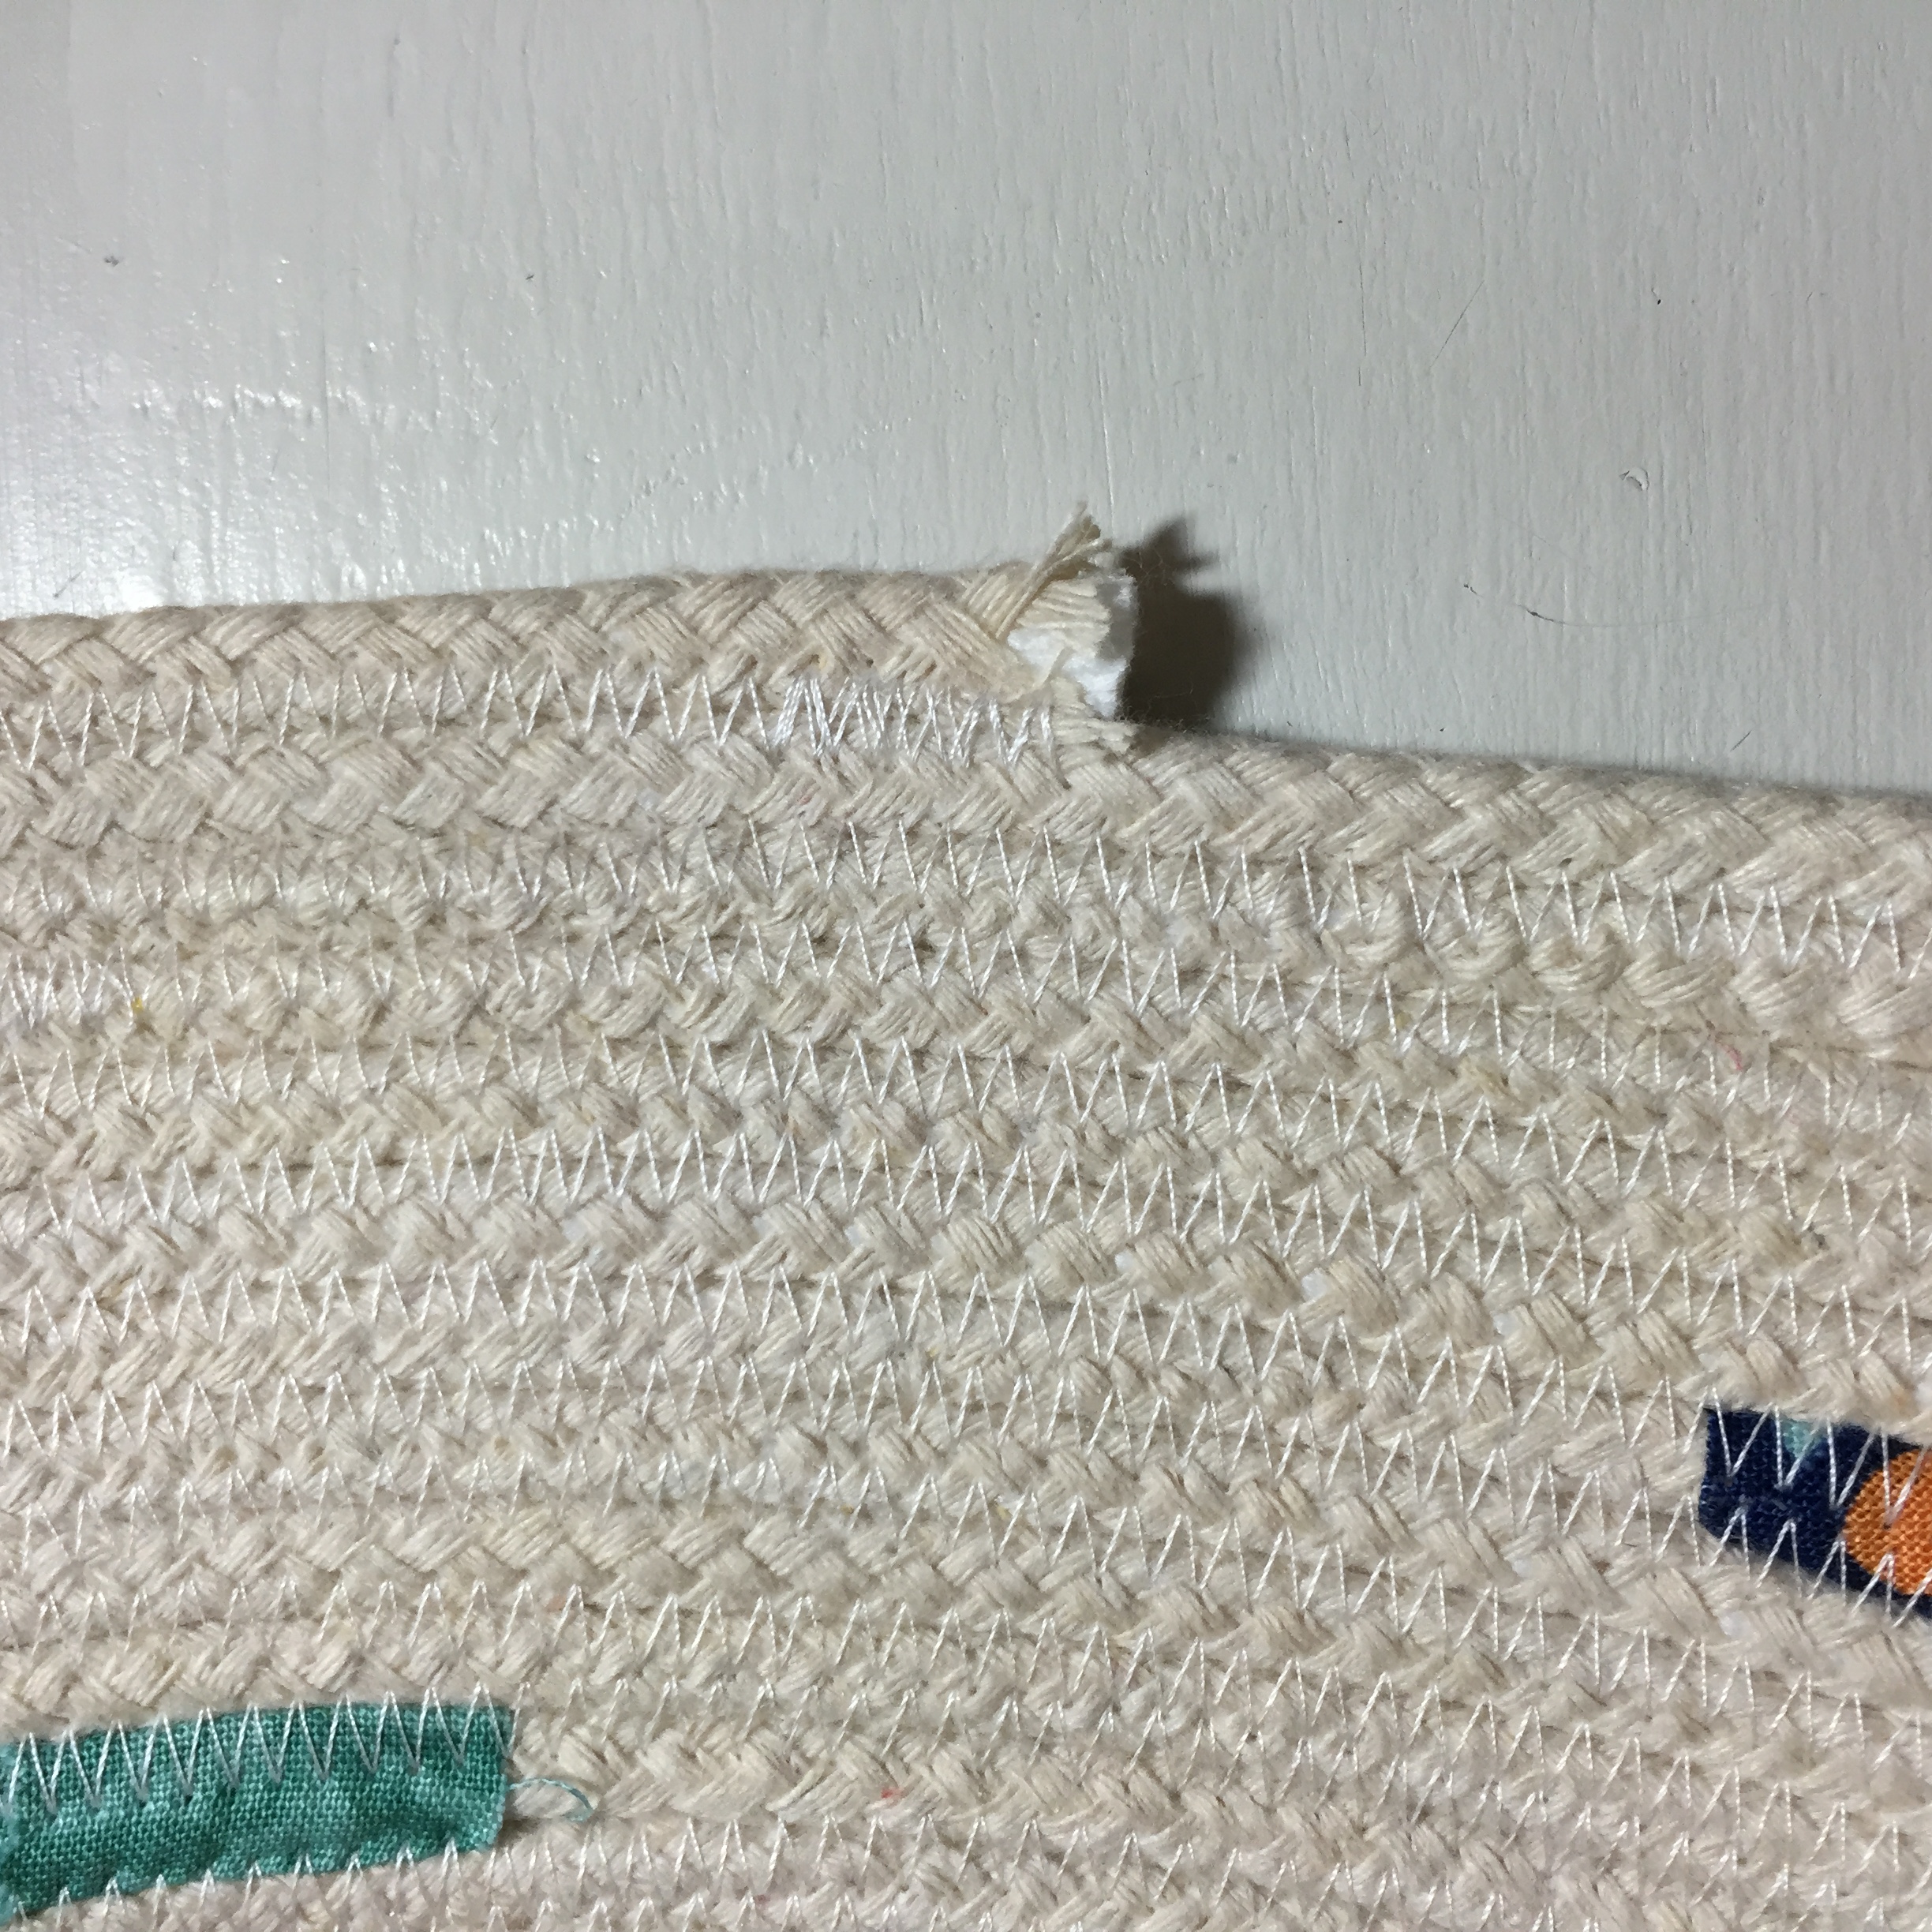
END – Wrapped Edge
Zig zag stitch right up to the end of your rope.

Fold your leather/pleather piece over the edge and close to the end.
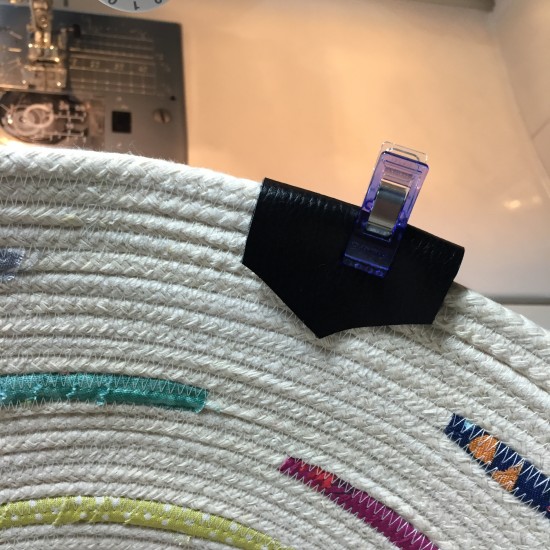
Stitch down. I triple stitched using matching thread.
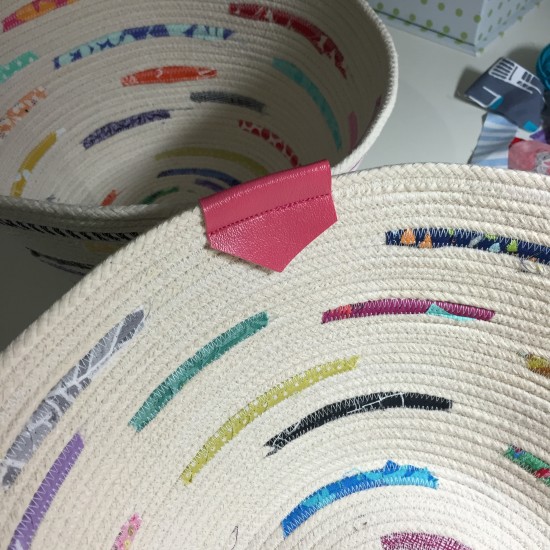
YAY! You’re all done.
I love my bowls and coasters and know this is just the beginning of a nice little collection.
I’ll definitely be playing more with color changing thread.

INSPIRATION!
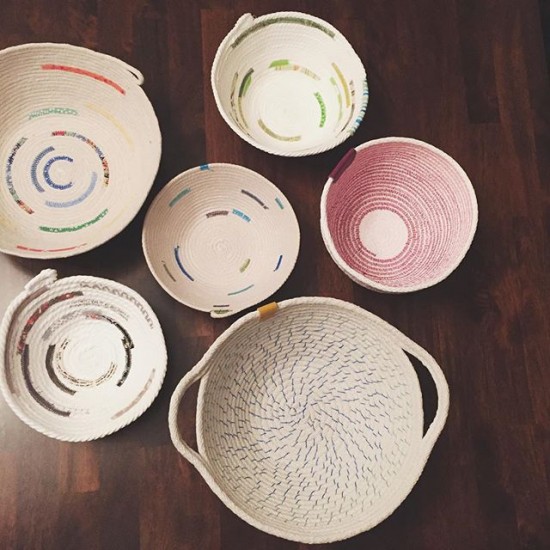
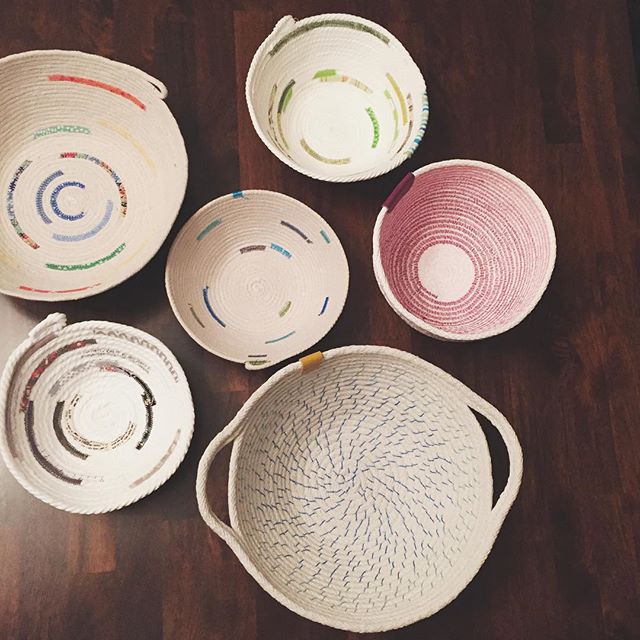
Different size ropes and and patterns. (image courtesy of @jmzblond Instagram)
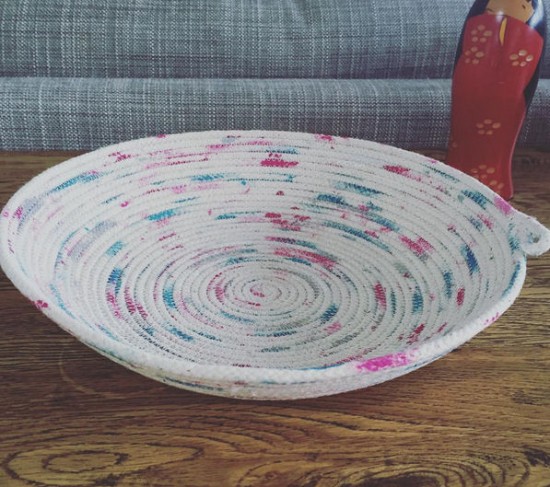
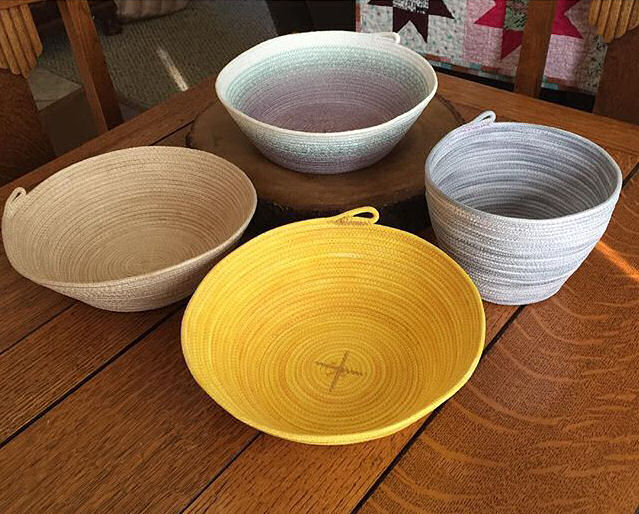
Painted rope! (image courtesy of @onethousandlayers Instagram)
Gorgeous natural dyes (image courtesy of @sewbettyjane Instagram)

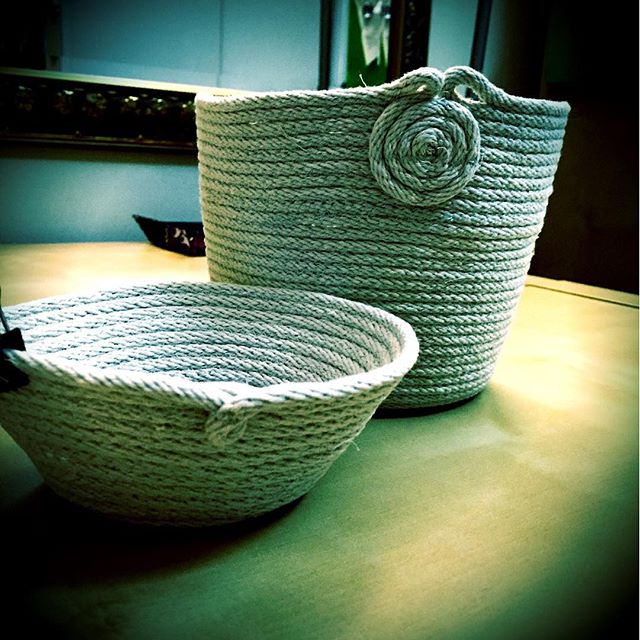
Handles! Thread and rope options (image courtesy of @vivelymade Instagram)


Connect