Archive for ‘Sewing & Fabric’

April 2nd, 2020

Here Comes the Sun – Coloring Page and Mini Quilt

by Julie Hirt

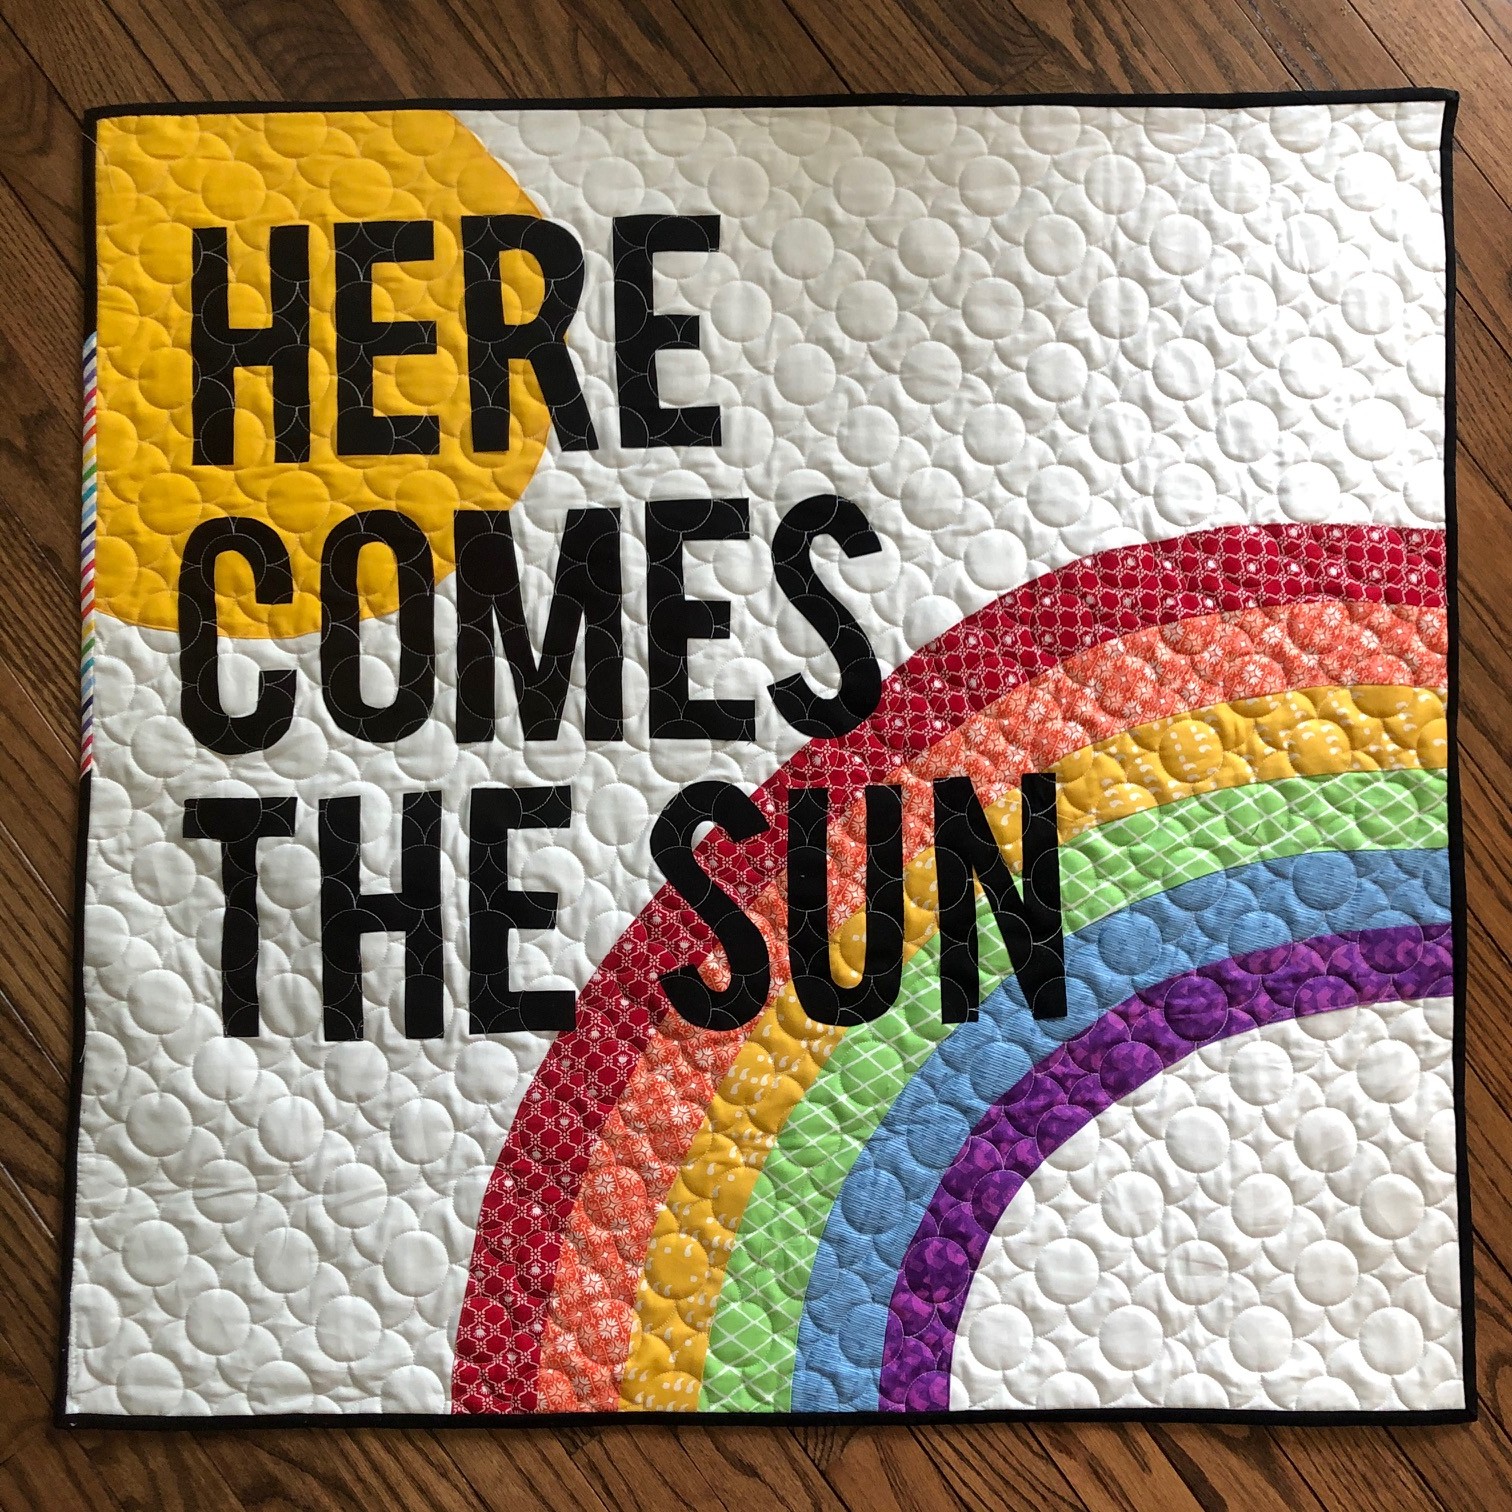
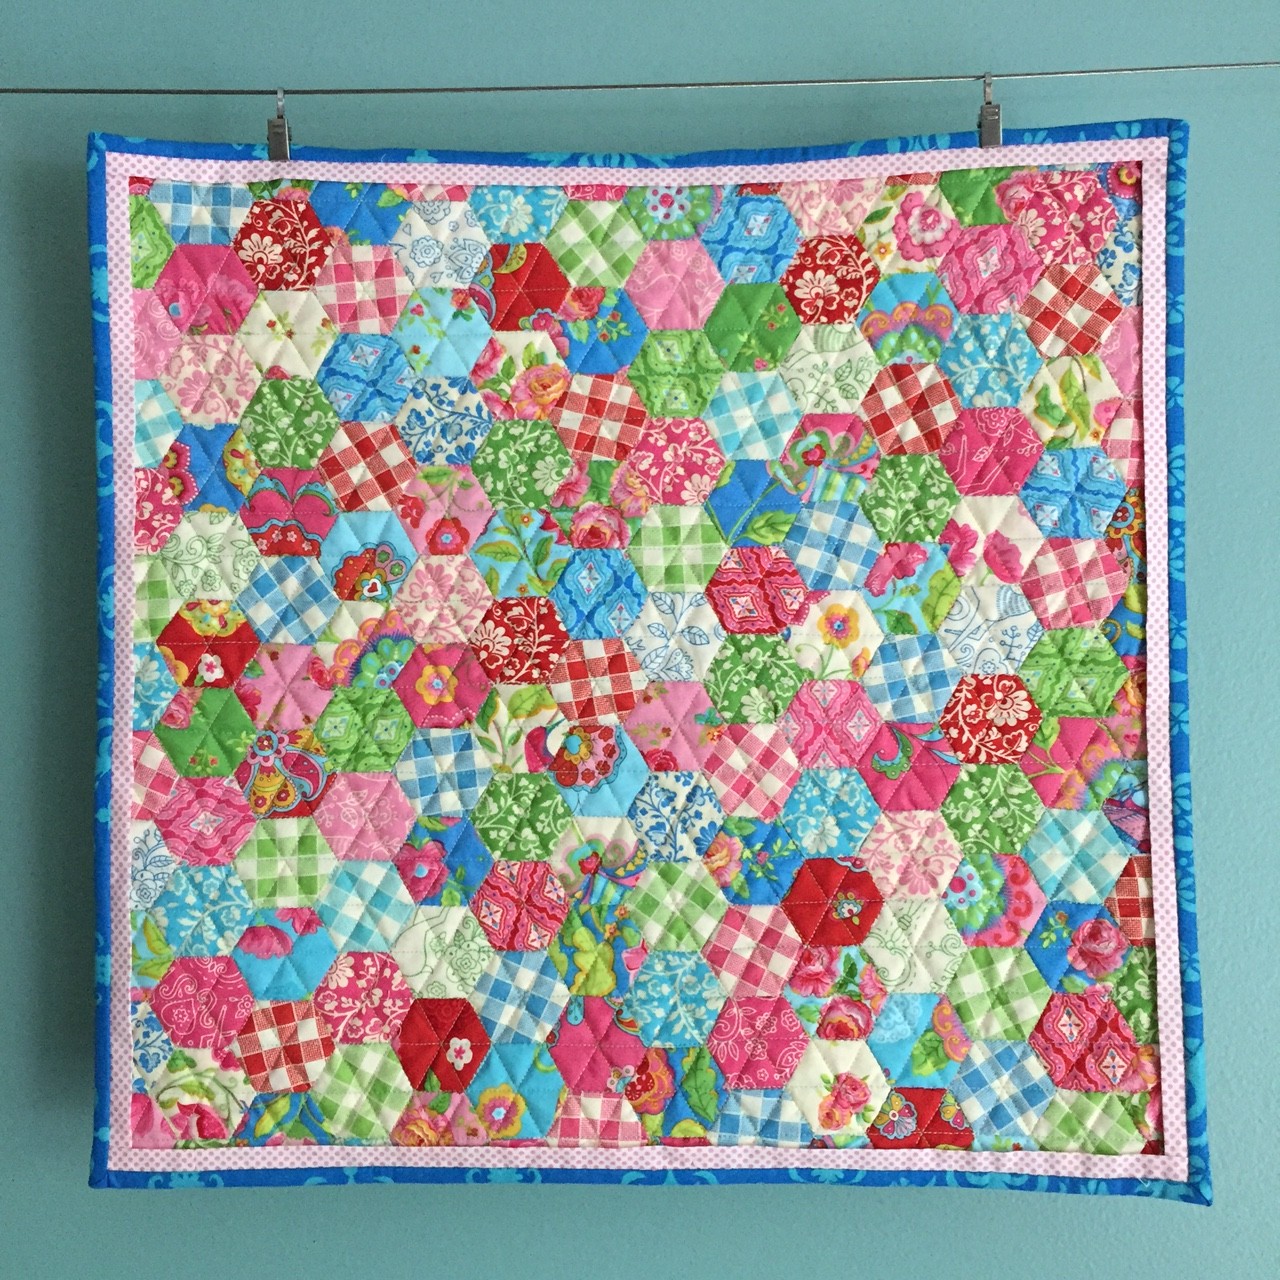
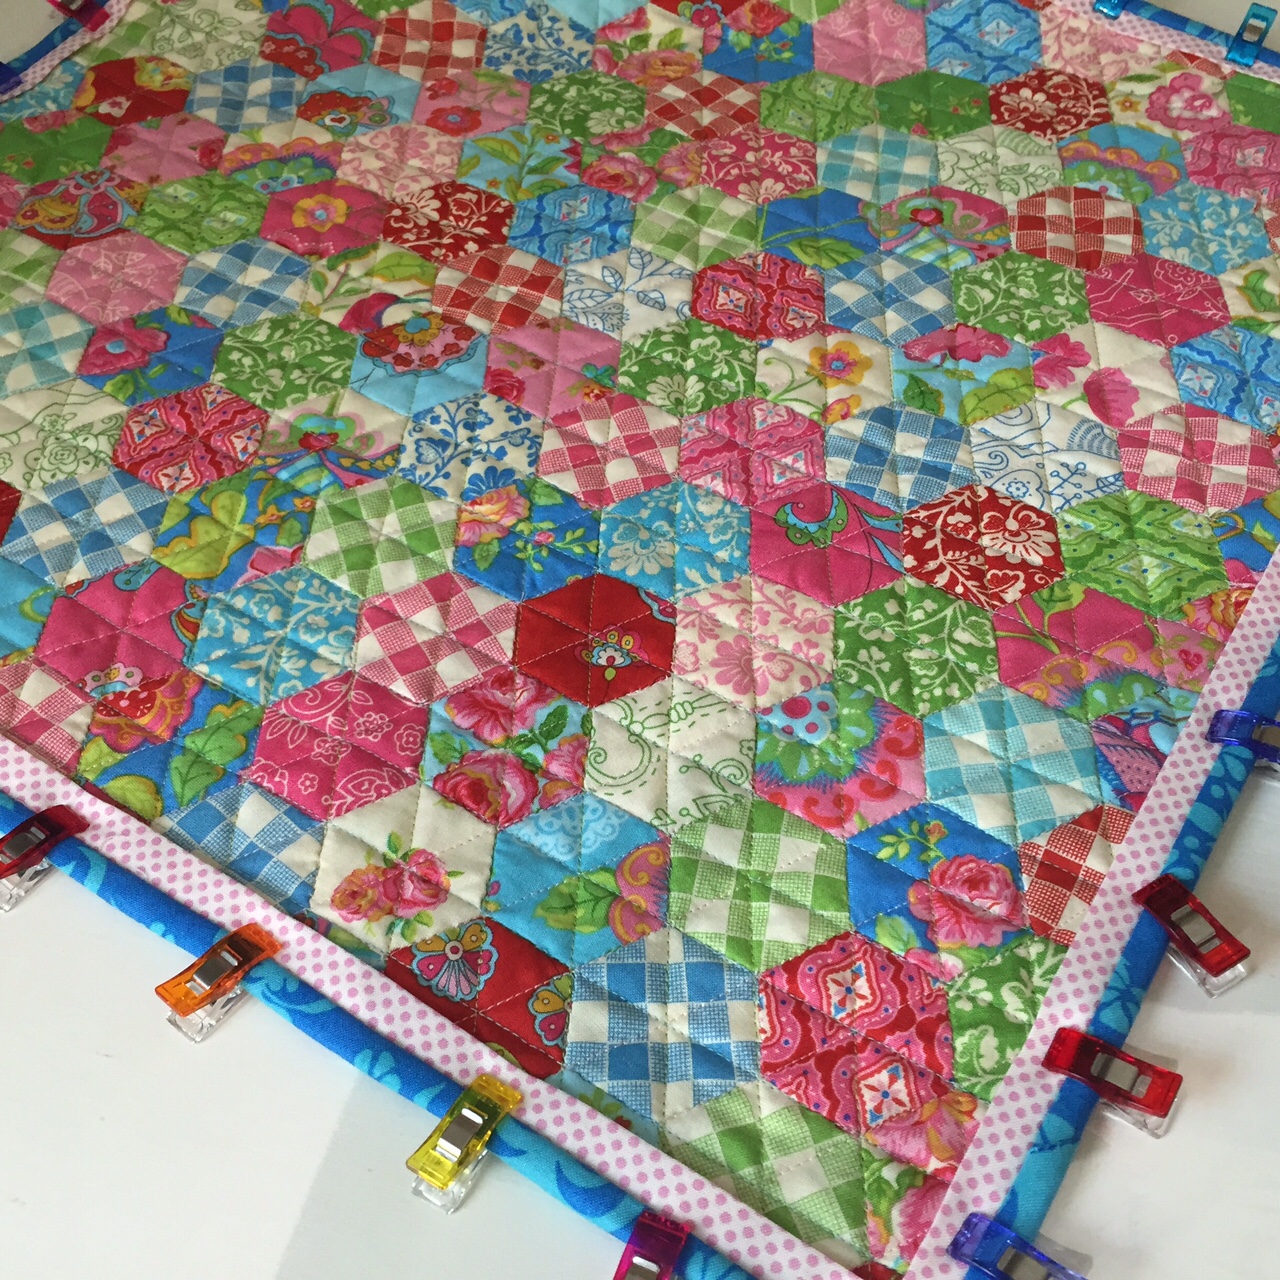
We’re all in this together. After seeing a lot of rainbows and interesting window art on my neighborhood walks, I wanted to join in. I created an image in Illustrator and put it to fabric.

Here Comes the Sun Mini Quilt 627handworks.com

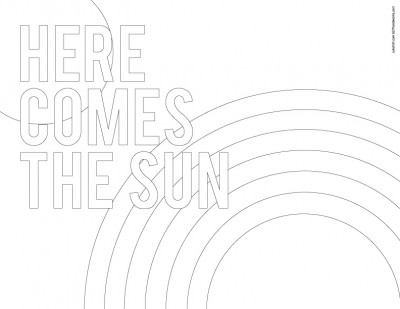
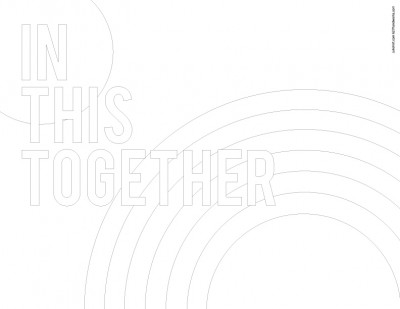
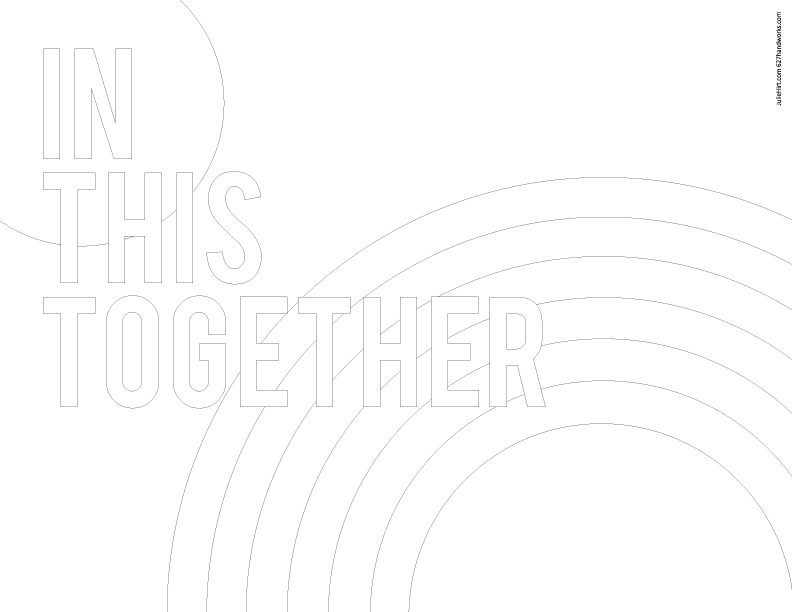
Here are the two images I digitally designed to choose from:

HereComesTheSun-JulieHirt

IN-THIS-TOGETHER

I chose to make the former, hoping once this quarantine ends I can hang my mini without negative associations.

Since this process was a first for me, I wanted to share how it was achieved. If you choose to make one, it’s more of a guideline than a traditional pattern.

My mini measures 32″ square. I printed out the PDF and taped the 12 pages together  to make one large ‘pattern’.


HereComesTheSun PDF

InThisTogether PDF

Now that I  had it printed I was like… uhh, now what!

HERE-COMES-THE-SUN-bw

  • First I traced the MIRRORED image of the letters onto the paper side of Heat n Bond Lite. You can use any double sided interfacing that you’d use for applique.
  • Ironed the paper to the wrong side of my fabric, then cut out the letters using my traced images. Set aside.
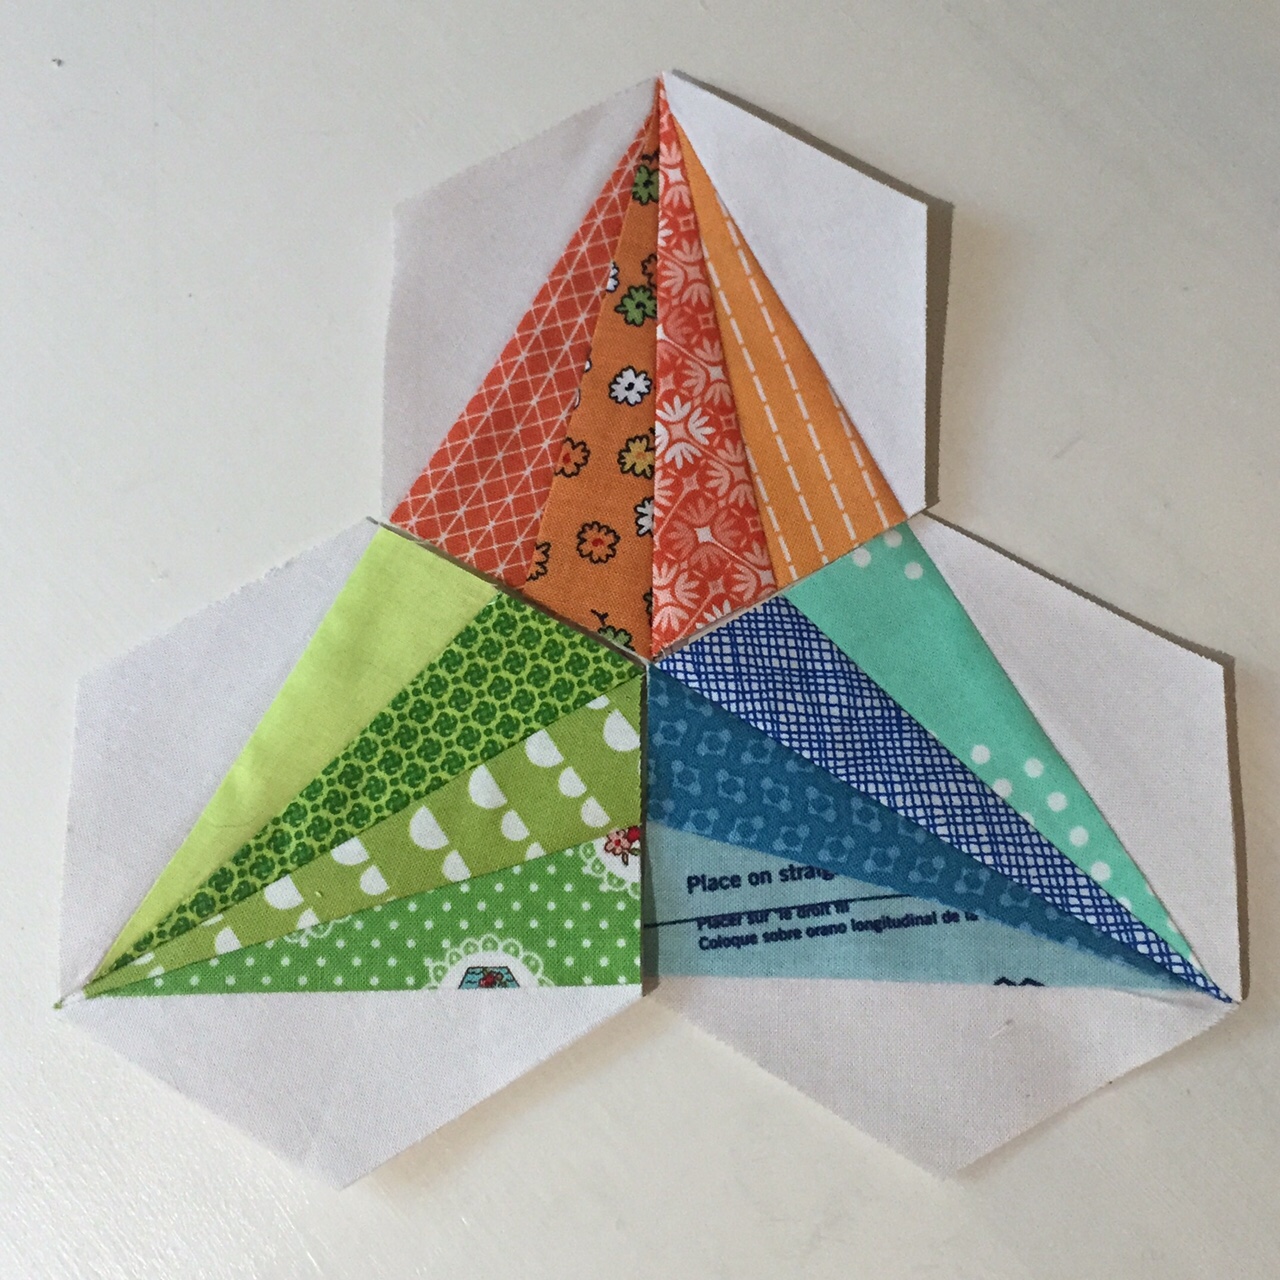
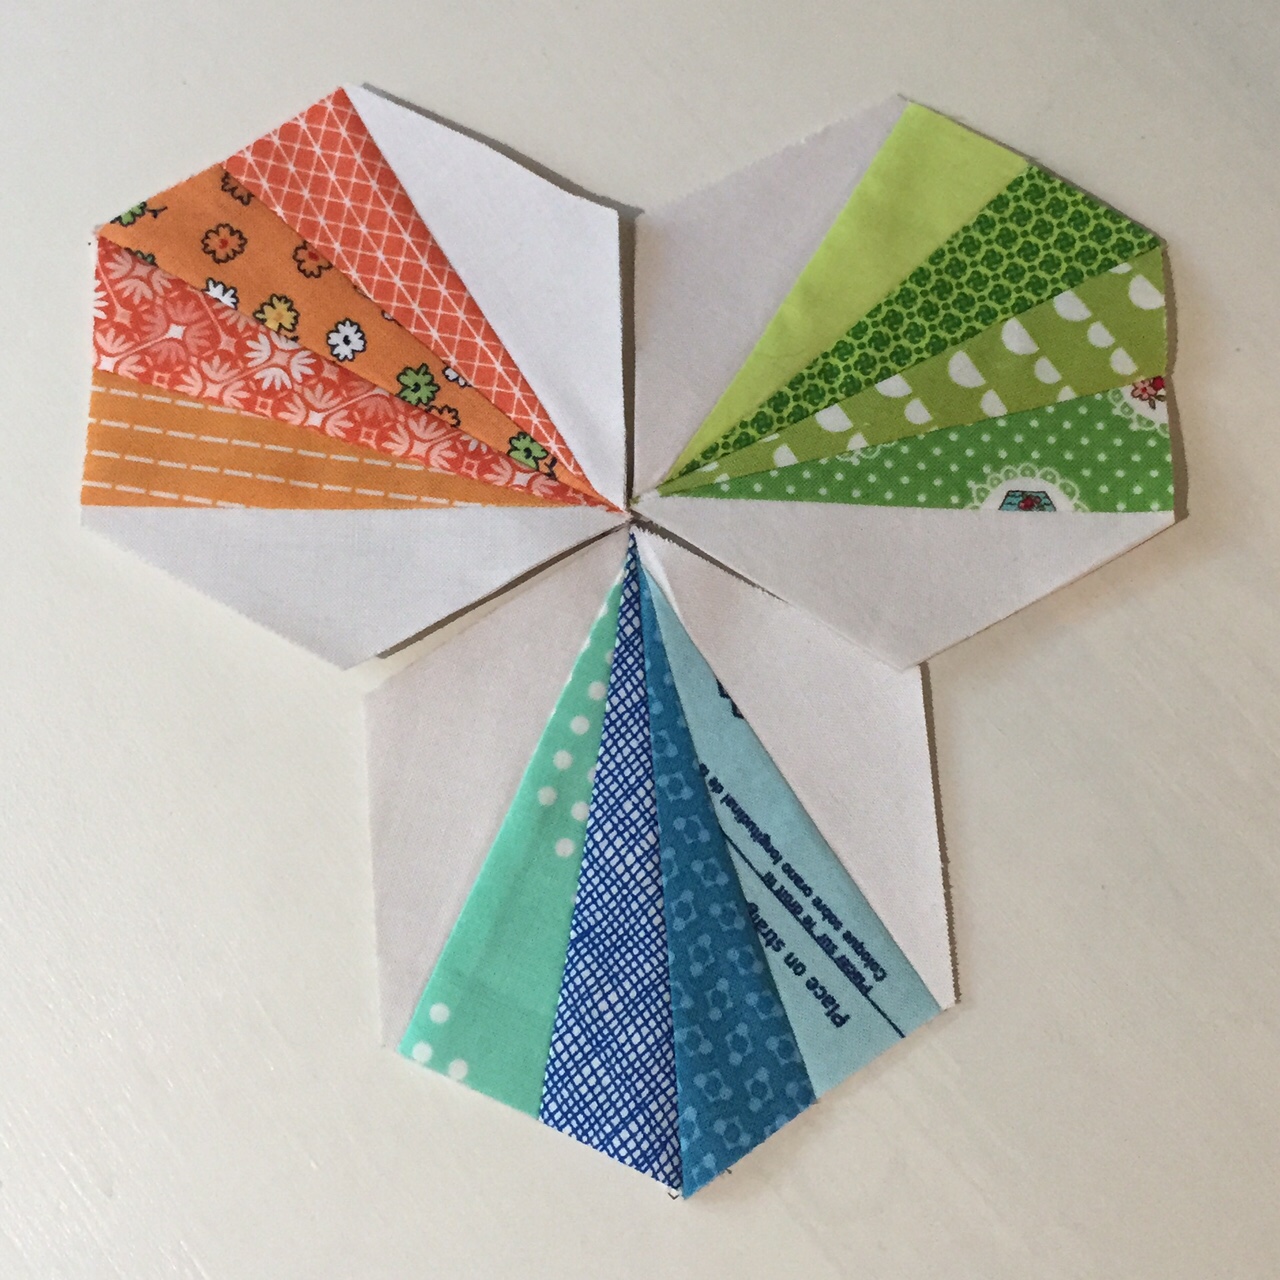
  • Cut  out each rainbow curve, individually.
  • Traced each curve onto my fabric ADDING a seam allowance on both sides of each curve. (this measurement is up to you, I added a generous 1/4″)
  • Starting with the center curve (purple) I pinned the outer purple curve to the inner curve of the blue. Stitched together. Lightly notched the curve and ironed. Repeated all the way up the rainbow.
  • Cut out a 32″ piece of white fabric. Placed the rainbow along the bottom and right sides. I pinned it in place and folded the inner curve (purple) raw edge under 1/4″ as well as the seam allowance for the raw edge on the outer (red) curve.
  • Stitched the rainbow onto the white background along the inner and outer  pinned curves. I don’t know what this process is called as I’ve never really done applique!
  • Cut out fabric for the sun leaving a seam allowance along the curve. Pinned in place, tucking the seam allowance underneath. Stitched in place along the curve and edges.
  • Removed the heat and bond paper on the letters, placed them were I wanted, and ironed down. I didn’t stitch over these but would recommend it. I knew mine would be heavily quilted and just a wall hanging.
  • Quilted and bound.

This is what *I* did but I’m sure there are several methods for achieving something like this. You could even applique all pieces. My intentions when I put it this together was to make something for me and not a ‘pattern’. Then I thought sharing my process may benefit someone.

Here are some coloring pages you can print on letter size paper.

HereComesTheSun ColoringPage PDF

HereComesTheSun-ColoringPage

InThisTogether ColoringPage PDF

InThisTogether-ColoringPage

If you make something for your windows or the coloring pages I’d love to see them! Tag me on Instagram @juliehirt.

siggy

April 21st, 2016

Bernie Sanders Mini Quilt

by Julie Hirt

Came up with this while playing around with my longarm software.  I used Illustrator to draw the lines for the hair and glasses, then imported into Art & Stitch to turn it into a quilting pattern.

IMG_6922

I’m loving the combination of Illustrator with Art & Stitch and have made several modern style E2E designs that I hope to have for sale shortly.

BernieHair

If you happen to be a Bernie fan (or want to make a mini for someone who is) and have a computerized long arm, the free pattern is available at JulieHirt.com under about > downloads. The pattern is the hair and glasses, but if you have the Art & Stitch software you can easily add some text!

IMG_6922

Tag me here or on Instagram @juliehirt if you make one.  I used baby blue Kona cotton, Omni Superior thread and Prismacolor pencils.

siggy


January 25th, 2016

Sleep Tight Dreamcatcher – Tutorial

by Julie Hirt

I have a new tutorial up over at Moda Bake Shop.

Sleep-Tight-Dreamcatcher-Tutorial-1-768x879

These are a lot of fun to put together and are kid friendly. Probably ages 7+ with a little adult supervision.

Sleep-Tight-Dreamcatcher-Tutorial-24

If you aren’t a quilter and don’t sew, this is a fun way to use fabric.

Sleep-Tight-Dreamcatcher-Tutorial-25

You get completely different looks just by changing the materials around.

Sleep-Tight-Dreamcatcher-Tutorial-41-e1453159018820

You can find the tutorial HERE.

siggy

September 7th, 2015

Farmer’s Wife 1930’s Sampler Sew Along

by Julie Hirt

I’m in!  I was trying to hold back from joining* but I caved and am super excited!

*I’m terrible at sew alongs, especially year long stints.  I’m just now finishing up my Gypsy Wife quilt after 19 months.

1930sFarmersWife

I already own the original Farmer’s Wife and the Farmer’s Wife Pony Club. I love those books and the stories are fantastic – but the actual making of one of these?  Kind of scary.  With so many people joining in this sew along on Instagram, I think it will push me along.  The sew along will also help by providing a variety of piecing techniques and options.

Today is Labor Day and I saw Craftsy was having a big sale. I’ve been stalking fabrics trying to decide what to use for this.  I knew I wanted to try something a little outside typical fabric choice (brighter colors, small prints) and I’ve decided to go solid. This is a first for me!

Movement

Expressions

I purchased fat quarter bundles in both the Modern Movement and Modern Expressions.  These are Kona solids – the collections are exclusive to Craftsy, if you’re looking to buy.

movement1

expressions1

I know I can’t go wrong with these.  I love all the color and can’t wait to play with combinations.


Farmer'sWife1930sBanner2

Thinking about joining?   Follow Angie at Gnome AngelFAQ is here.  The announcement with additional info here.

The sew along doesn’t start until September 28th so you have plenty of time to pick up the book and get your fabrics in order!

Are you participating?

siggy


August 31st, 2015

Gypsy Girl Mini Hexie Quilt

by Julie Hirt

According to my Instagram feed I’ve these hexies pieced, and unfinished, since June of 2014. Oops.

Gypsy Girl Mini Hexagon Quilt 627handworks (6)

This was my first English Paper Piecing project and I worked on it sporadically for a year.

Gypsy Girl Mini Hexagon Quilt 627handworks (5)

Note to self:  Hole punch the paper – it’s much easier to remove.

Gypsy Girl Mini Hexagon Quilt 627handworks (4)

The back looked a mess.

Gypsy Girl Mini Hexagon Quilt 627handworks (3)

Quilted Using:
Aurifil 50 wt Baby Pink (2423)
Aurifil 50 wt Light Turquoise (5006)
Aurifil 50 wt Spring Green (1231)

Gypsy Girl Mini Hexagon Quilt 627handworks (9)

This was hand pieced and I originally wanted to hand quilt it.  Hand quilting is just plain daunting to me (even on something this small). Since it’s been sitting around for over a year I decided to machine quilt.

Gypsy Girl Mini Hexagon Quilt 627handworks (1)

The backing is a vintage sheet cut from my stash.

Gypsy Girl Mini Hexagon Quilt 627handworks (2)

I used a charm pack cut into 2.5″ squares. My hexagon sides are 1″ and stitched together it’s about a 19″ square, trimmed.

Gypsy Girl Mini Hexagon Quilt 627handworks (7)

This is the first time I’ve added flange and I’m in love. Will definitely be doing this on regular quilts in the future.

Fabrics
Hexies: Gypsy Girl by Moda (charm pack cut into 2.5″ squares)
Flange Binding: Hello Petal, Dots in Cuddle by Aneela Hoey
Binding: Del Hi, Chandelier Ocean by Valori Wells

Gypsy Girl Mini Hexagon Quilt 627handworks (2)

Now that I know exactly what I can get out of a charm pack, I’ll be doing this again. I love mini quilts and use them as table toppers, under centerpieces and as wall hangings.


siggy

Tags:
August 11th, 2015

Hexie Tiles – Foundation Paper Piecing Pattern

by Julie Hirt

I’ve been seeing a ton of Art Deco style tiles showing up in my Instagram feed lately and decided to make a paper piecing in one of the designs.

hexiesrotating


The above is what I consider an advanced layout – you will need to know how to sew Y seams to assemble.

hexiesstraight

The organized rows are what I consider a basic layout and you can assemble these without Y seams!

It’s really fun to play around with the placement:

hexies1 hexies hexies2

Just changing up the background could make a huge difference too!

This pattern is FREE through Saturday on my Craftsy site, then it will cost $1.  The pattern includes 2 sizes:  3″ hexie walls and 2″ hexie walls. Which makes approximately 6″ and 4.5″ hexagons.

If you make one be sure to tag me on Instagram @juliehirt


siggy

Related Posts Plugin for WordPress, Blogger...