Archive for ‘Paper Crafts’

April 2nd, 2020

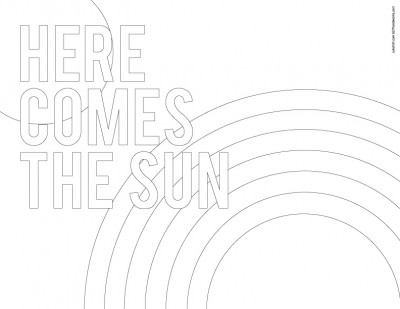
Here Comes the Sun – Coloring Page and Mini Quilt

by Julie Hirt

We’re all in this together. After seeing a lot of rainbows and interesting window art on my neighborhood walks, I wanted to join in. I created an image in Illustrator and put it to fabric.

Here Comes the Sun Mini Quilt 627handworks.com

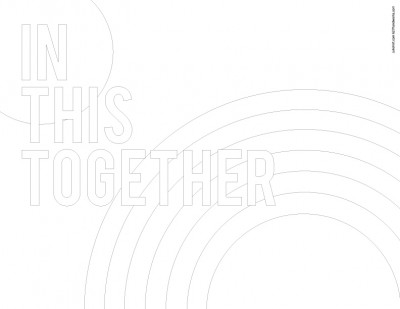
Here are the two images I digitally designed to choose from:

HereComesTheSun-JulieHirt

IN-THIS-TOGETHER

I chose to make the former, hoping once this quarantine ends I can hang my mini without negative associations.

Since this process was a first for me, I wanted to share how it was achieved. If you choose to make one, it’s more of a guideline than a traditional pattern.

My mini measures 32″ square. I printed out the PDF and taped the 12 pages together  to make one large ‘pattern’.


HereComesTheSun PDF

InThisTogether PDF

Now that I  had it printed I was like… uhh, now what!

HERE-COMES-THE-SUN-bw

  • First I traced the MIRRORED image of the letters onto the paper side of Heat n Bond Lite. You can use any double sided interfacing that you’d use for applique.
  • Ironed the paper to the wrong side of my fabric, then cut out the letters using my traced images. Set aside.
  • Cut  out each rainbow curve, individually.
  • Traced each curve onto my fabric ADDING a seam allowance on both sides of each curve. (this measurement is up to you, I added a generous 1/4″)
  • Starting with the center curve (purple) I pinned the outer purple curve to the inner curve of the blue. Stitched together. Lightly notched the curve and ironed. Repeated all the way up the rainbow.
  • Cut out a 32″ piece of white fabric. Placed the rainbow along the bottom and right sides. I pinned it in place and folded the inner curve (purple) raw edge under 1/4″ as well as the seam allowance for the raw edge on the outer (red) curve.
  • Stitched the rainbow onto the white background along the inner and outer  pinned curves. I don’t know what this process is called as I’ve never really done applique!
  • Cut out fabric for the sun leaving a seam allowance along the curve. Pinned in place, tucking the seam allowance underneath. Stitched in place along the curve and edges.
  • Removed the heat and bond paper on the letters, placed them were I wanted, and ironed down. I didn’t stitch over these but would recommend it. I knew mine would be heavily quilted and just a wall hanging.
  • Quilted and bound.

This is what *I* did but I’m sure there are several methods for achieving something like this. You could even applique all pieces. My intentions when I put it this together was to make something for me and not a ‘pattern’. Then I thought sharing my process may benefit someone.

Here are some coloring pages you can print on letter size paper.

HereComesTheSun ColoringPage PDF

HereComesTheSun-ColoringPage

InThisTogether ColoringPage PDF

InThisTogether-ColoringPage

If you make something for your windows or the coloring pages I’d love to see them! Tag me on Instagram @juliehirt.

siggy

December 31st, 2014

DANGER: Long Post! Year End Projects + Thoughts on 2015

by Julie Hirt

Lots of little projects to share and I’ll start with this:

IMG_1065

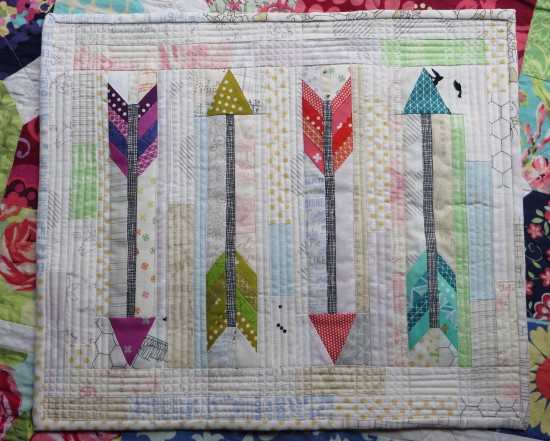
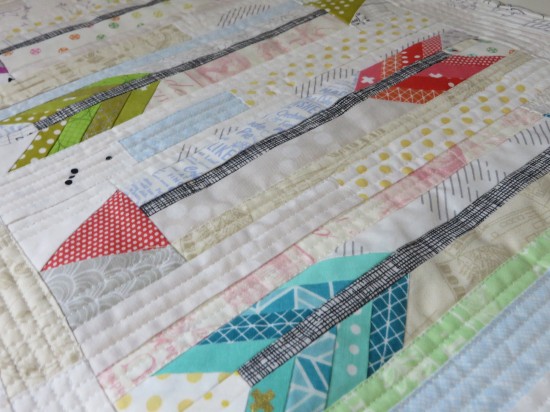
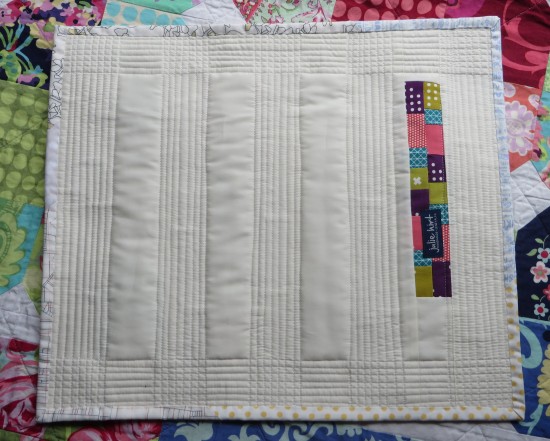
It’s a birthday mini for SimonSaysSew.

IMG_1061

I love how it turned out and I wanted to keep it for myself!  It’s really the first time I’ve played around with using a variety of low volume scraps for the background.

IMG_1066

The feathers are an awesome paper piecing pattern from Quiet Play.

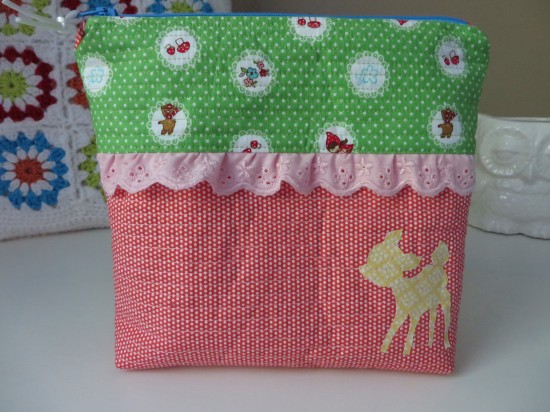
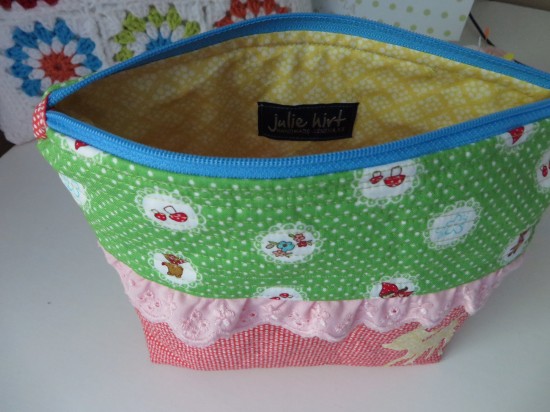
Next up are the pouches I made for Leona‘s birthday swap.

IMG_0790

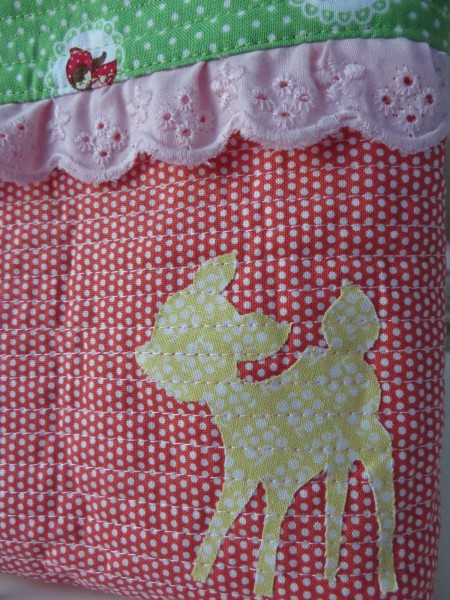
I just love that little deer.

IMG_0784

IMG_0785

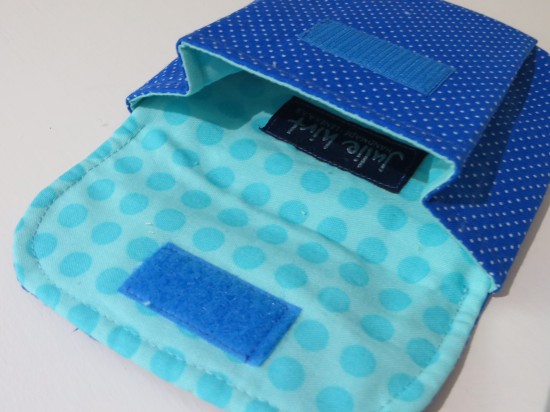
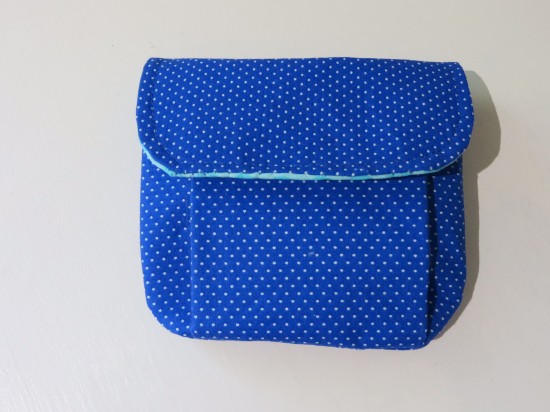
And a smaller velcro pouch:

IMG_0789

This one is a pattern by Michelle Patterns.  I love her patterns. Like, a lot.   It’s available in 3 sizes and the smaller one is perfect for storing tea bags or other miscellaneous things to toss in your bag.
IMG_0788

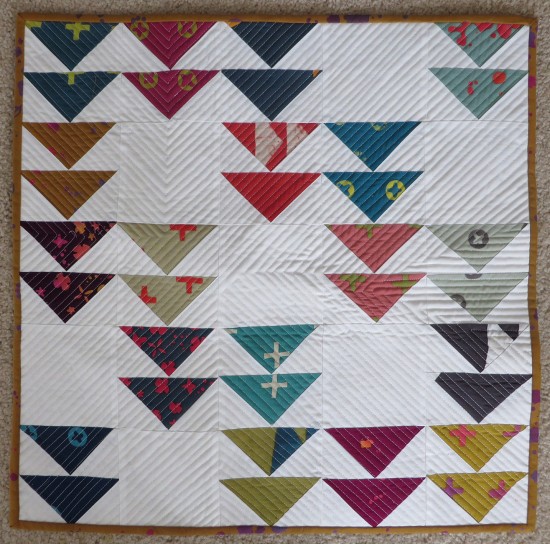
Next up is my quilt for the Schnitzel & Boo Mini Quilt Swap.  Ohmygosh I hope she likes it.

IMG_1218

IMG_1220

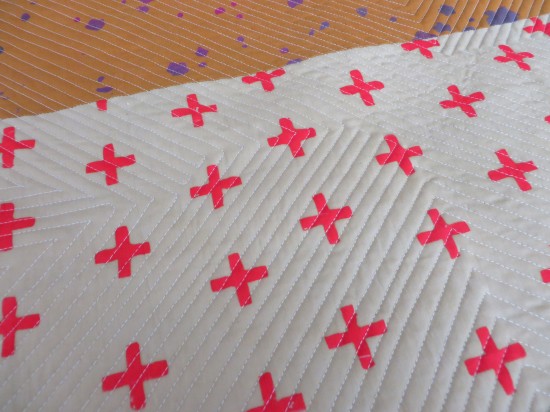
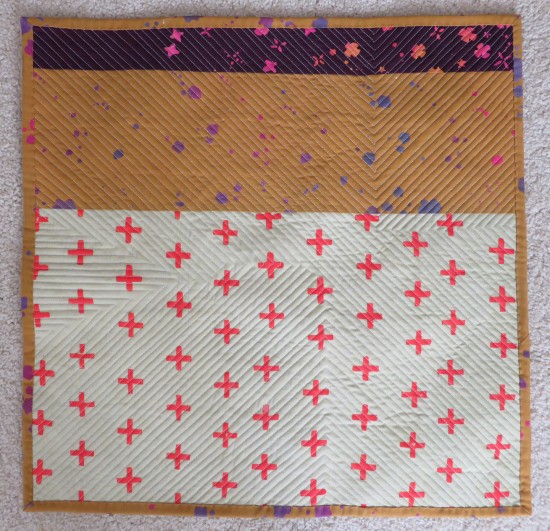
I know these are fabrics she likes (Alison Glass, Handcrafted) and I just hope the pattern and quilting are her style as well.  It’s surprisingly nerve wrecking making something for someone else.

IMG_1219

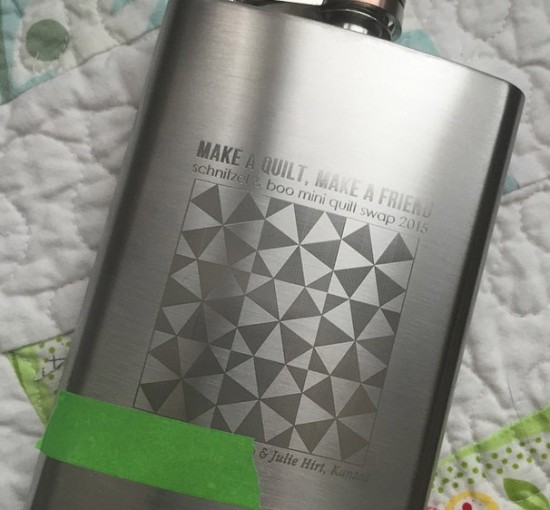
Just in case she hates the quilt, I think she will like this.  Etsy never ceases to amaze me.  I sent my image over and a week later, here it was.

flask

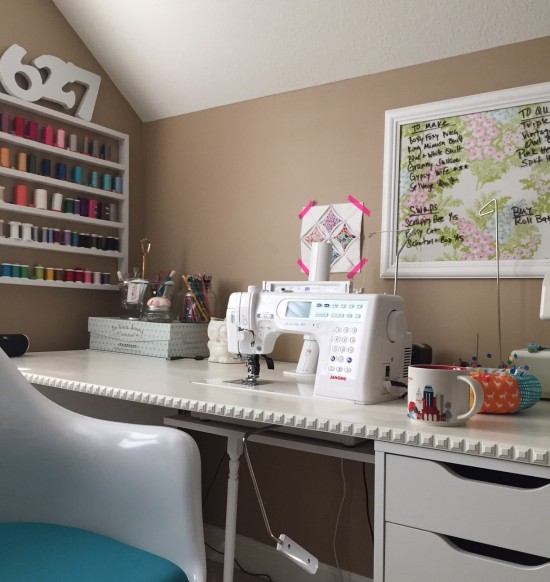
Okay……… now here is where I’ve started with my 2015 plans. I will not use the word resolution, but I do have some ideas.  I’ve cleaned up my sewing space and updated my to do list.

IMG_1206

After organizing my fabrics I realized I need to stop buying it.  Easy to say, hard to do – you all know that.  So my plans are to go light on buying fabrics. Like only if I really, really, really have to have it – and I have to wait a week before buying it so I know I still really, really, really want it.

That list on the wall of To-Make and To-Quilt has to be at least cut in half before I’m allowed to start anything else.

Nothing harsh, just a plan of sorts.  I’m not sharing my to-make and to-quilt lists so you won’t know if I cheat!

The plan is already working – I’ve finished up a few WIP’s:

IMG_1227

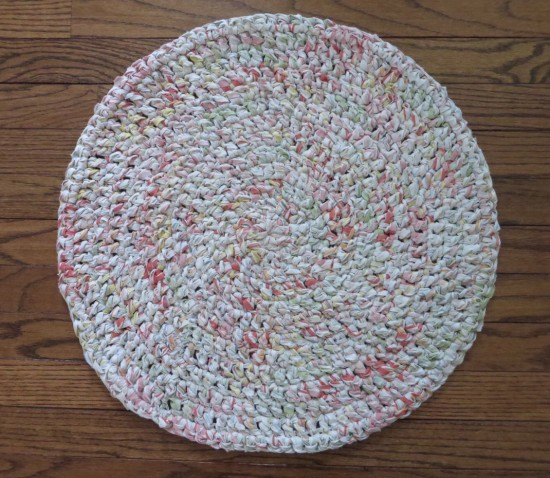
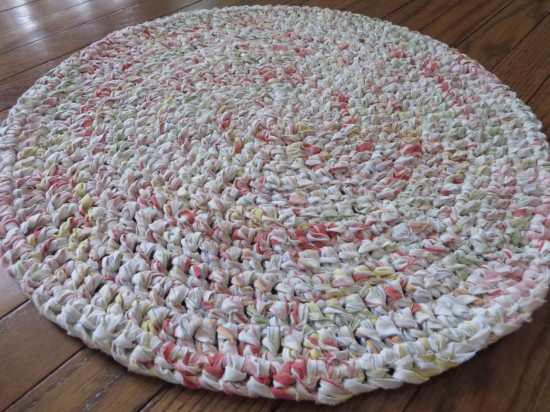
I started this earlier in the year (or maybe last year?).  It’s a full size thrifted sheet, ripped into 3/4″ strips and double crocheted, the last round is reverse single crochet.  Can you believe an entire sheet only makes a 2′ round rag rug?

IMG_1226

I decided to stop at this size  because 1) I’s finished.  2) If I make one again, I’ll use skinnier strips and a bigger hook. It was a little tight.  3) It’s a good size to put under the dogs water bowl.

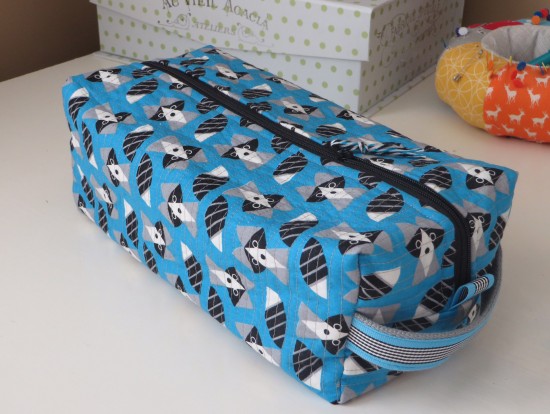
Next up is what I keep calling my Foxy Boxy bag and I don’t know why. They are obviously raccoons.

IMG_1222

I’ve had the fabrics cut, interior fabric laminated, ribbon and zipper pulled since this summer. They’ve just been sitting there mocking me.

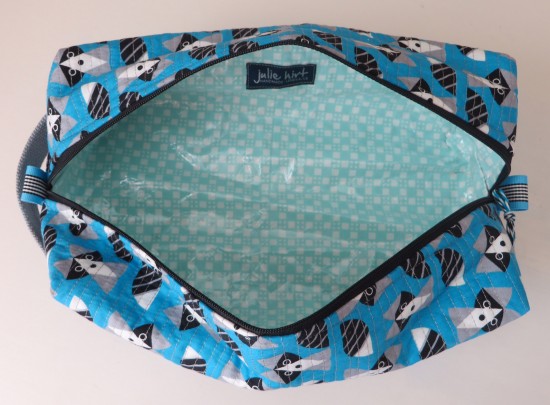
IMG_1223

I like that the bag holds it’s shape (I think due to quilting and the laminated interior fabric) and it’s a fairly large size. I’ll either use it or give it away sometime soon.

Next is something I hope will help with my free motion quilting ideas (actually USING that new Long Arm is part of my 2015 plans) and open my mind for new patterns.

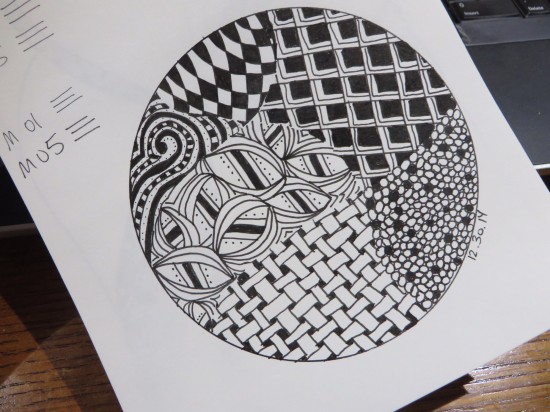
IMG_1224

Every time I see people  making pretty doodles or doing this thing called zentagling, I’m jealous. My brain just doesn’t work that way.  So I decided I should do what makes me uncomfortable and give it a try.

After reading about the ‘Zentangle’ process and watching videos, I was pleasantly surprised.  It’s actually a little structured, there are tons of existing patterns to try (with instructions – sweet relief) and eventually you can create your own. Unless you’re a natural doodler and off you go on your own from the beginning.  Just know I’m jealous.

Way back in the dark ages I took design classes, so I pulled out my old Rapidograph set. The pens need serious cleaning but I knew I’ve been keeping them around for something.  They are perfect for this.

Anyway, I purchased a blank book with 100 pages.  My goal is to fill it by the end of the 2015.  That’s only like 2 Zentangles a week, so not a lot of pressure.

And I’ll end by sharing this nightmare:

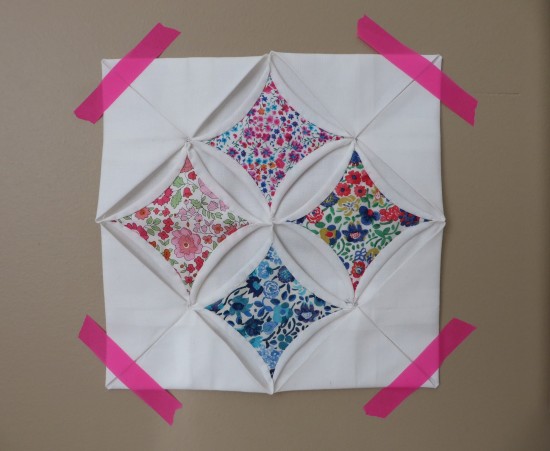
IMG_1225

If you follow me on Instagram you know I hated this process. I am SO glad I didn’t pre-cut a bunch of fabrics before attempting Cathedral Windows.  Pain.In.The.Ass.  That’s all I have to say about that.

Here I come 2015 with my plan to tackle you.  I will…

Grow Creatively by:

  • Using the Long Arm more – even just to practice on whole cloth
  • Won’t be afraid to try different FMQ patterns, even if I don’t think I’ll like them
  • Finish the To-Quilt list
  • Work on the To-Make list
  • Don’t add to these lists
  • No new projects until the above lists are halfway done
  • Fabric Diet – to use more of what I have
  • Keeping my space clean, I work better this way
  • Stay minimal on swaps this year
  • More selfish sewing so I can explore without being nervous
  • Weekly Zentangle
  • Trying what makes me uncomfortable (cathedral windows, zentangle, sewing curves, etc.)

So…  that’s about it.   Writing this post is another thing I can scratch off my to-do list!  I’m looking forward to 2015 and making it a year of finishes.

Happy New Year to you!


siggy


February 25th, 2013

Wax-dipped German Froebel Star Ornaments

by Julie Hirt

Back-blogging part zwei. Ha! I’m such a nerd – that’s German for 2.

According to Wikipedia:

A Froebel star (German: Fröbelstern) is a Christmas decoration made of paper, common in Germany. In English it does not have a commonly recognized name; it can be referred to as Advent star, Danish star, German star, Nordic star, Pennsylvanian star, Polish star, Swedish star, Christmas star, or Froebel star.It is also sometimes incorrectly called a Moravian star, but the Moravian star has at least 26 tips instead of the 16 tips of the Froebel star.

For some reason I went a little crazy with stars over the holidays.  I made Waldorf Stars, fabric froebel stars (one dimensional) and these traditional wax dipped stars.

First I experimented with magazine pages, kite paper, newspapers and even maps from old books I use for crafts.  I love how each star was different depending on the size of strips or the weight of the paper.  You could string some up and make a festive garland or bunting.  If you use thin paper (like newspaper or origami)  you can double the width, then fold it in half to create thicker strips to work with.

froebel

The star pictured above was one of the smallest of the stars I made. I played with paper strips ranging from 1/4″ to 1″.  I found the 1/2″ to 3/4″ size to be my favorite. The 1/4″ just frustrated the crap out of me!  About halfway through I just smashed it and had to collect my thoughts. And have a bottle glass of wine.

After folding about a dozen of these I was pretty confident in my star making abilities.  Traditionally Froebel stars were dipped in wax and sprinkled in glitter.  Glitter!  That’s something I don’t have a chance to play with very often.  My six year old self wanted to come out so I went and bought a big block of wax and an assortment of glitter.

I cut up enough kite paper strips in multiple colors to create a couple dozen stars and went to work.  Working in an assembly line fashion I folded them all, then dipped and glittered (my favorite step). Be sure to have your liquor of choice on hand when folding. It makes the process even more enjoyable.

froebel1

It was so fun playing with all of the color combinations but I think the white star with iridescent glitter was actually my favorite! Or the hot pink one.

froebel2

I made a couple dozen fashioned into ornaments to give to myco-workers.  The ornament hanger was very useful as I could hold it when I dipped them in wax.

froebel3

If I make these again this December, and I have a feeling I will, I will be sure to take pictures of the process so I can provide some direction.  There is plenty of help out there in internet land on the folding, but not so much on the wax dipping process.

Get glittery!

February 6th, 2013

Waldorf Star Variations

by Julie Hirt

For the holidays I went a *little* crazy with paper stars.  I made some Waldorf Window stars, German paper stars and even some fabric versions and a bunting.

Here are a few versions of the Waldorf stars that really brightened up our windows. After you understand the initial concept (see my original post) it’s so fun to play around with color and shapes.

starready

The ONLY supplies you need is the colored kite paper, some type of glue (I like rubber cement) and your fingers :)

3stars

Now that I’m seeing these again I want to make more and put some up. Are they ok to have up year ’round?

bluestar

They easily adhered to the windows with a little rubber cement. When you take them down the rubber wipes off like a breeze. I am storing them in a round hat box for safe keeping.

rainbowstar

The wax dipped German 3D stars and fabric stars are a completely different style and I’ll do a separate blog on those tomorrow.  They are all SO addicting and fun!


December 10th, 2012

Waldorf Window Stars – Basic Star & Version 1

by Julie Hirt


I purchased some Kite Paper online to fold some German Froebel stars. I was looking up different stars to see what kind of paper other people used and stumbled across the Waldorf Stars. I vaguely remember making something like this in preschool.  Addicted to these already and I’ve only been making them for a few days!  Here is a video of a basic star:


After you get the process down you can start experimenting with all different folds, colors and come up with some pretty cool designs.  Here is a tutorial for another star design:


;

Related Posts Plugin for WordPress, Blogger...