January 7th, 2016

Rope Bowl Tutorial

by Julie Hirt

Rope Bowl Tutorial 627handworks

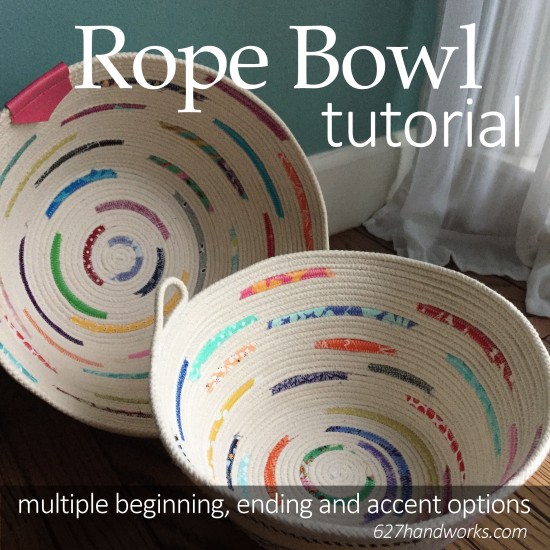
I’ve been noticing a lot of rope bowls in my social media feeds and wanted to share some of the information I’ve gathered. From different ways to begin, end and options to decorate as you go.

Using this basic method you can make baskets, coasters, plate chargers, hot mats, table runners, rugs and I’ve even seen bags!

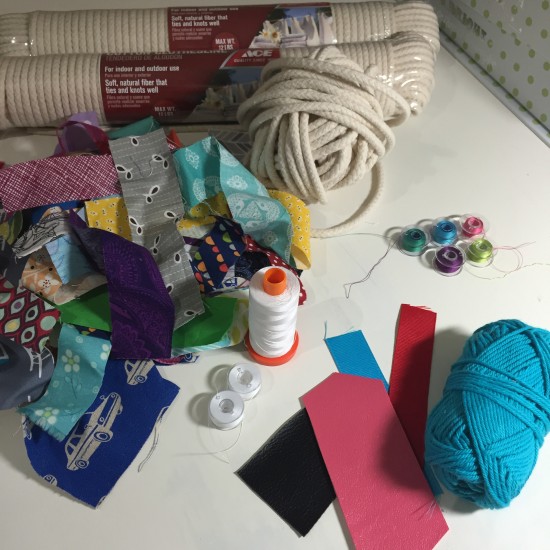
Gather Supplies

  • Rope*
  • Thread

Optional:

  • Thread in different colors
  • Fabric scrap strips
  • Ribbon
  • Yarn
  • Leather/Pleather scraps
  • Natural dye – Dye your rope beforehand, allow to fully dry
  • Paint – Paint your rope beforehand, allow to fully dry

*I like the 7/32″ cotton clothesline rope from my local hardware store. The cost was $9 for 100 ft.  I recommend cotton approximately 1/4″ to start with, then venture out from there.

Rope Basket Making 627handworks (1)

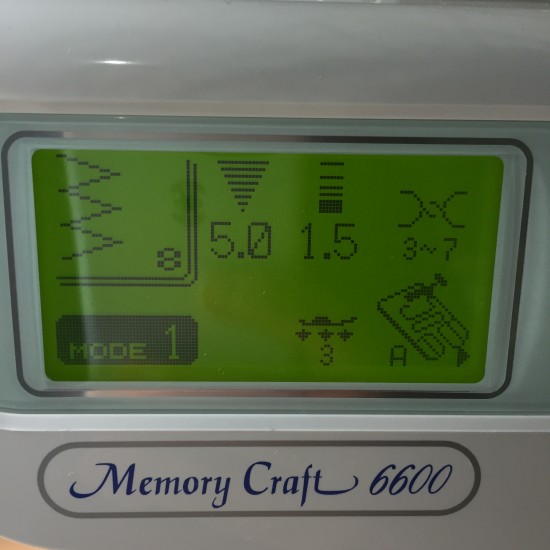
Set your machine to zig zag stitch.

Rope Basket Making 627handworks (3)


START – Optional Criss Cross

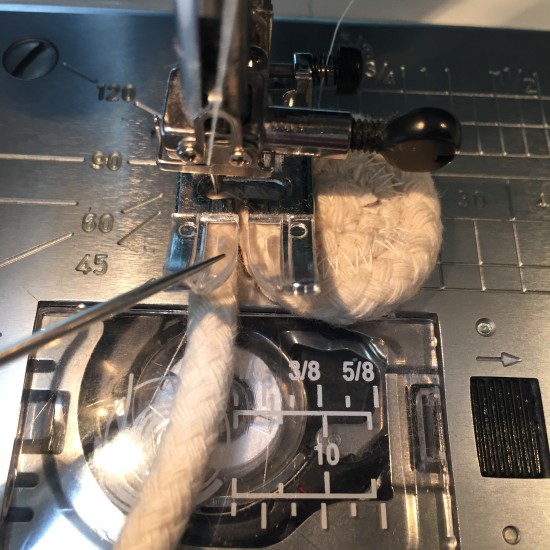
Make a tight coil and put a pin in place to help hold it.

Rope Basket Making 627handworks (14)

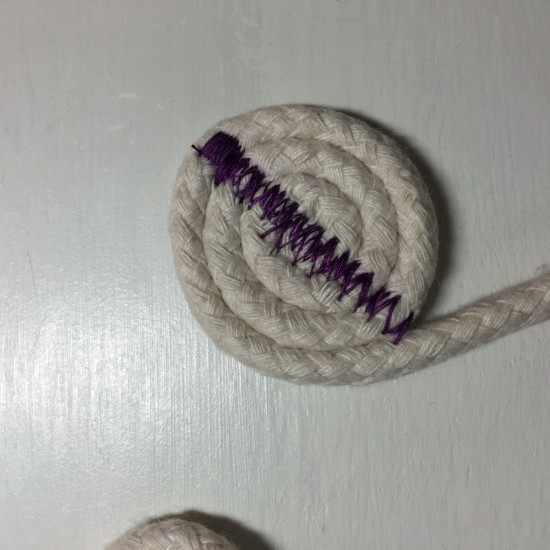
Zig Zag stitch straight across and reverse a few times.

Rope Basket Making 627handworks (4)

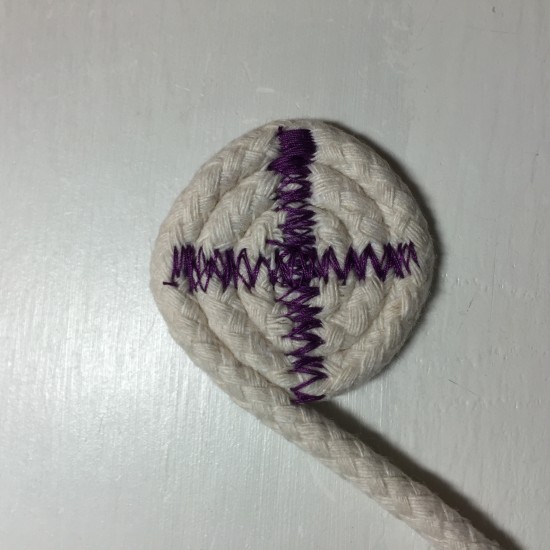
And the other direction.

Rope Basket Making 627handworks (5)

What this does is help hold your coil in place.  You need to start your zig zag stitching back in the center section. The criss cross helps with stability and I also like the look of it with contrasting thread.

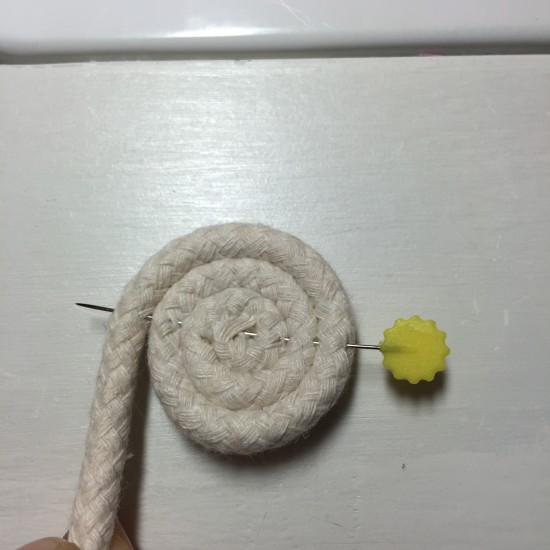
START

Make a tight coil and put a pin in place to help hold it.

Rope Basket Making 627handworks (14)

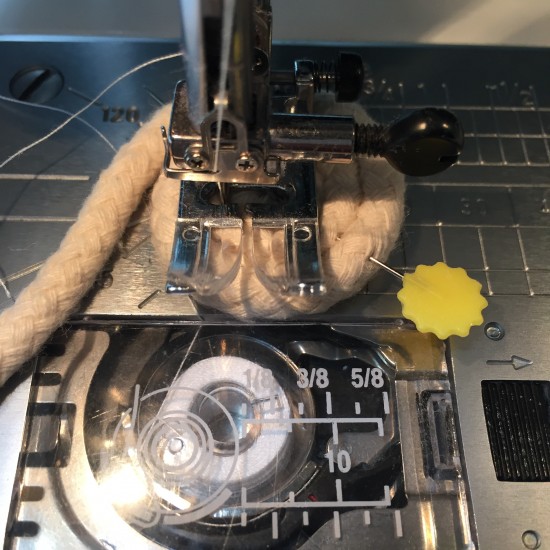
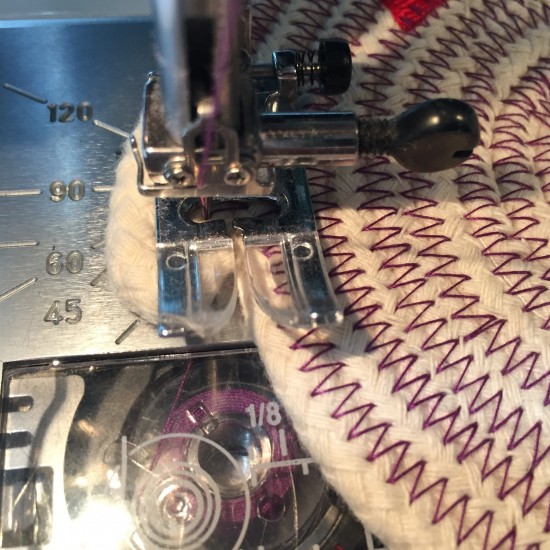
Slowly start zig zig stitching around the coil.  (If you did the Criss Cross you still need to start in the center)

Rope Basket Making 627handworks (15)

The goal is the keep the coil and loose rope going through the center so the zig zag catches both sides.

Rope Basket Making 627handworks (17)

Decorate with Fabric

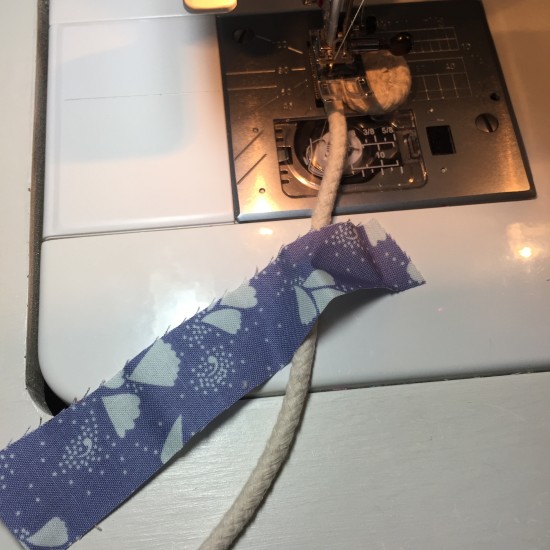
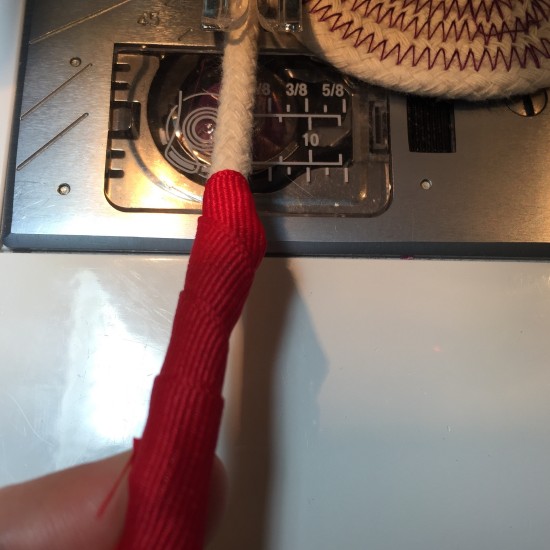
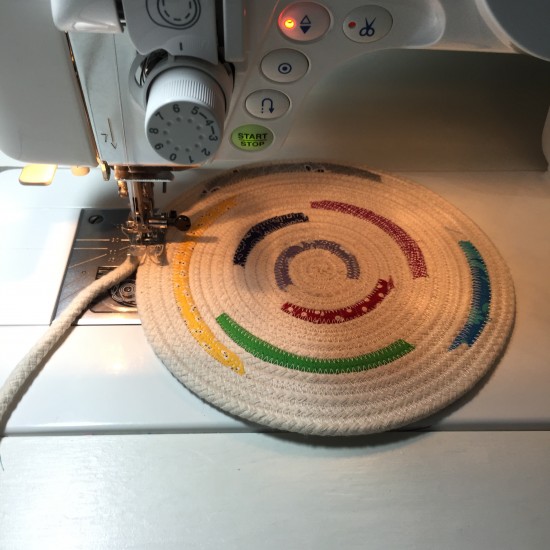
I like to use strips less than 1″ wide and the length is up to you. You could even wrap the rope from beginning to end in different fabrics.

Rope Basket Making 627handworks (18)

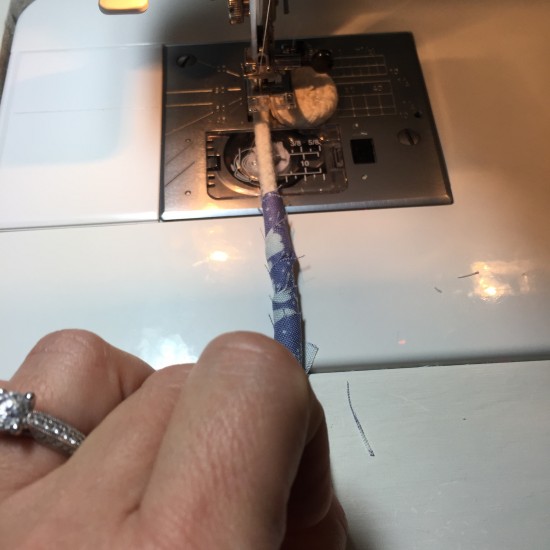
I just tuck the end in and start wrapping. Keep zig zag stitching.

Rope Basket Making 627handworks (19)

Keep going and you’ll come back around to it.

Rope Basket Making 627handworks (20)

Decorate with Yarn and Ribbon

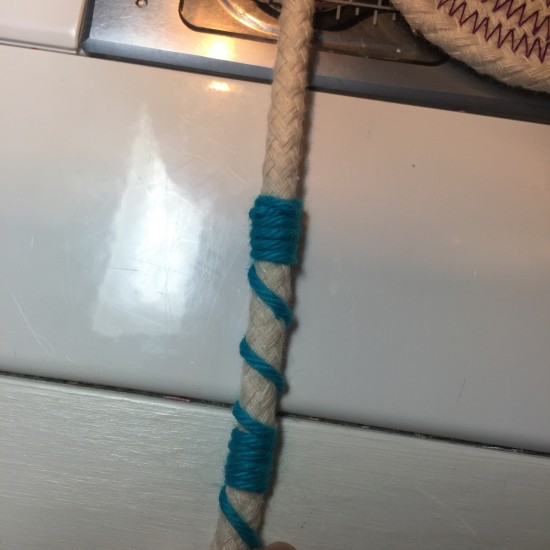
Using the same method as above.  The yarn is fun to play with because you can make different designs and use multiple strands at once.

Rope Basket Making 627handworks (7)

Ribbon:

Rope Basket Making 627handworks (6)


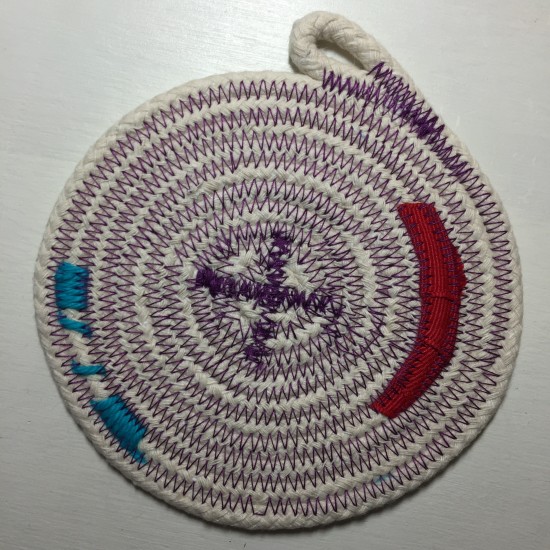
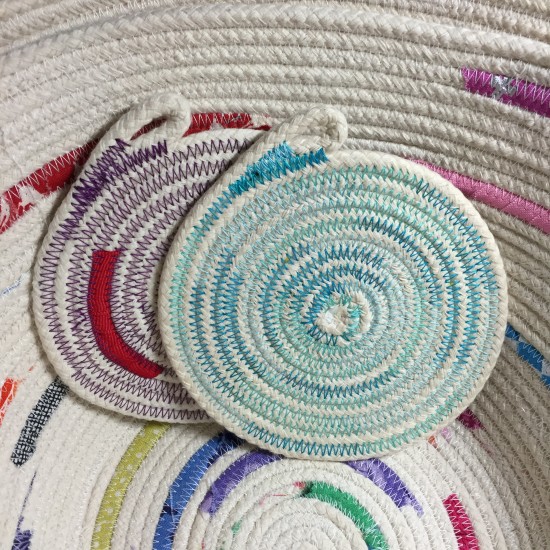
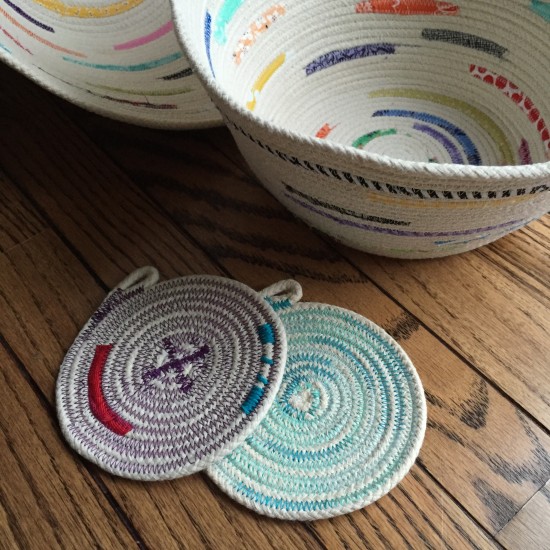
Here is a little coaster using the Criss Cross beginning, loop and tuck end (below), ribbon, yarn and contrasting thread.

(This may not be the most fabulous look combined but I wanted you to see the different options!)

Rope Basket Making 627handworks (13)


Bowl Making   

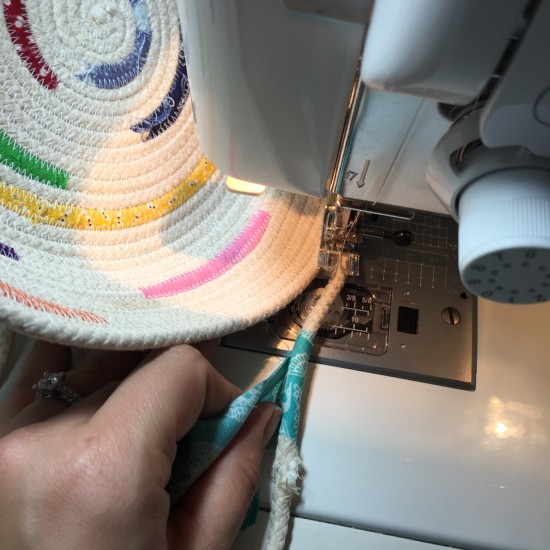
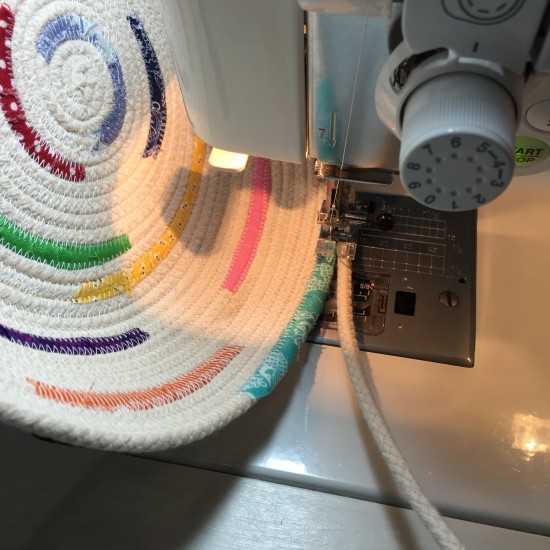
Keep making your base until it’s the width you’d like. This one is 7″.

Rope Basket Making 627handworks (26)

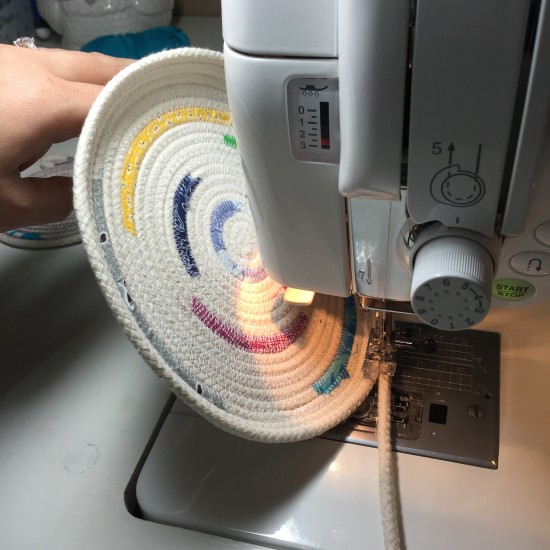
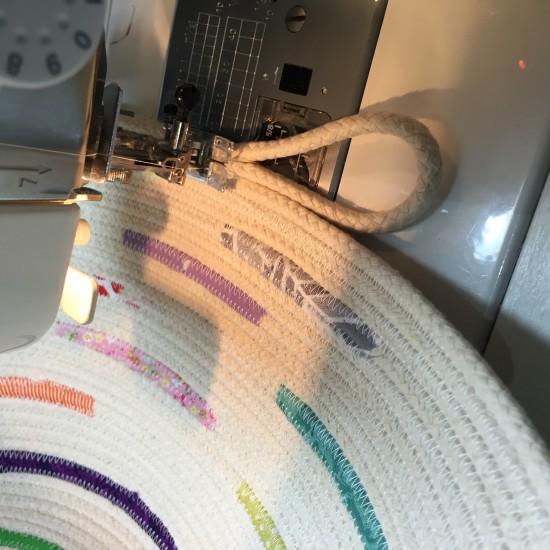
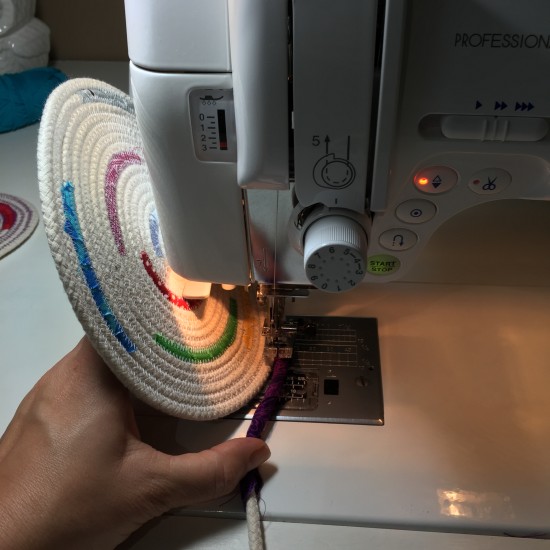
You’ll notice that the direction I’m going above puts the coil under the arm of my machine. I cannot continue bowl making with my coil in this position, I have to cut threads and move it to the other side. (You can avoid this by going the other direction to begin with.)

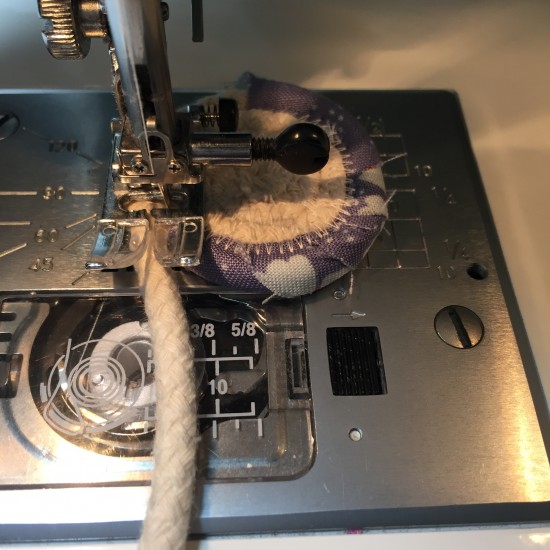
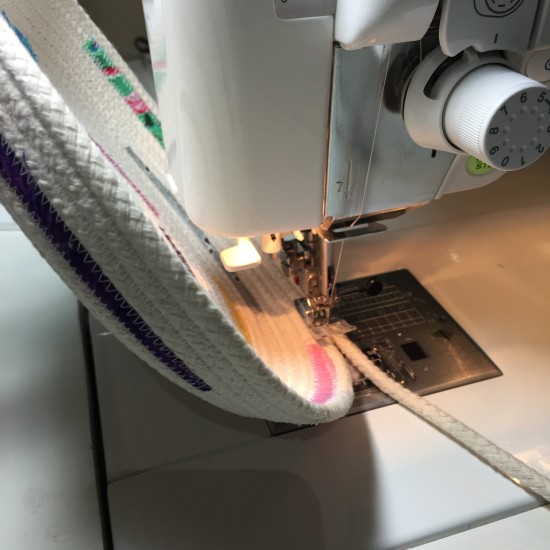
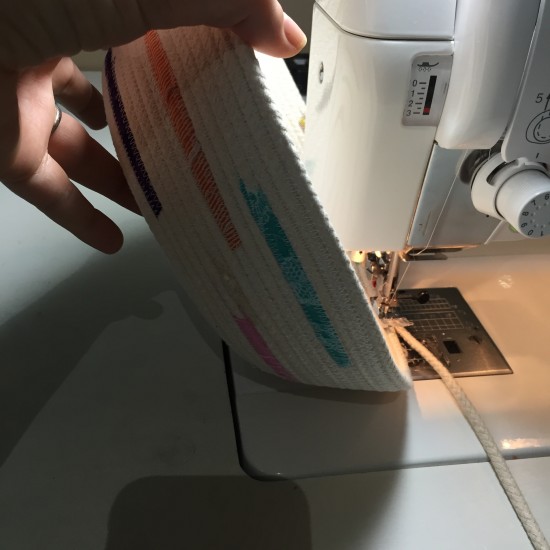
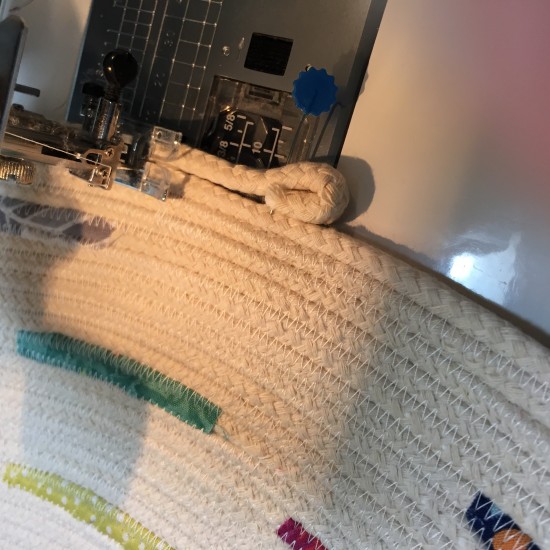
Take your base and lift it up on its side and continue the zig zag stitch.

Rope Basket Making 627handworks (27)

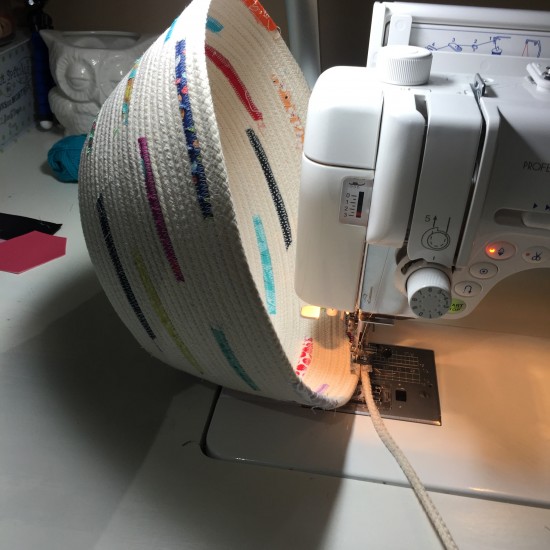
A lip will begin to form.

Rope Basket Making 627handworks (28)

Just keep going and adding your fabrics, yarn or ribbon.

Rope Basket Making 627handworks (29)

Join New Rope

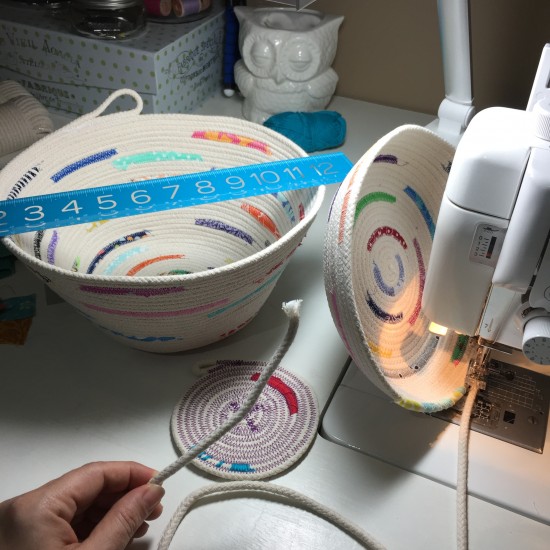
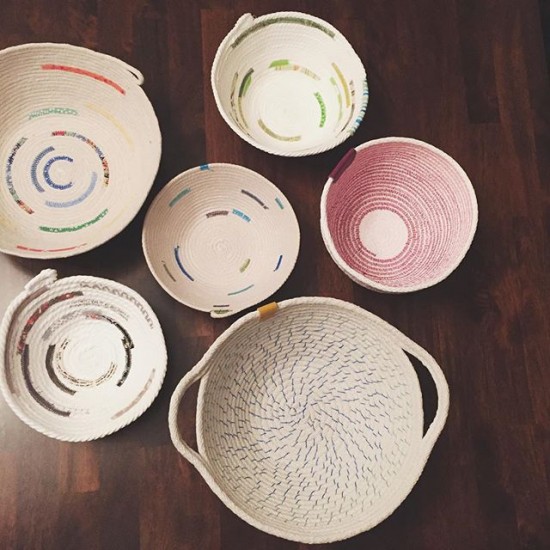
Just for reference – the bowl on the left, coaster and bowl in progress is what you can make with 100′ of 7/32″ rope.

Rope Basket Making 627handworks (30)

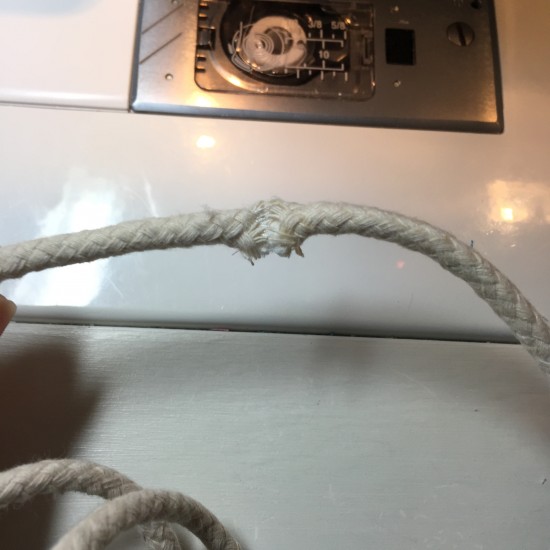
If you run out of rope, no worries.  Just stitch the end and the beginning of a new rope together.  I zig zagged.

Rope Basket Making 627handworks (31)

Cover the join with wrapped fabric.

Rope Basket Making 627handworks (32)

No one is the wiser.

Rope Basket Making 627handworks (33)

Just keep going around.

Rope Basket Making 627handworks (34)

And around.

Rope Basket Making 627handworks (35)

END – Loop & Tuck Option

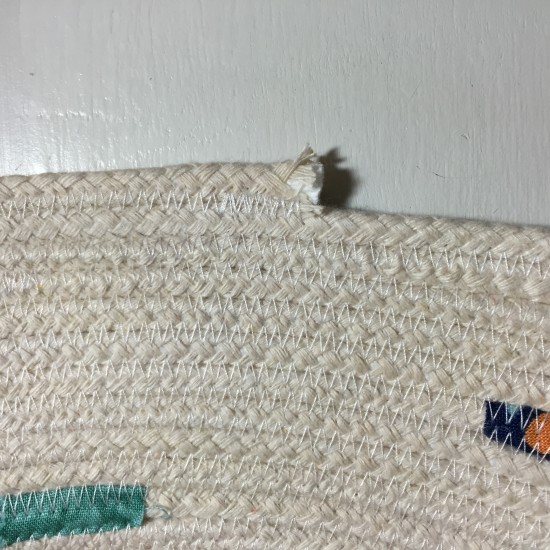
Decide how big you want your loop to be.  Pictured here is a large loop.

Rope Basket Making 627handworks (36)

Pictured here is a tiny nub loop.

Rope Basket Making 627handworks (37)

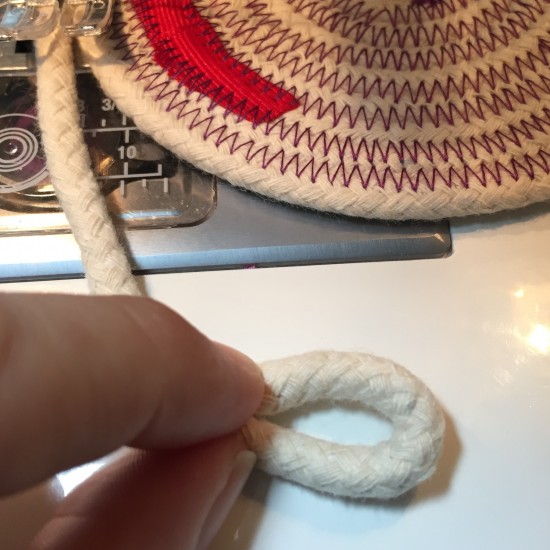
For this I will make a small loop.

Rope Basket Making 627handworks (8)

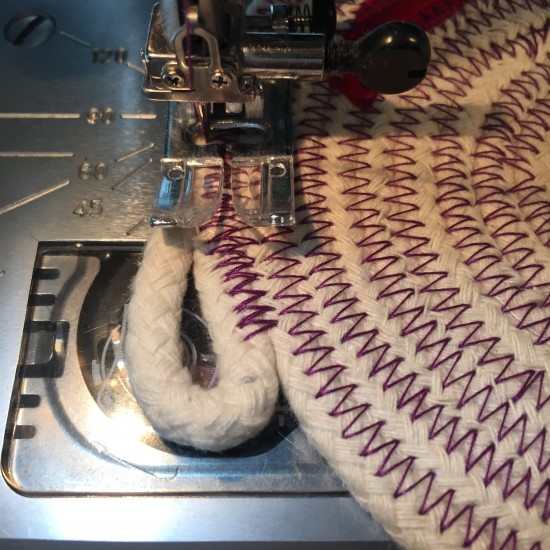
Press the loop up against your coils, raw edge inside.

Rope Basket Making 627handworks (9)

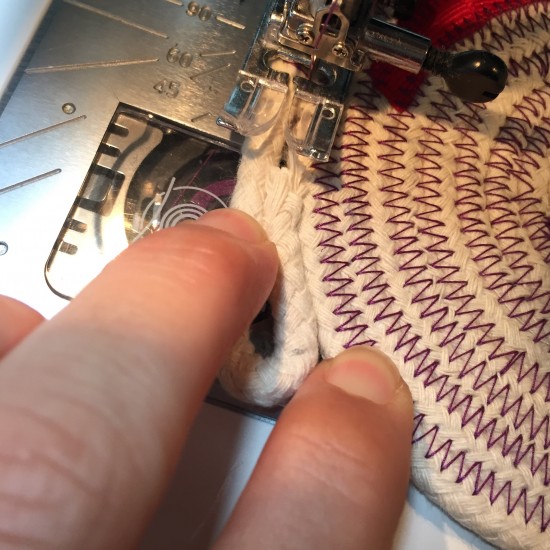
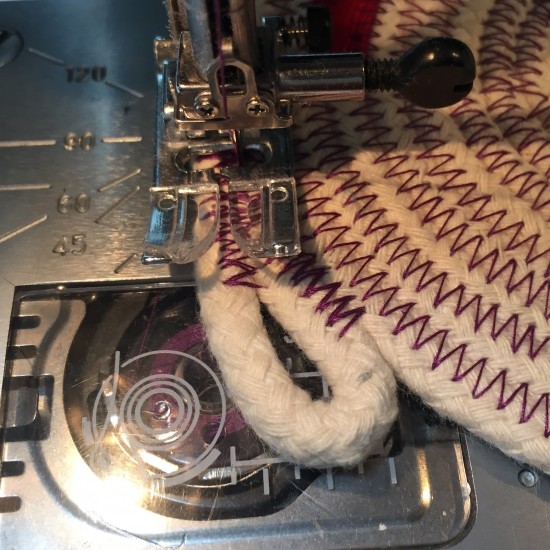
Zig zag stitch over the raw edge and down the side, back stitch the beginning of the loop.

The further you stitch, the less round the loop will be.

Rope Basket Making 627handworks (10)

After you’ve back stitched, zig zag stitch over the raw edge and the outer loop.  This helps secure the loop.

Rope Basket Making 627handworks (11)

The further you stitch, the smaller your loop.  Back stitch this as well.

Rope Basket Making 627handworks (12)

Result:

Rope Basket Making 627handworks (45)

END – Wrapped Edge

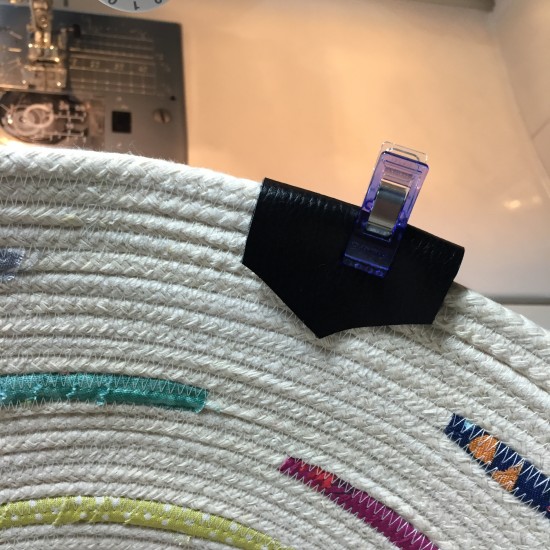
Zig zag stitch right up to the end of your rope.

Rope Basket Making 627handworks (38)

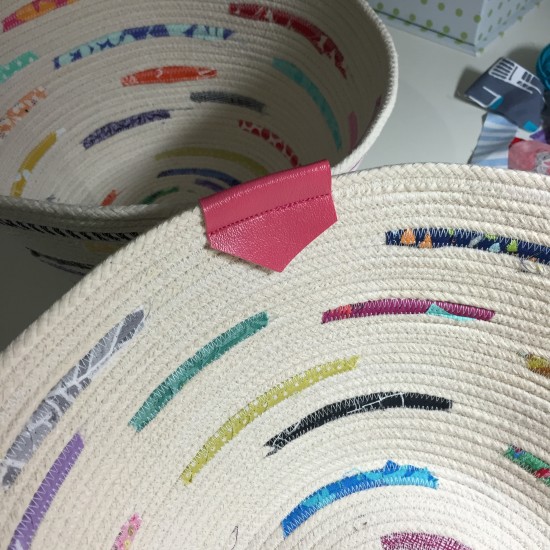
Fold your leather/pleather piece over the edge and close to the end.

Rope Basket Making 627handworks (39)

Stitch down. I triple stitched using matching thread.

Rope Basket Making 627handworks (40)

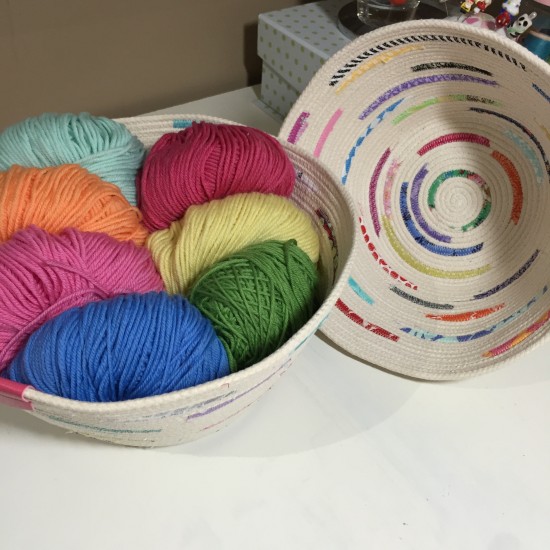
YAY!  You’re all done.

I love my bowls and coasters and know this is just the beginning of a nice little collection.

Rope Basket Making 627handworks (43)

I’ll definitely be playing more with color changing thread.

Rope Basket Making 627handworks (47)

INSPIRATION!

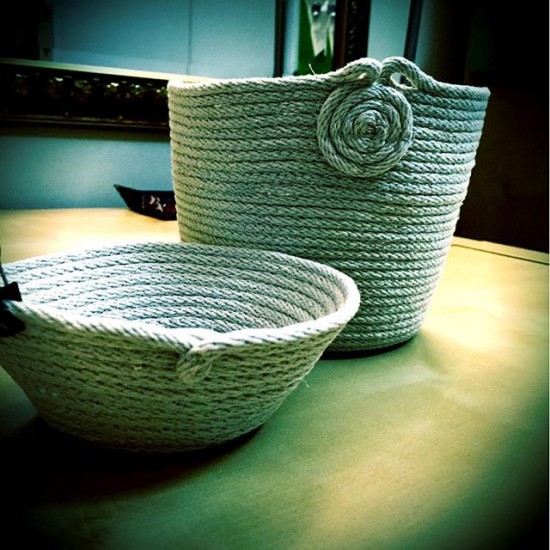
Different size ropes and and patterns. (image courtesy of @jmzblond Instagram)

jmzblond

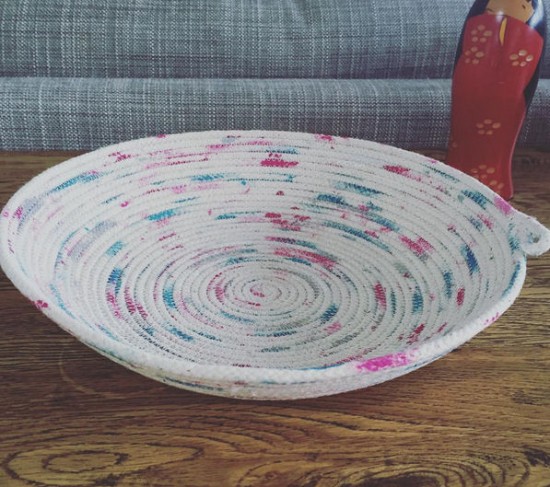
Painted rope! (image courtesy of @onethousandlayers Instagram)

onethousandlayers

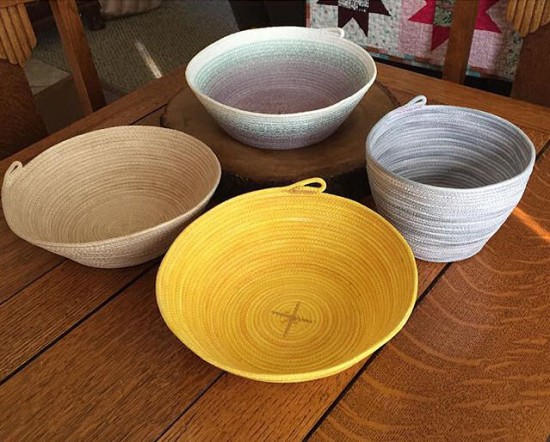
Gorgeous natural dyes (image courtesy of @sewbettyjane Instagram)

sewbettyjane

Handles! Thread and rope options (image courtesy of @vivelymade Instagram)
vivelymade


siggy

Share
January 5th, 2016

Kansas City Royals Rally Towel Quilt

by Julie Hirt

IMG_2055

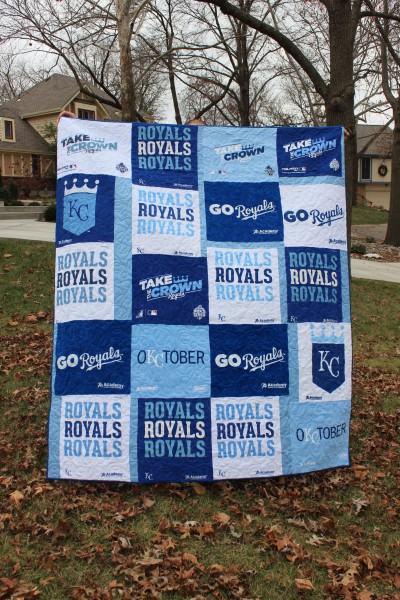
This quilt is a big deal… because ROYALS! When my Aunt contacted me to make this for my cousin using their 2015 Post Season and World Series rally towels I was pretty excited.

IMG_2056

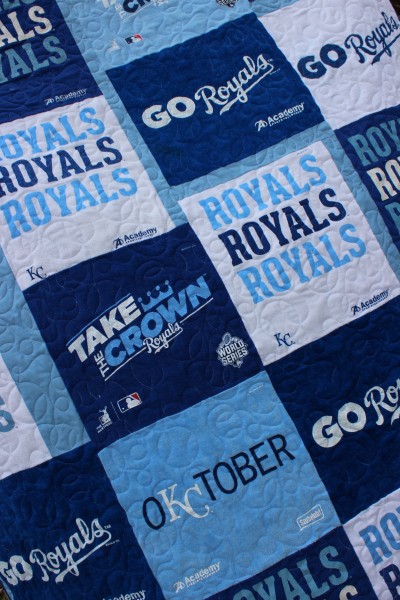
I was also a little nervous because I had never worked with terry cloth before.  Honestly, it wasn’t an issue other than lint fluffs from trimming the towels.

The process was similar to making a t-shirt quilt as the towels were all slightly different sizes and orientations. I filled spaces with baby blue Kona cotton.

IMG_2033

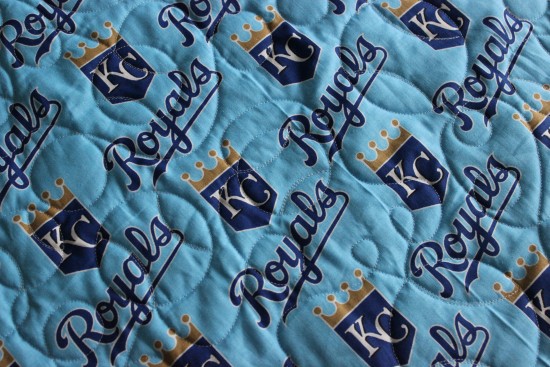
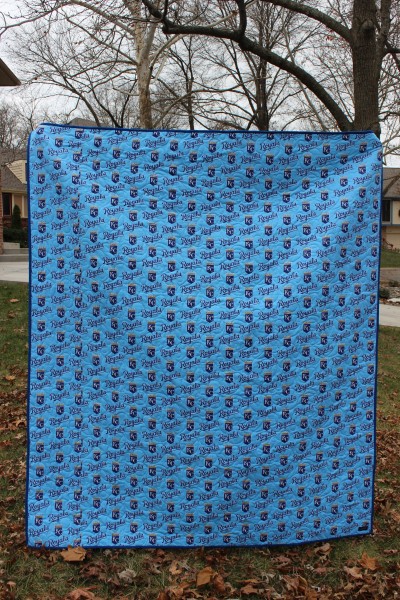
We found some awesome Royals fabric for the backing and quilted in a baseball pattern.  With a layer of Hobbs 80/20 between the terry and backing this turned into a nice, heavy quilt.

IMG_2057

The only drawback to making this quilt was giving it back.

Let’s go Royals! *clap* *clap* *clapclapclap*


siggy


December 20th, 2015

Organic Waves Baby Quilt

by Julie Hirt

IMG_2064

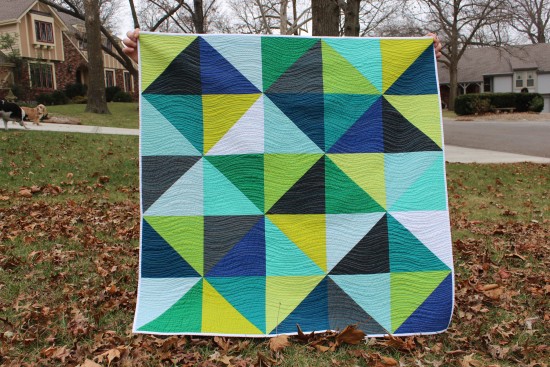
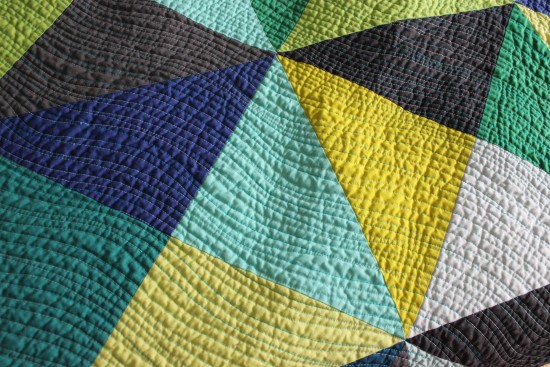
Finished up a baby quilt for friend using Kona cotton solids with a variegated thread.

IMG_2070

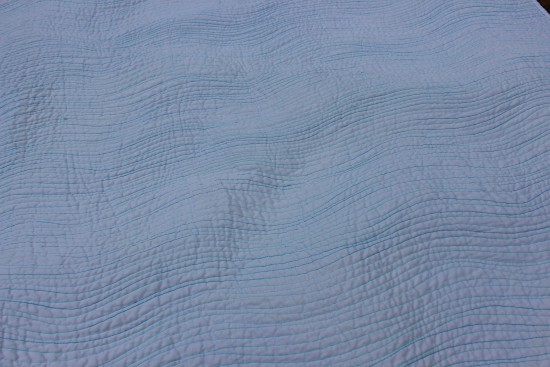
Solid white backing really shows the thread pattern and colors.

IMG_2068

Wavy lines are definitely my favorite free motion quilting pattern (right now). The texture is awesome. You can read about that method here.

IMG_2050

Measures 47″ square.

IMG_2047

siggy

November 13th, 2015

Firecrackers Blog Hop

by Julie Hirt

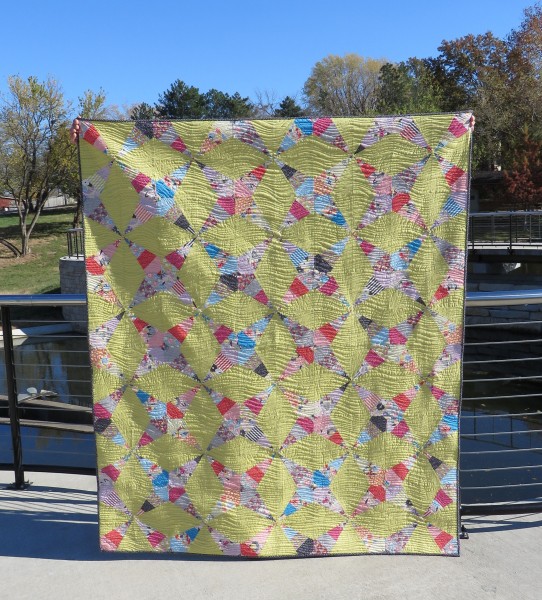
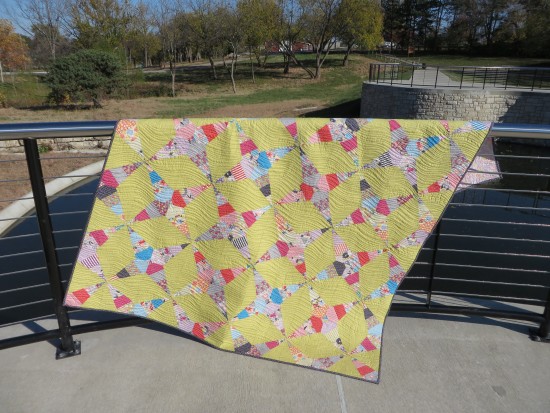
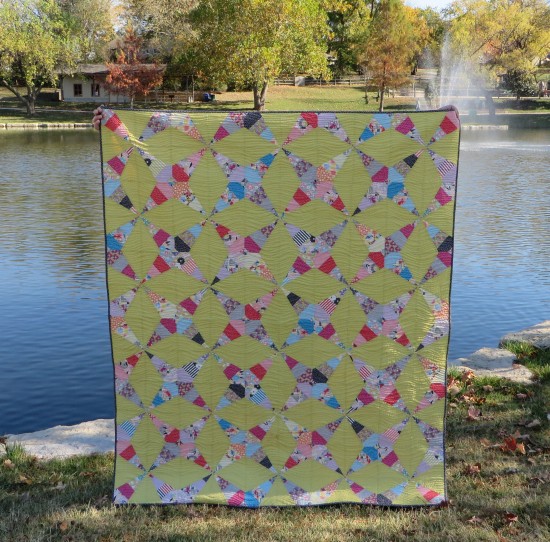
I’m so happy to be a part of the Fat Quarter Shop blog hop and share my version of their new Firecrackers quilt pattern.

Firecrackers Quilt 627handworks (1)
I chose to use Jen Kingwell’s Gardenvale fabric collection.

IMG_1835

This pattern is super easy to follow and there is also a video tutorial available here.

Firecrackers Quilt 627handworks (7)

Fat Quartershop has a Quilt Kit and Backing Set available featuring Corey Yoder’s Prairie fabrics. Check those out here:

Firecrackers Quilt Kit
Firecrackers Backing Set

Firecrackers Quilt 627handworks (6)

If you’re looking for an excuse to buy the 30 degree triangle ruler, or a new pattern to use your ruler with – Firecrackers is a fun one to try.  I already have plans to make a smaller version for a baby quilt.

IMG_1847

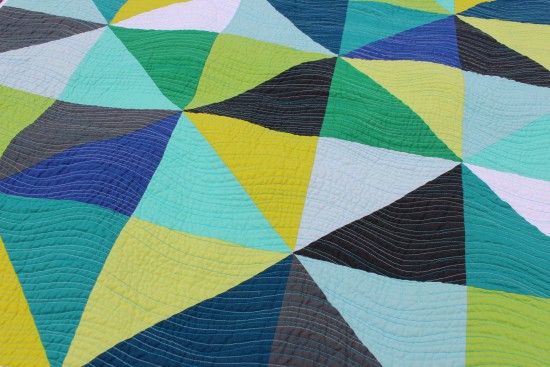
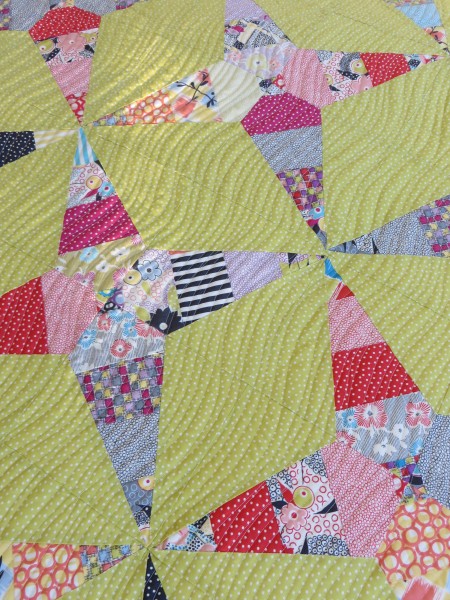
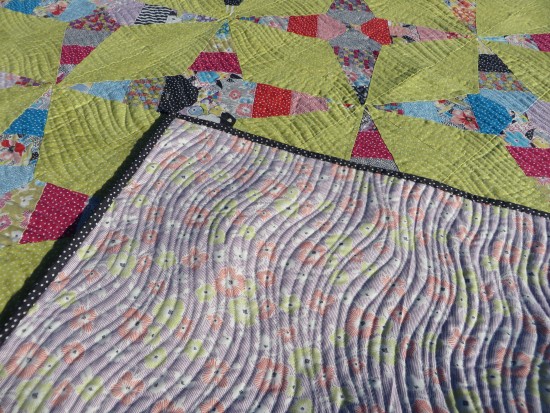
I wanted to try something new with the quilting and I love how it turned out. The texture is so nice and crinkly. All you need to do is start with a wavy line and loosely echo it using 1/4″ to 1/2″ spacing throughout.

Firecrackers Quilt 627handworks (9)

The concerns I had using Hobbs heirloom 80/20 batting have been resolved. Pretty sure it was the backing fabric that made it feel so lightweight.

Firecrackers Quilt 627handworks (5)

The Firecrackers pattern could have a modern or vintage feel – it all just depends on your fabric choices.

Firecrackers Quilt 627handworks (8)

Be sure to check out the other bloggers and their versions of the Firecrackers quilt:

Ants to Sugar by Daisy
Silly Mama Quilts by Brooke
On the Windy Side by Adrianne
Happy Quilting by Melissa
Must Love Quilts by Corinne
Mommy Sew by Jenn
Little Bunny Quilts by Alison
Fly Away Quilts by Lauren

Firecrackers Quilt 627handworks (3)

You can pick up a copy of the pattern here.  Would love to see your version – tag me on Instagram @juliehirt

siggy

Share
November 4th, 2015

King Mimosa – Quilt Finish

by Julie Hirt

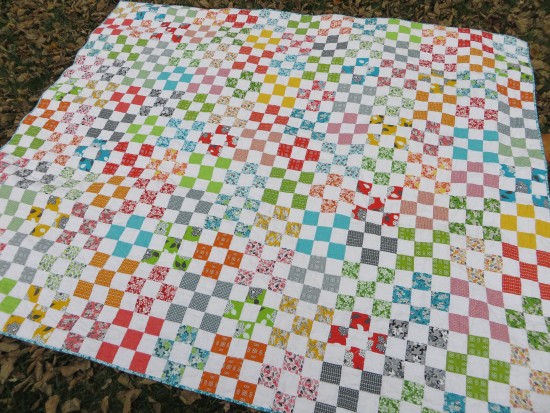
This post is a little late as we’ve been using this quilt ever since I put the last stitch on the binding.

King Mimosa Quilt 627handworks (7)

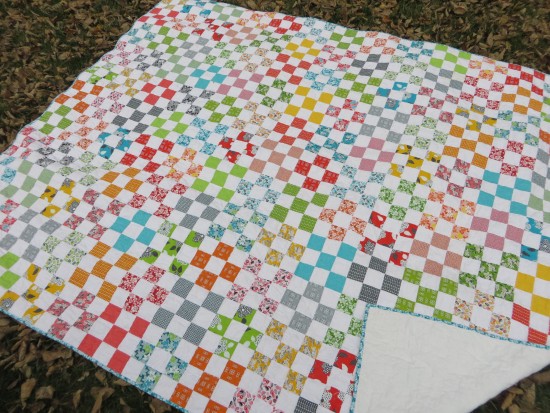
I was so excited when I finished it a few weeks ago that I put it straight on the bed.

King Mimosa Quilt 627handworks (2)

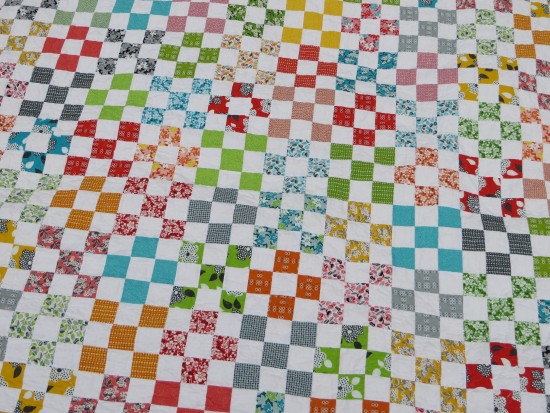
The fabrics are Mimosa by Another Point of View for Windham Fabrics and may be my absolute favorite fabric collection ever.

King Mimosa Quilt 627handworks (1)

The backing is Widescreen in White by Carolyn Friedlander.  This is the 2nd quilt I’ve finished with a Widescreen backing. The first was the Oh My Stars! quilt in Blue.


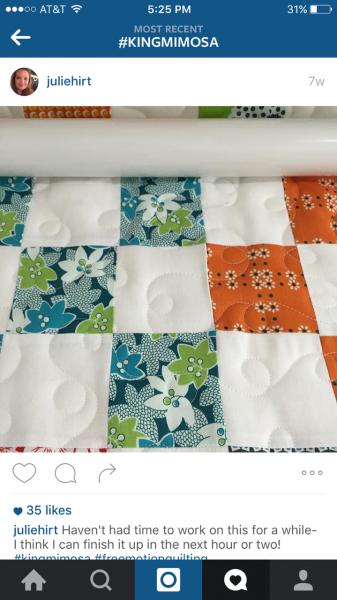
Edited:  Wanted to add an up close shot of the quilting. All I have is an Instagram shot since I’ve already deleted it off my phone :/ Here it is still on the long arm:

King Mimosa Screenshot 627handworks

King Mimosa Quilt 627handworks (4)

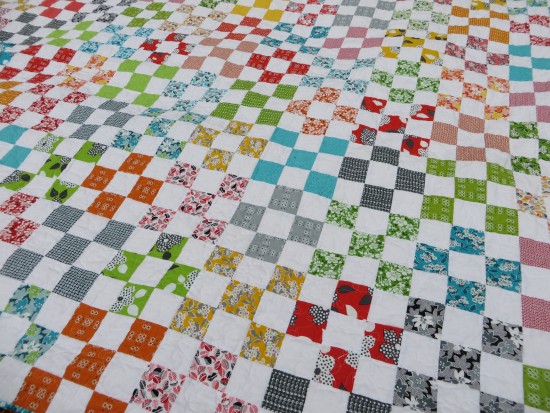
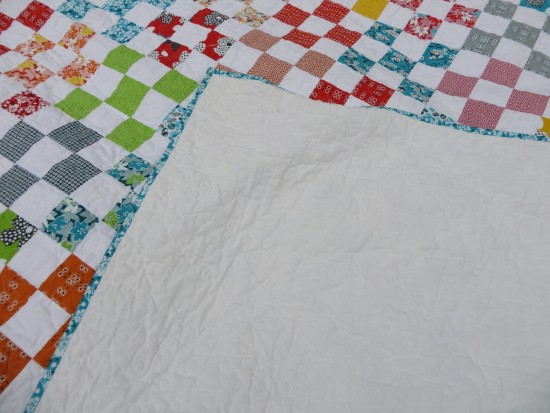
I completely underestimated how long it would take to stitch up 143 nine-patch blocks.  It was a work in progress (mostly off progress) for about a year.

King Mimosa Quilt 627handworks (5)

It was quilted using single loops and I’m pretty happy with the overall effect. (If you view the full image above, ignore Penny Lane’s dog hairs – we’ve been using this for a few weeks!)

The batting is Hobbs 80/20 Heirloom.  In the future I’ll probably be using 2 layers of that batting or mixing a layer of 80/20 with a layer of Warm & Natural.  As is, this Mimosa quilt is definitely summer weight and not nearly as heavy as my other quilts.  I bought a huge roll of the 80/20 – it was really nice in a previous throw, so I’m not sure why this feels so light.

King Mimosa Quilt 627handworks (4)

I’m really happy with this. This is the first King sized quilt I’ve finished myself from start to finish. The ability to quilt a king size is just another reason I love my Handiquilter Avante!

siggy

October 16th, 2015

Farmer’s Wife 1930’s – Week 2 & 3

by Julie Hirt

Farmers Wife  week 2 and 3

Back from vacation and caught up on my blocks.

Farmers Wife Belle 627handworks

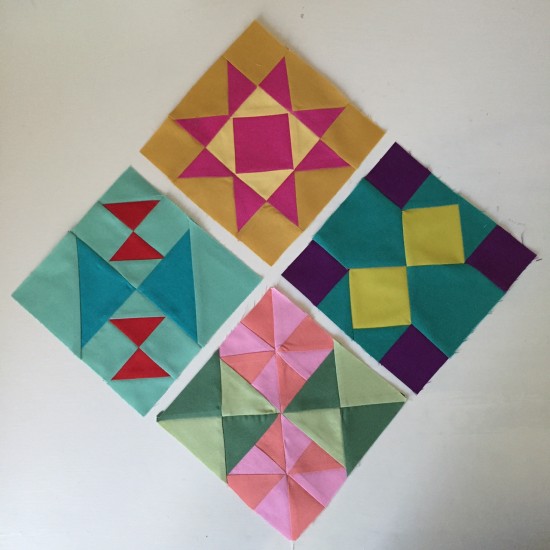
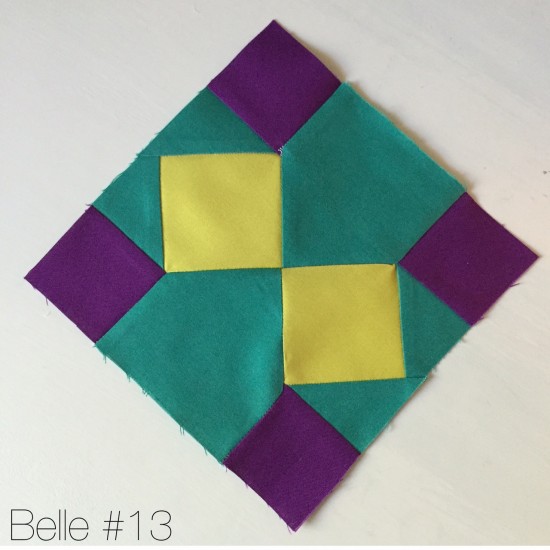
The Belle was a little tricky with the Y seams, but I’m satisfied with it and any weirdness will quilt out. Right?

Farmers Wife Caroline 627handworks

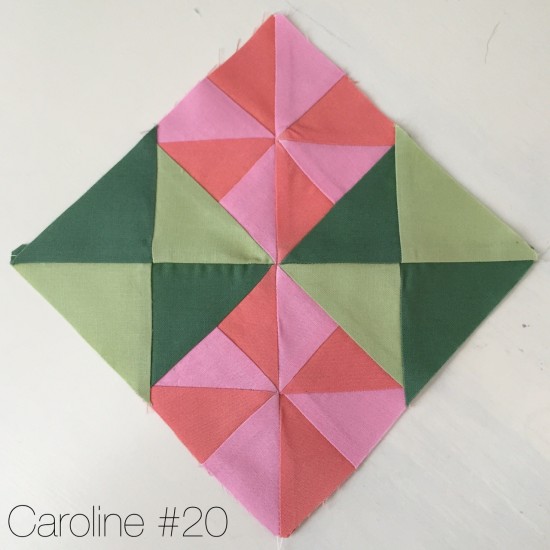
Ugh. Puckery, bulky Caroline. So many little points for a 6″ block with the Caroline. Again – hoping it will quilt out.

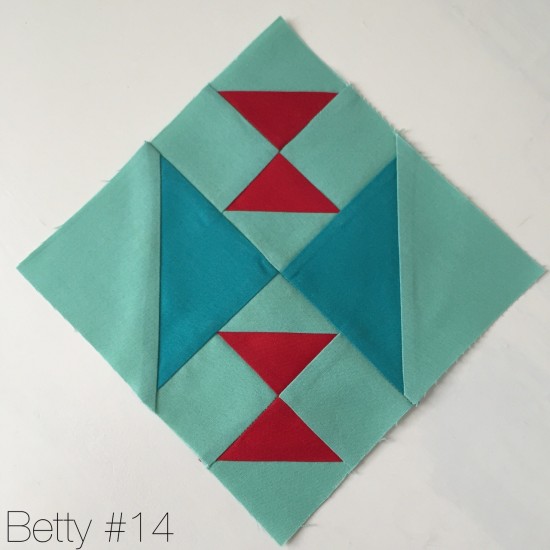
Farmers Wife Betty 627handworks

The Betty may be my favorite.  One, I love the name and two, aqua and red will always be a favorite color combination.

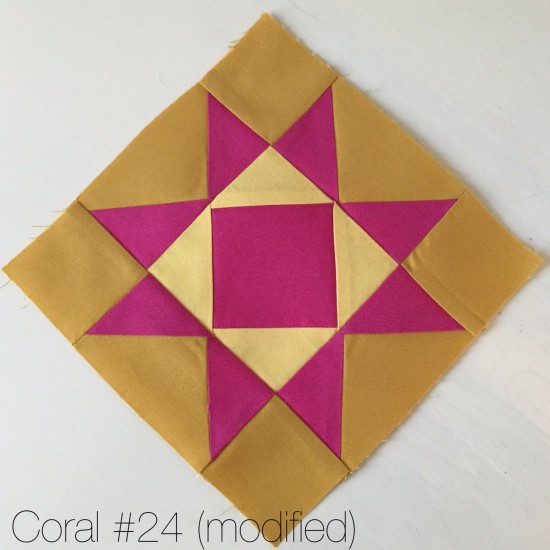
Farmers Wife Coral 627handworks

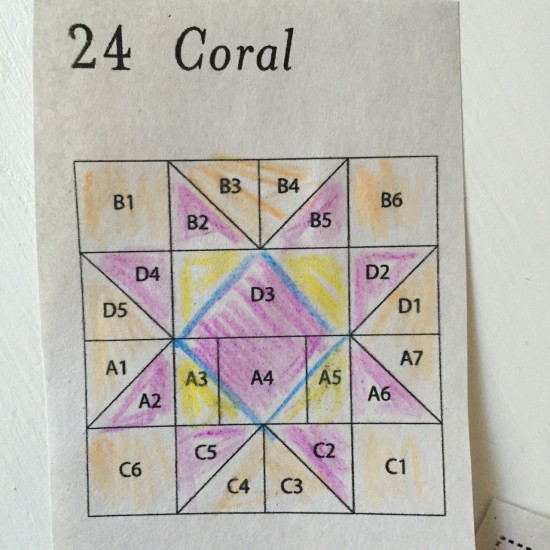
I modified my Coral block.  Since these will be on point I didn’t like the little square off center (see below) in the original pattern.

Farmers Wife Coral Modified

I wonder if I’ll need to refer to the first book for a few of my blocks. I don’t believe there are any repeating patterns between the books and hoping some more traditional blocks are in the first book.

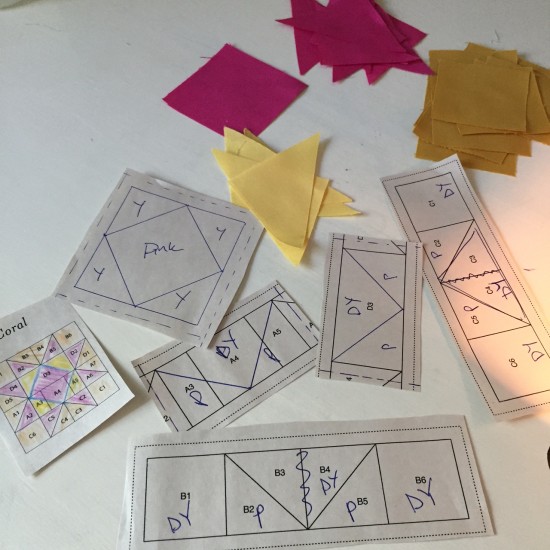
Farmers Wife Coral Modified 2

Modified foundation paper piecing. Easier than drawing up an entire block.

Farmes Wife Week 2 and 3

These are the colors I pulled for week 2 and 3.

I have quite a few projects I need to work on like a baby quilt, a Fat Quarter Shop project, quilting my Gypsy Wife and Orphan Block quilts… plus the fun things I end up making that distract me. Going to be a busy fall!


siggy

Related Posts Plugin for WordPress, Blogger...
Share